Adding a User Field
This guide provides a detailed, step-by-step process for adding a user field to an existing worksheet. Please follow these instructions carefully to ensure the accurate and successful addition of the user field.
Add User Field
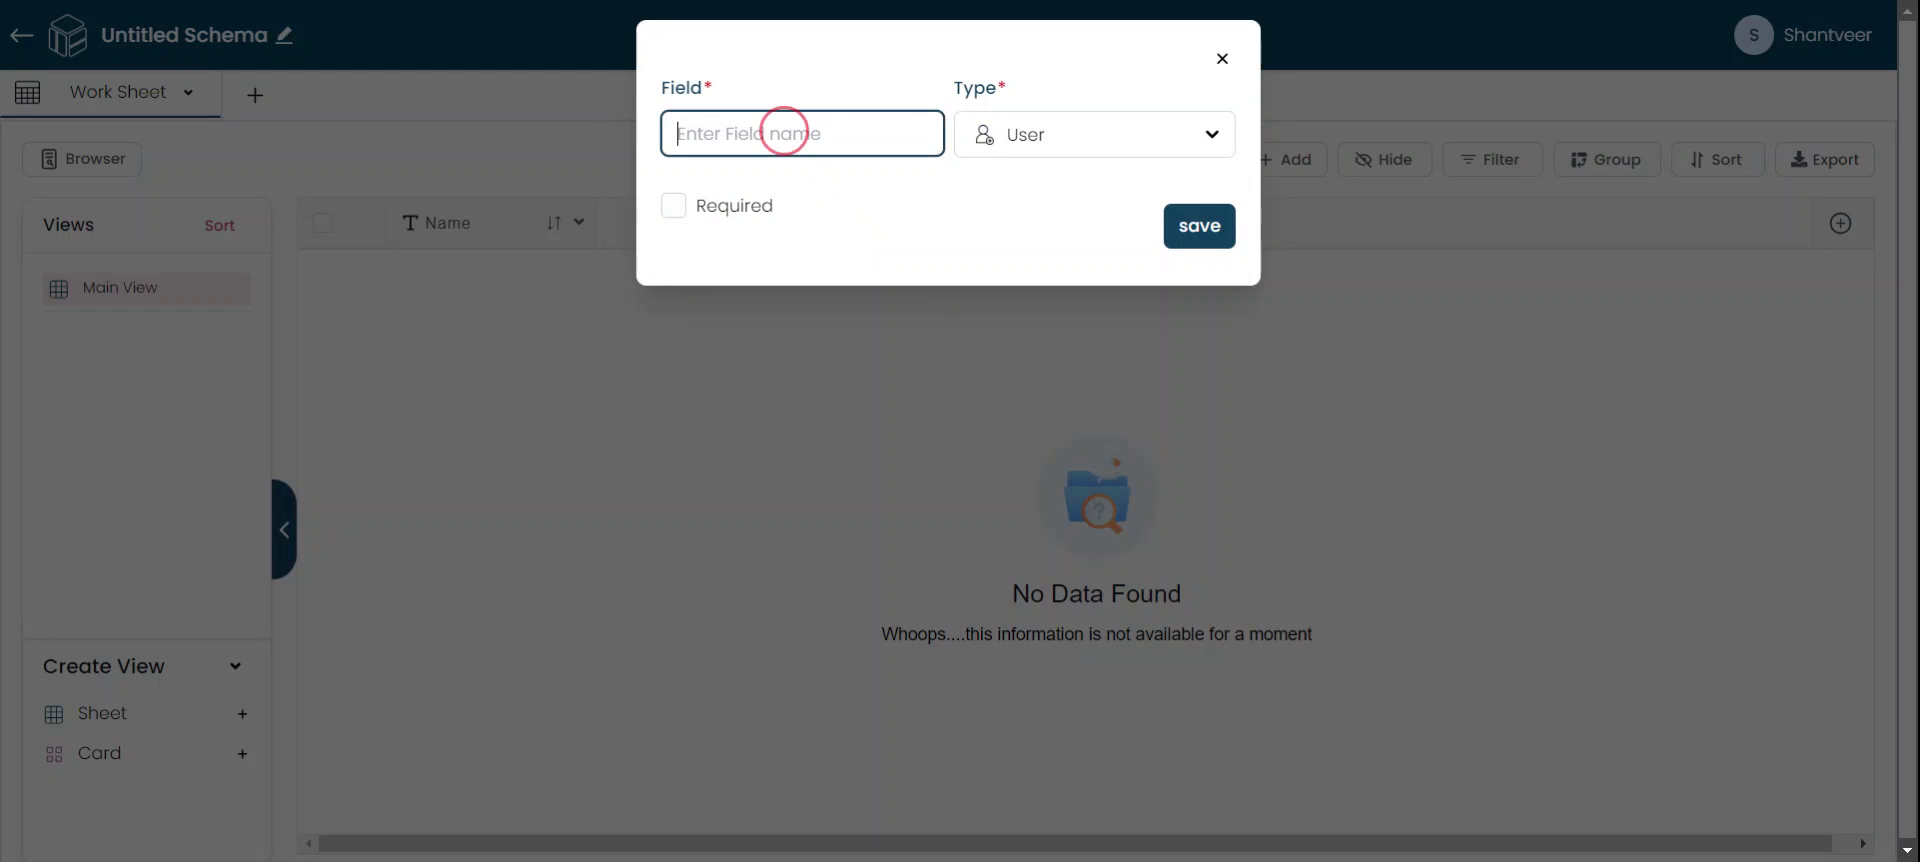
To begin, click on the plus icon. A pop-up will appear. In the pop-up, select the "User" option from the "Type" field.
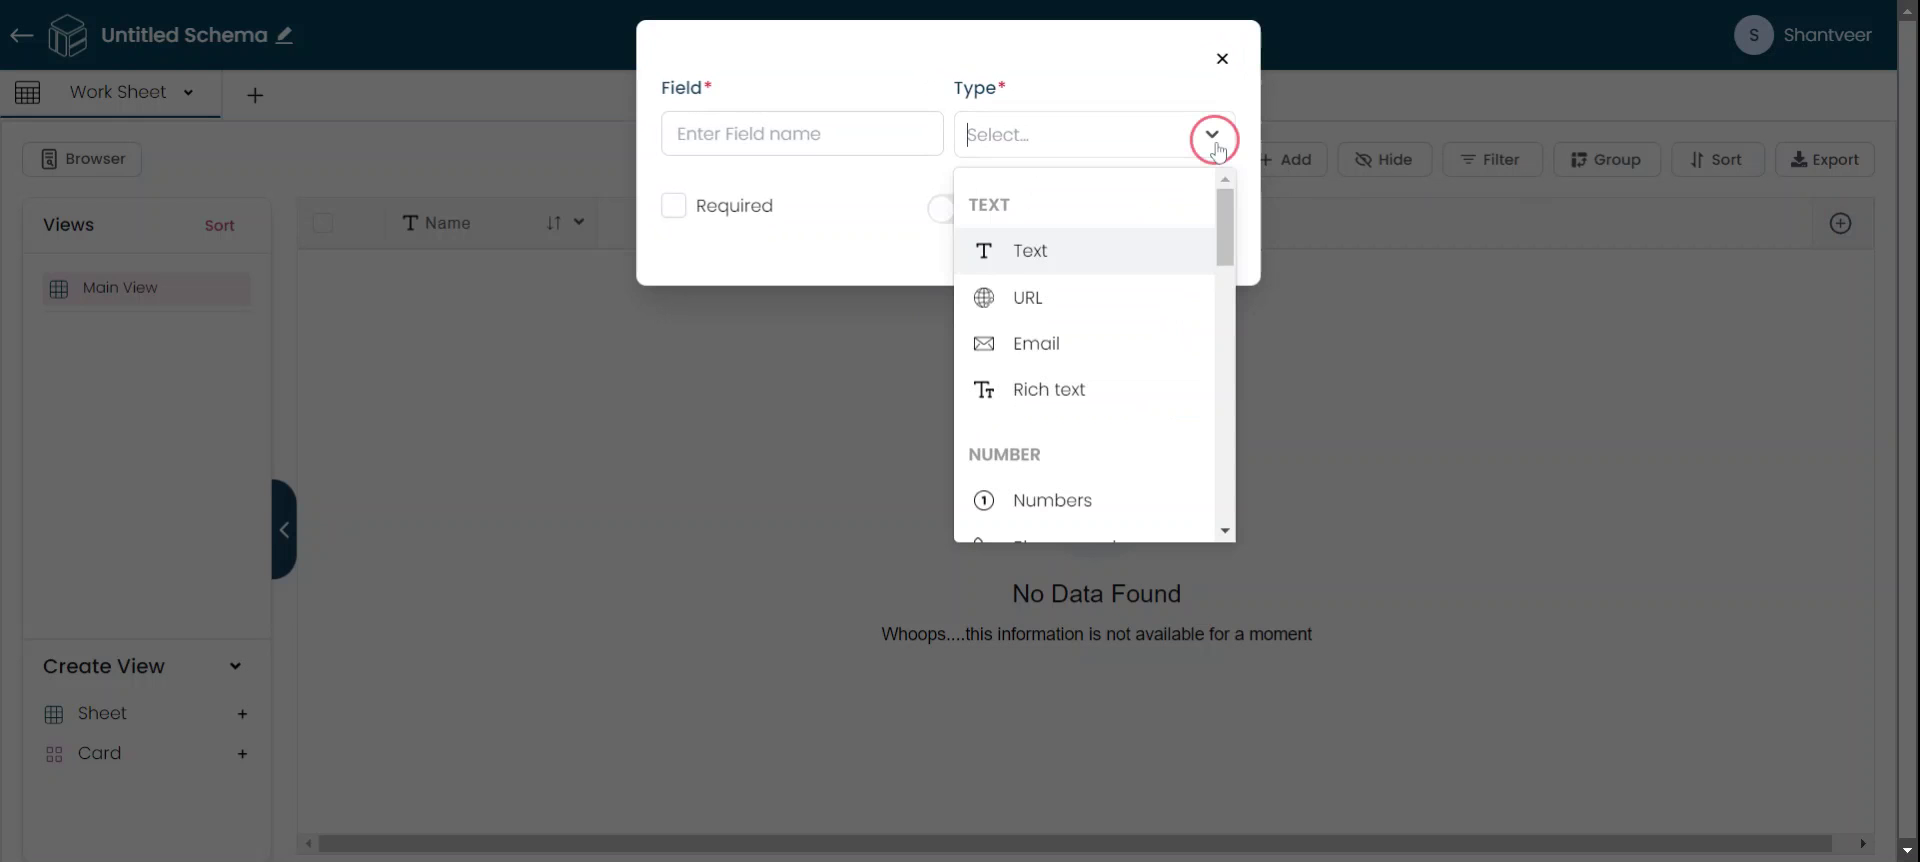
Select User Type
Enter the desired field name. If you want the field to be mandatory, enable the "Required" option.

Save User Details
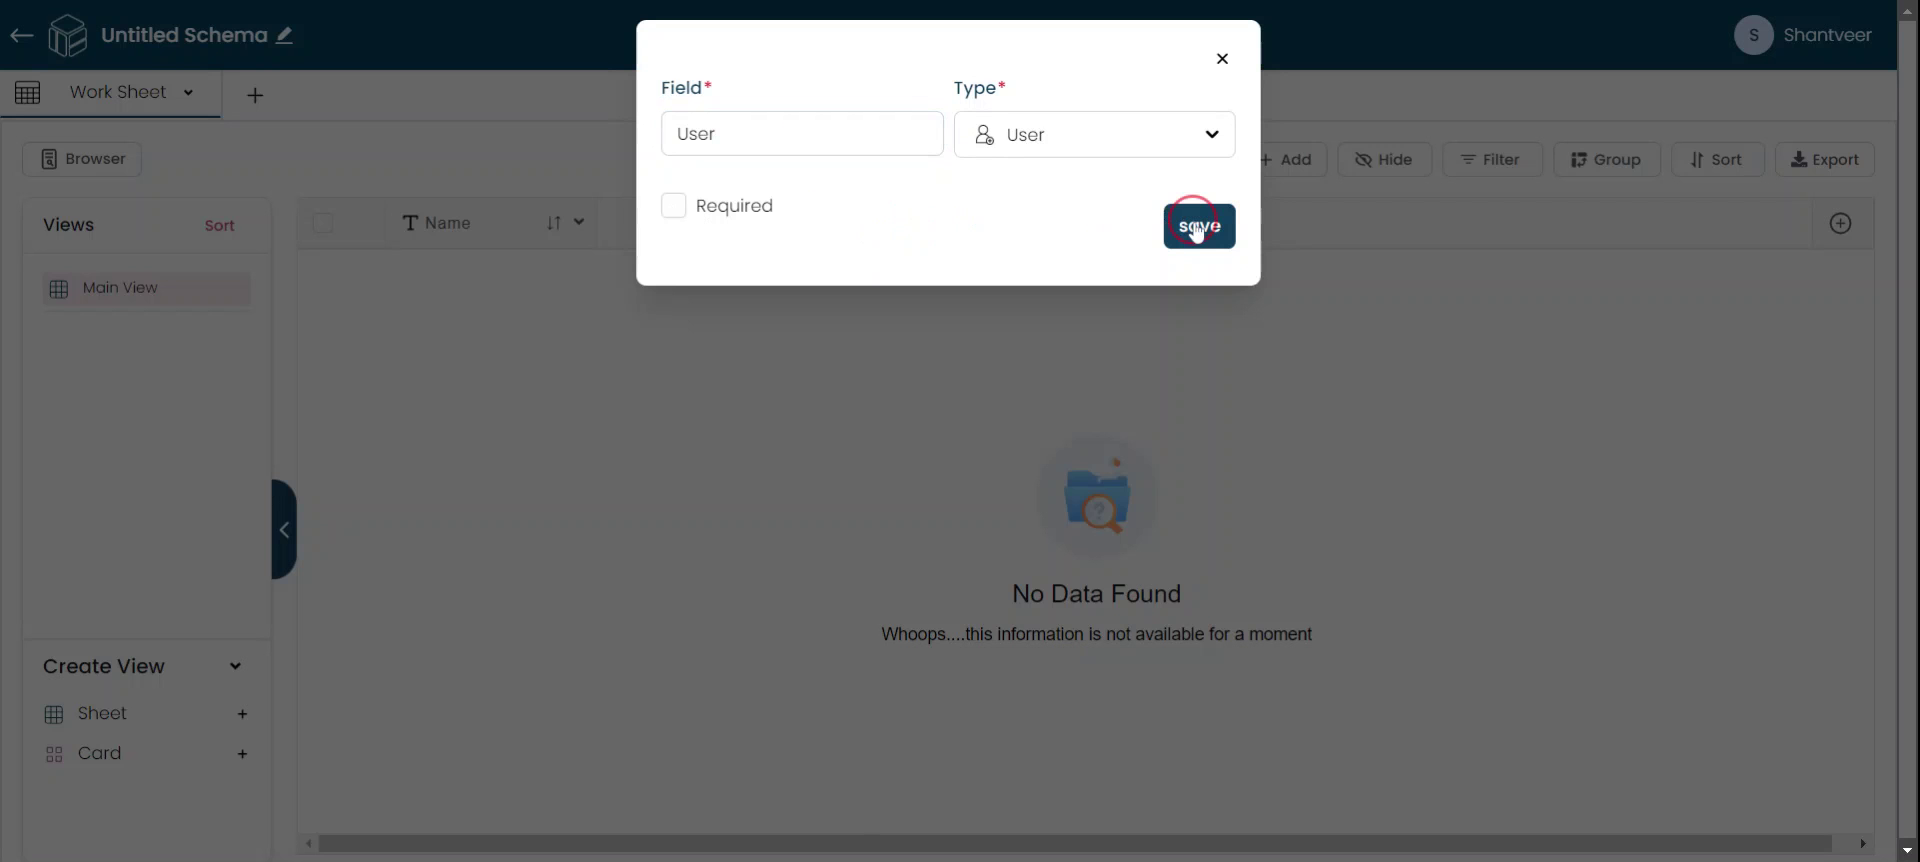
Click the "Save" button after entering all the necessary details. The user field will now be added to the existing worksheet.
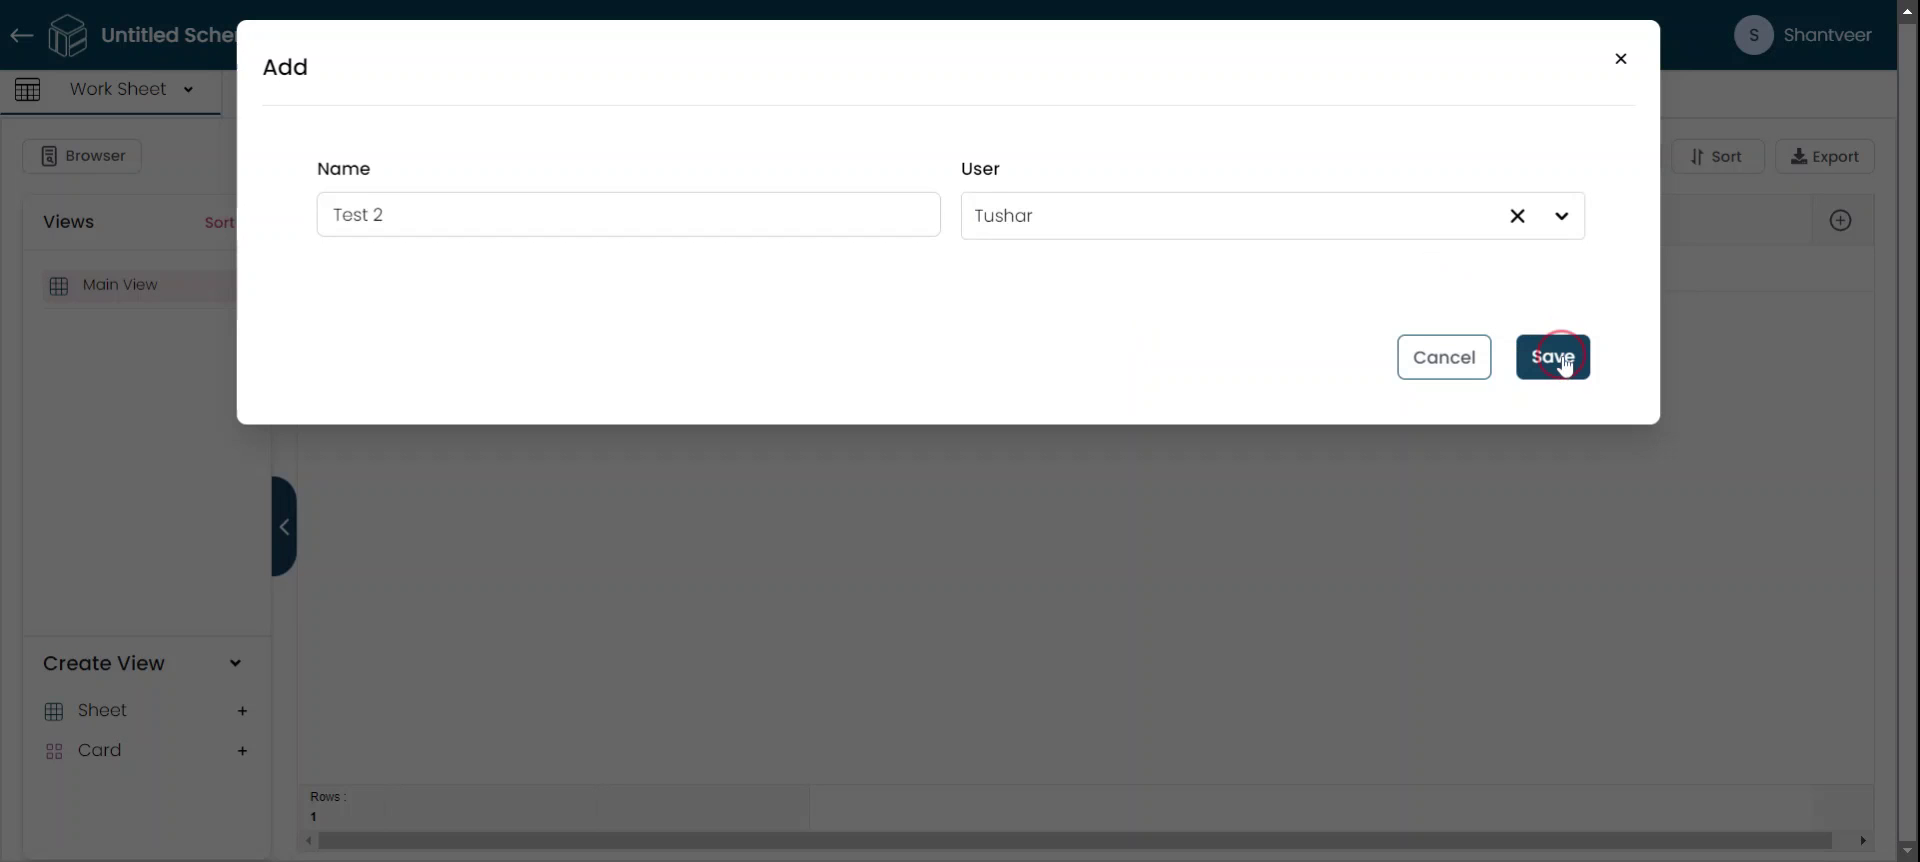
Add Field and Save
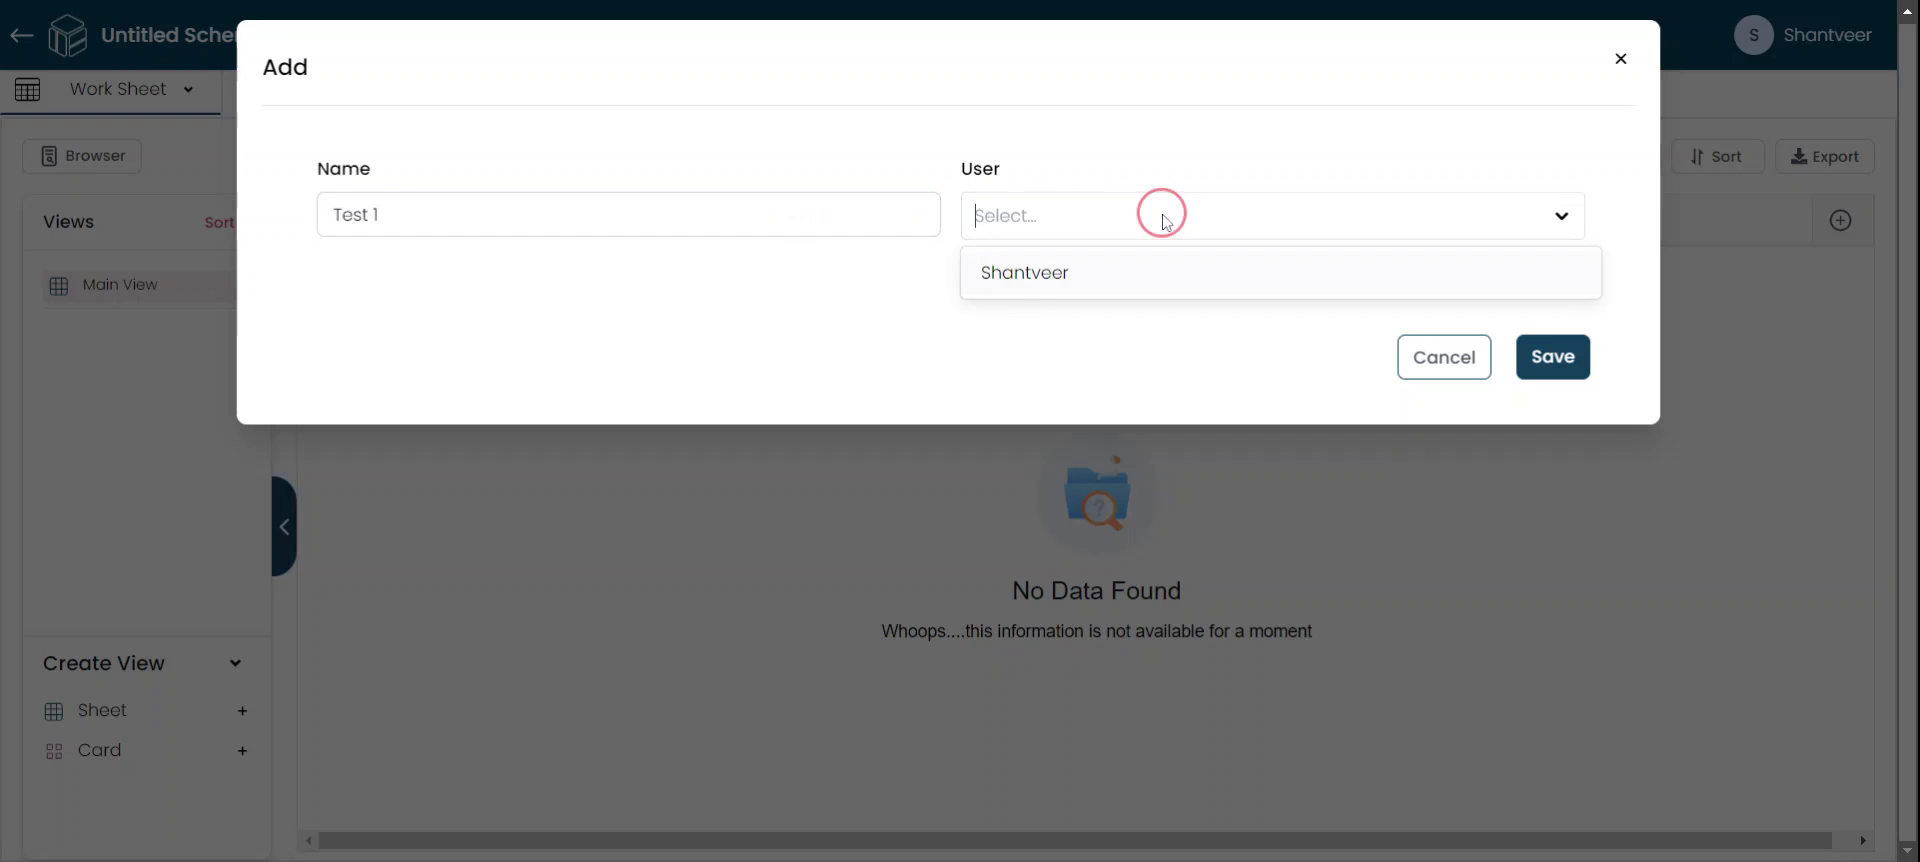
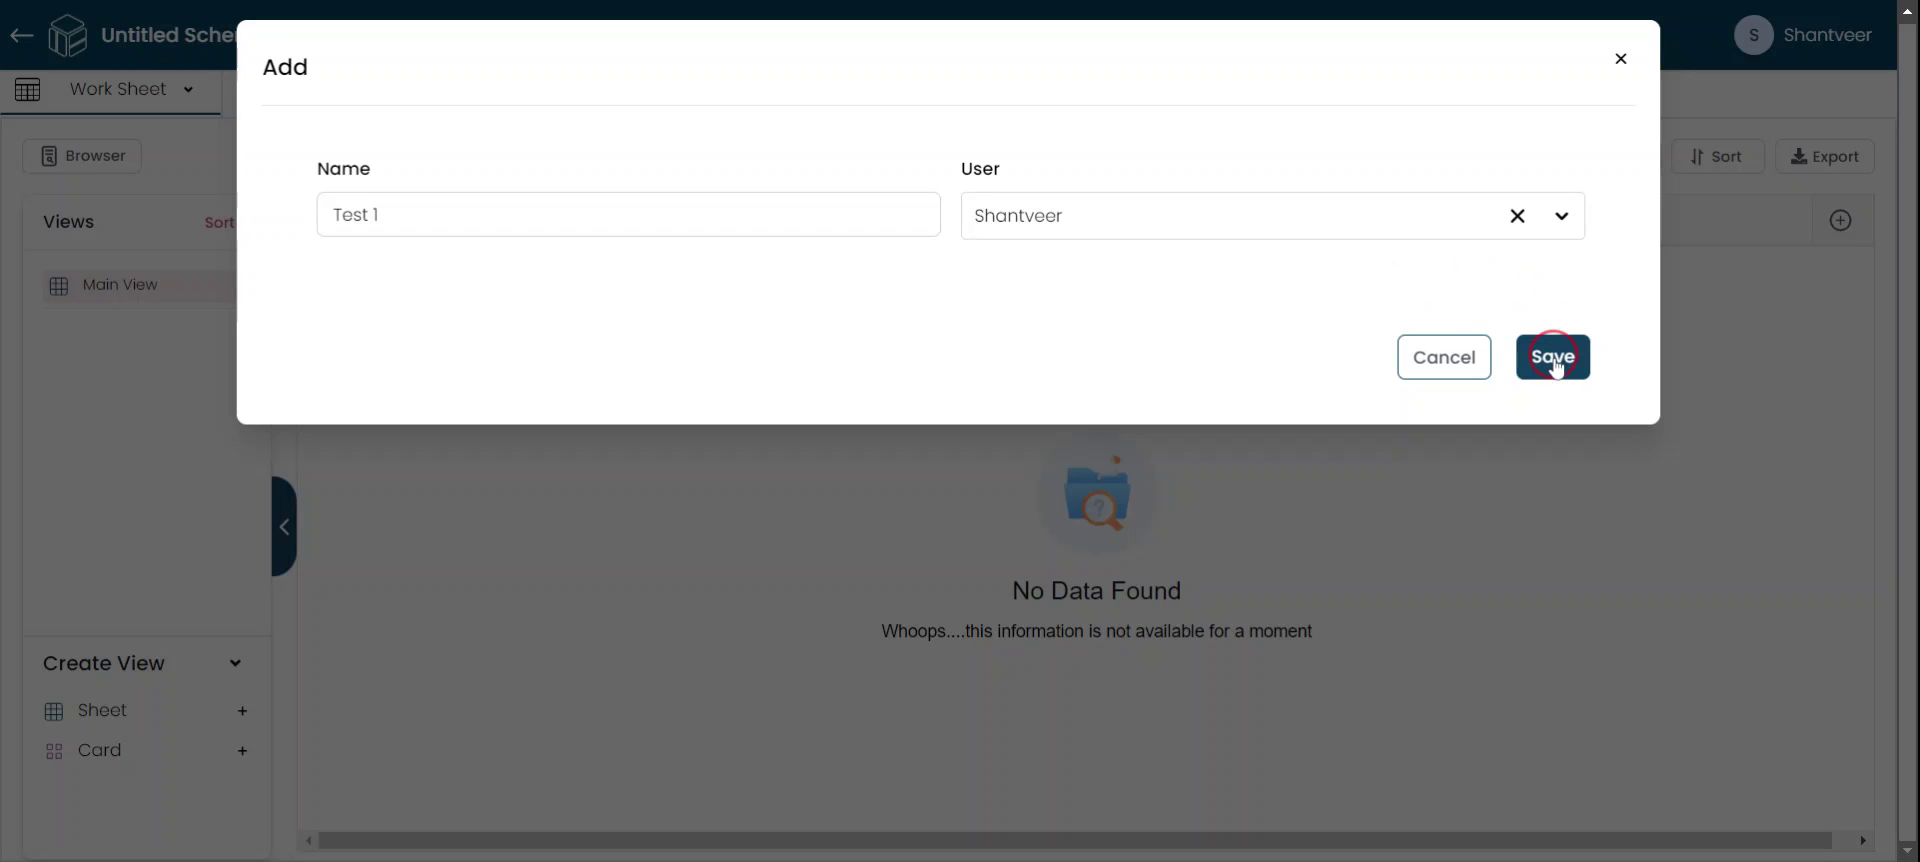
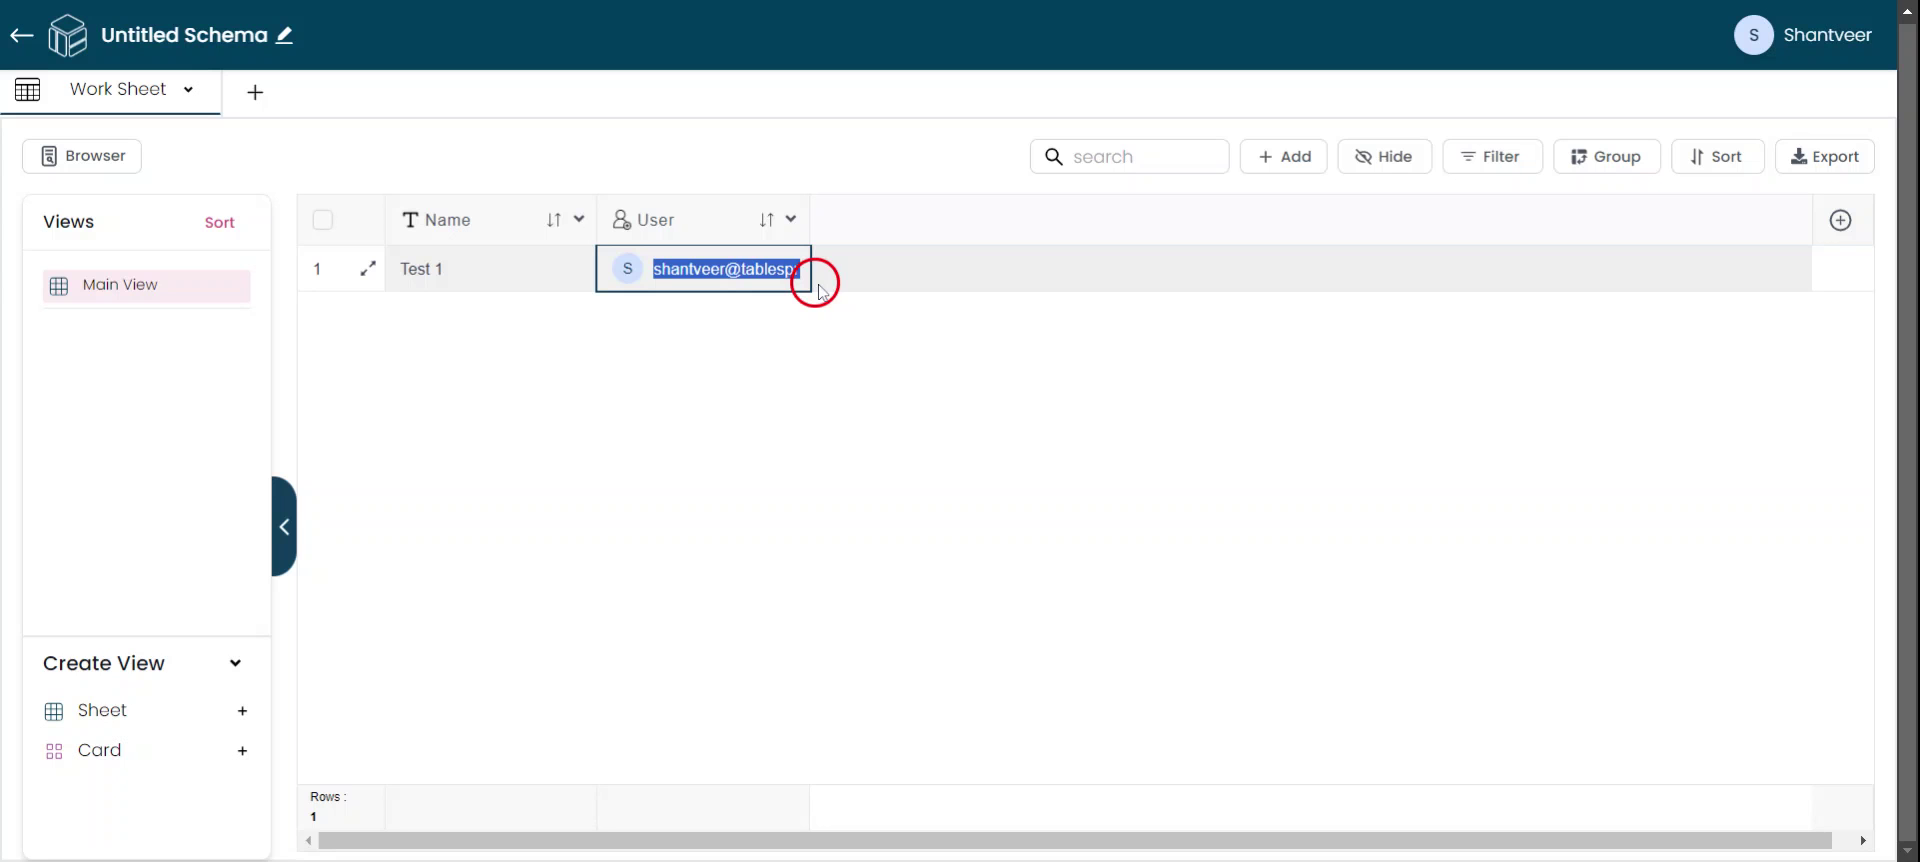
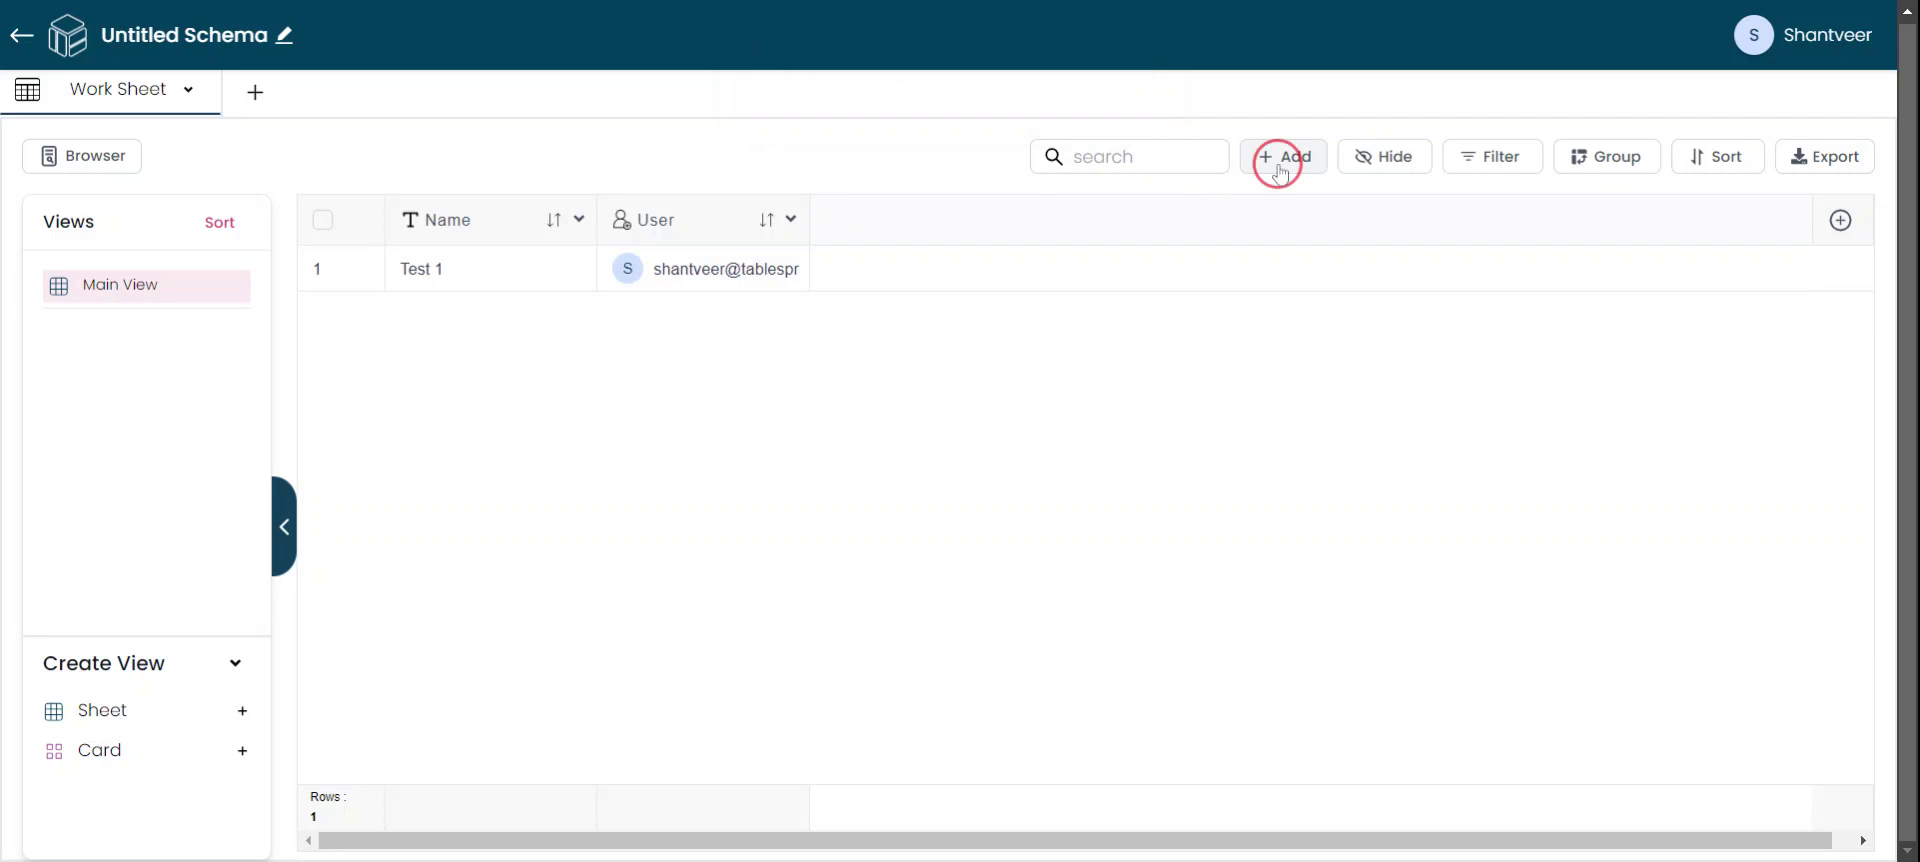
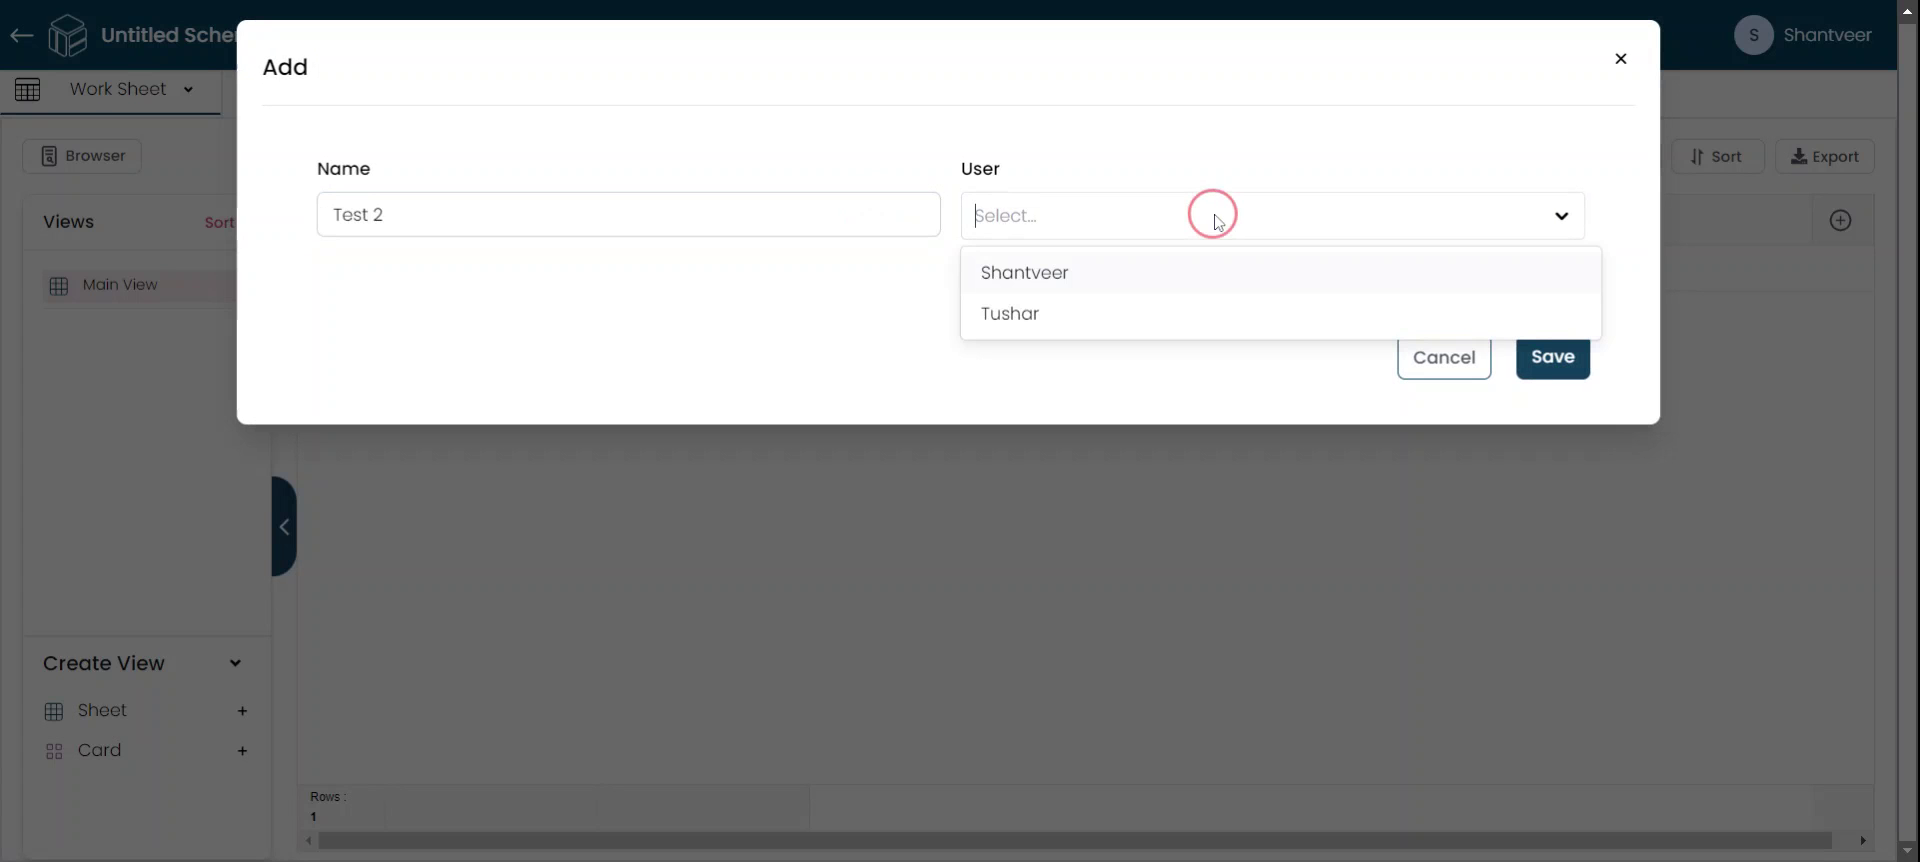
To test its functionality, click the "Add" button and enter the field name as desired. The user field will appear as a dropdown, displaying the owner's name of the worksheet. Fill in any other required details and click "Save." The changes will then be reflected.
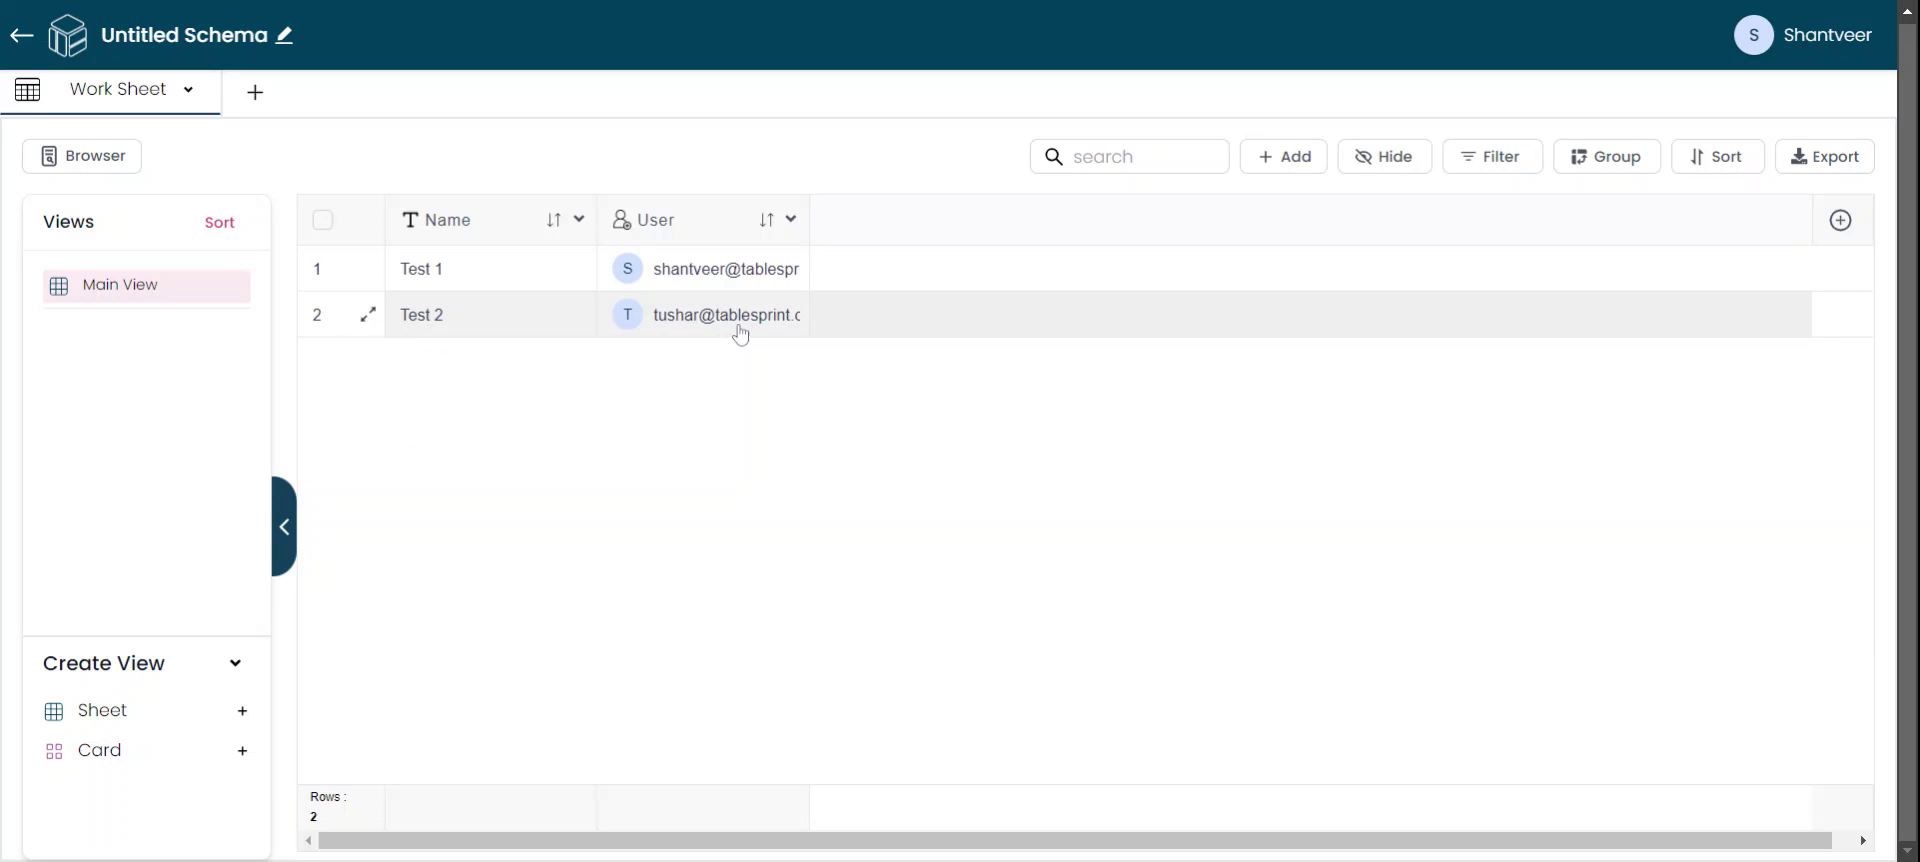
Display User Emails
The respective mail ID of the selected option will be displayed in the user field. If you share this worksheet with others, their names will also appear in the user field.
Share and Manage Permissions
To check this, share the worksheet by clicking on the dropdown menu and selecting "Permissions." A pop-up will appear where you can enter the email address of the user you want to share the worksheet with. Click "Save" to complete the process. For detailed instructions on managing permissions, please refer to the separate tutorial available.

Select User Option
Click "Add" and enter the field name. Then click on the user field, where you will see two options: "Owner's Name" and "Shared Person's Name." Select the appropriate option and fill in all the necessary details.
Save Changes
Click "Save" and the changes will be reflected in the worksheet.