Adding a Attachment Field
This guide provides a detailed, step-by-step process for adding an attachment field. Follow these instructions to ensure successful and efficient completion of the task.
Add Attachment Field
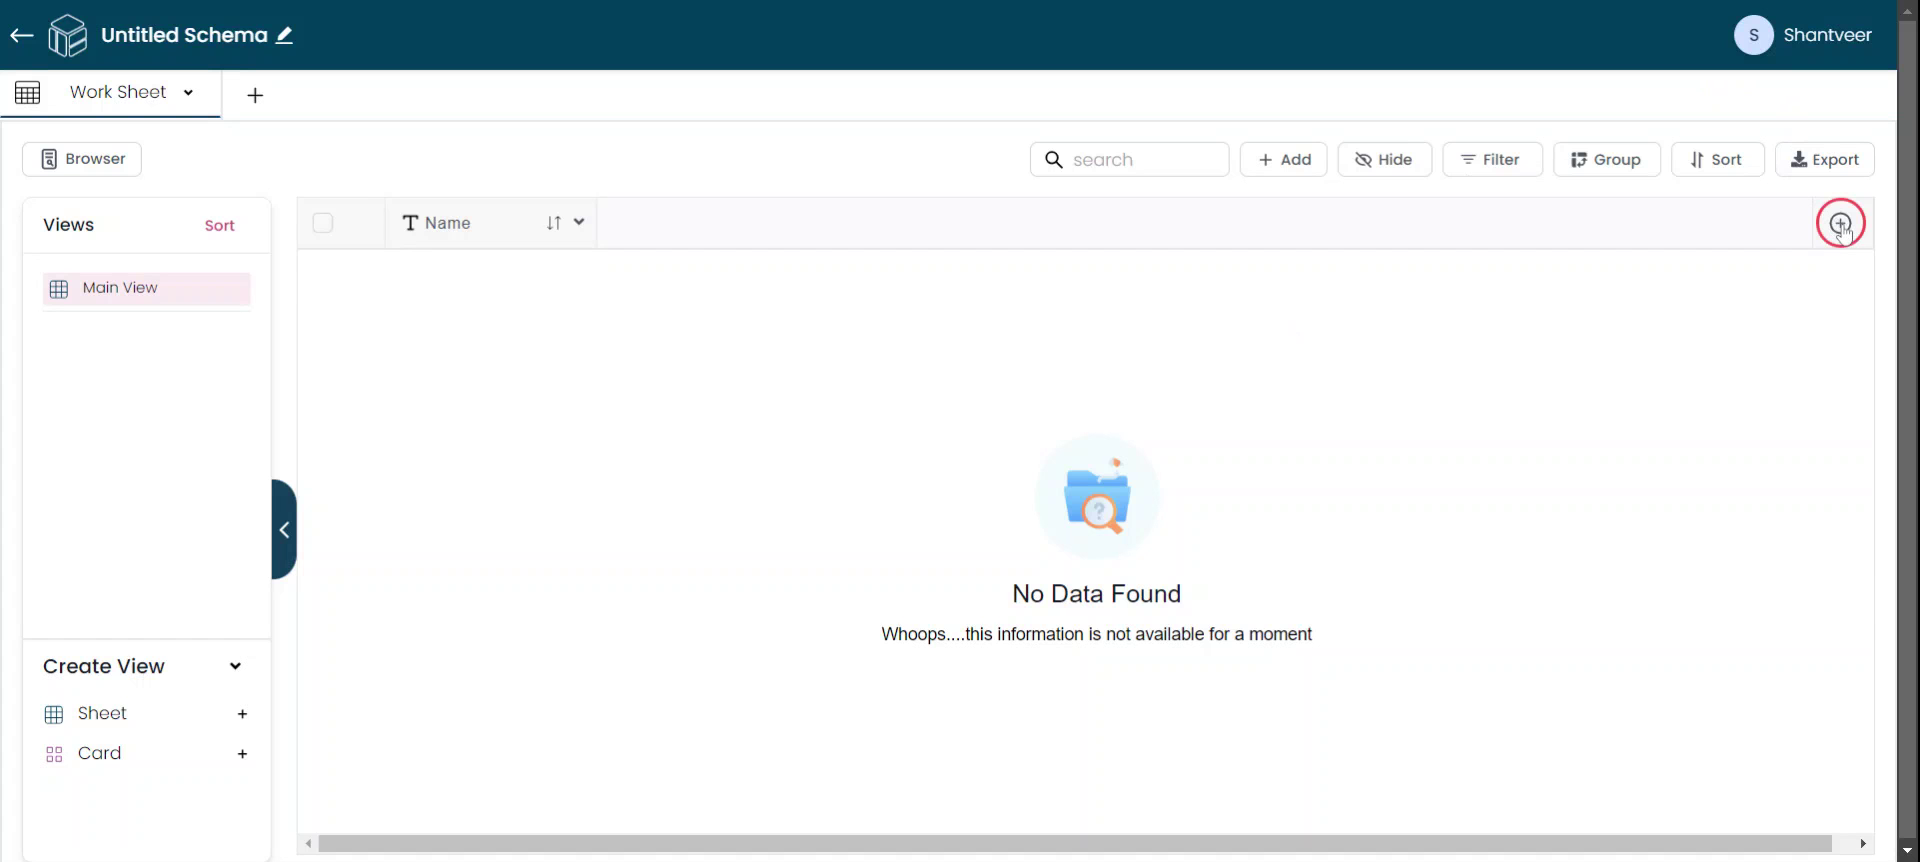
In this document, you will learn how to add an attachment field. Start by clicking the plus icon.
Select Attachment Type
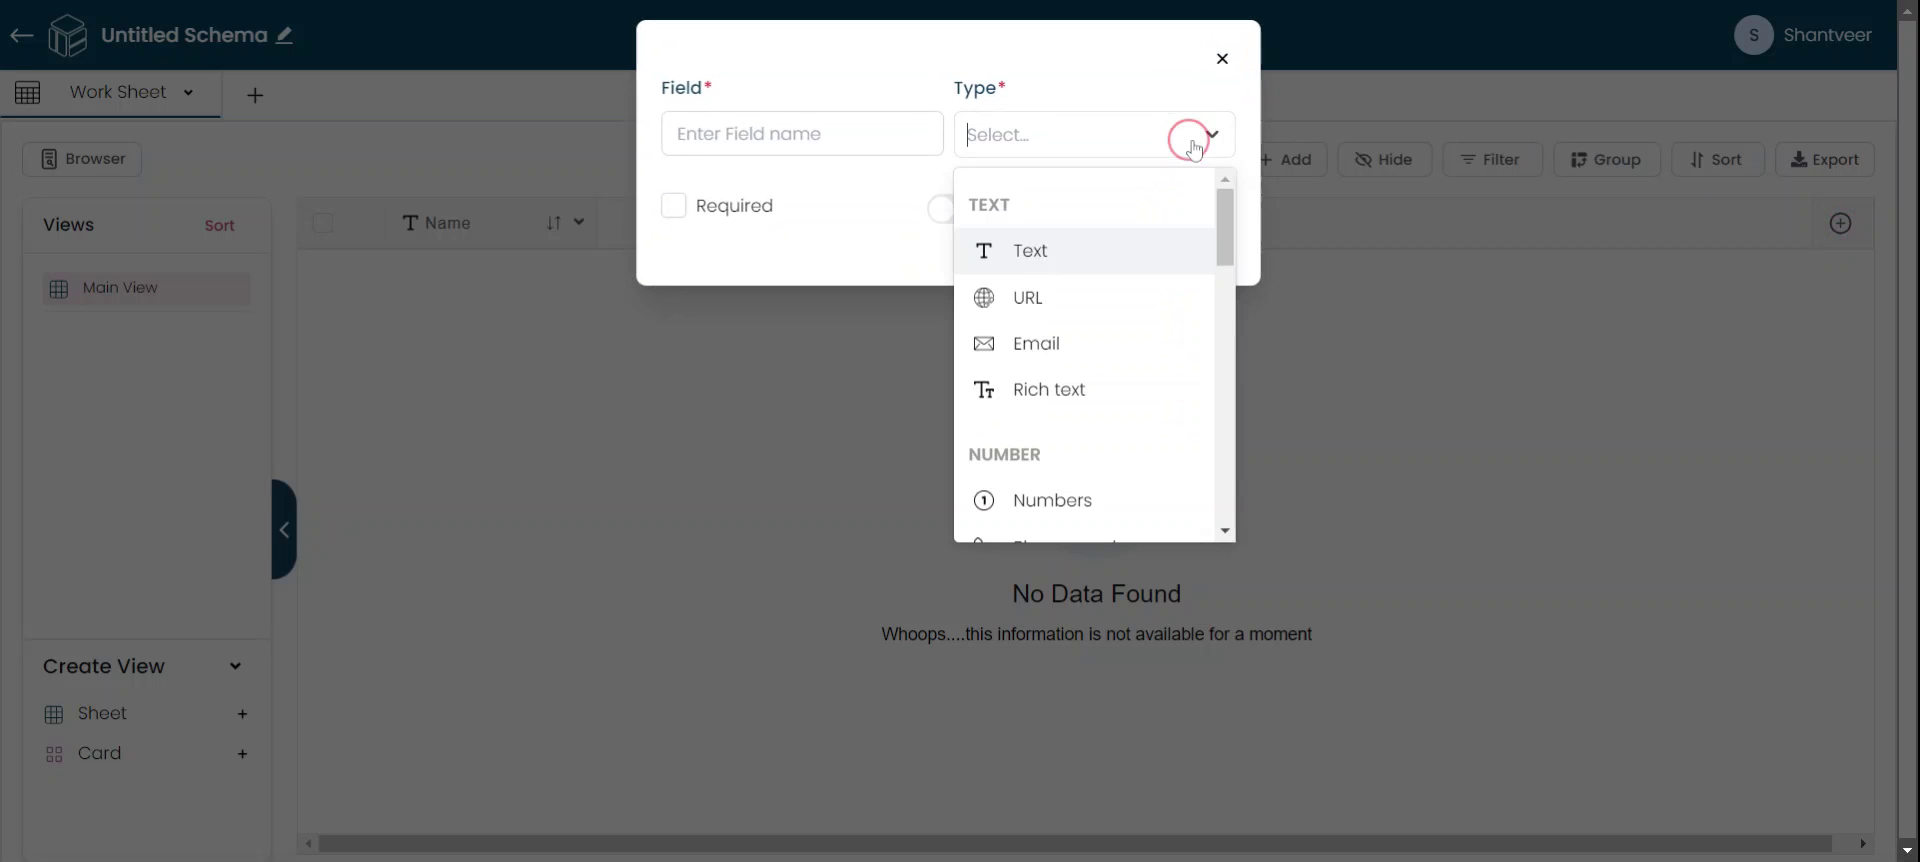
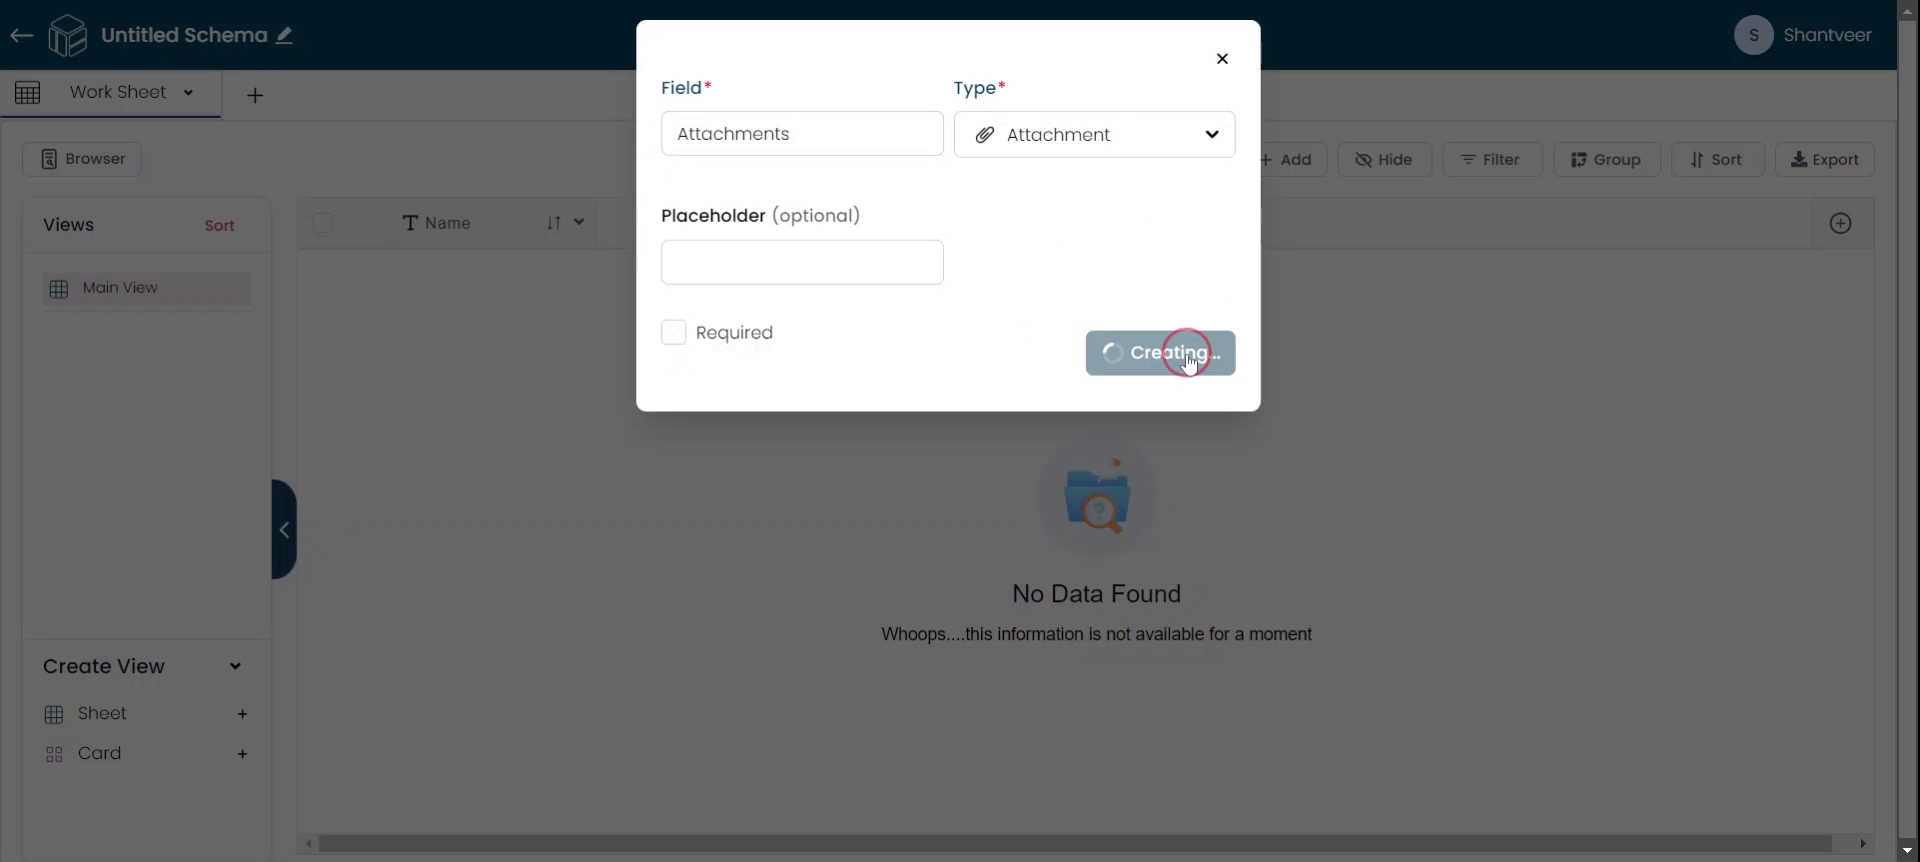
Once you click the plus icon, a pop-up will appear. From the available options, select 'Attachments' and then set the field name according to your preference.

Set Placeholder
You can also set a placeholder if desired. To make the field mandatory, enable the appropriate option. After entering all necessary details, click 'Save'.
Verify Field Functionality
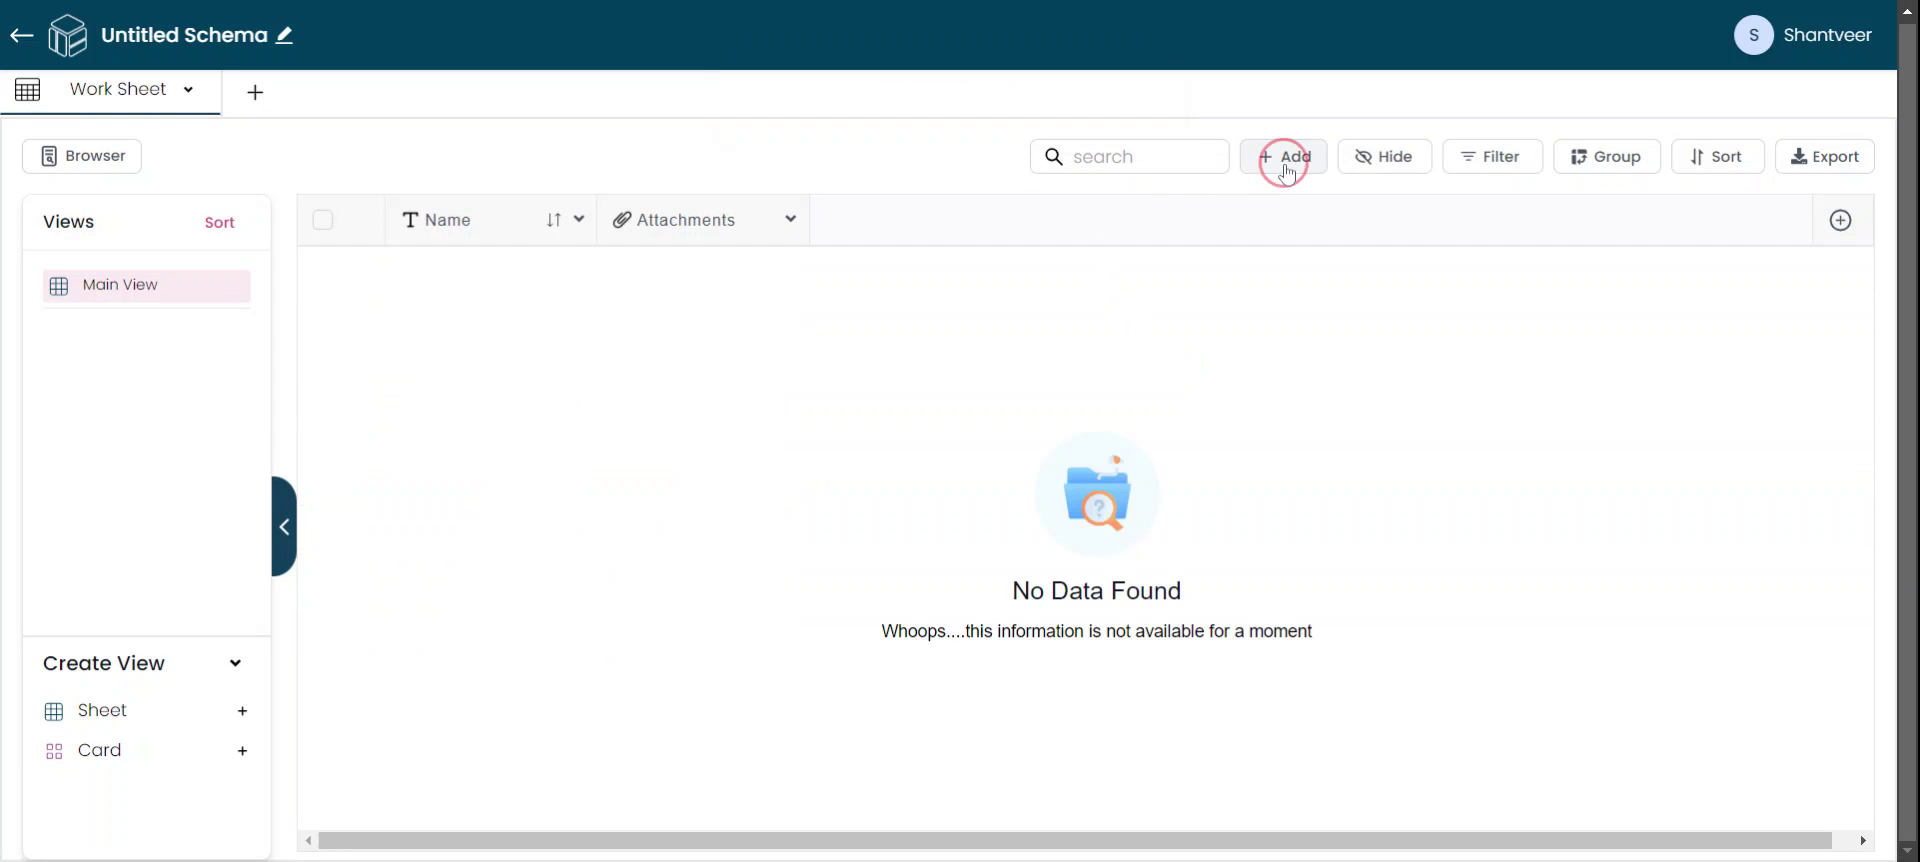
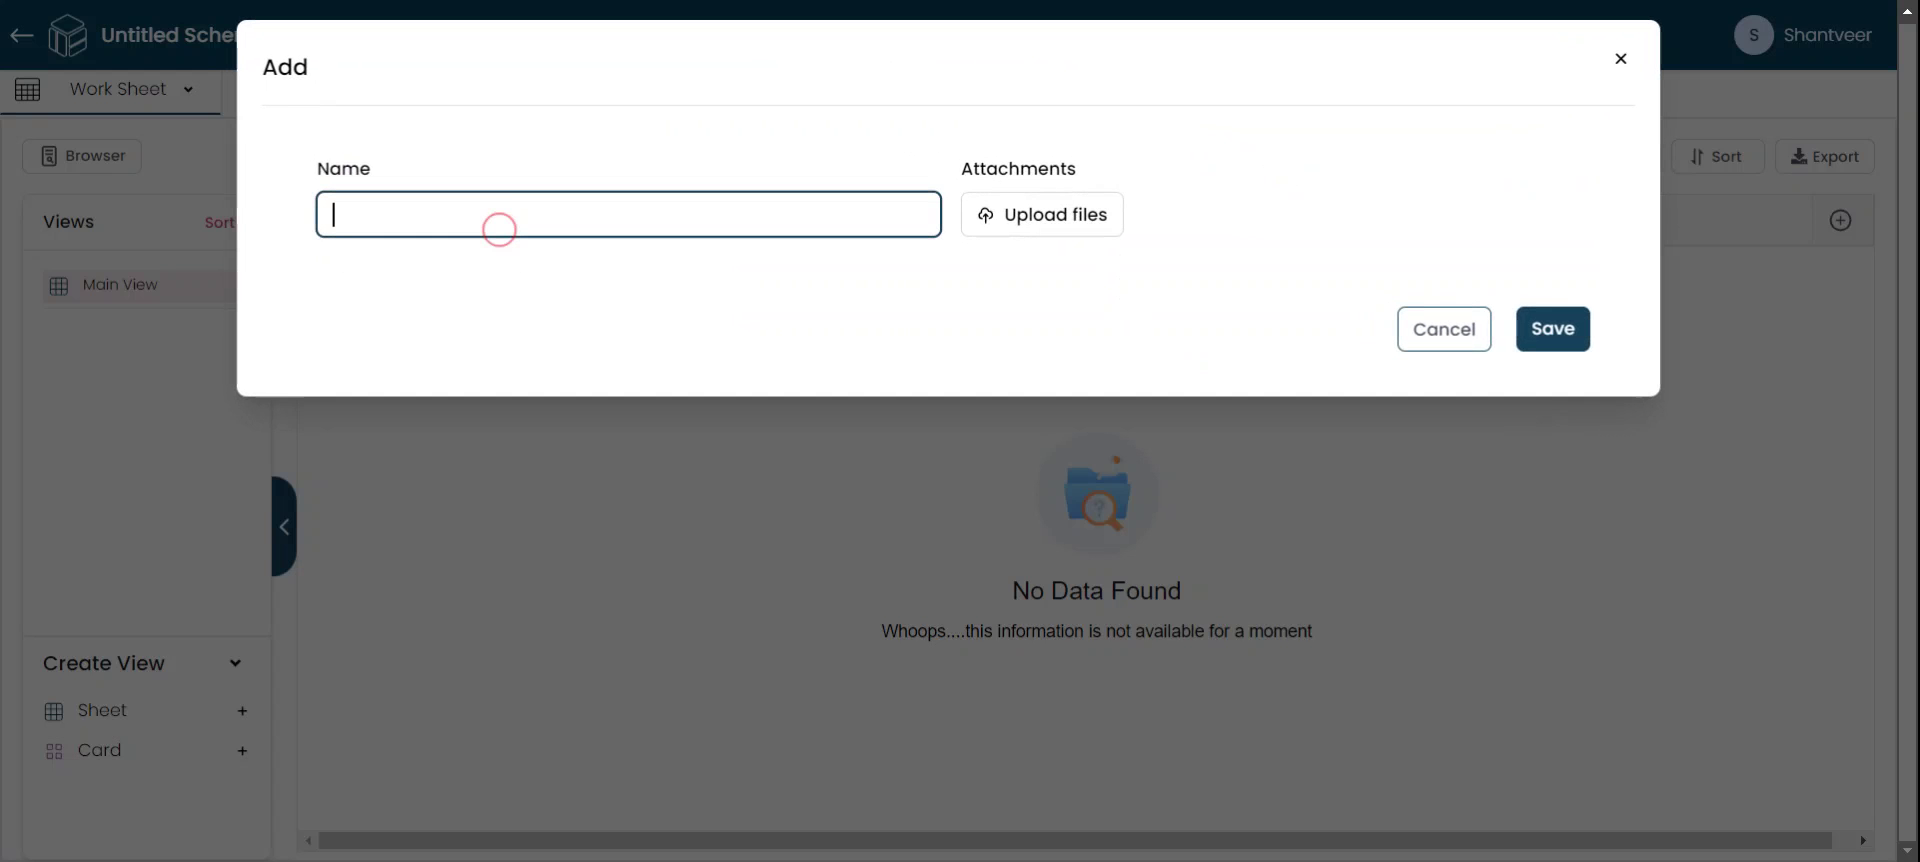
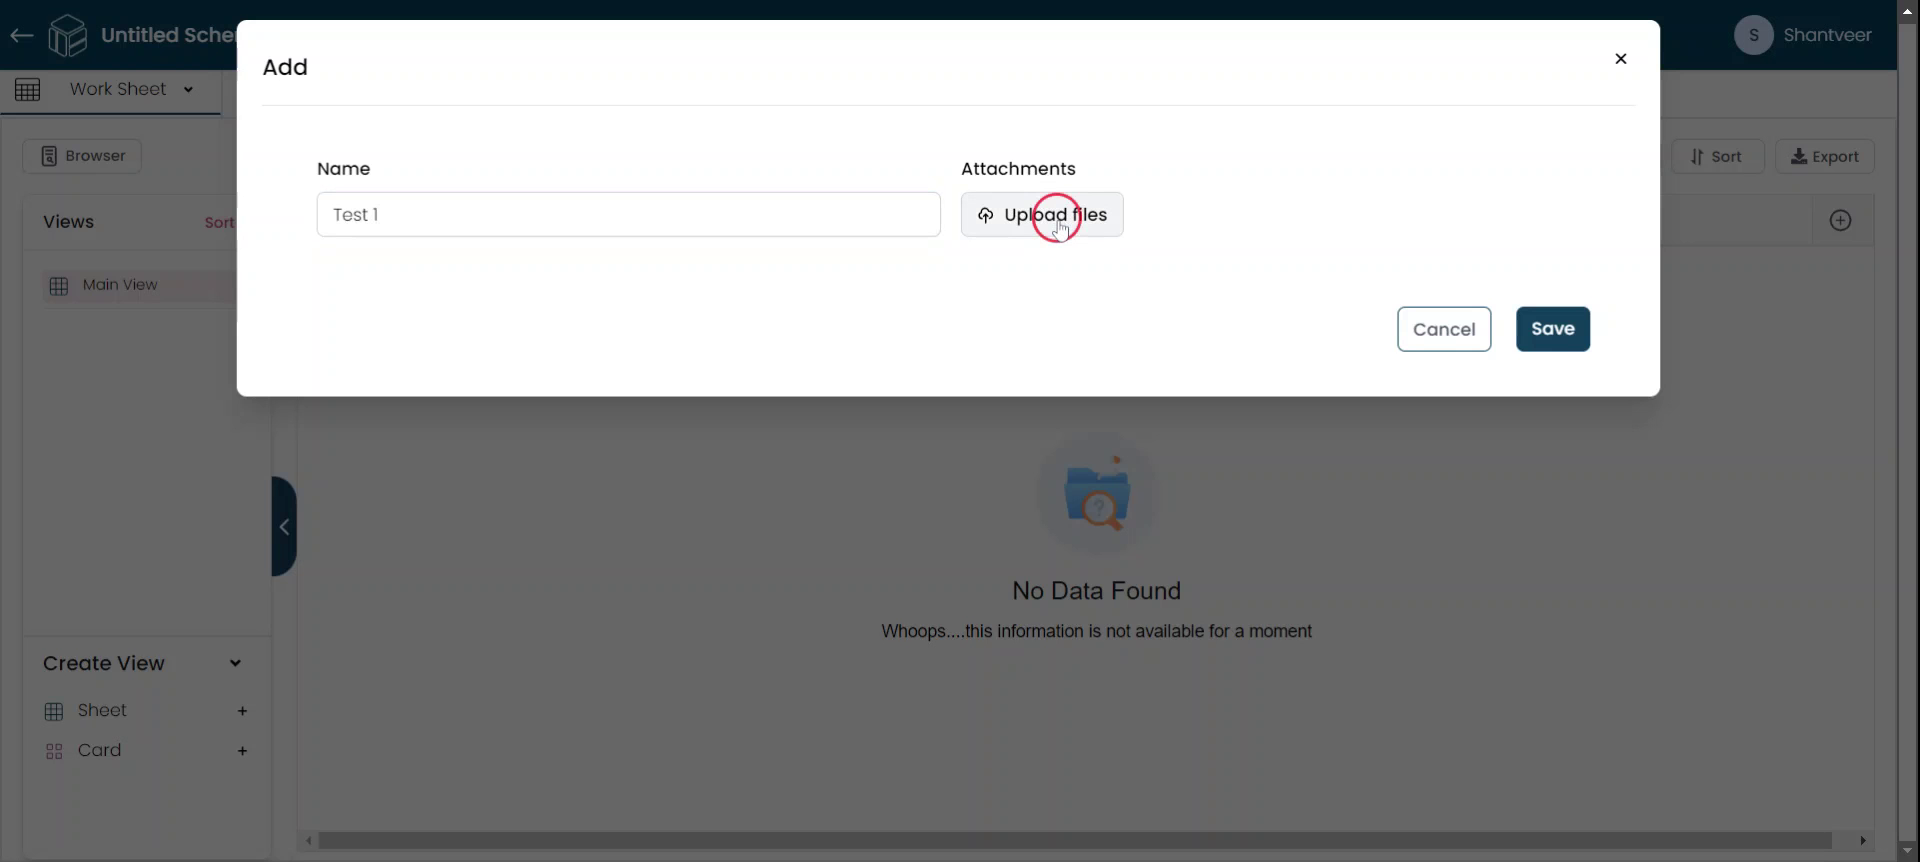
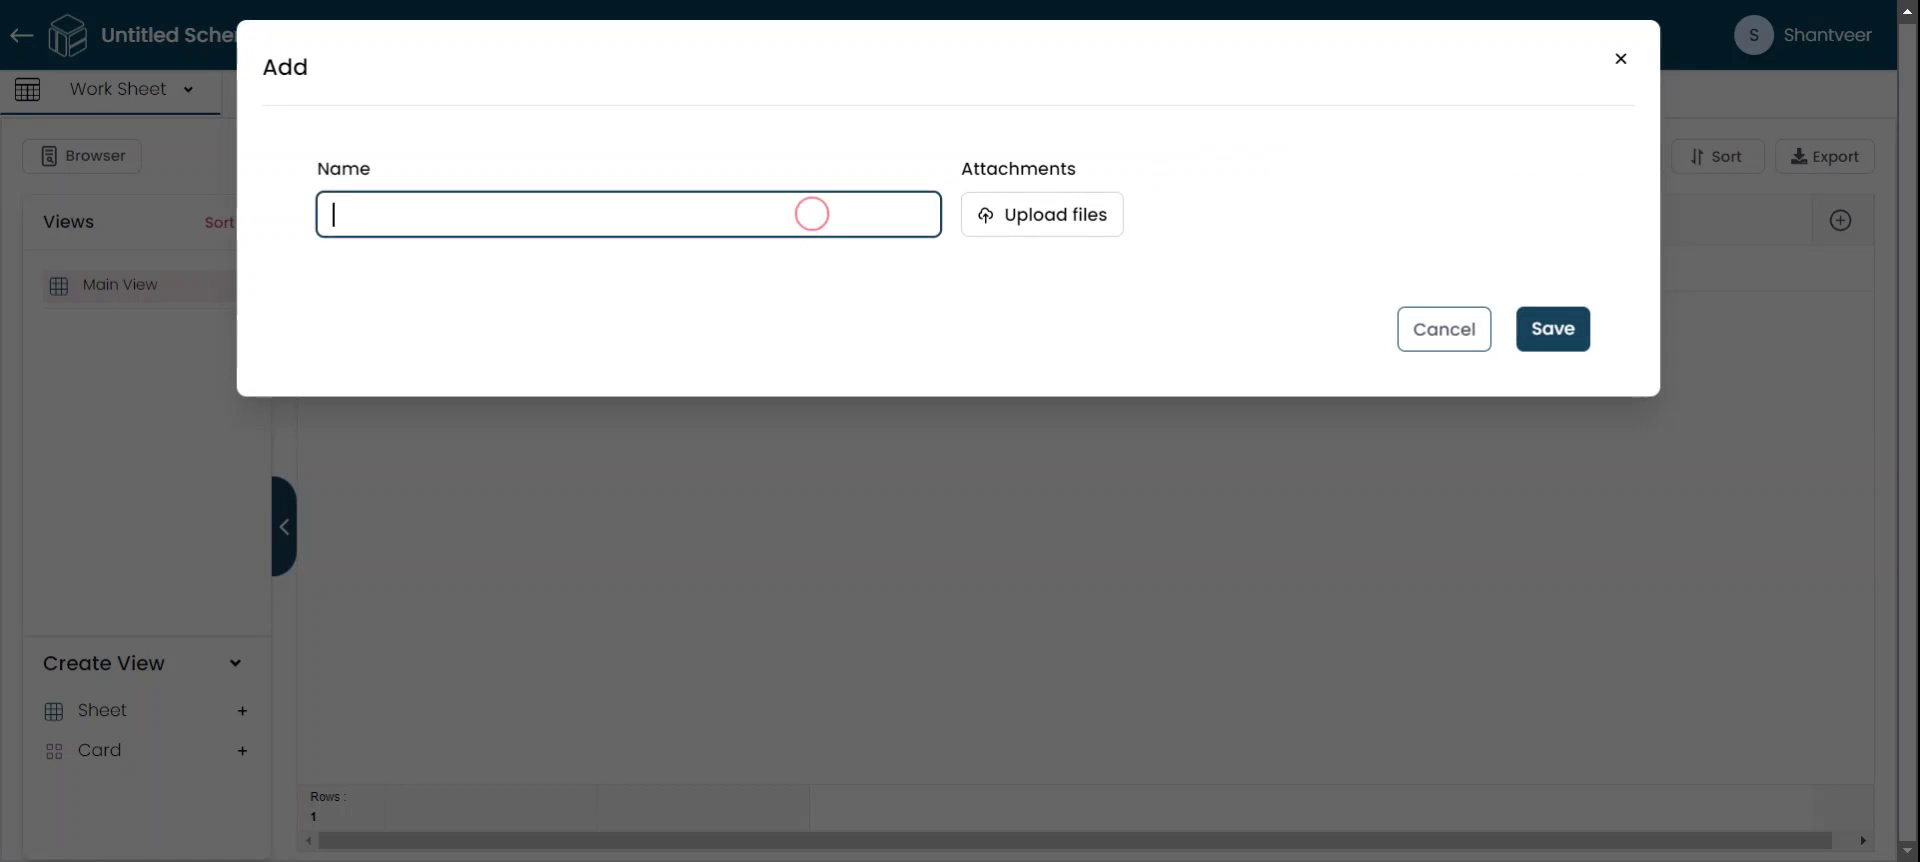
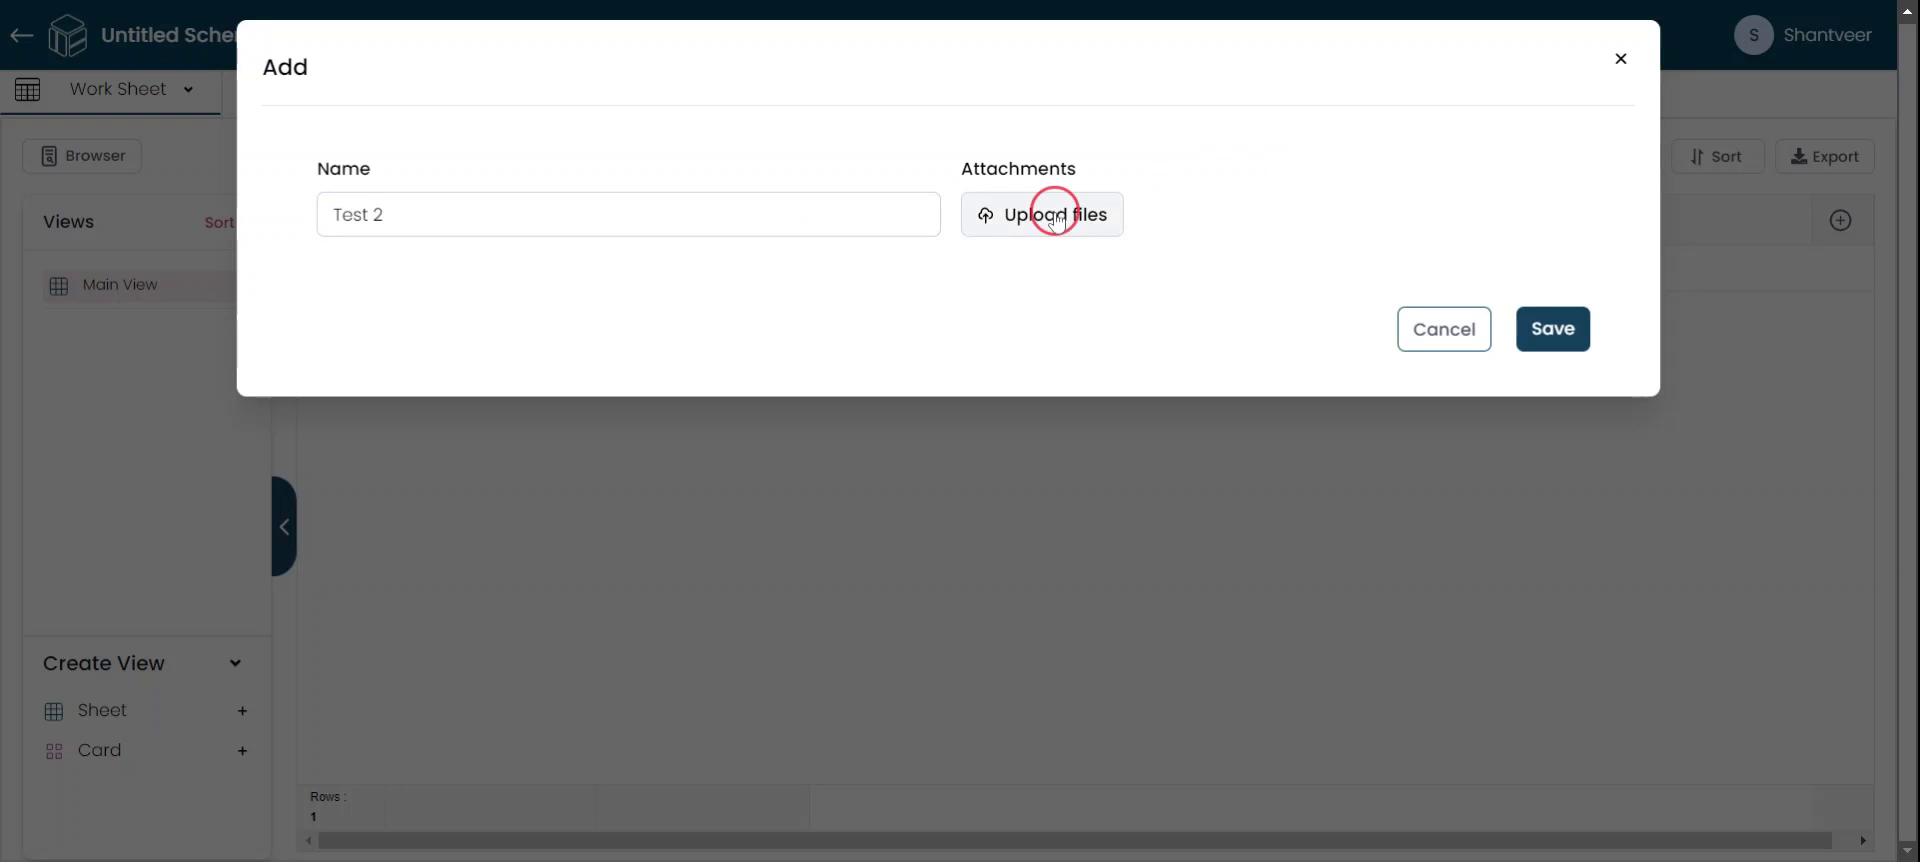
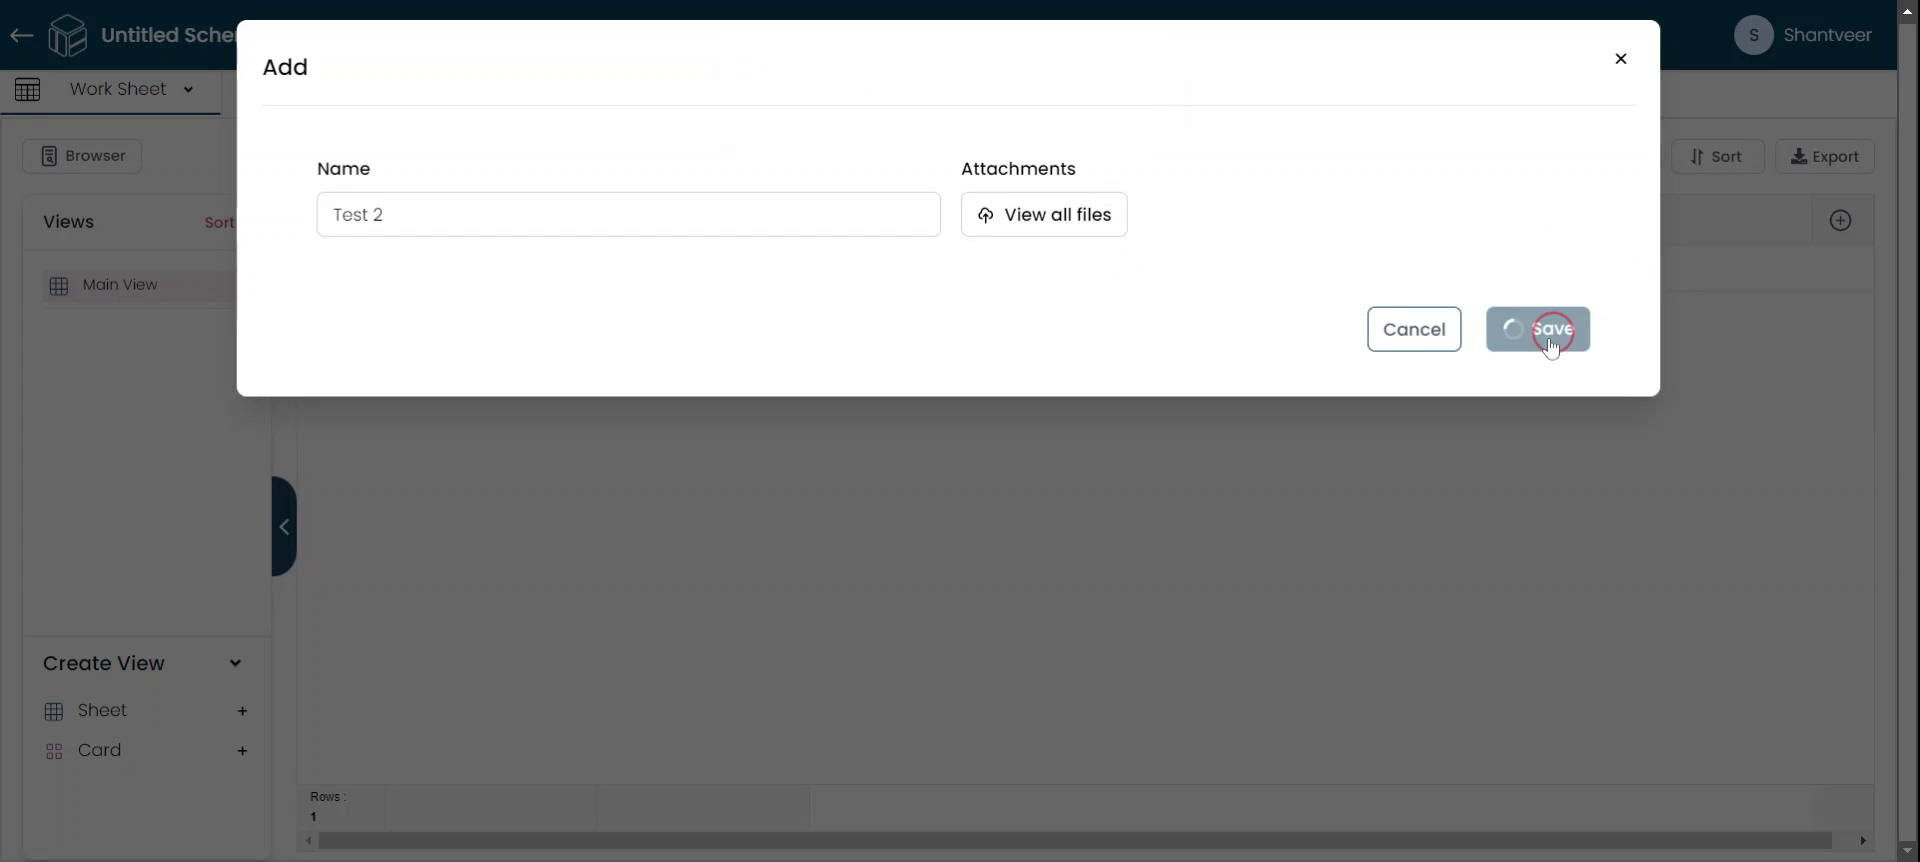
To verify functionality, click 'Add' and enter the field name according to your preference.
Upload Files
To upload files or attachments, click 'Upload Files'. A pop-up will open, allowing you to either drag and drop files or browse for files.

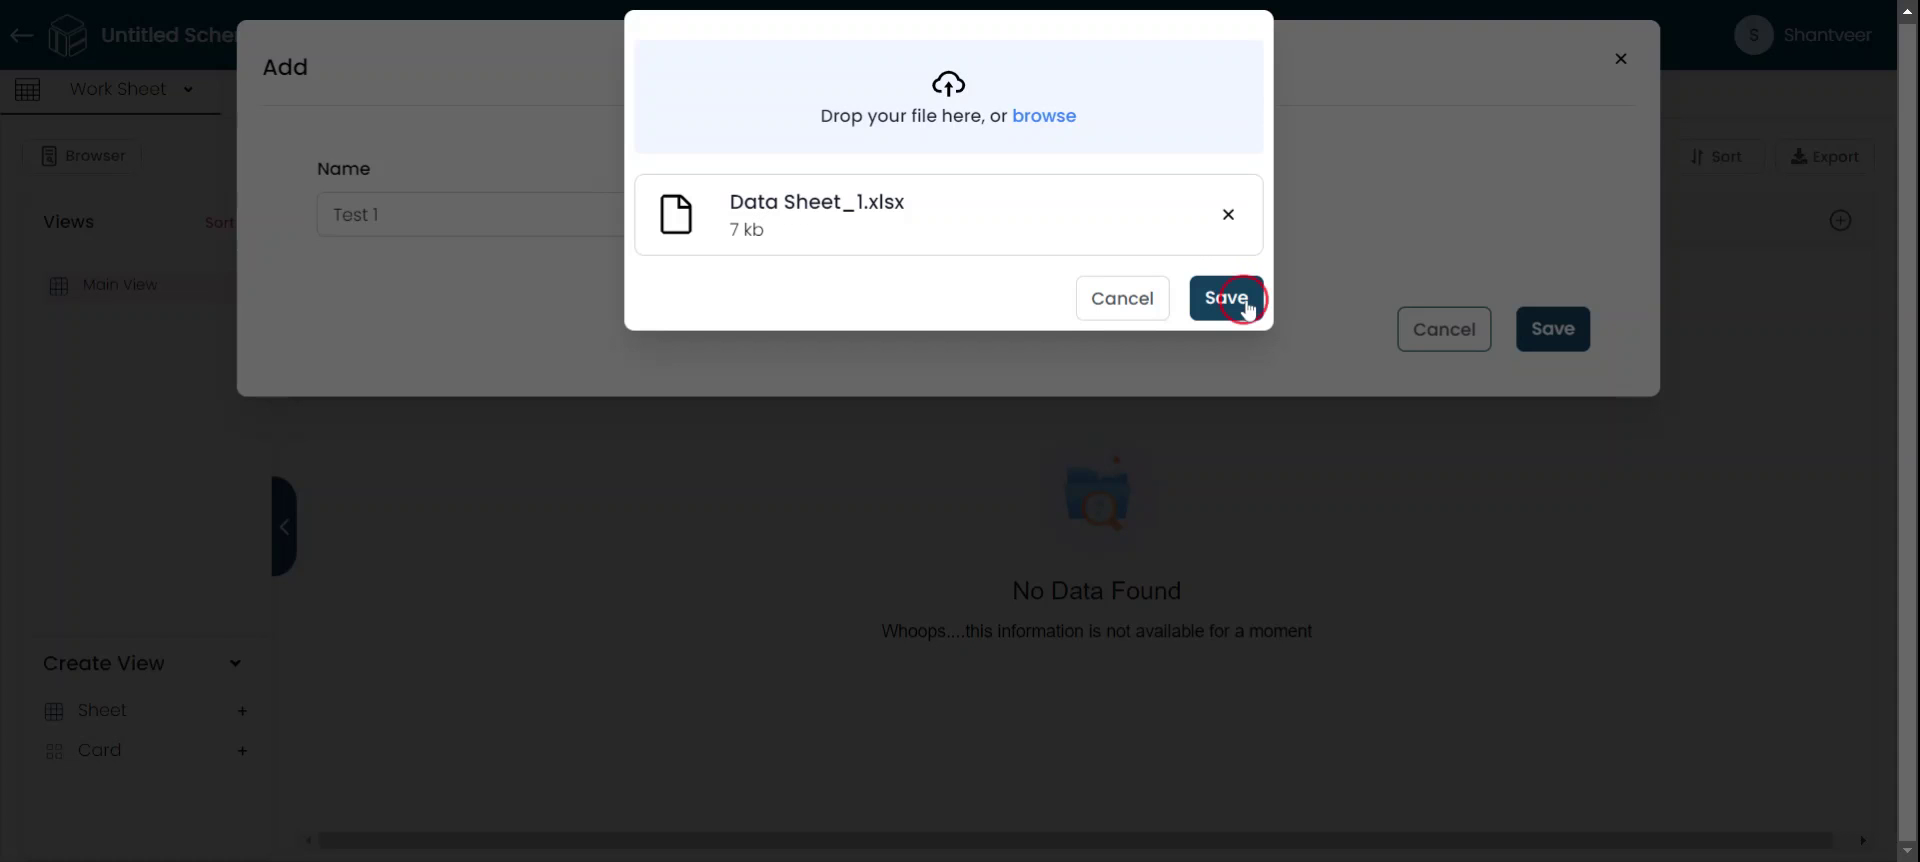
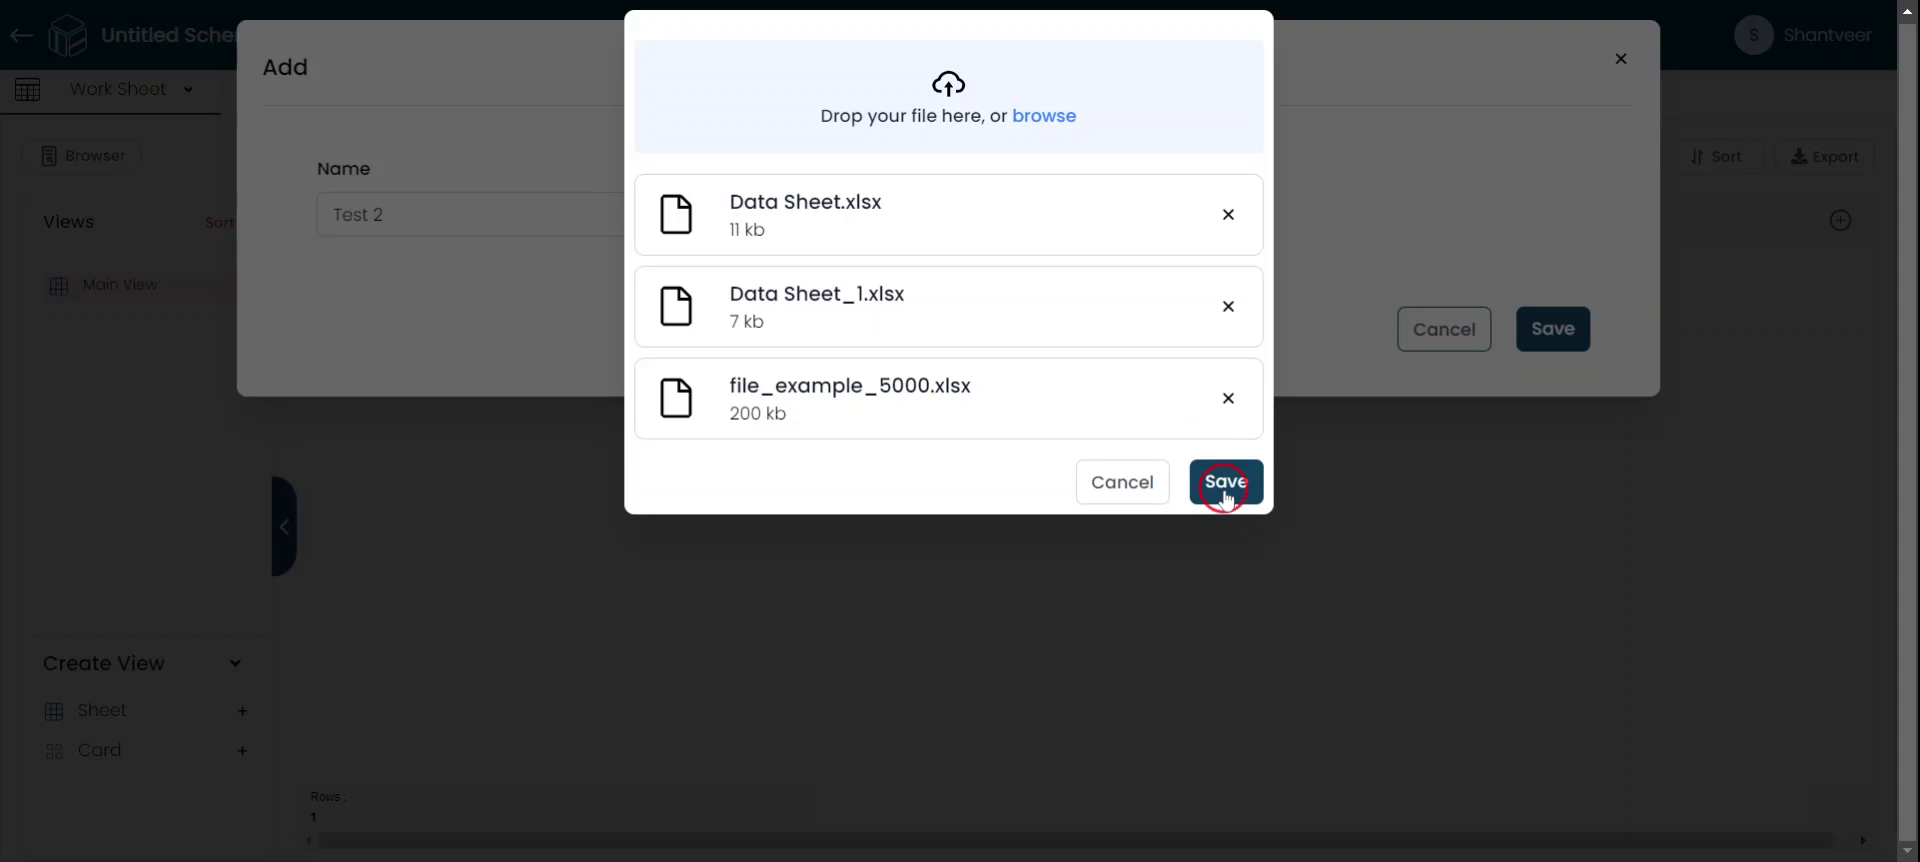
Select & Save Files
Click 'Browse' to select files. Choose the file you wish to upload, click 'Save' to add the file to the field, and then click 'Save' again to add the row to the existing worksheet.
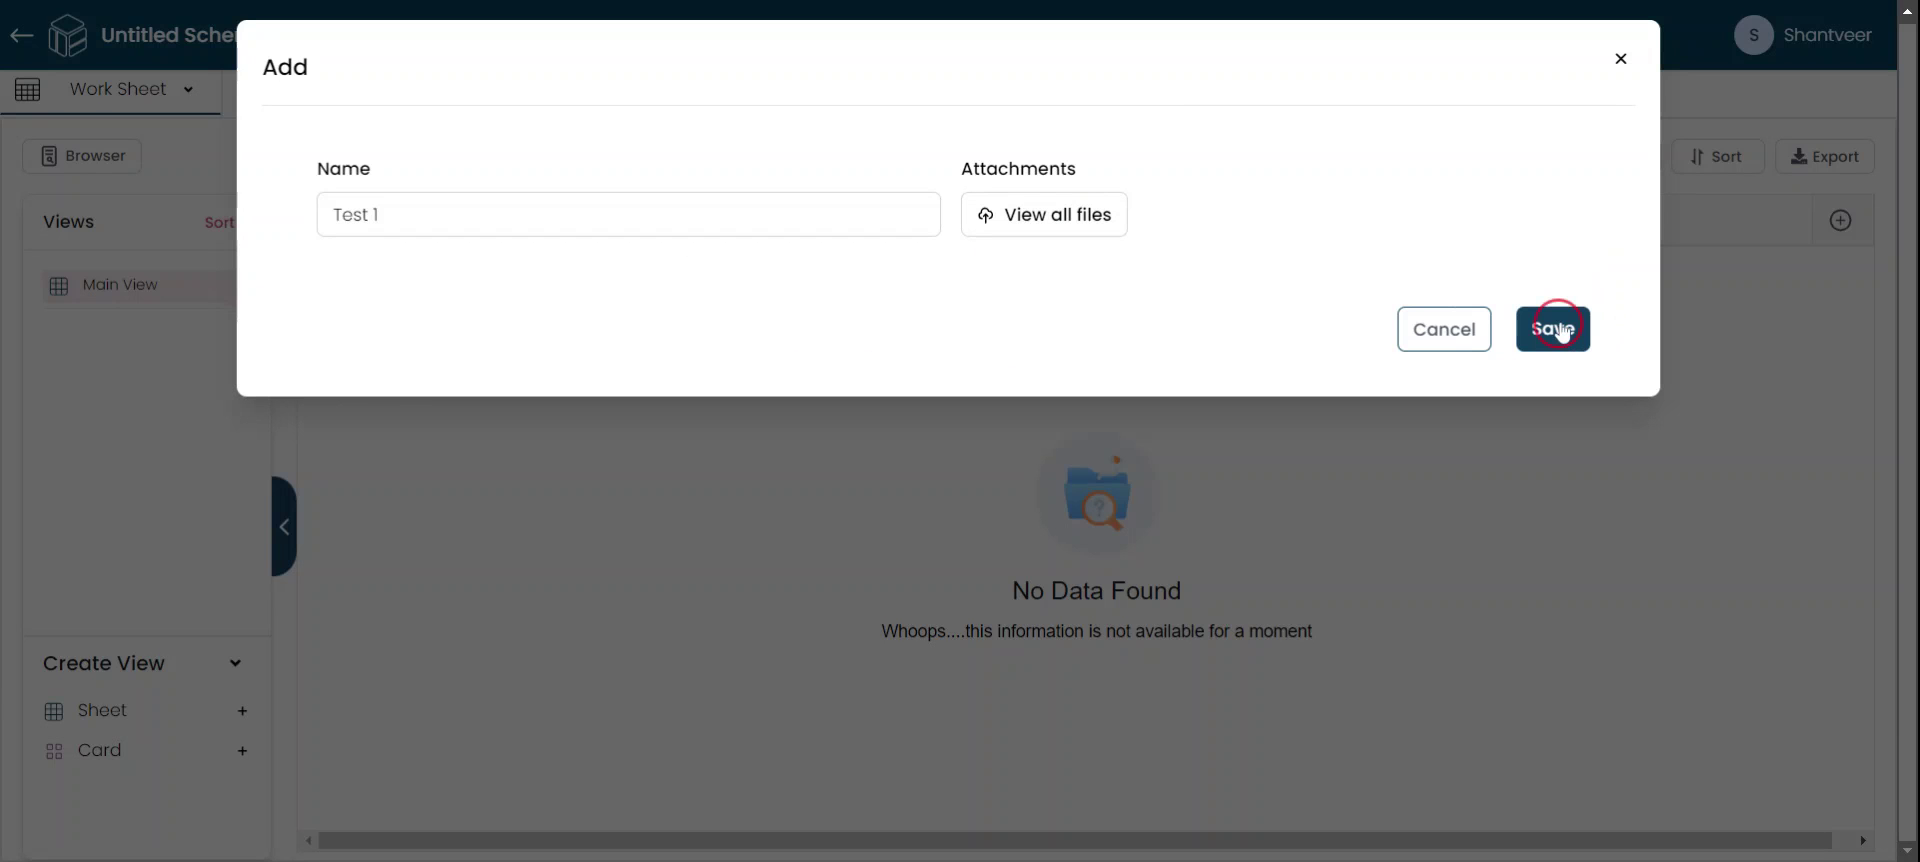
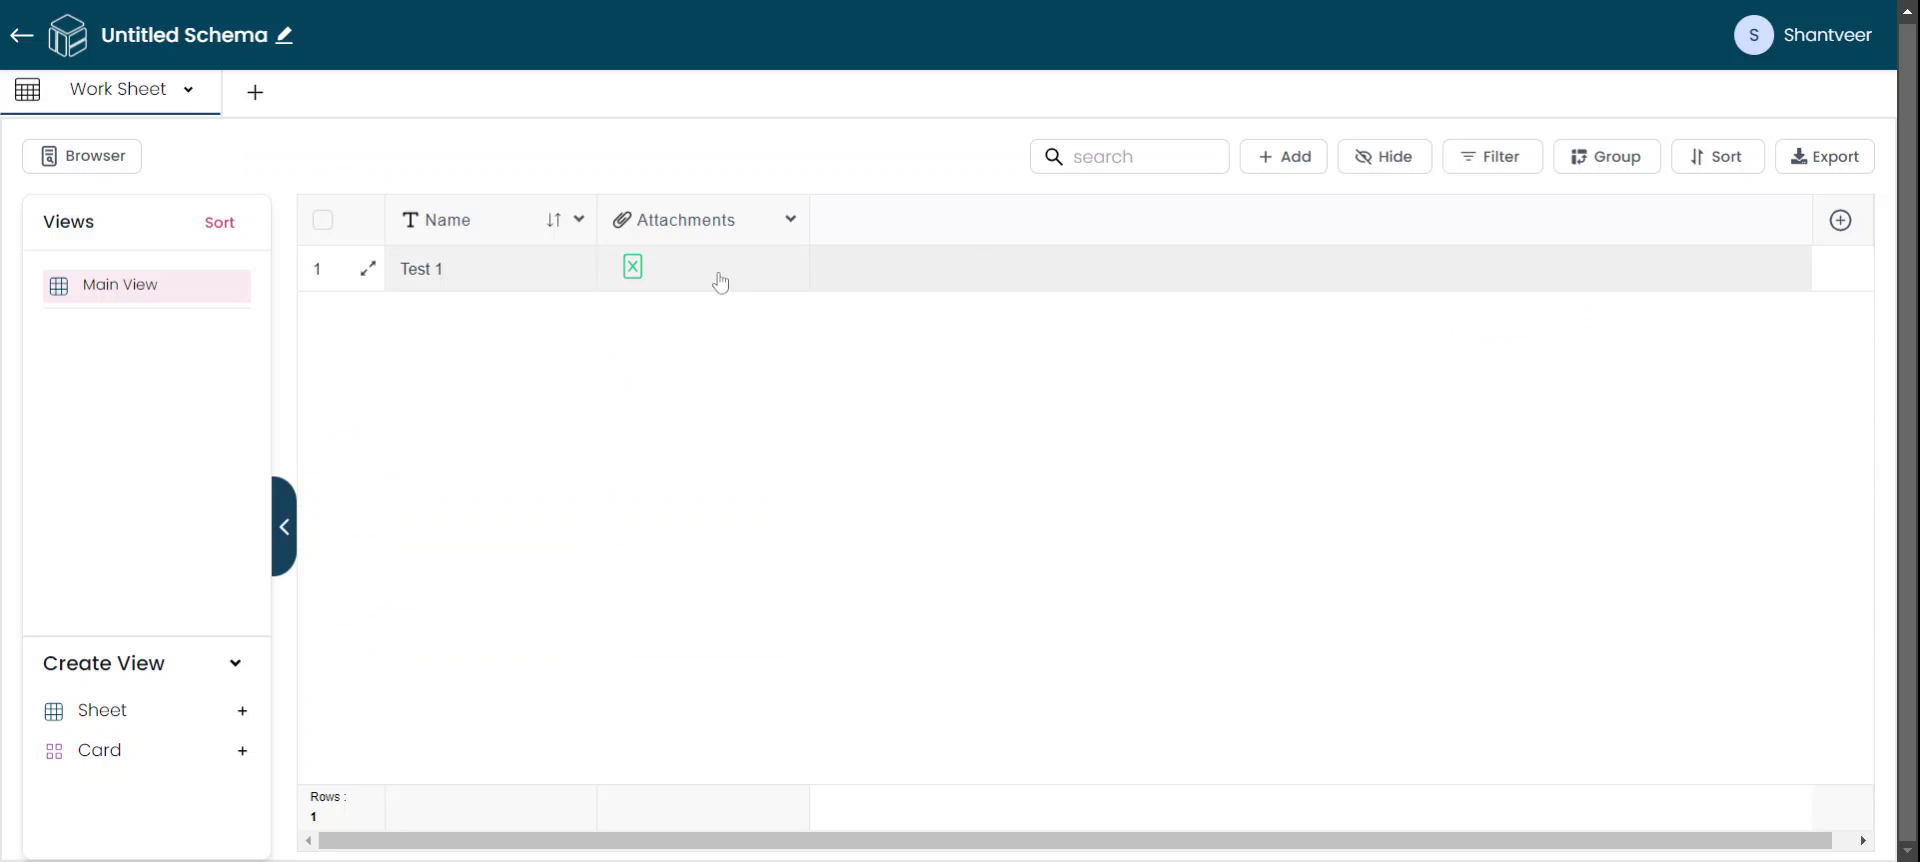
View Uploaded File
The uploaded file will be visible in the designated field.
Add Multiple Attachments
To upload multiple attachments or files, click 'Add'. Enter the field name according to your preference, then upload the files by clicking 'Upload Files'
Upload Multiple Files
Browse for the files you wish to upload. Select multiple attachments, and they will appear in the pop-up. Click 'Save' to upload the files. Once all necessary fields are completed, click 'Save' again.

View Selected Files
The selected attachments/files will appear in the respective fields.
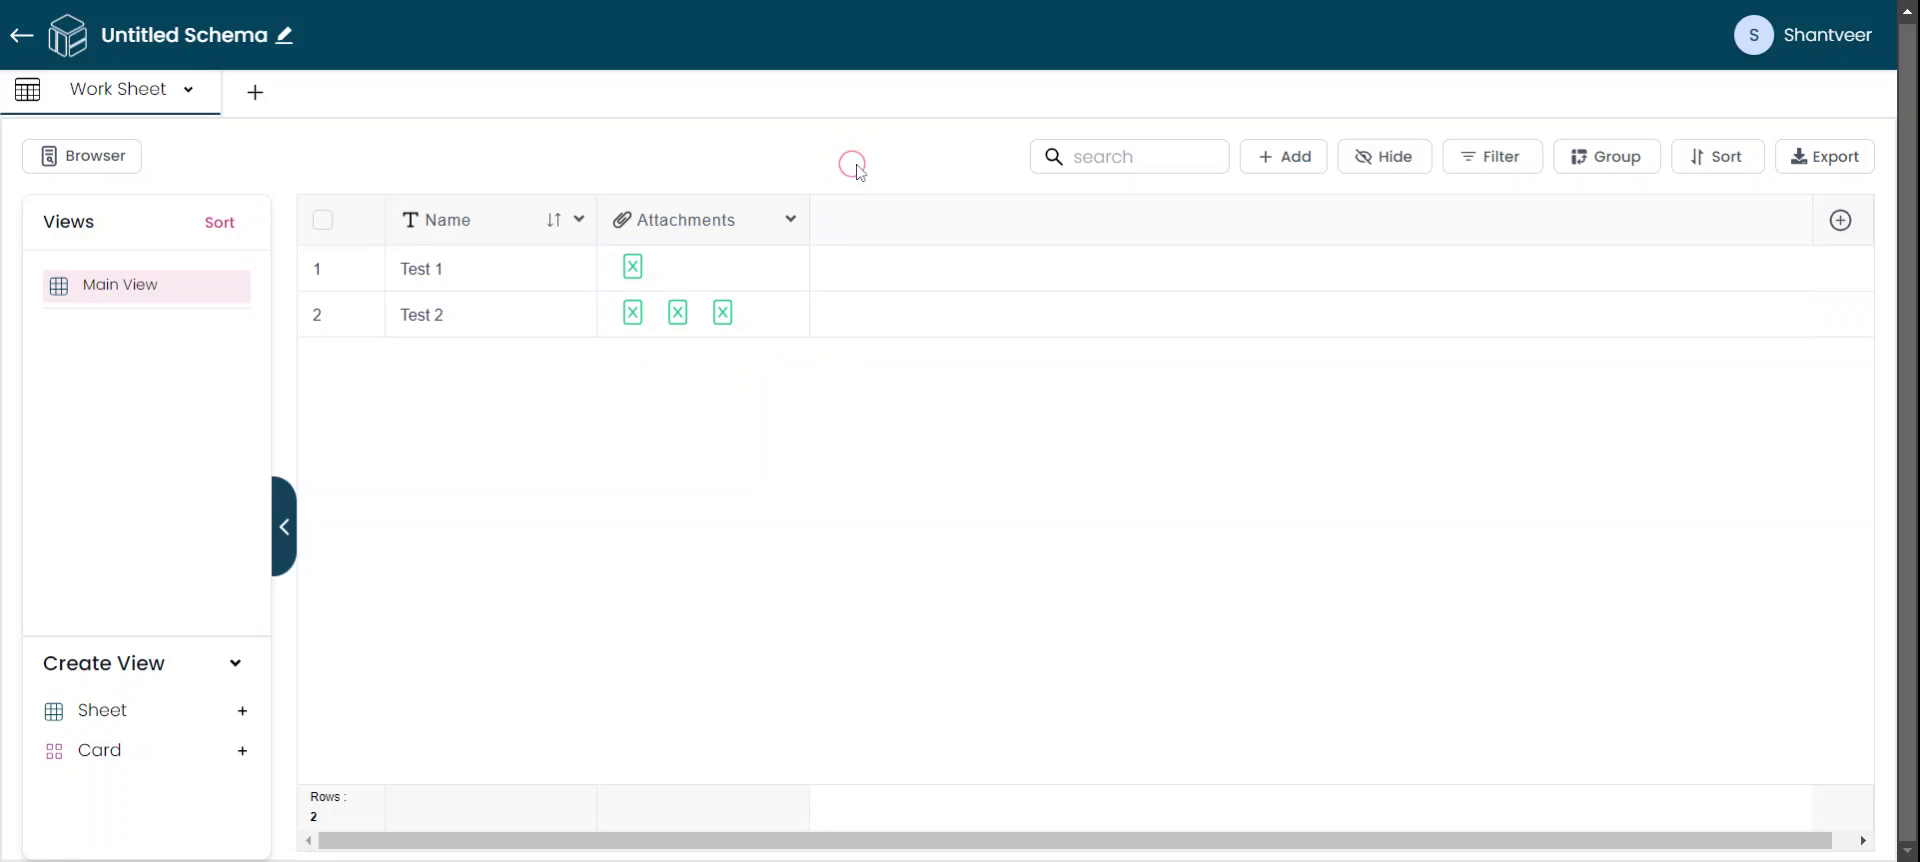
You can also remove attachments or files while uploading them to the field, just as you do in the Image field.
Note: The attachment field will accept various formats such as Excel, PDF, Word, GIF, PNG, JPEG(JPG) and etc..