Adding a Date Field
This guide provides a comprehensive step-by-step process to help you add and configure a date field in your worksheet. Follow each step carefully to ensure proper implementation and customization.
Add Date Field
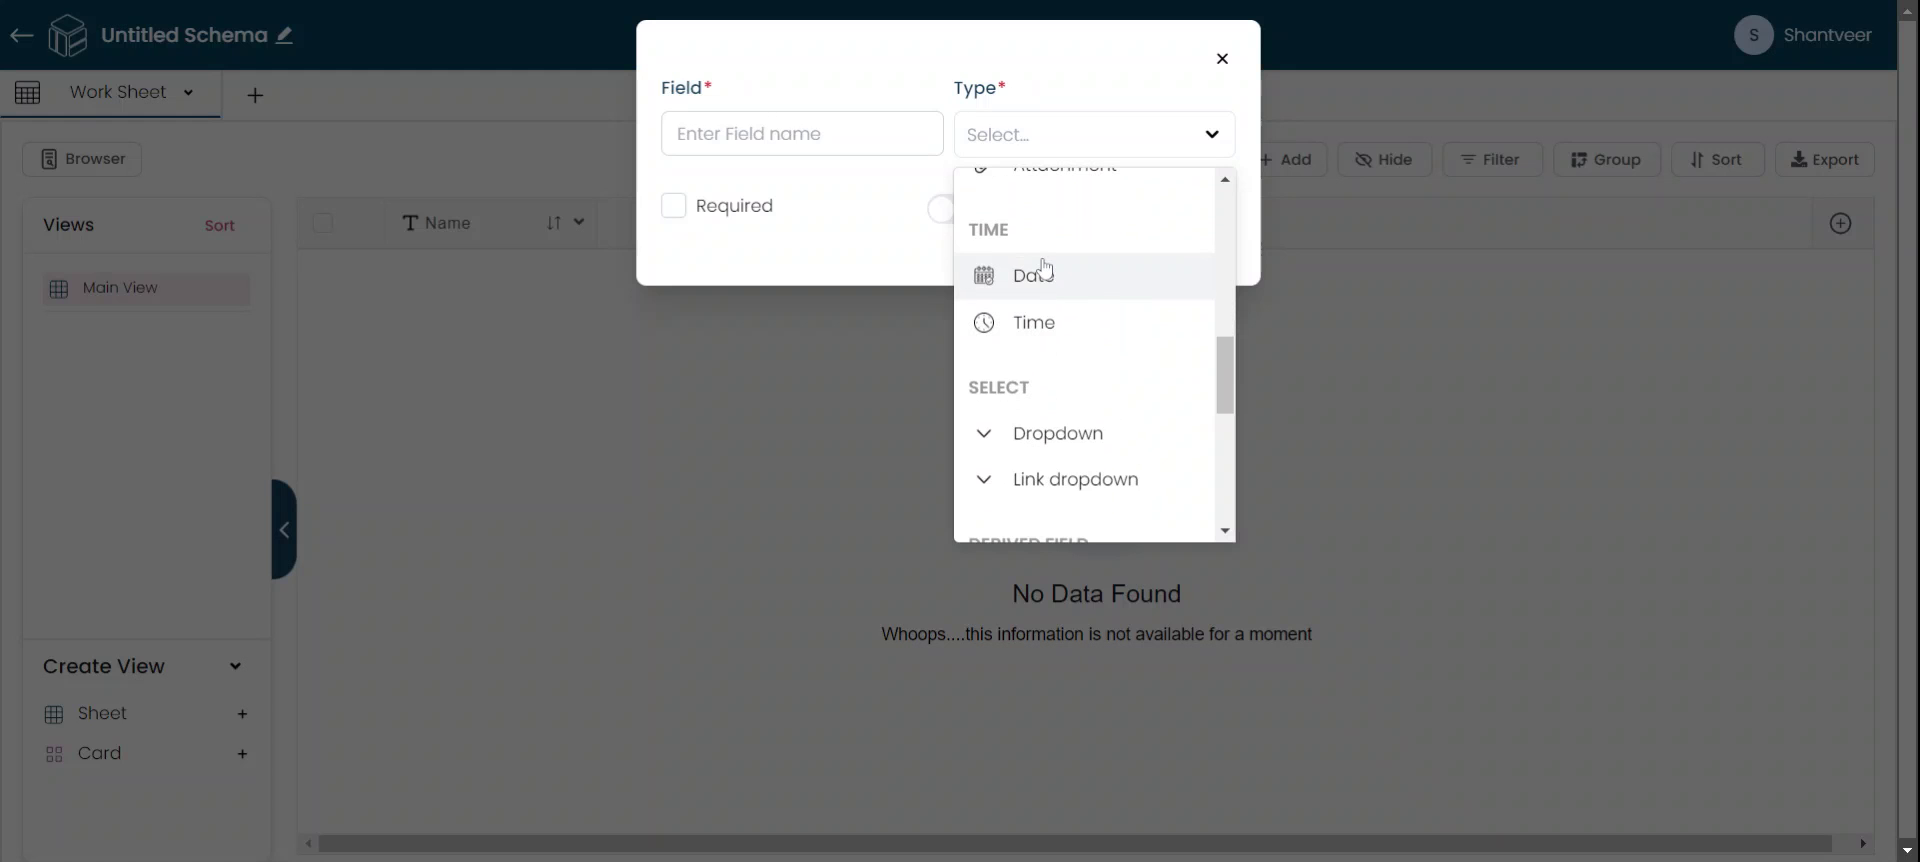
To add a date field to the existing worksheet, click on the plus icon to begin the process.
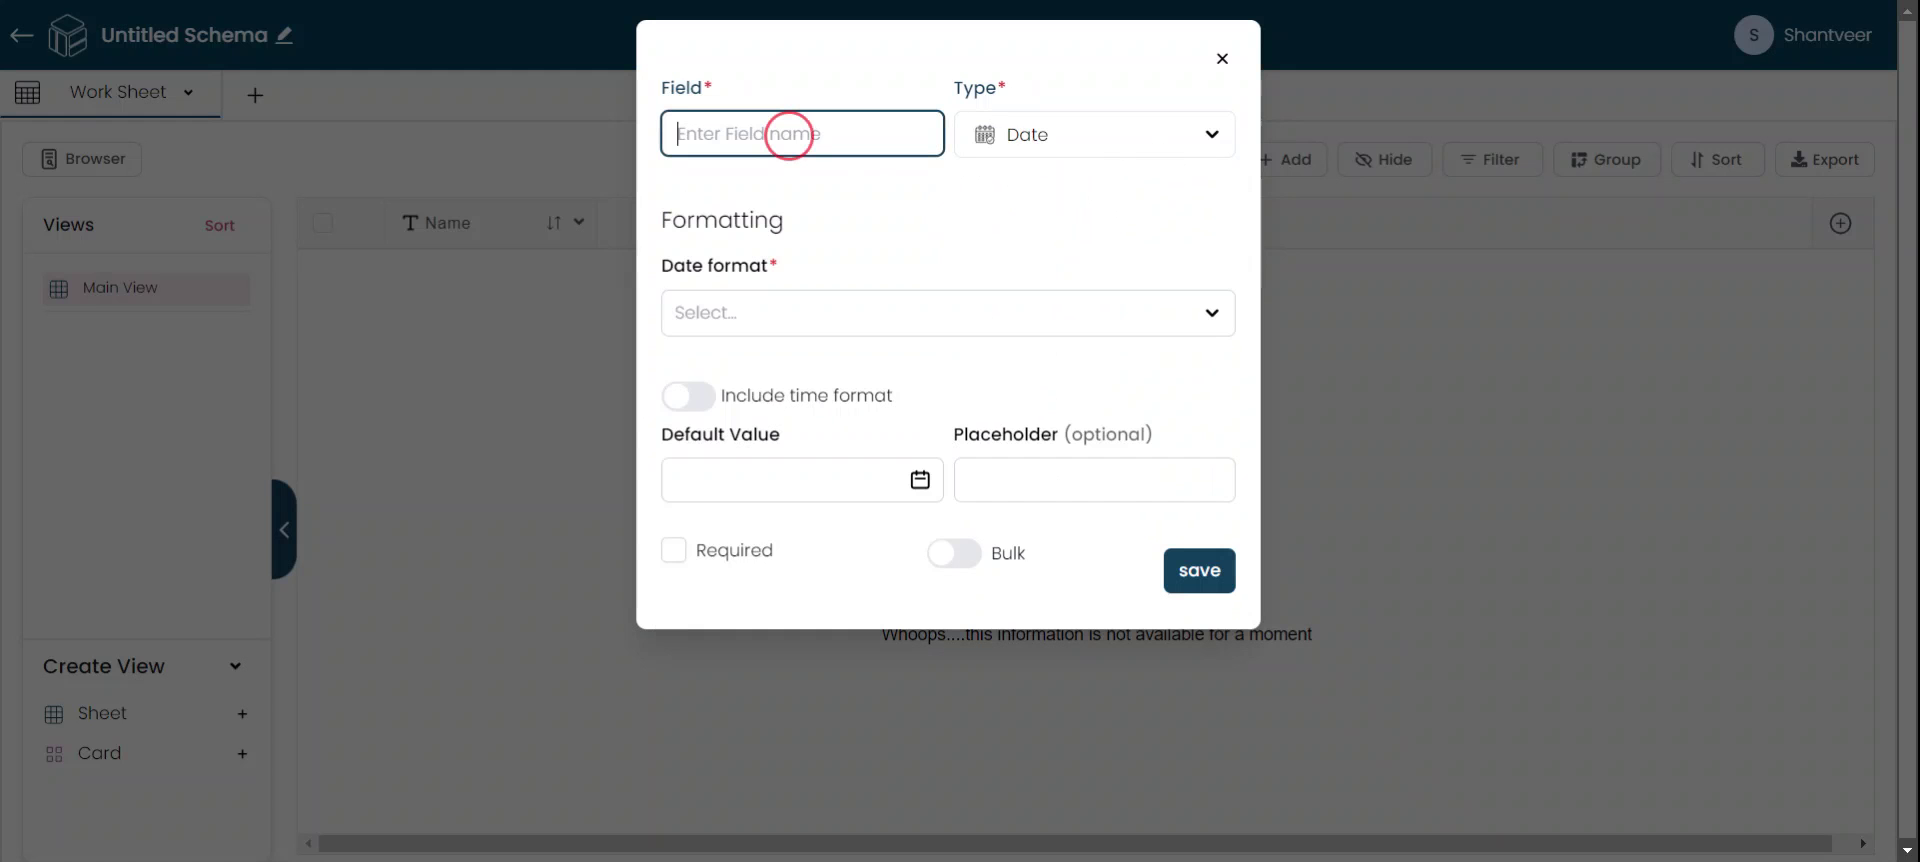
Select Date Type
After clicking the plus icon, a pop-up will appear. From the type drop-down menu, Select "Date" as we are adding a date format.
Set Field Name
Set the field name according to your preference.
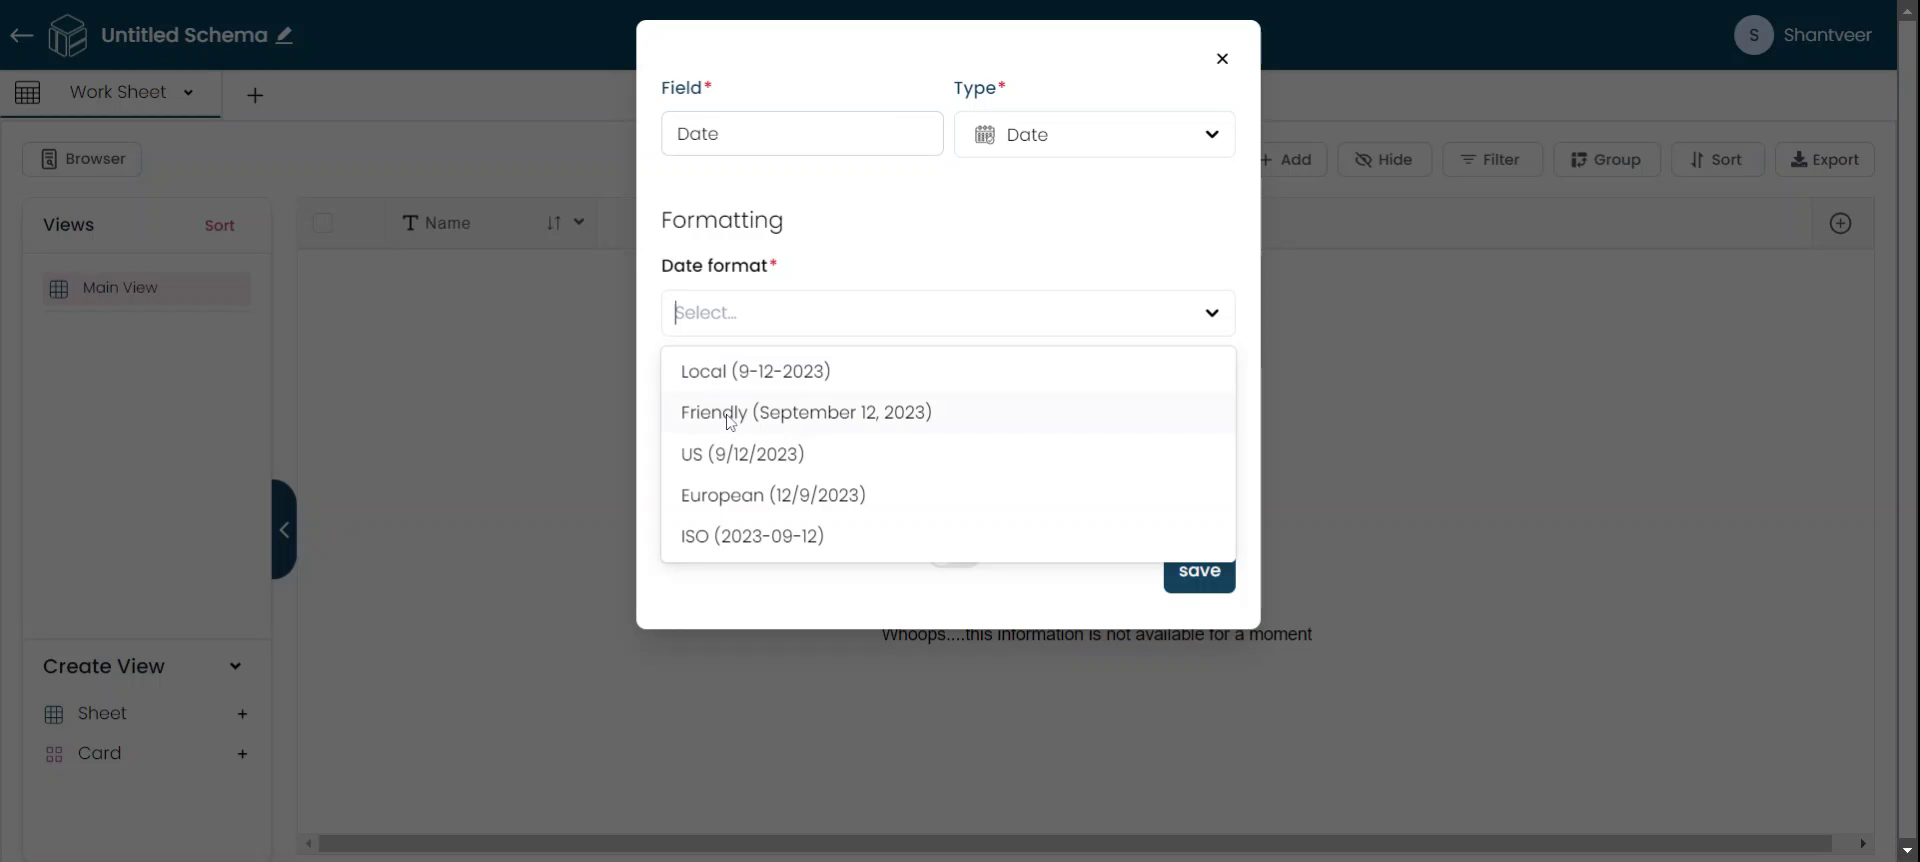
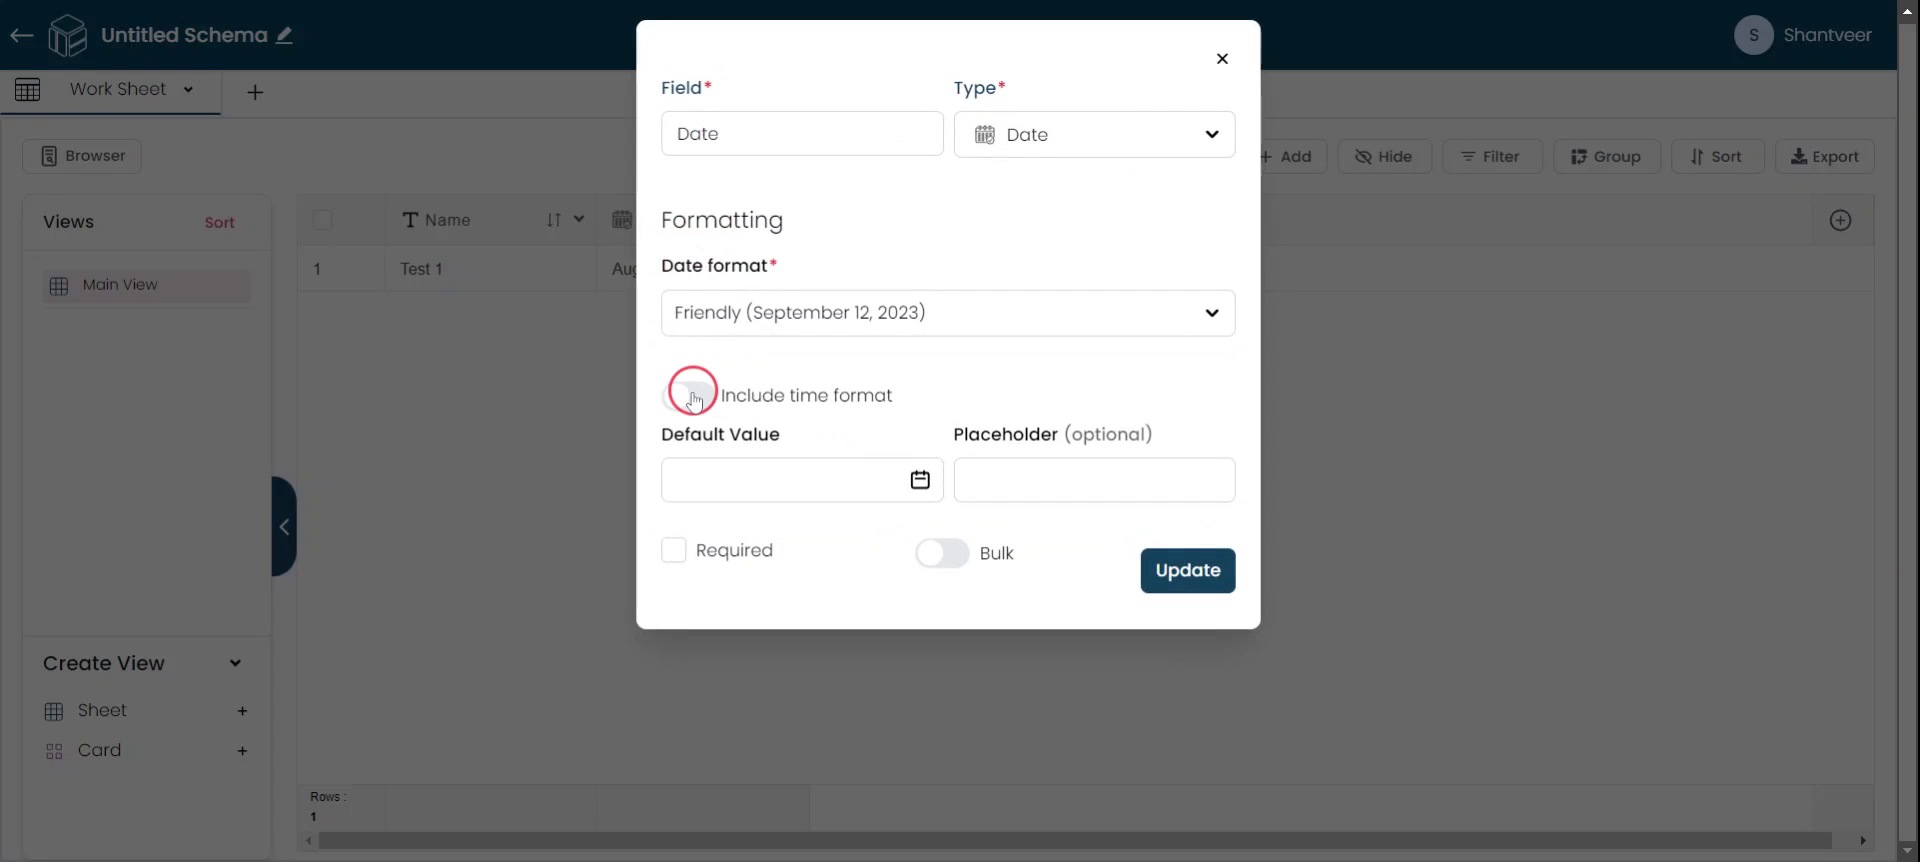
Select Date and Time Format
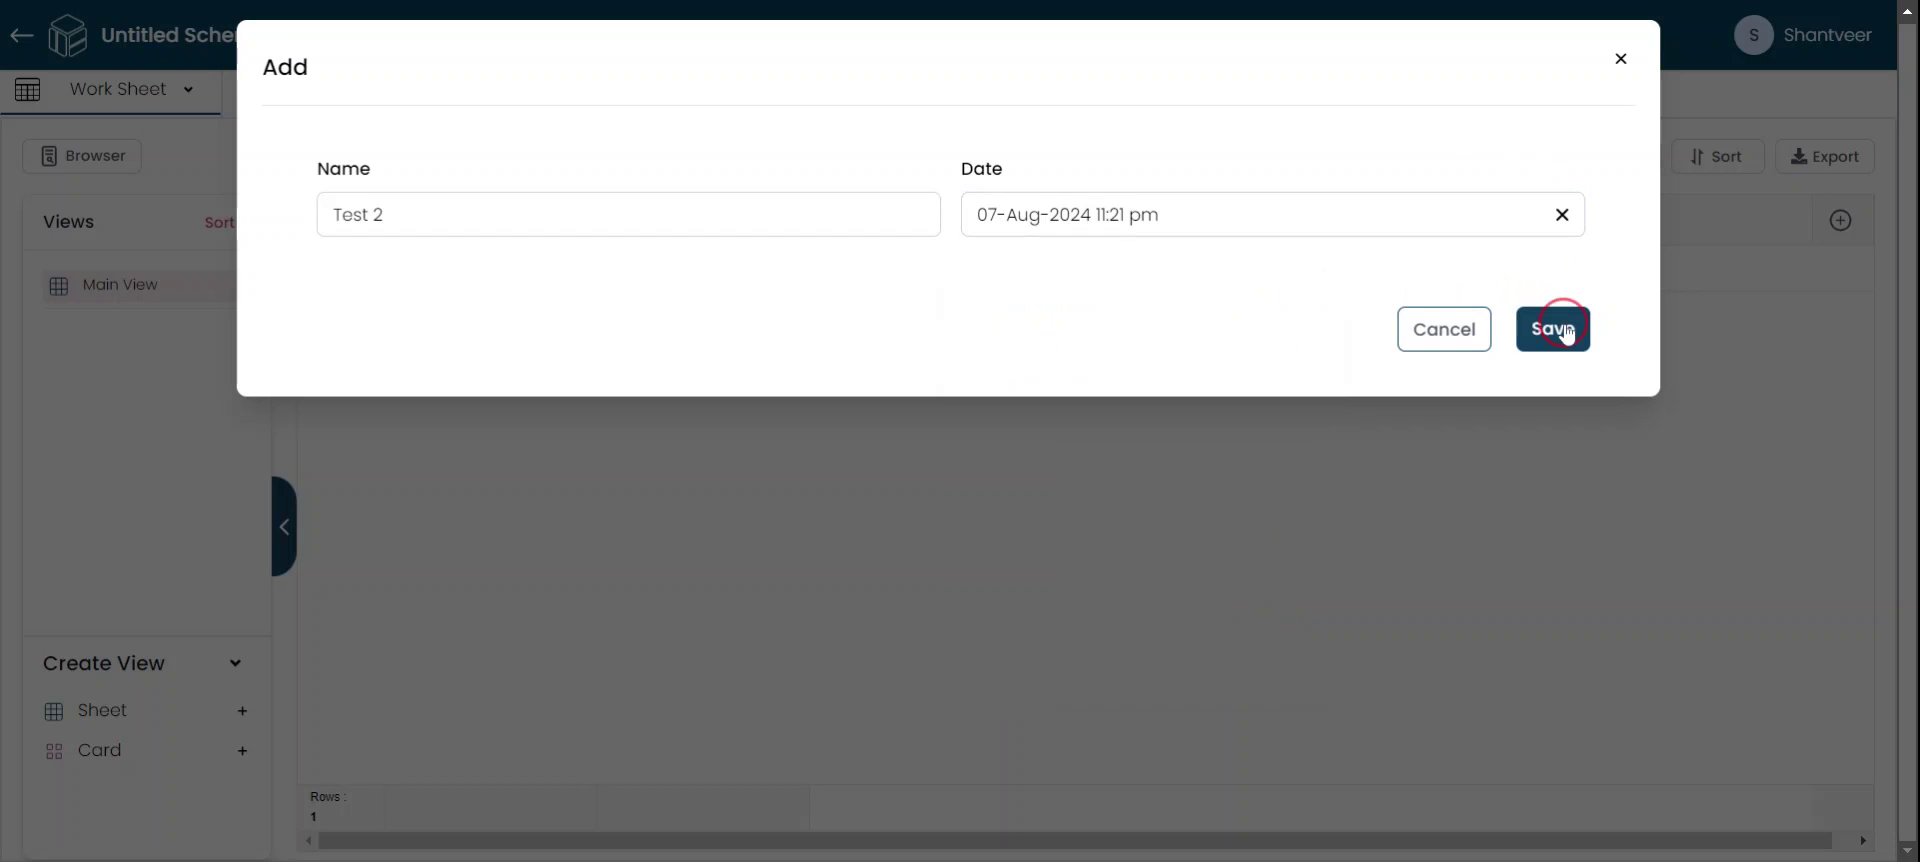
Choose your desired date format option from the date format drop-down menu. If you want to include the time format, enable the corresponding option.
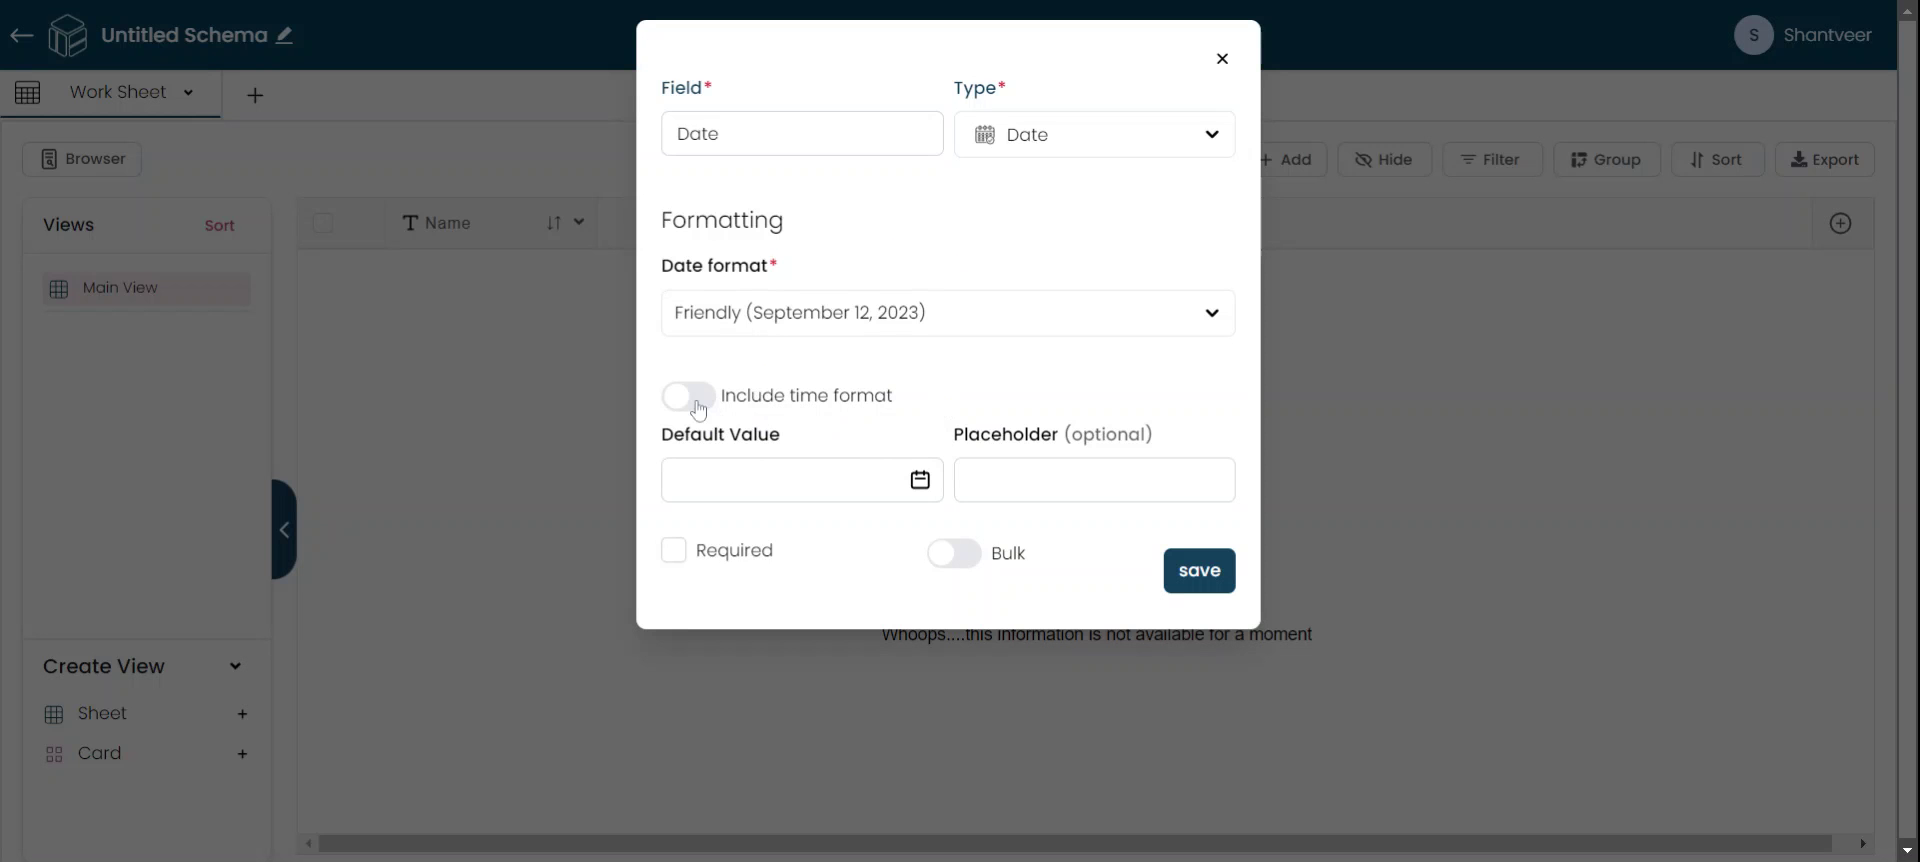
Set Default and Placeholder
You can set a default value and placeholder for the field. If you want to make the field mandatory, enable the 'Required' option. To allow bulk updates of the rows, enable the corresponding option. After filling in the necessary details, click 'Save'.


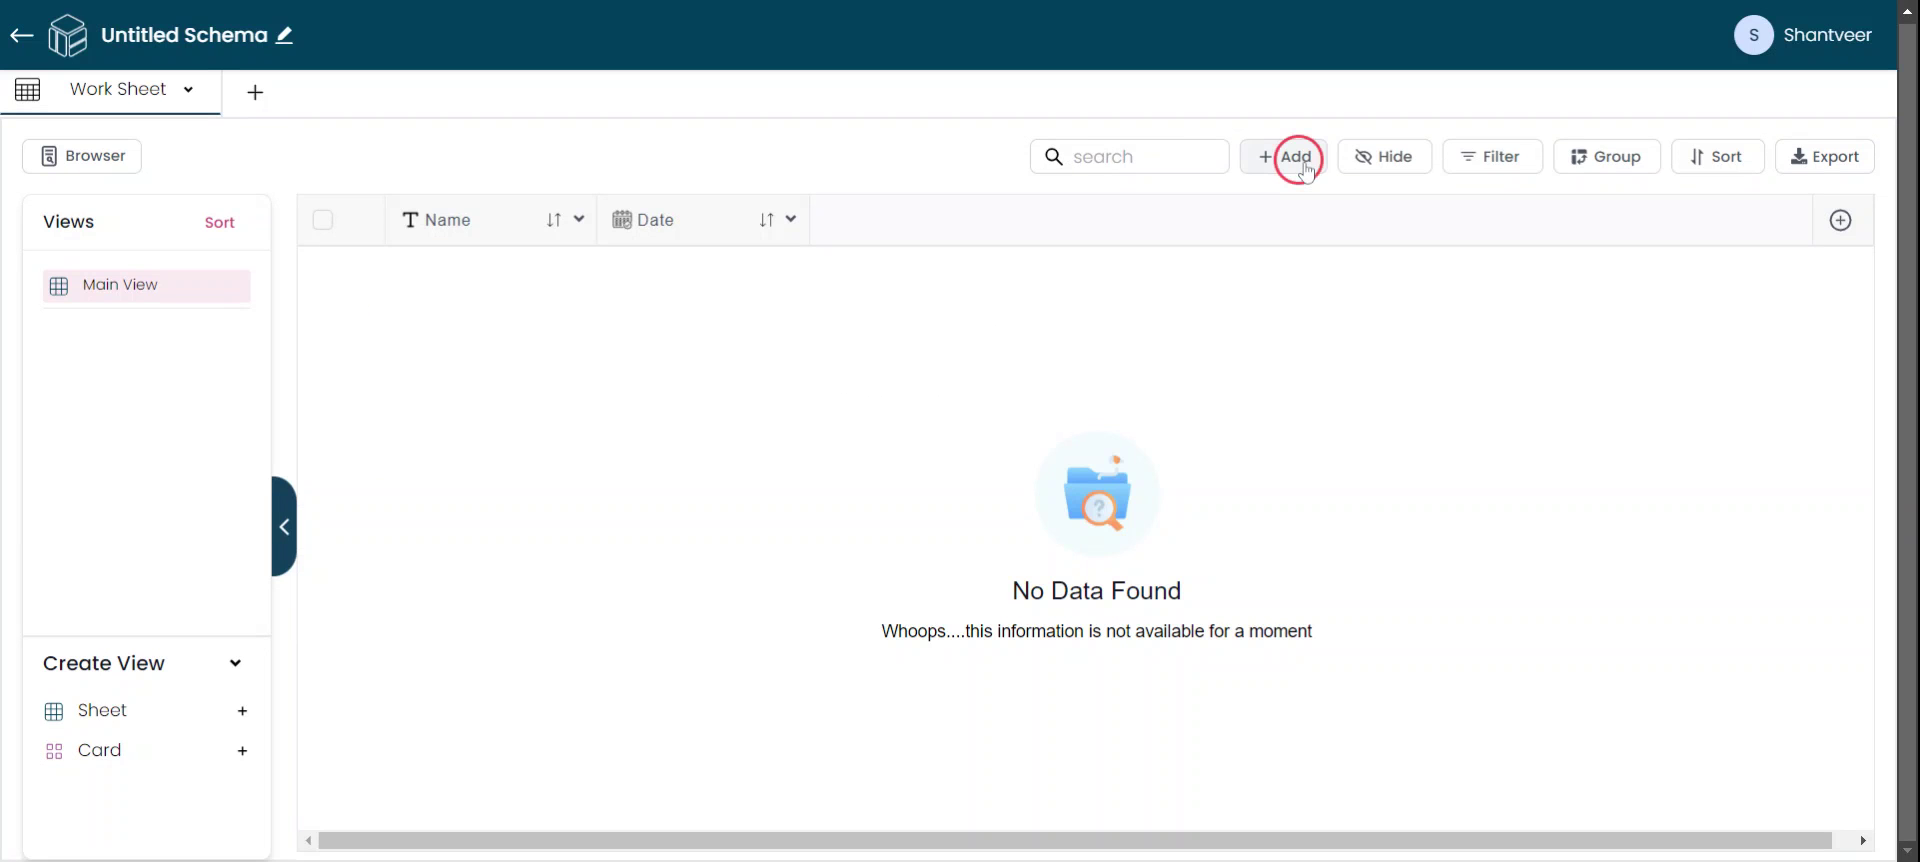
Test Added Field
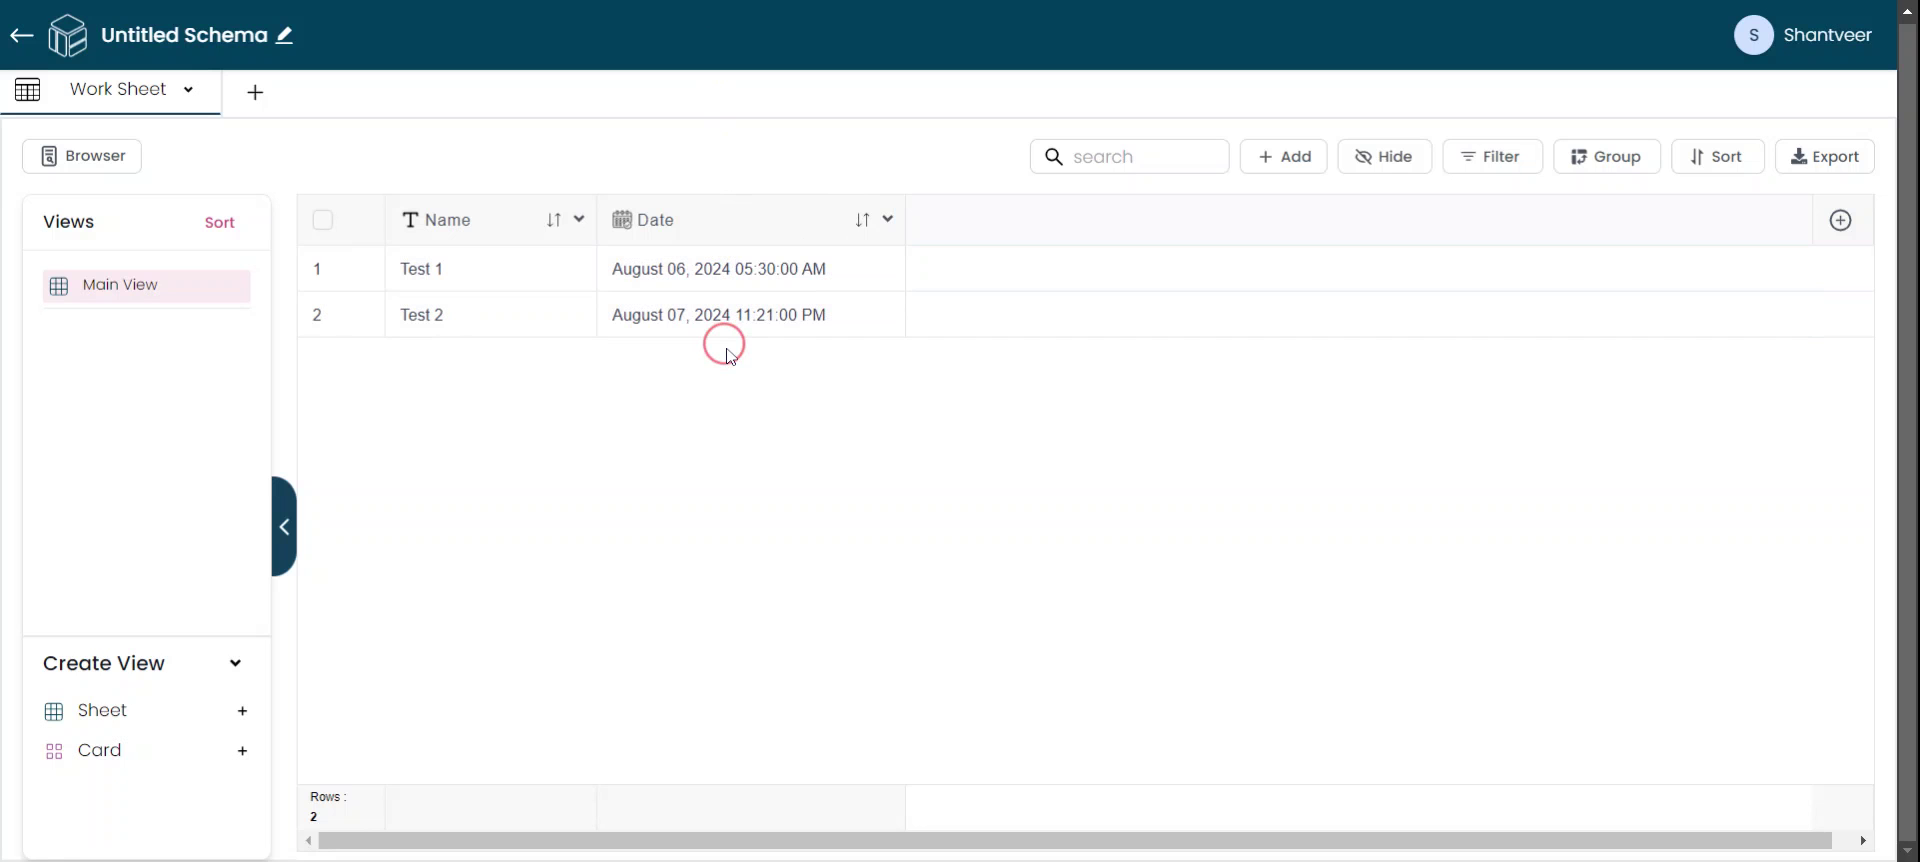
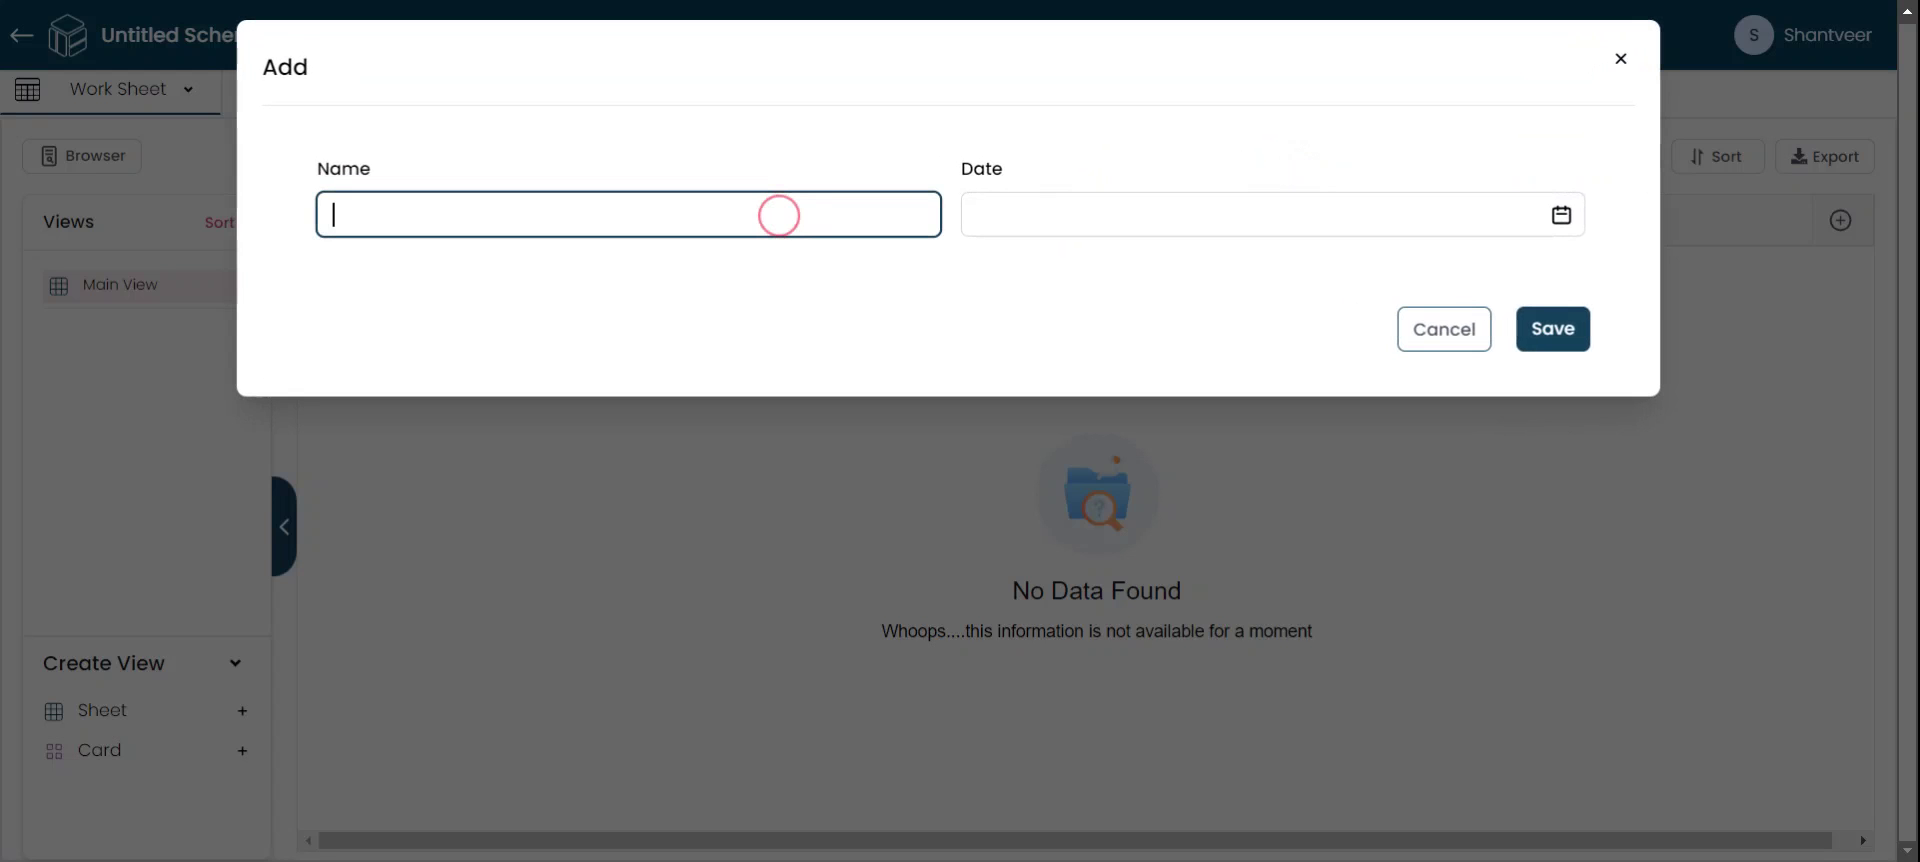
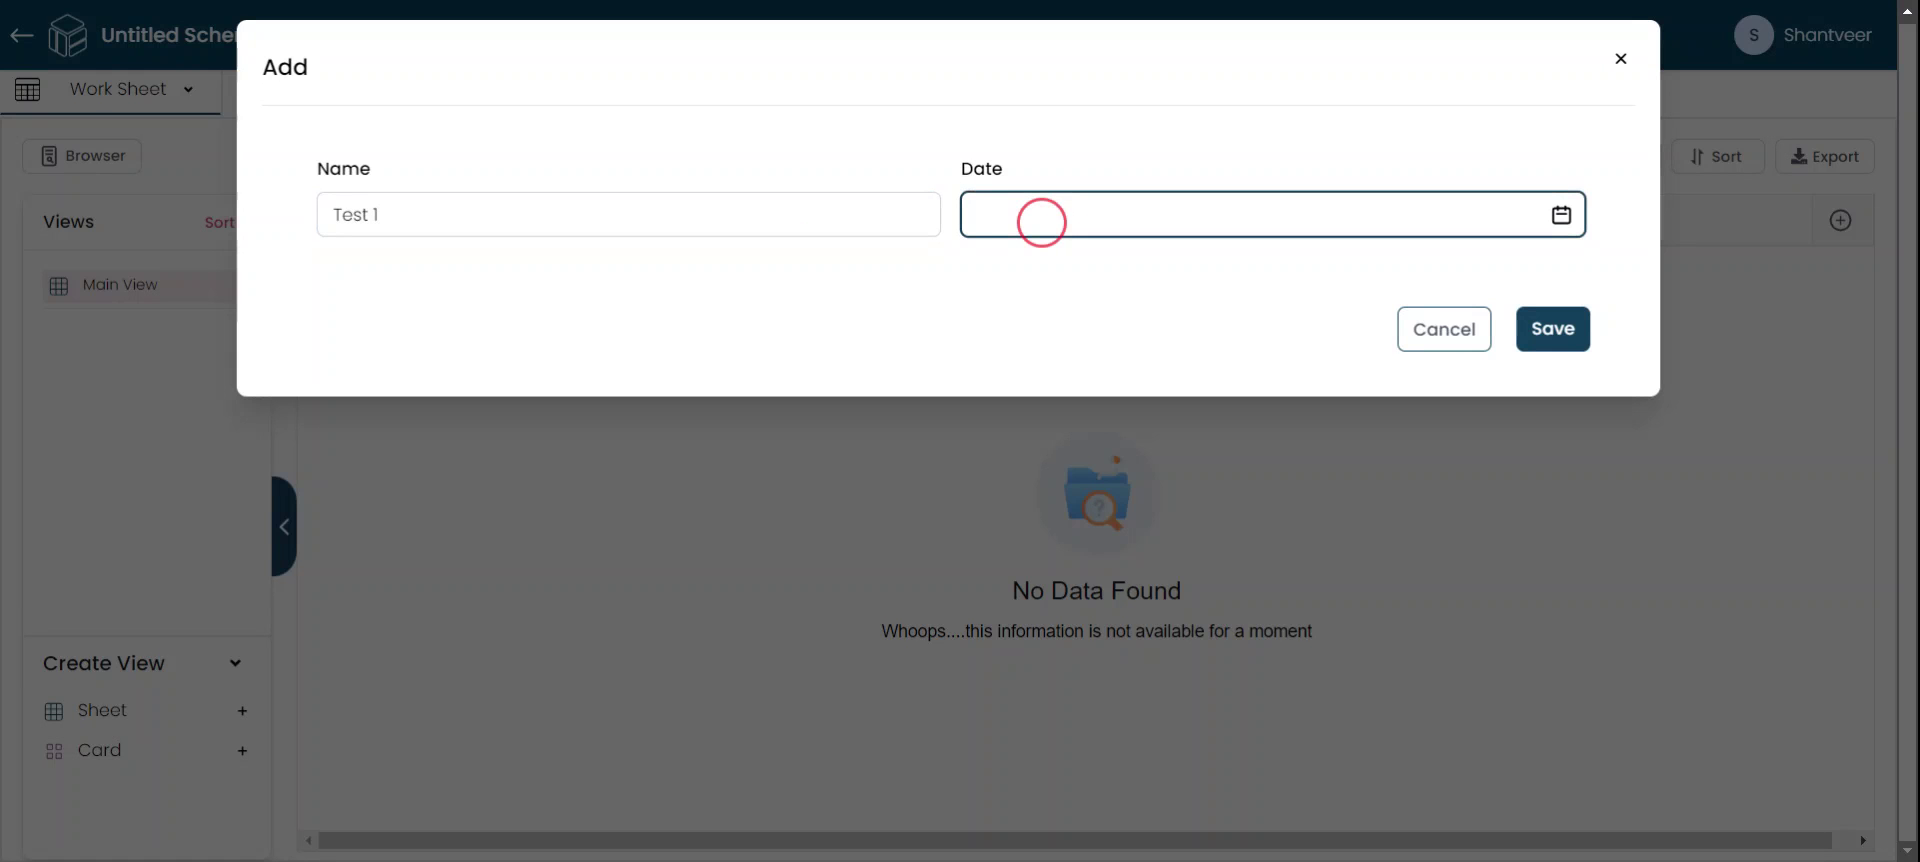
The added field will now appear in the existing worksheet. To test it, click 'Add' and fill in the necessary details.
Select Date
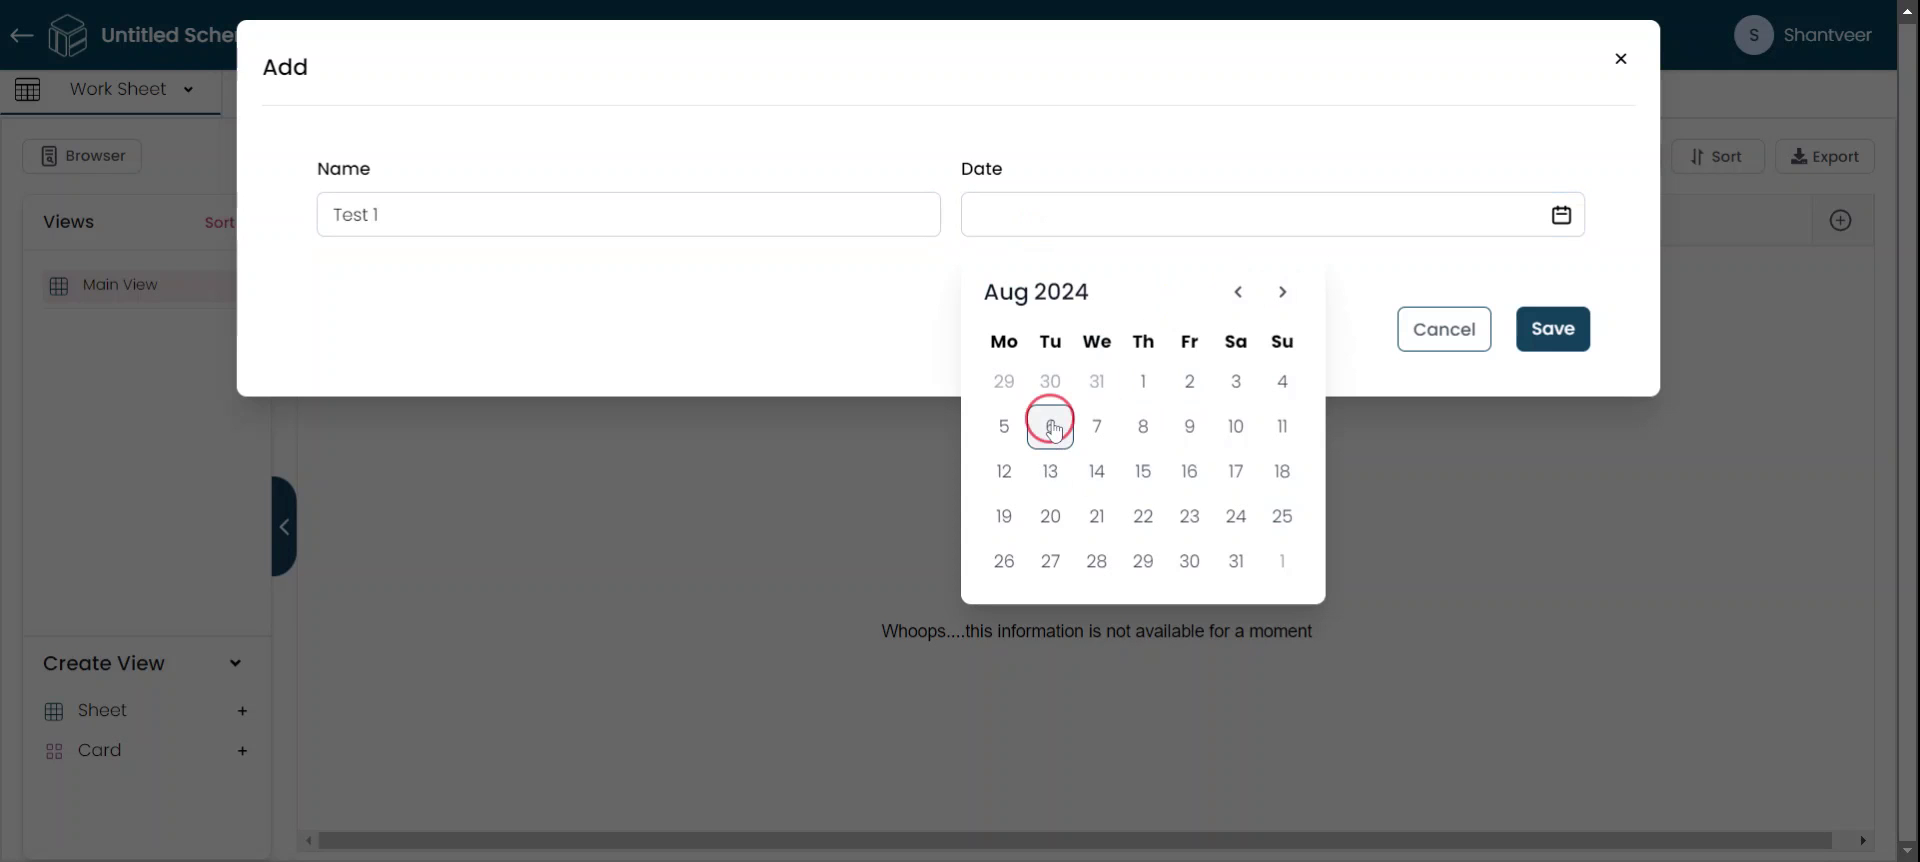
When you click on the date field, a pop-up will appear, allowing you to select the date.
Save Selected Date
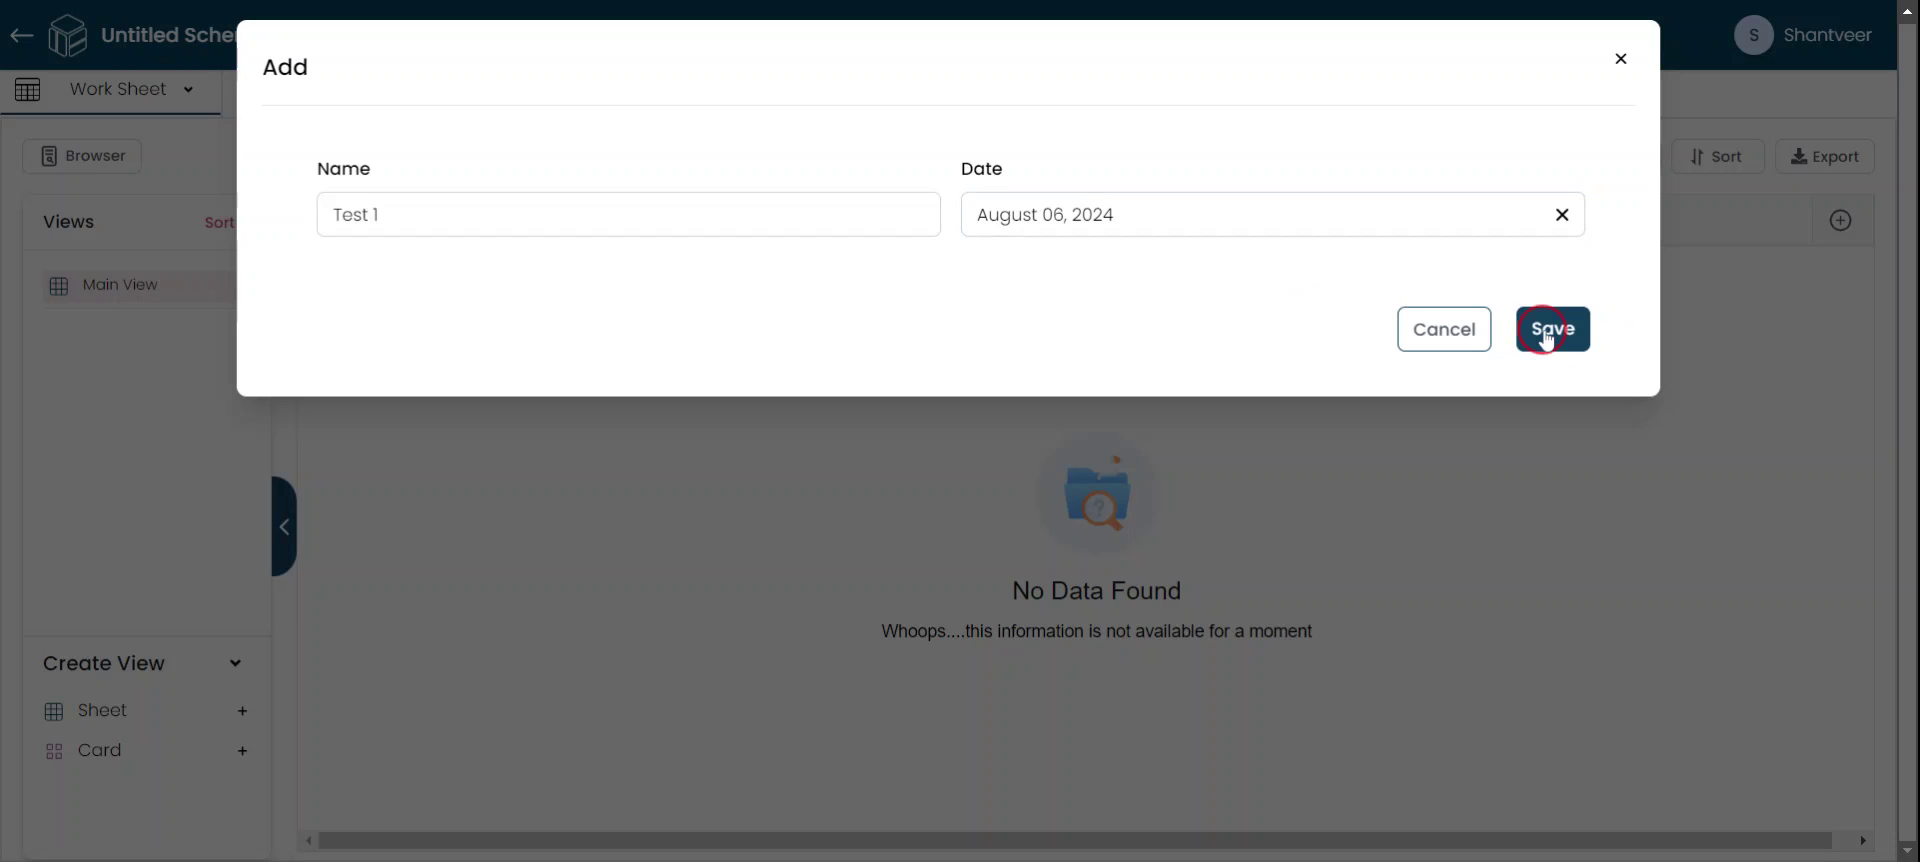
Once you select the date, it will be displayed in the format specified when the field was added. After entering the necessary details, click 'Save'.
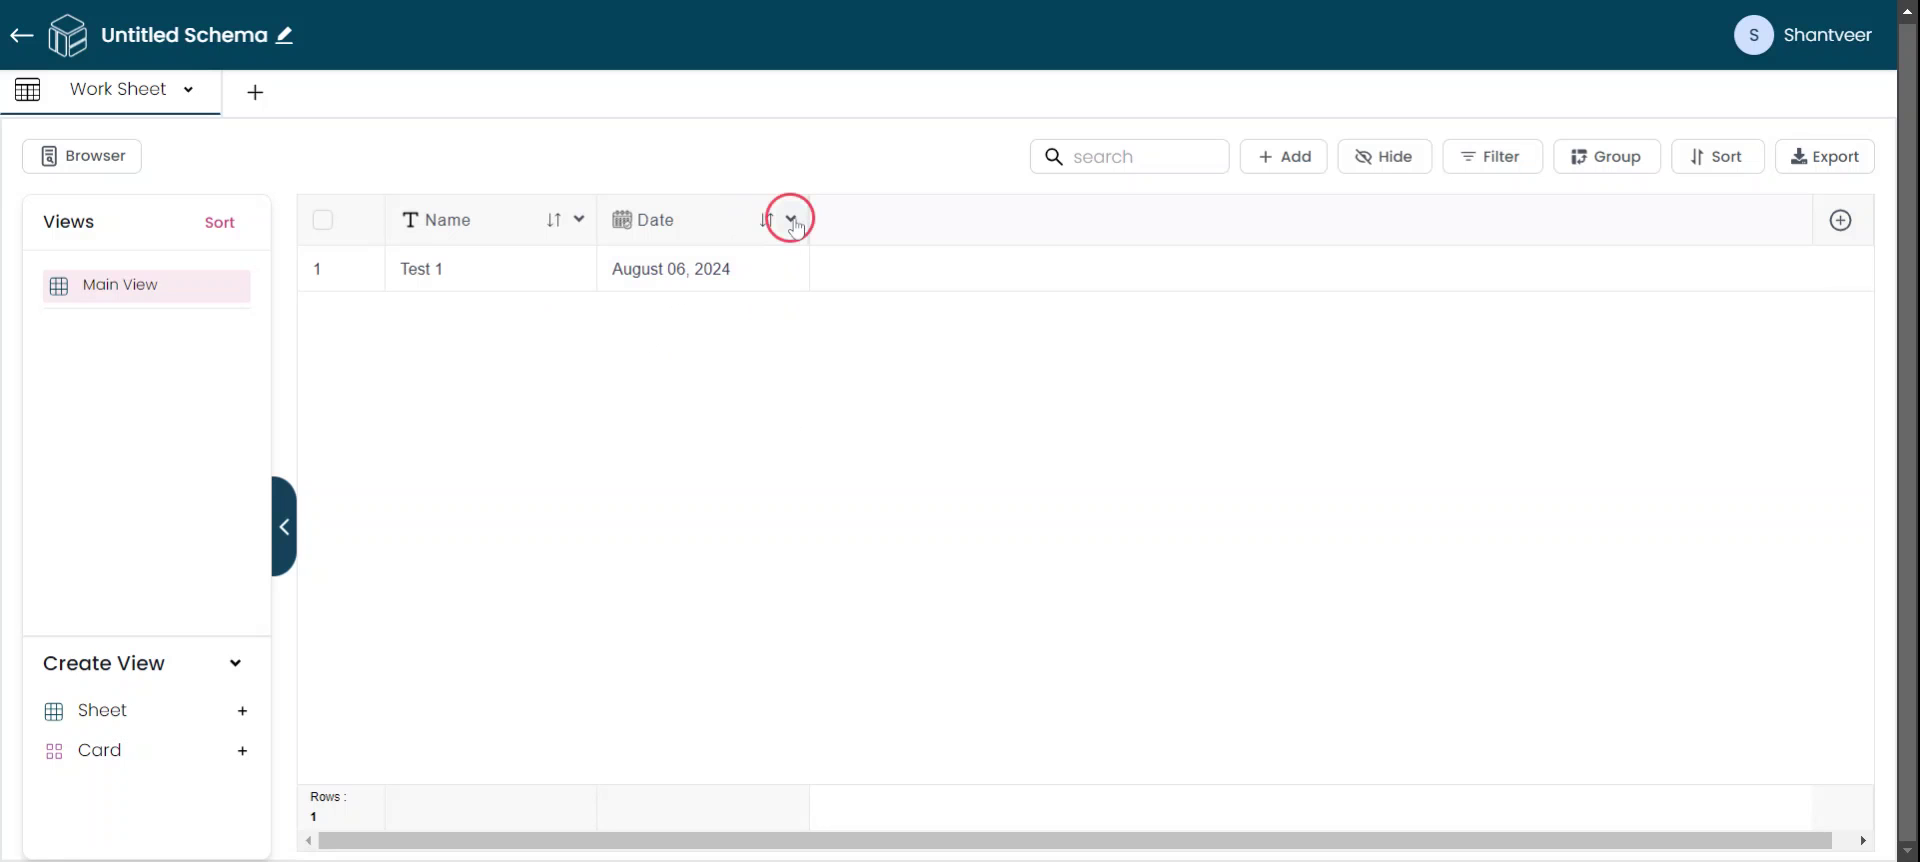
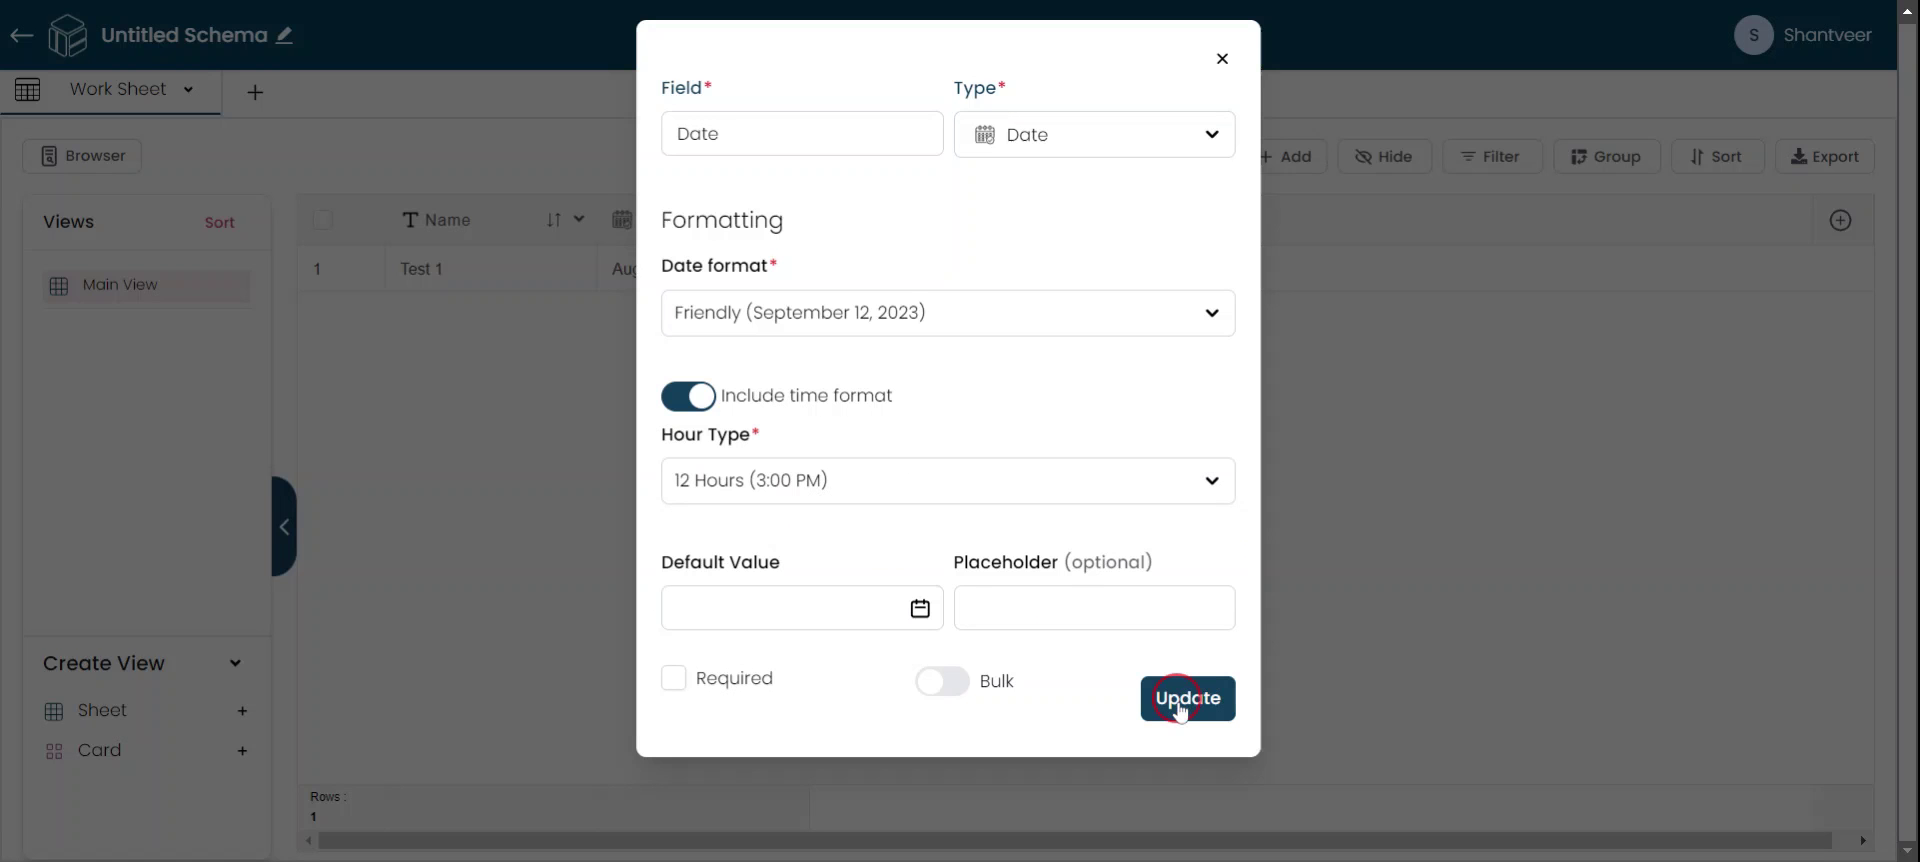
Modify Field Settings
The added details will be visible in their respective fields. To modify the field settings, click on the drop-down menu for that field.
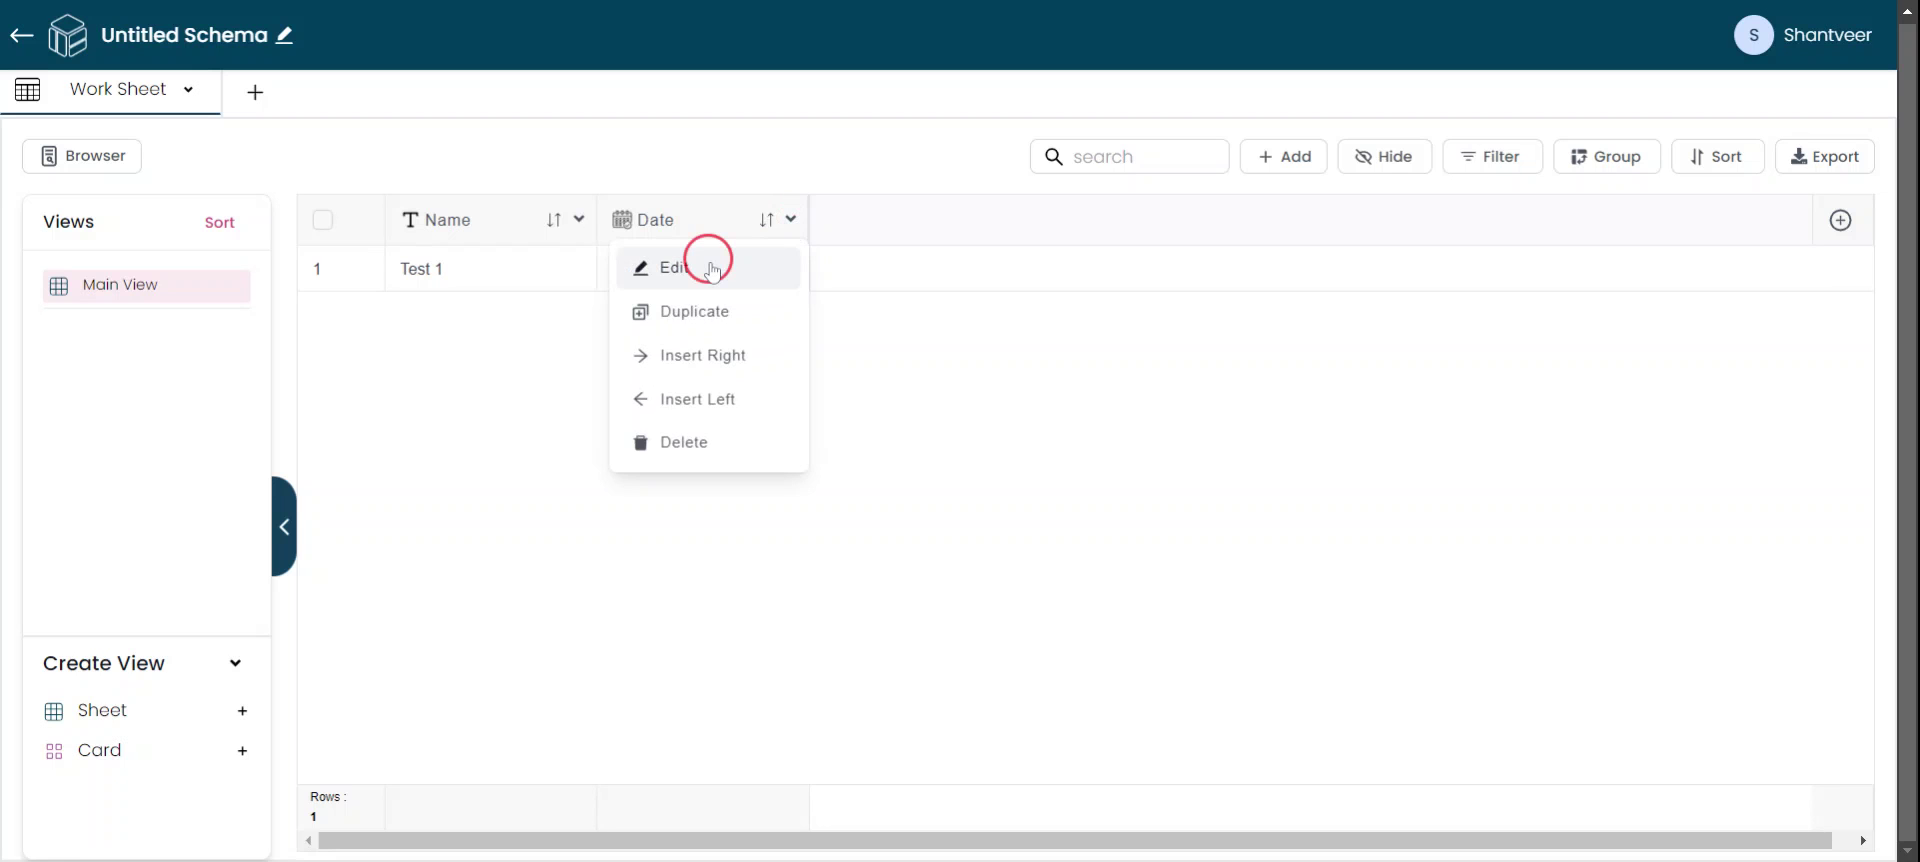
Enable Format Option
Click on 'Edit' to modify the field settings, and enable the 'Include the format' option.
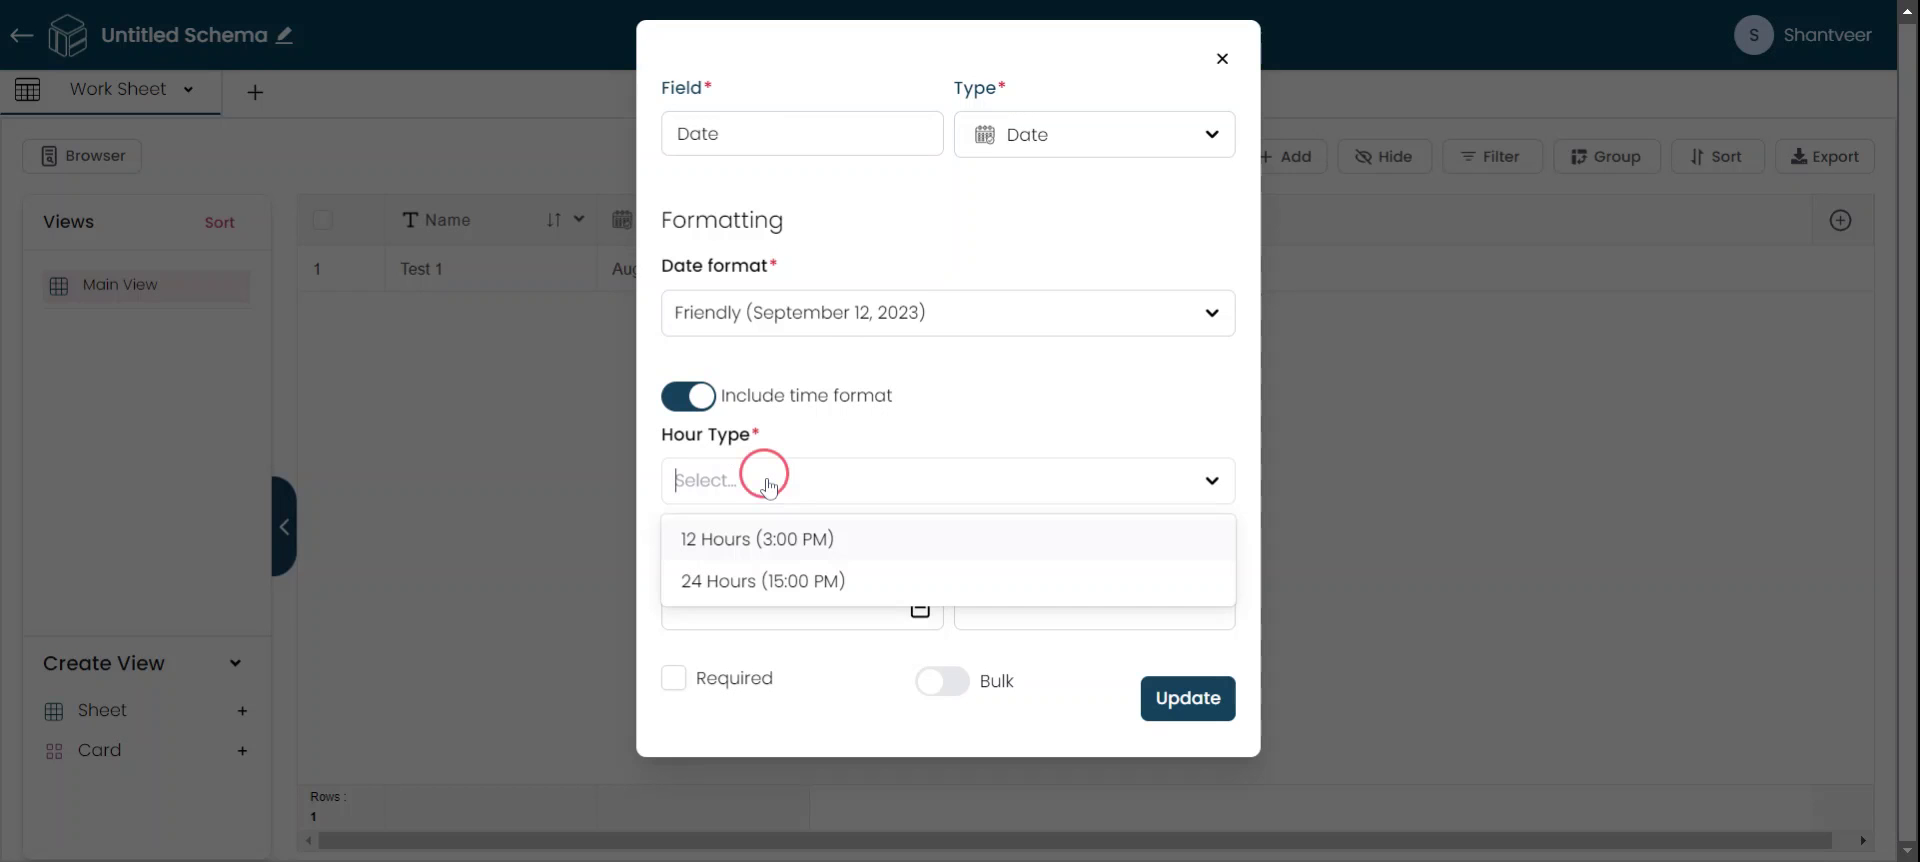
Choose Hour Format
Fill the 'Hour Type' field as it is mandatory once after enabling the 'Include the format' and choose between the 12-hour or 24-hour format according to your needs.
Select Option and Update
Select the options from the drop-down menu. Once you have made your selections, click on Update.
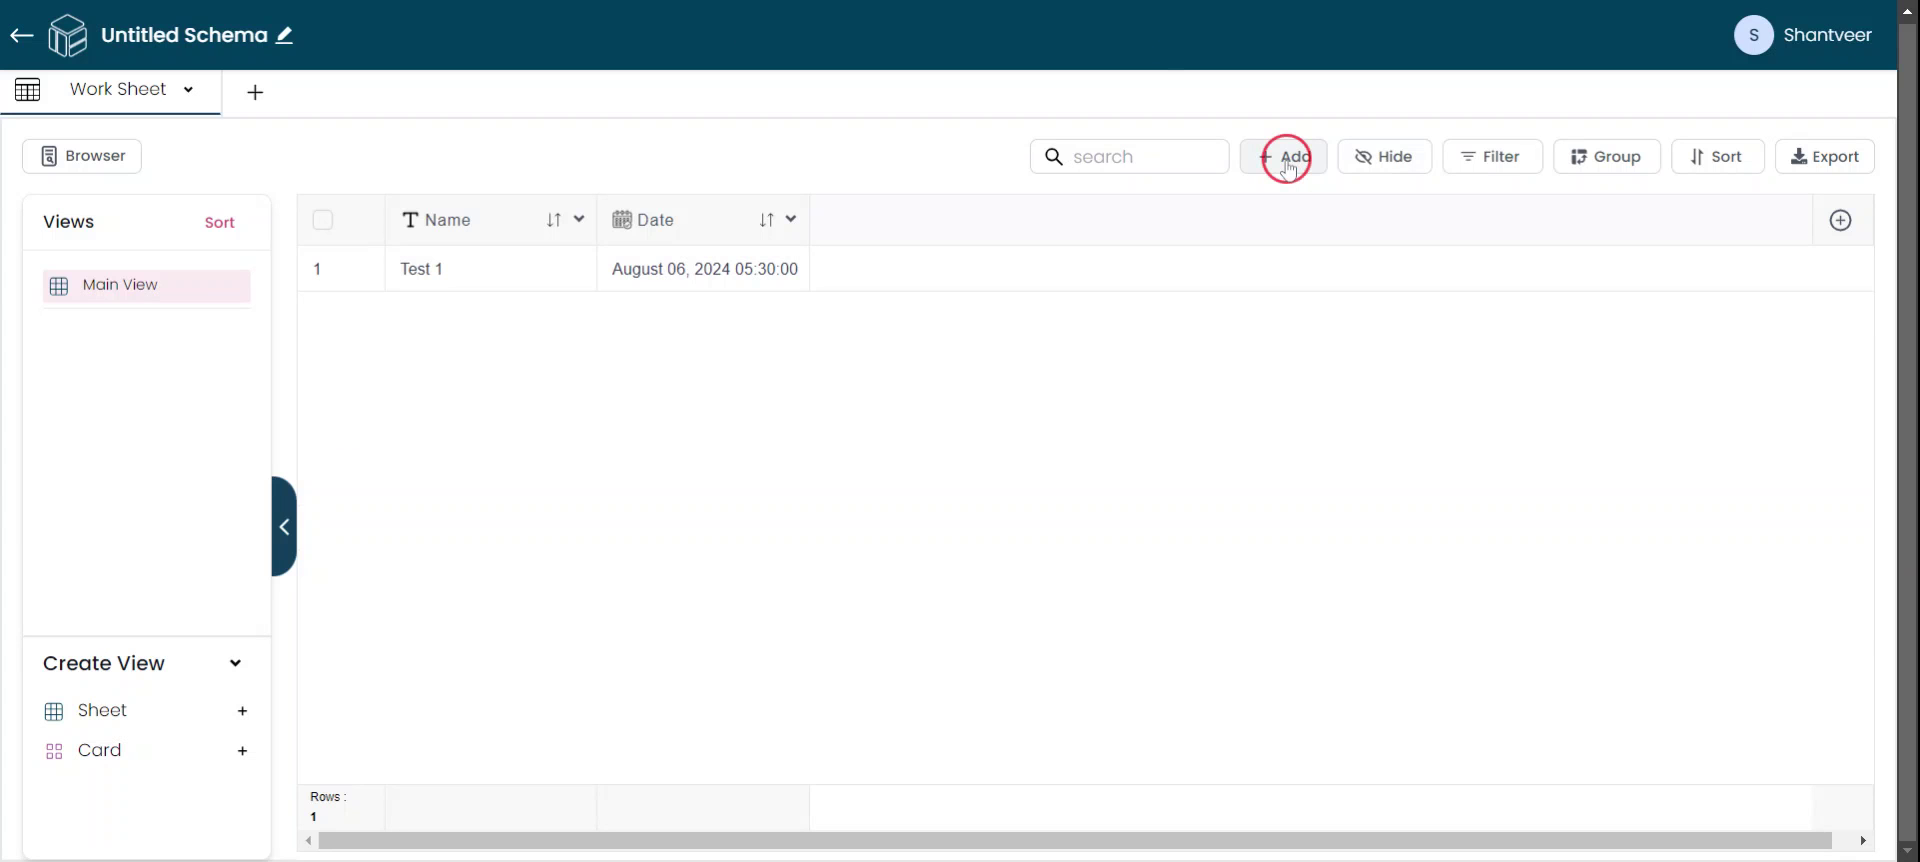
Verify Time Format
So changes gets reflected to existing worksheet details/rows also. And to verify the time format, which we set, simply click on 'Add'.
Select Date and Time
Fill in the necessary details and click on the date field. Select the desired date from the calendar. You can now clearly see the selected date. After enabling the Include Time Format option, you can also set the time. Once all details are entered, click on OK.

Save To Apply Changes
Finally, click on Save to store all the entered details. You will now see the time format included for all the rows. You can clearly see the applied changes.