Adding Drop-Down Field
This guide will walk you through the process of adding various types of dropdown fields, including a standard dropdown, a multi-select dropdown, and an icon-only dropdown. By following these steps, you’ll be able to customize your dropdown fields effectively.
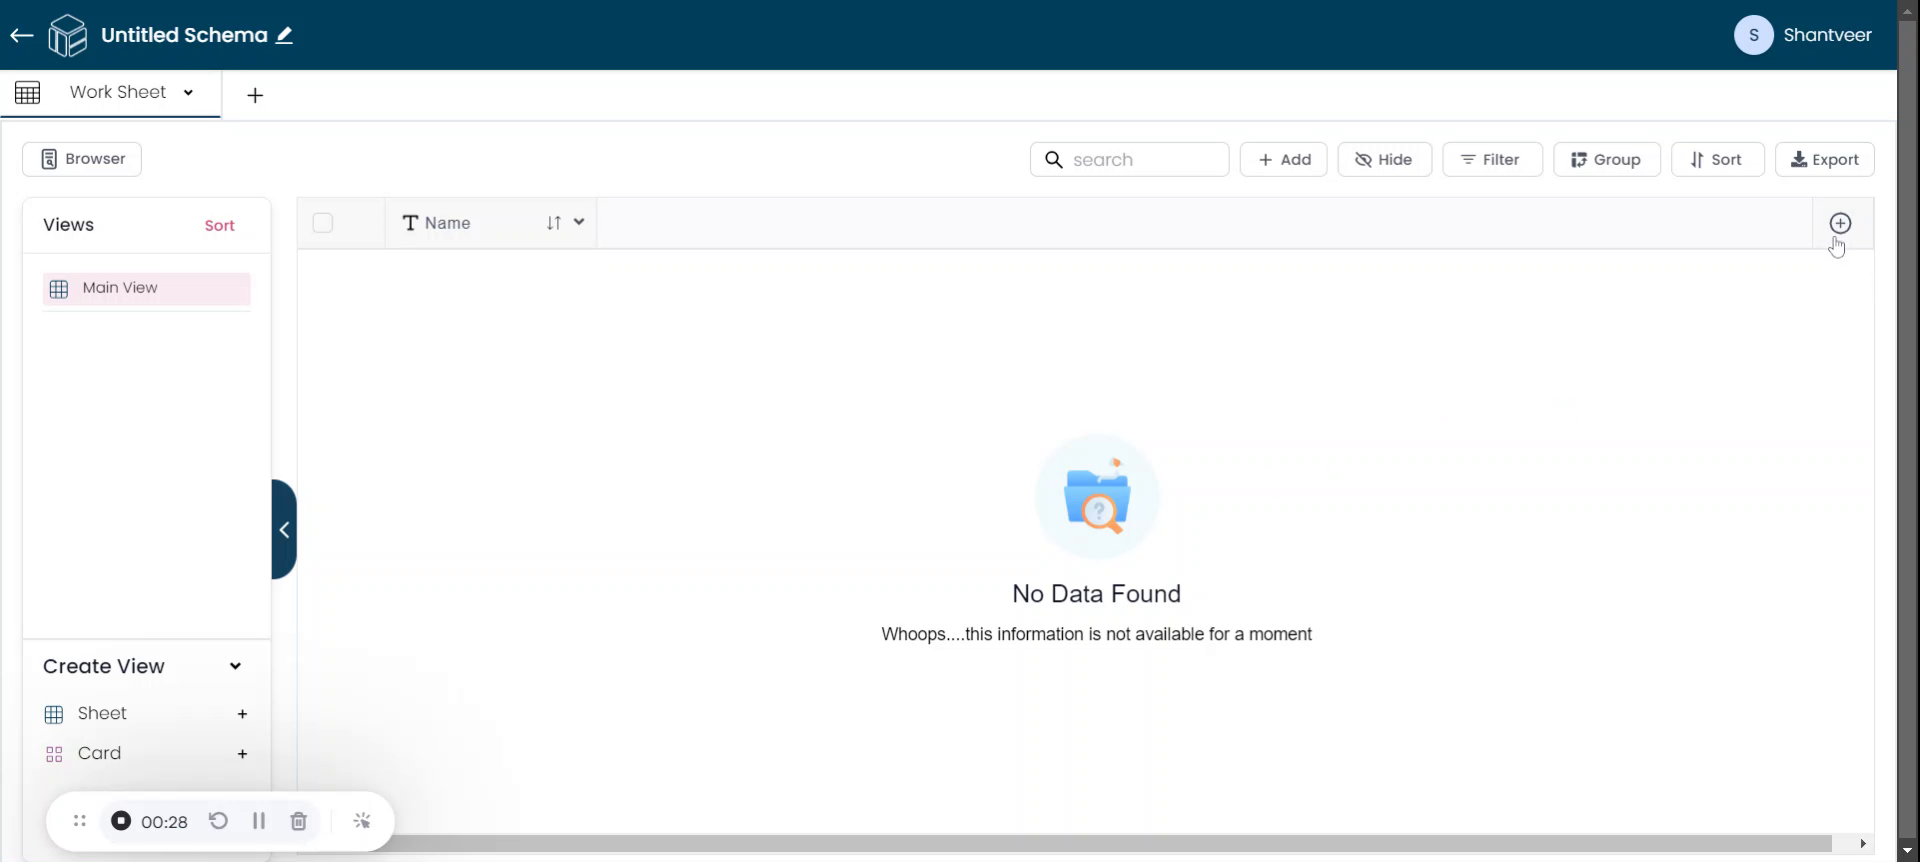
Add Drop-Down Field
In this document, I will guide you on how to add a dropdown field. Click the plus icon to get started. After clicking the plus icon, a pop-up will appear. From the "Type" field, select "Drop-Down." Make sure the drop-down field is selected.

Adding a simple Drop-Down
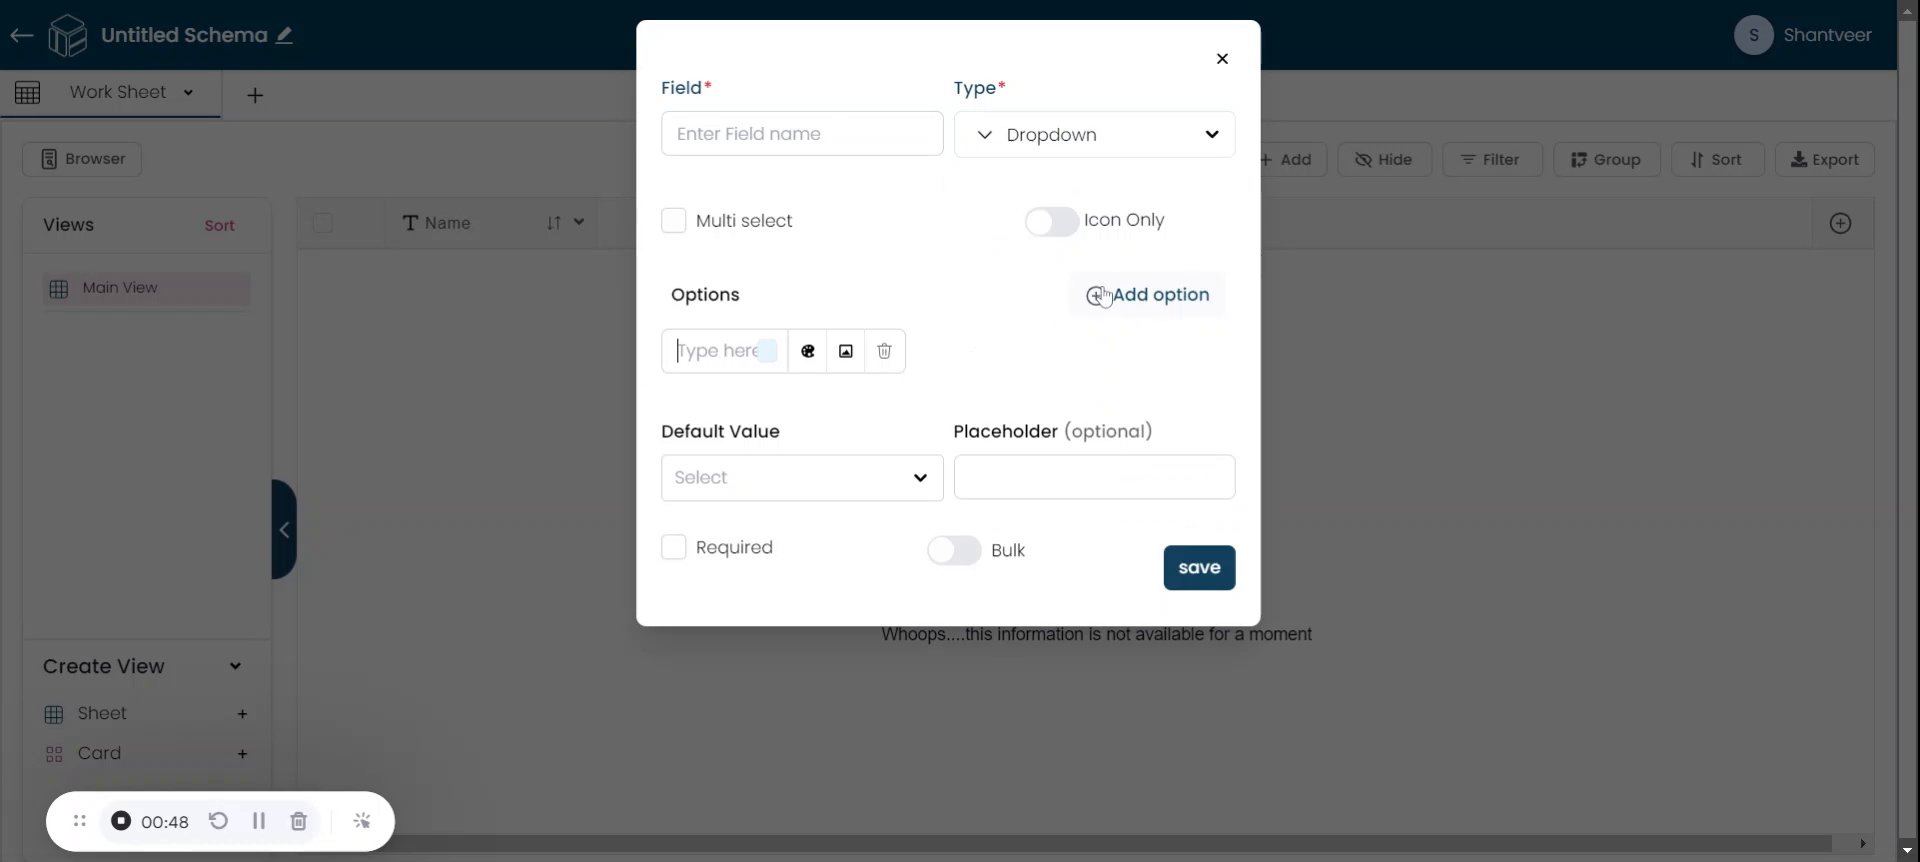
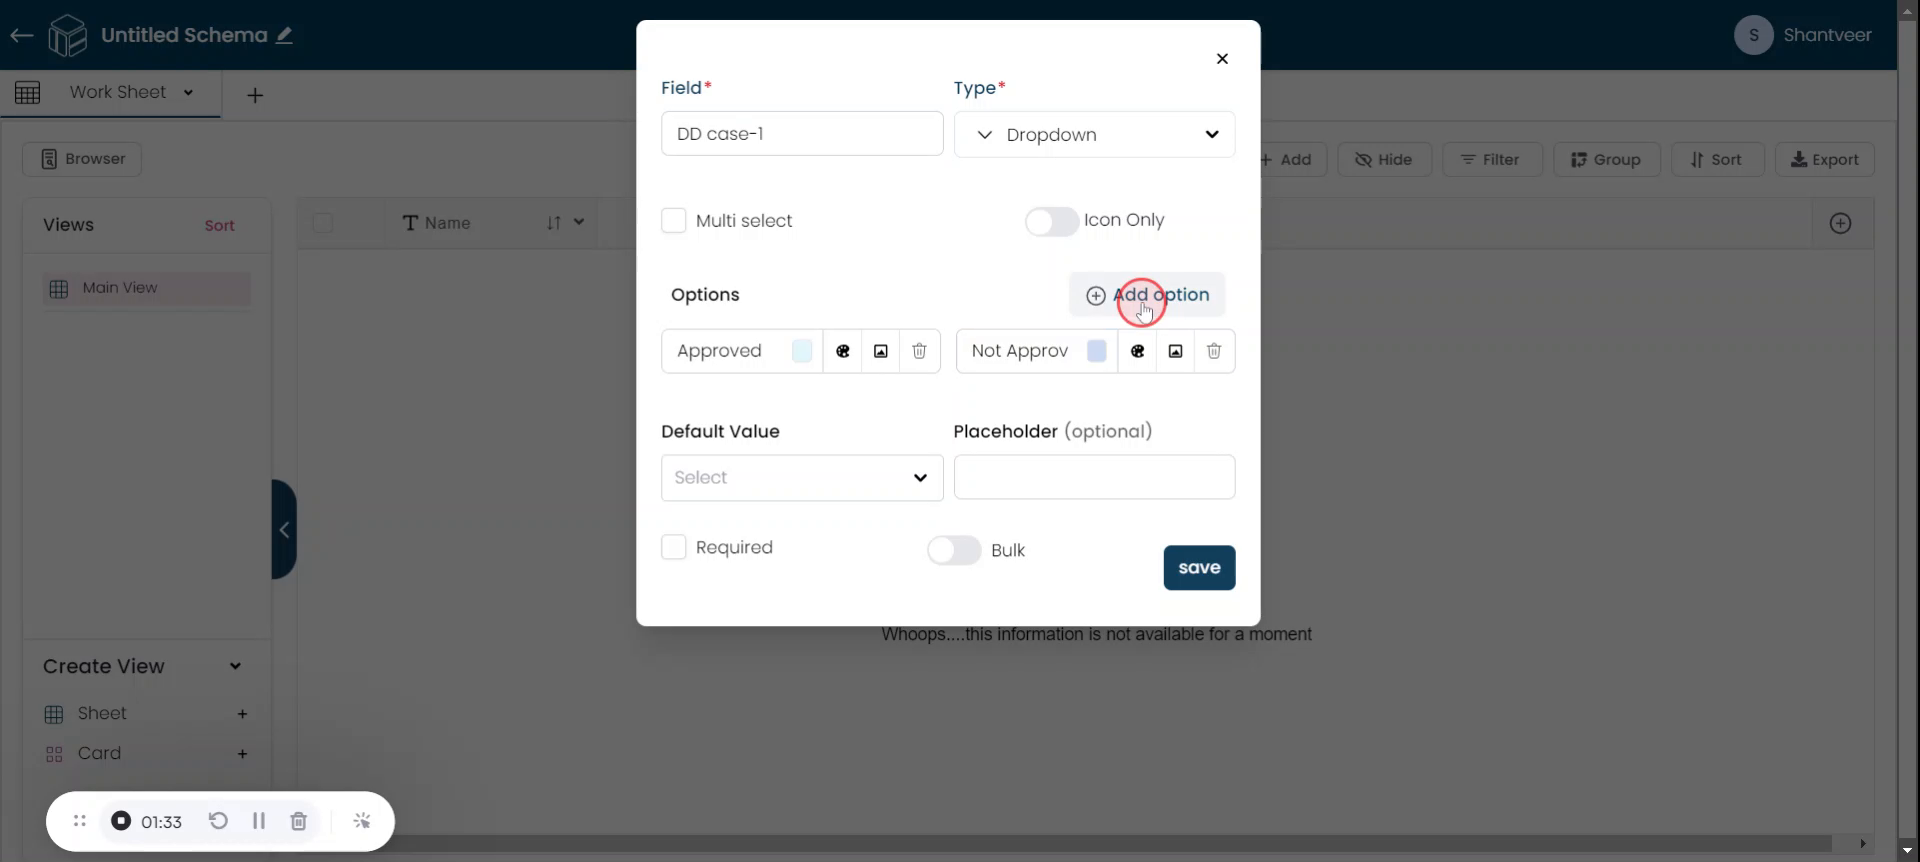
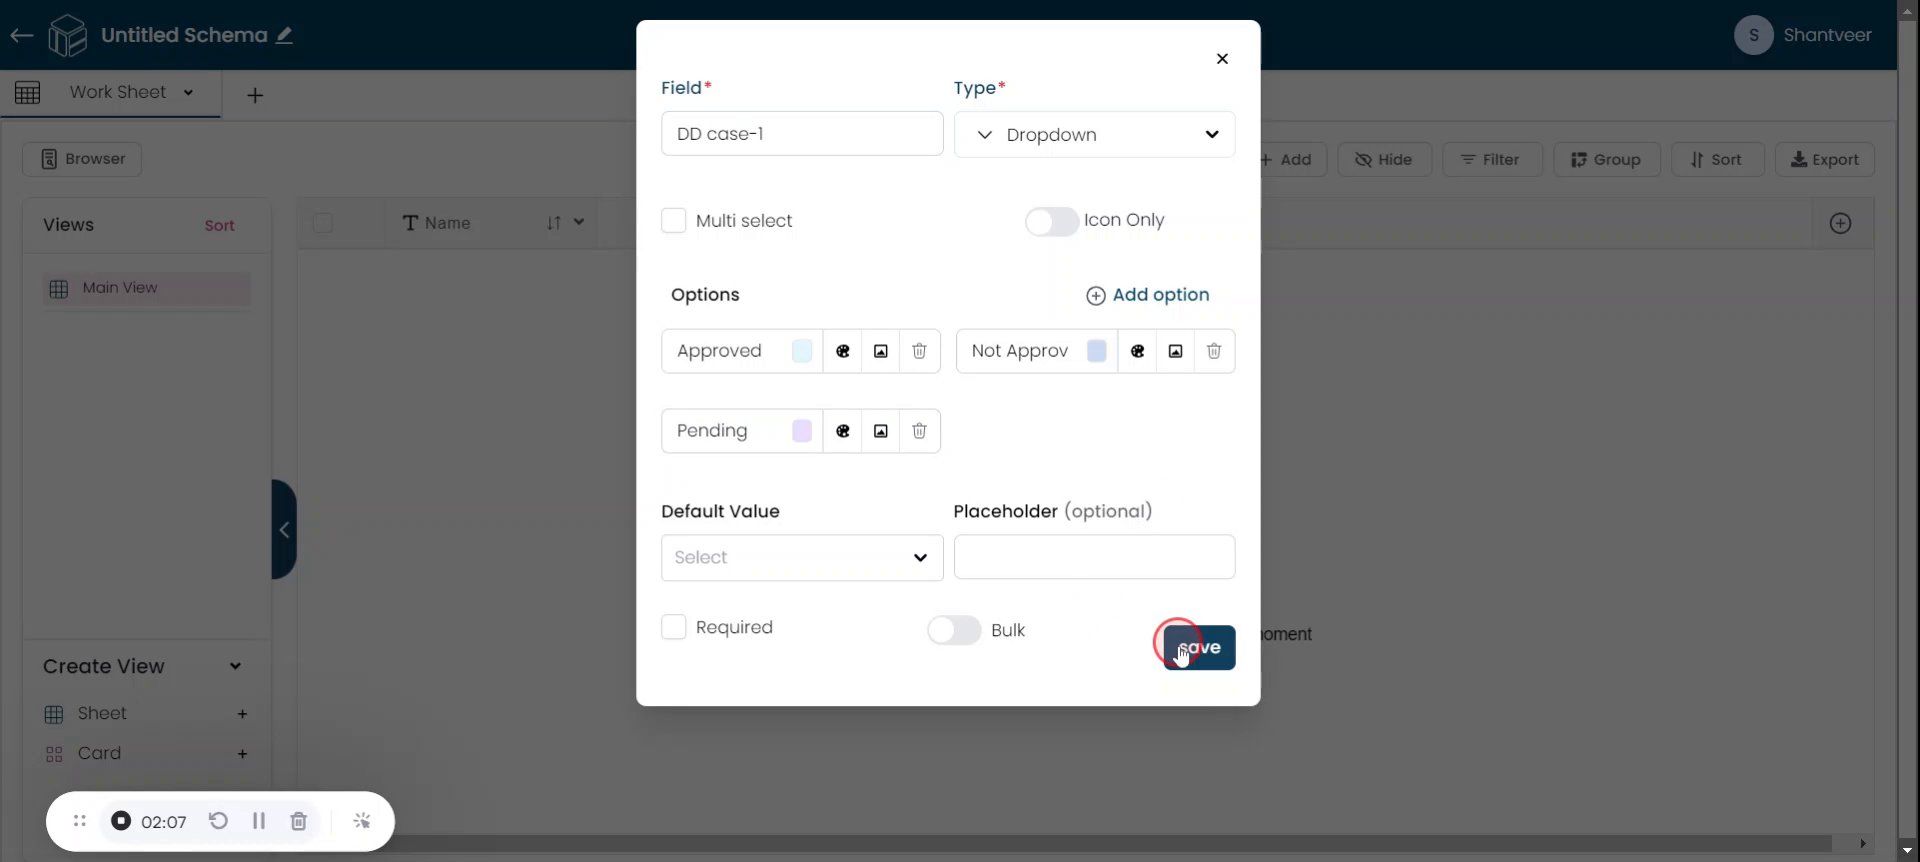
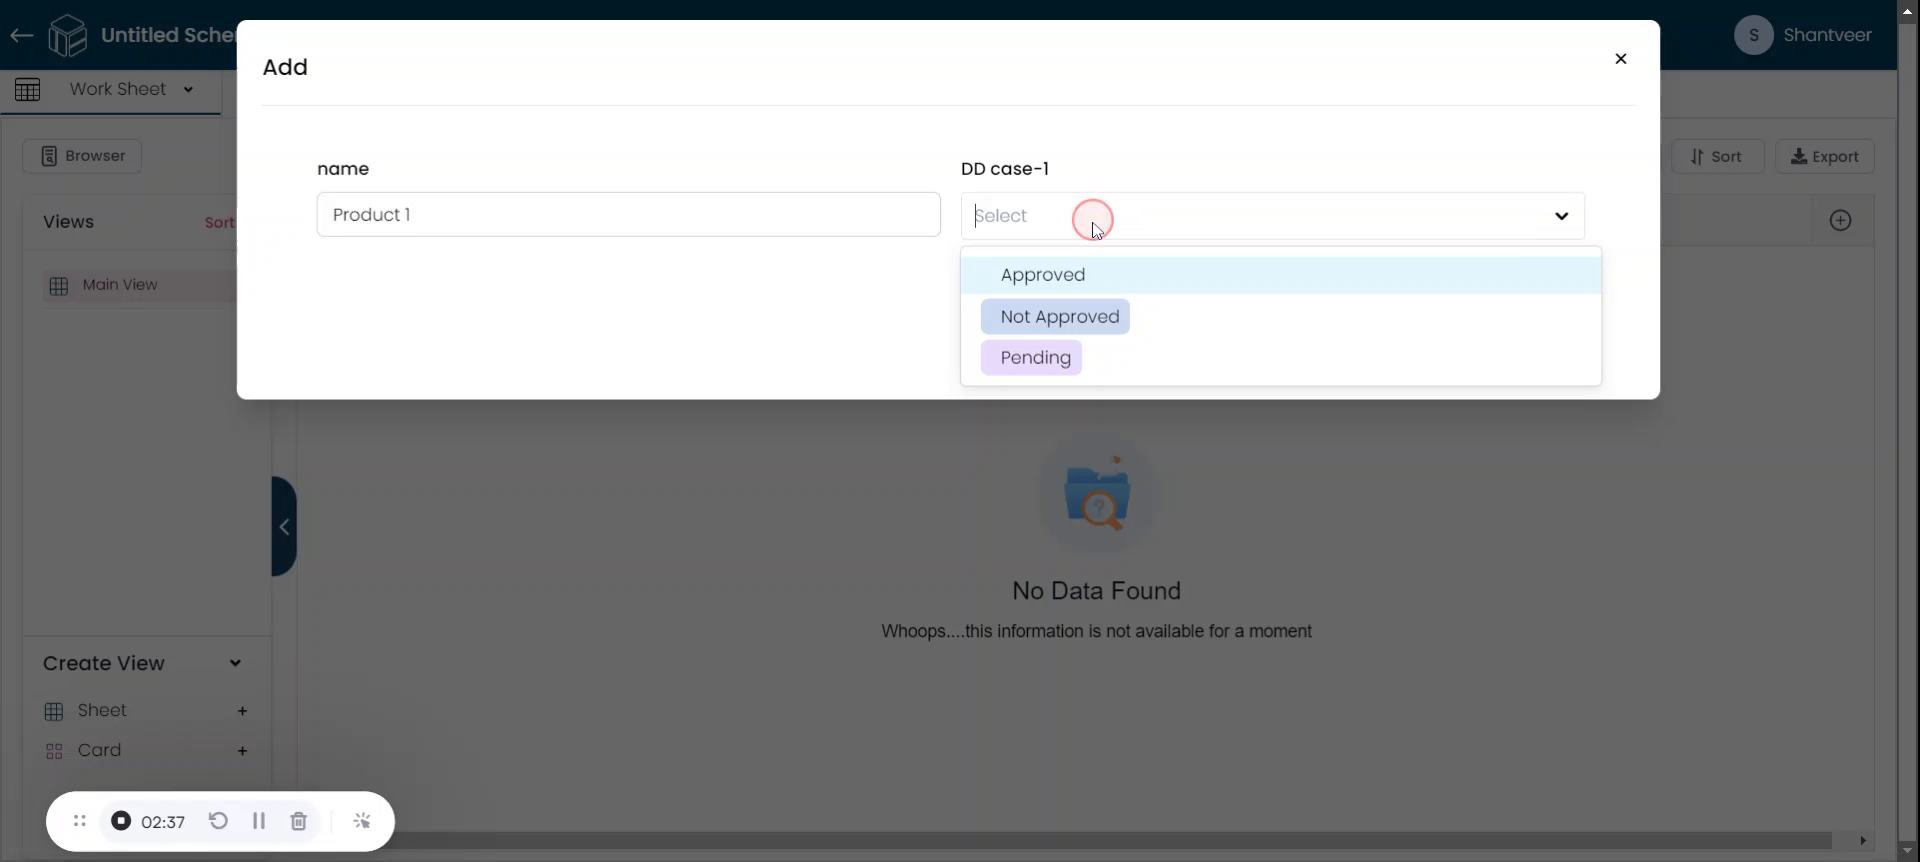
Set the field name according to your preference. For demonstration purposes, I am naming it "dd" (drop-down), Case 1. Add the options in this section. To include more options, click "Add Option." For example, I am using options such as "Approved," "Not Approved," and "Pending."


Customize and Save
You can add a default value, placeholder, and set the field as mandatory if needed. Enable the bulk update option if required. After customizing the field, click "Save" to apply the necessary details.
Verify Field
The added field will appear in the worksheet. To test it, click "Add," fill in the name field, and check how the drop-down field functions. Click on the drop-down field to see the available options.

Select and Save Row
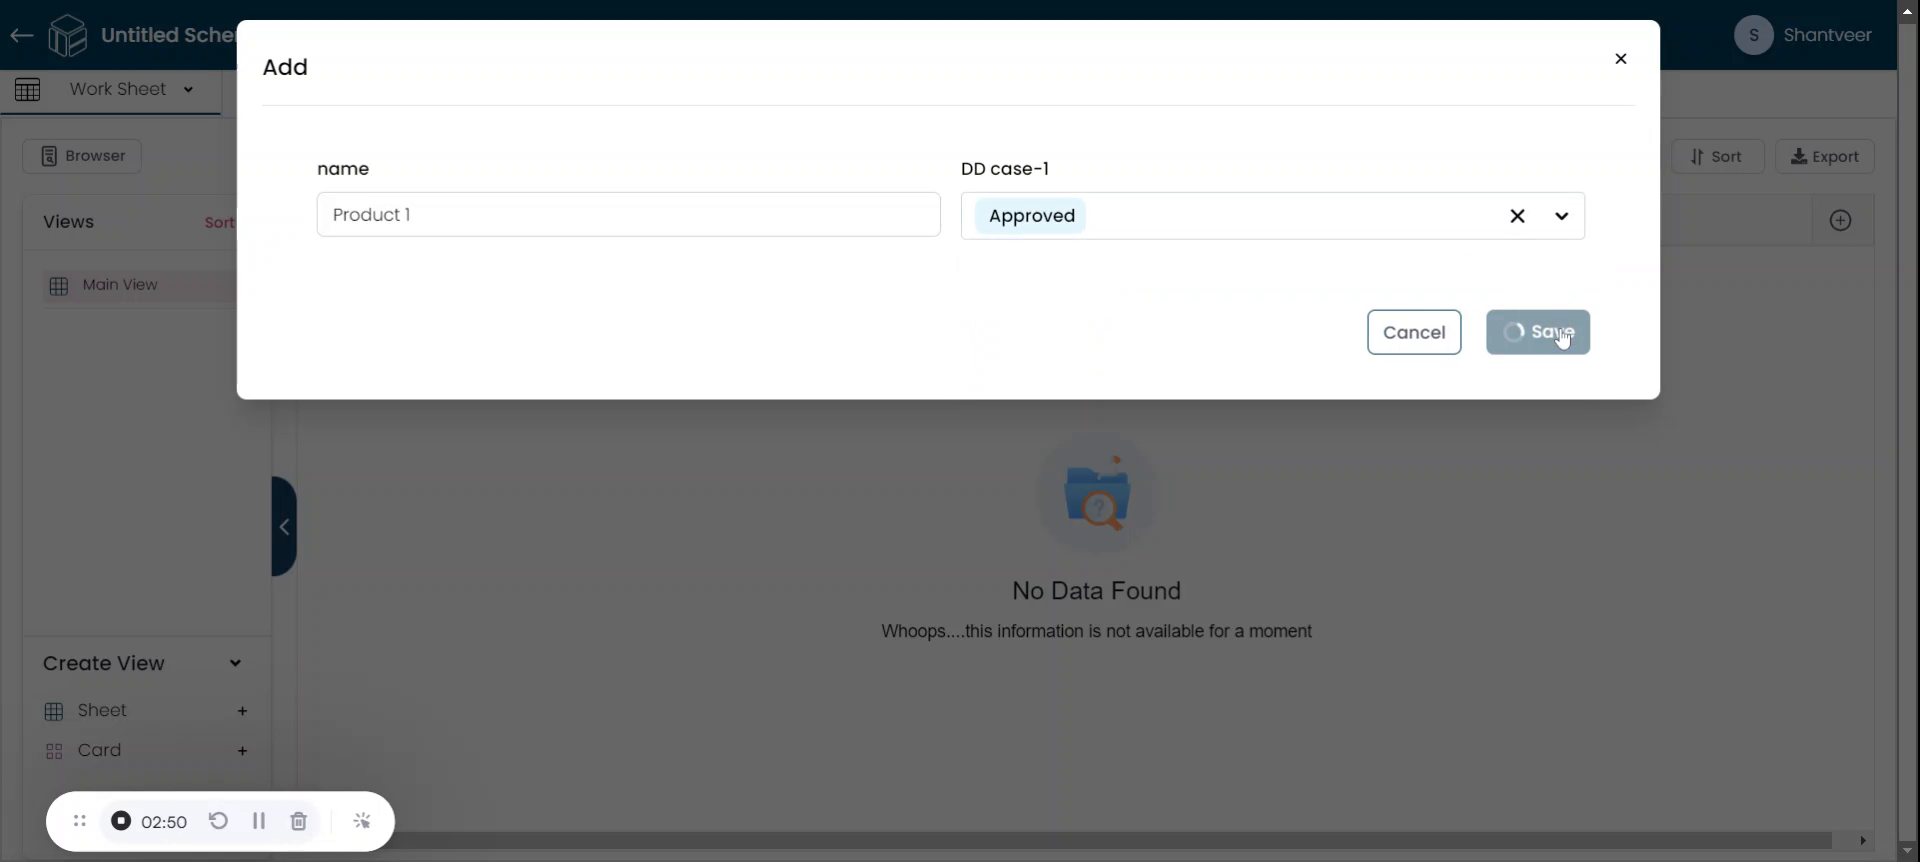
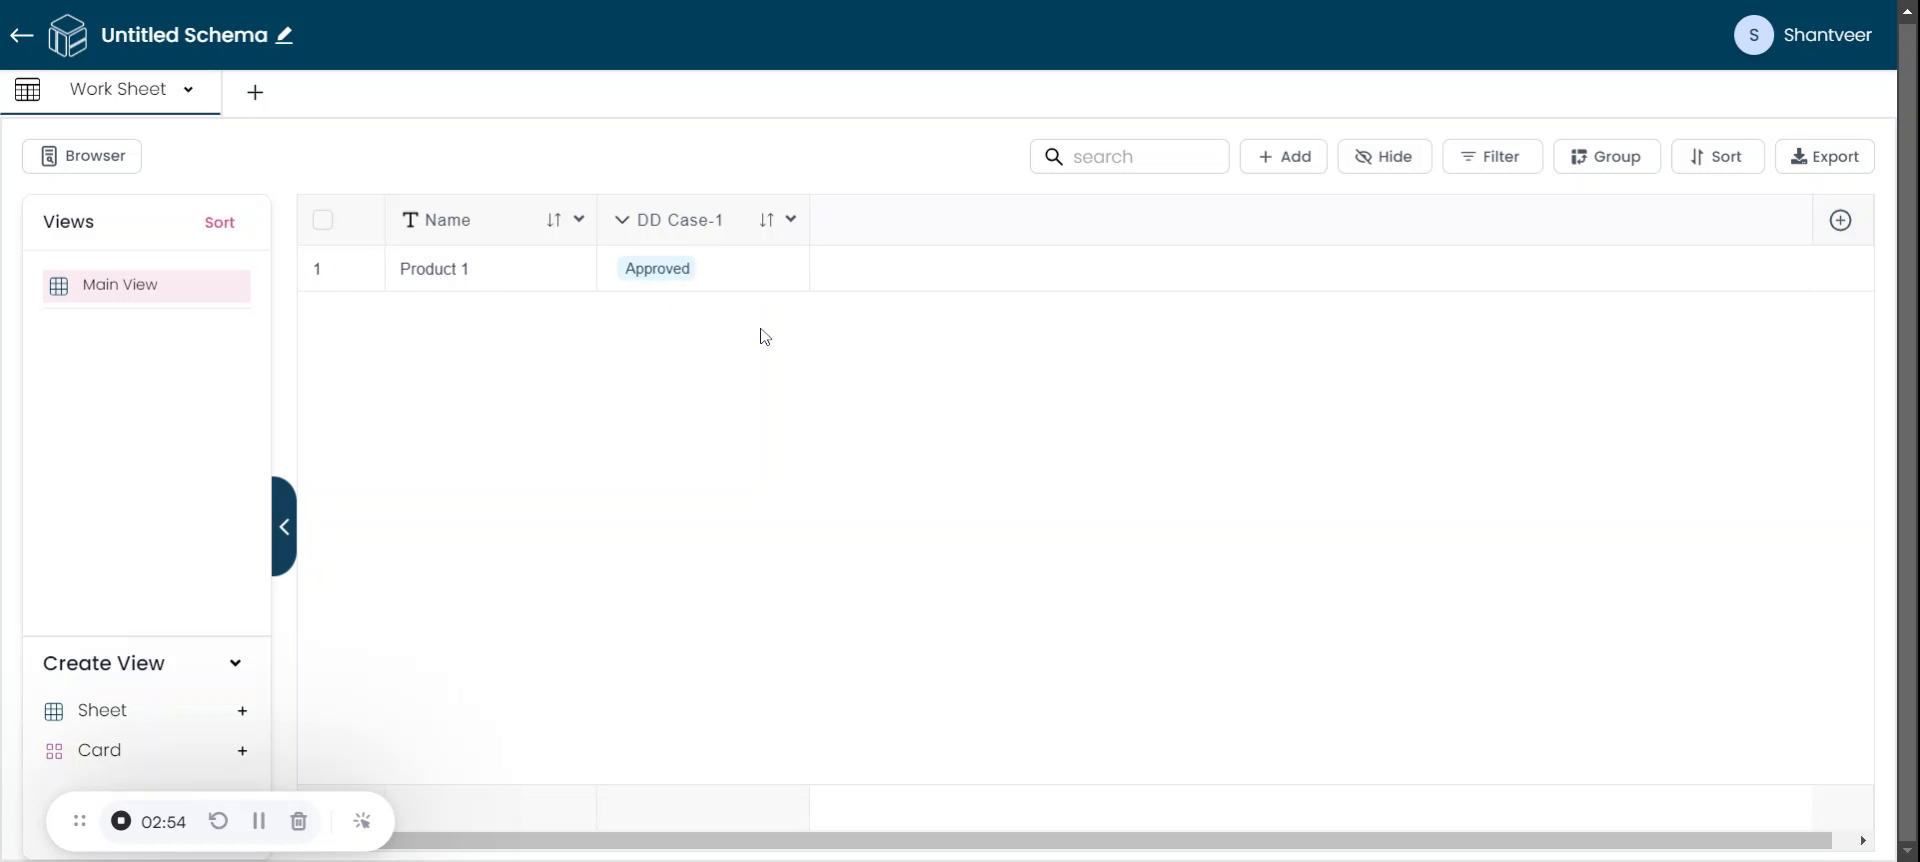
Select any option from the drop-down, then click "Save." So the row is added to the worksheet.
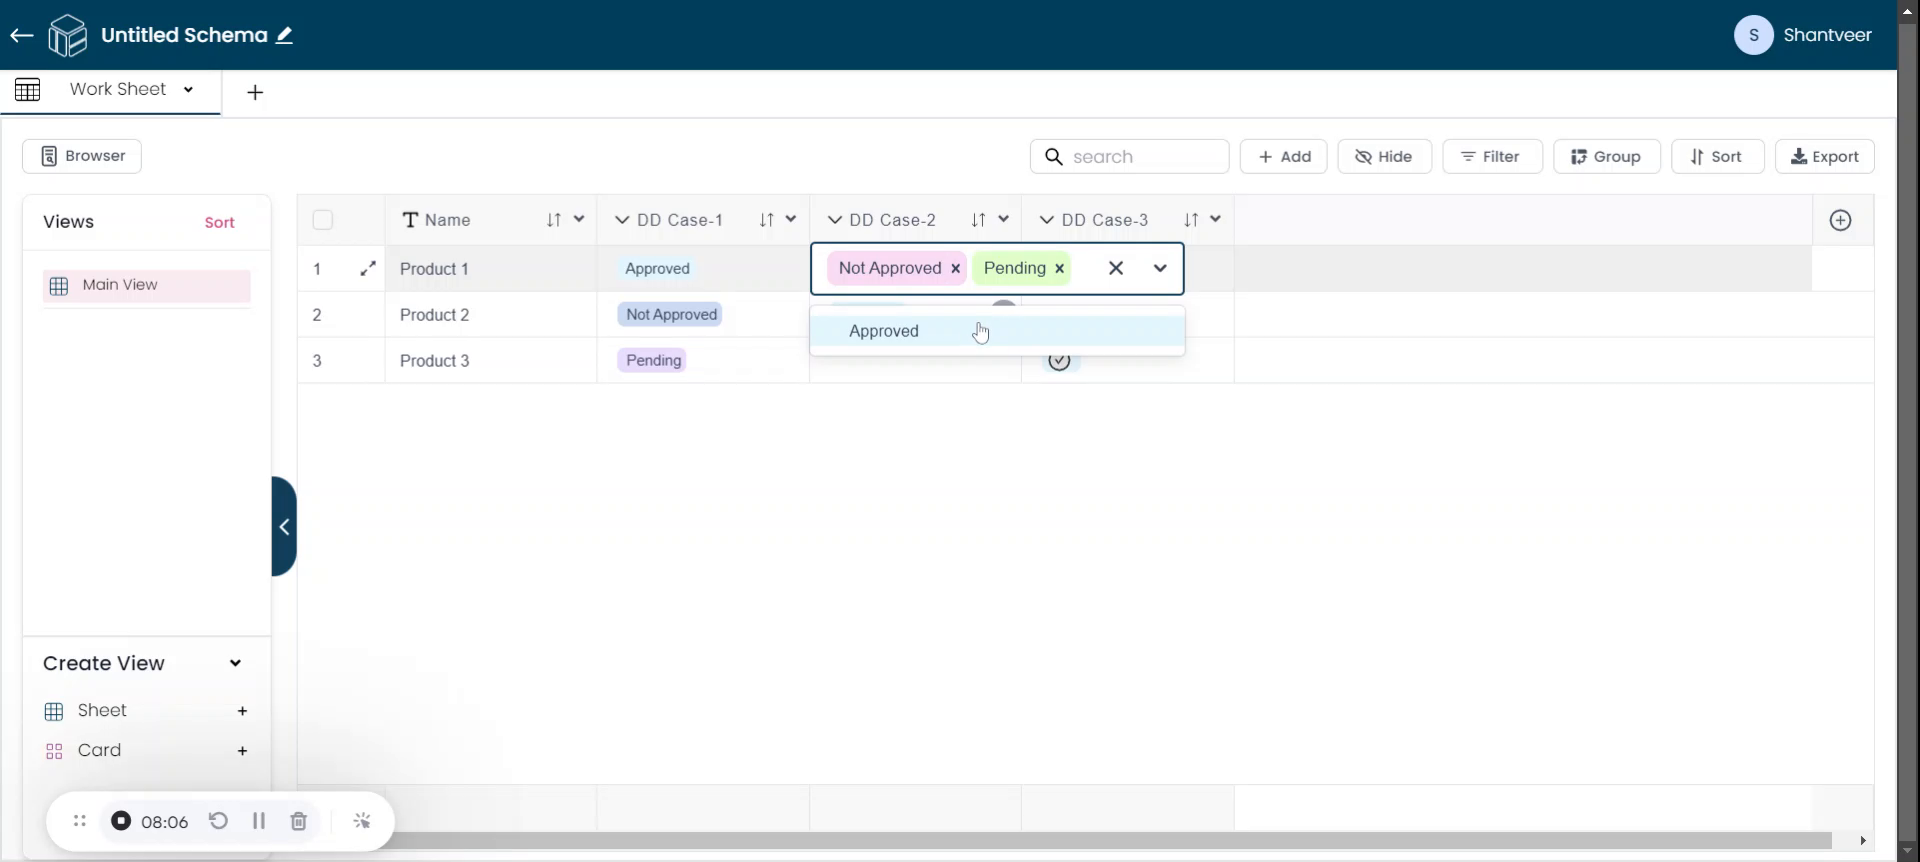
Adding a Multi-Select Drop-Down
Click on plus and from pop-up select the drop-down field again. Remember not to use the same name as before. For clarity, named this field as DD Case-2. And you can add the options as per your preferences.
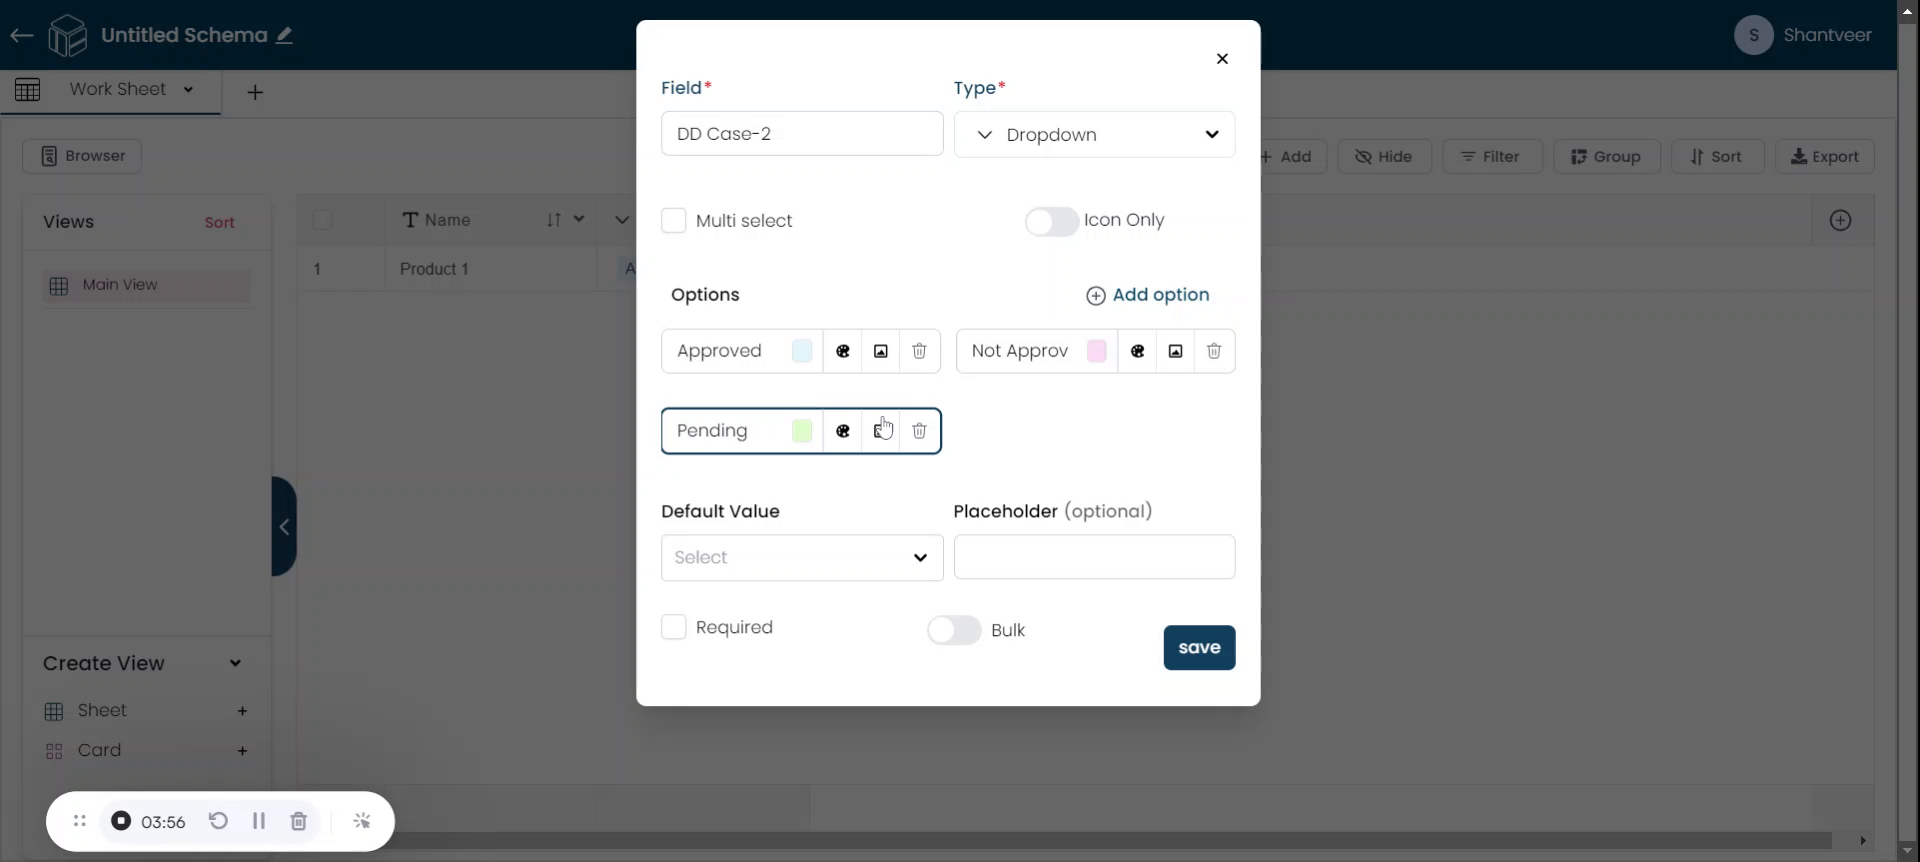
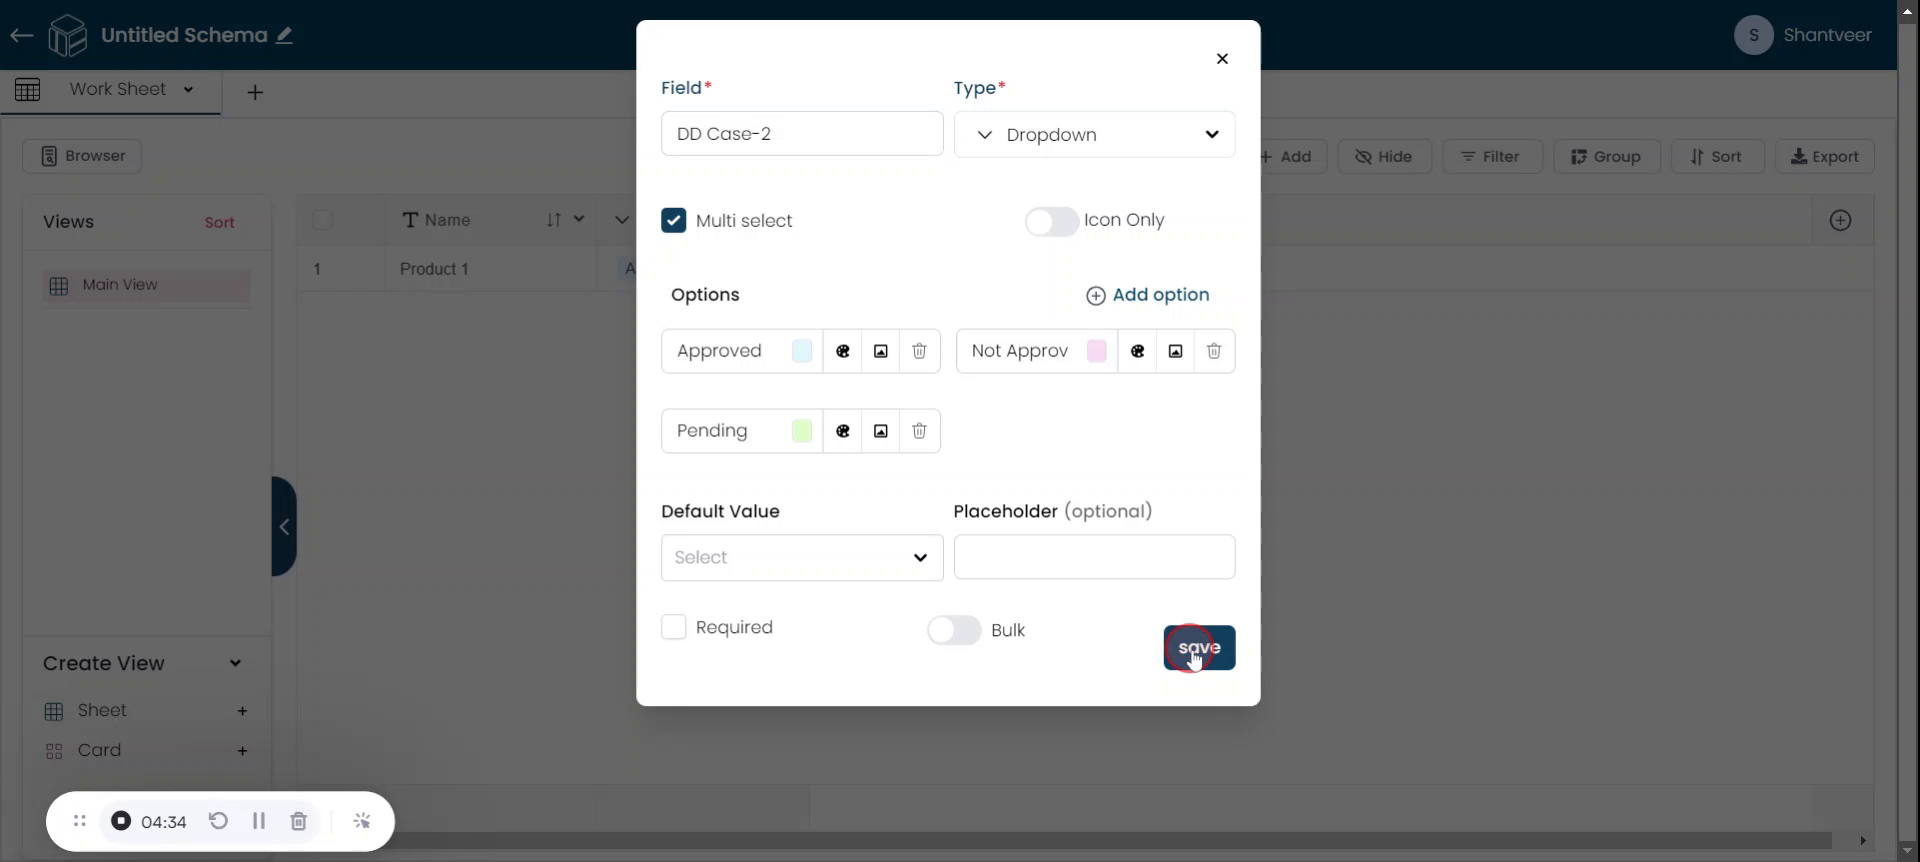
Enable Multi-Select
And enable multi-select option, set default values, placeholders, mandatory field, and bulk update options if needed. Click "Save" after setting the details.
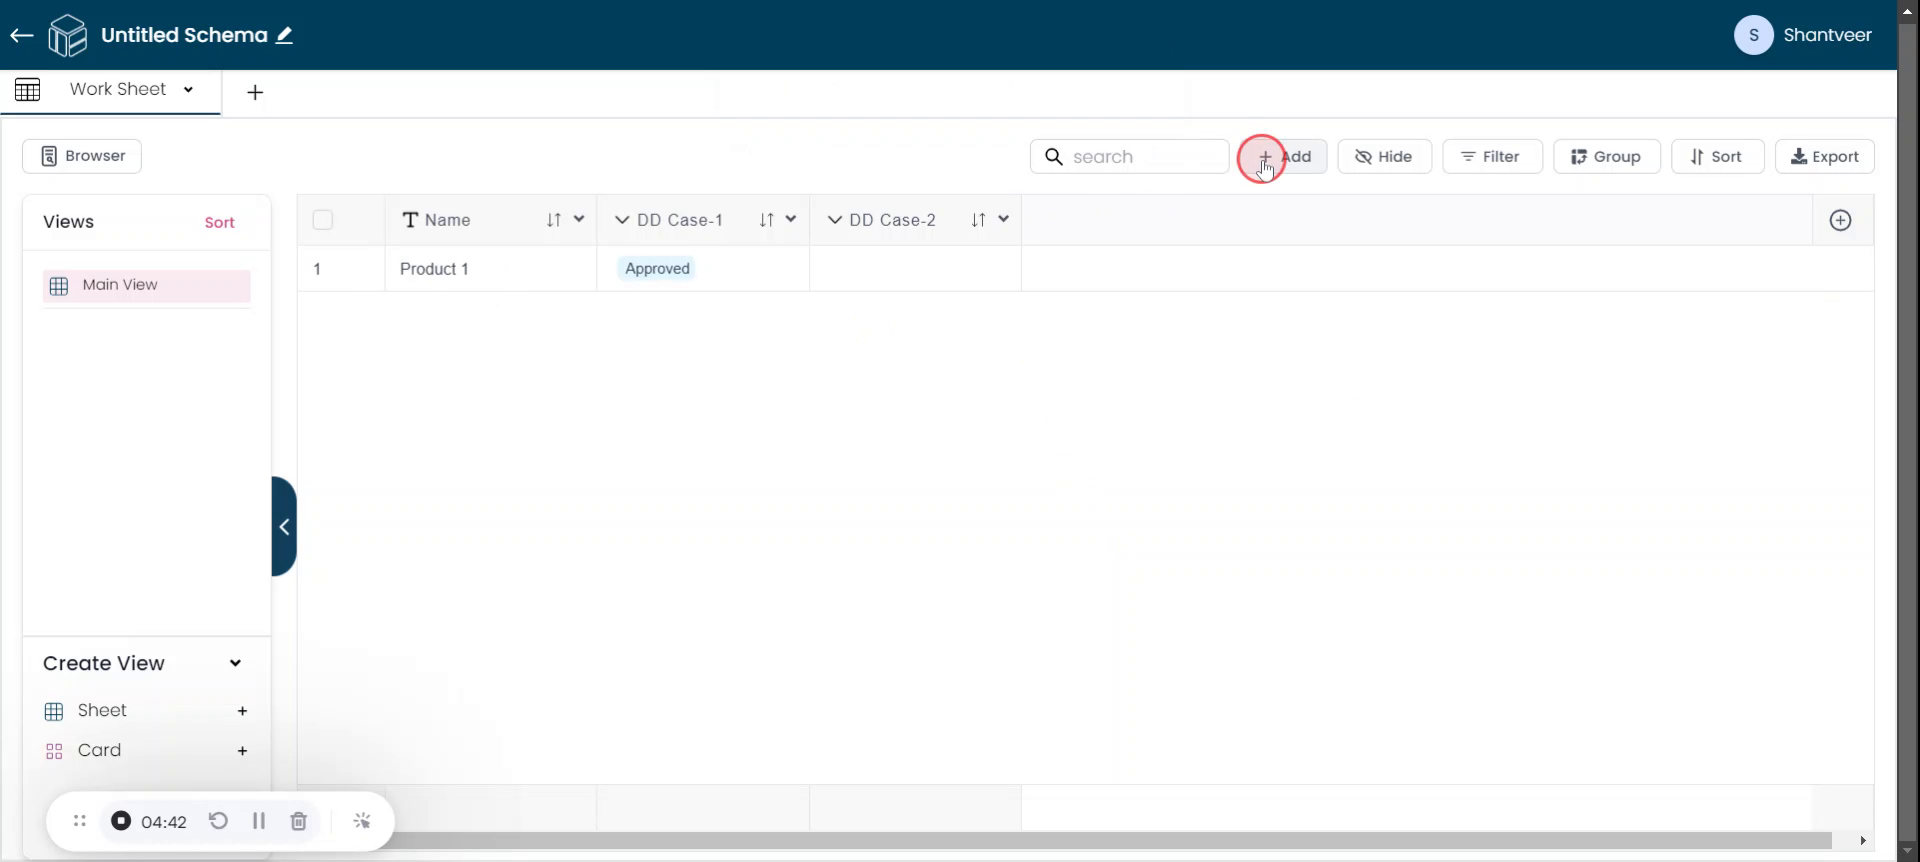
Verify Multi-select
I will demonstrate how Multi-Select Drop-Down field works.for that click on add and fill other field and for the multi dropdown field you can select multiple options.that is more than one option from the drop down and Click "Save" after adding all necessary details.
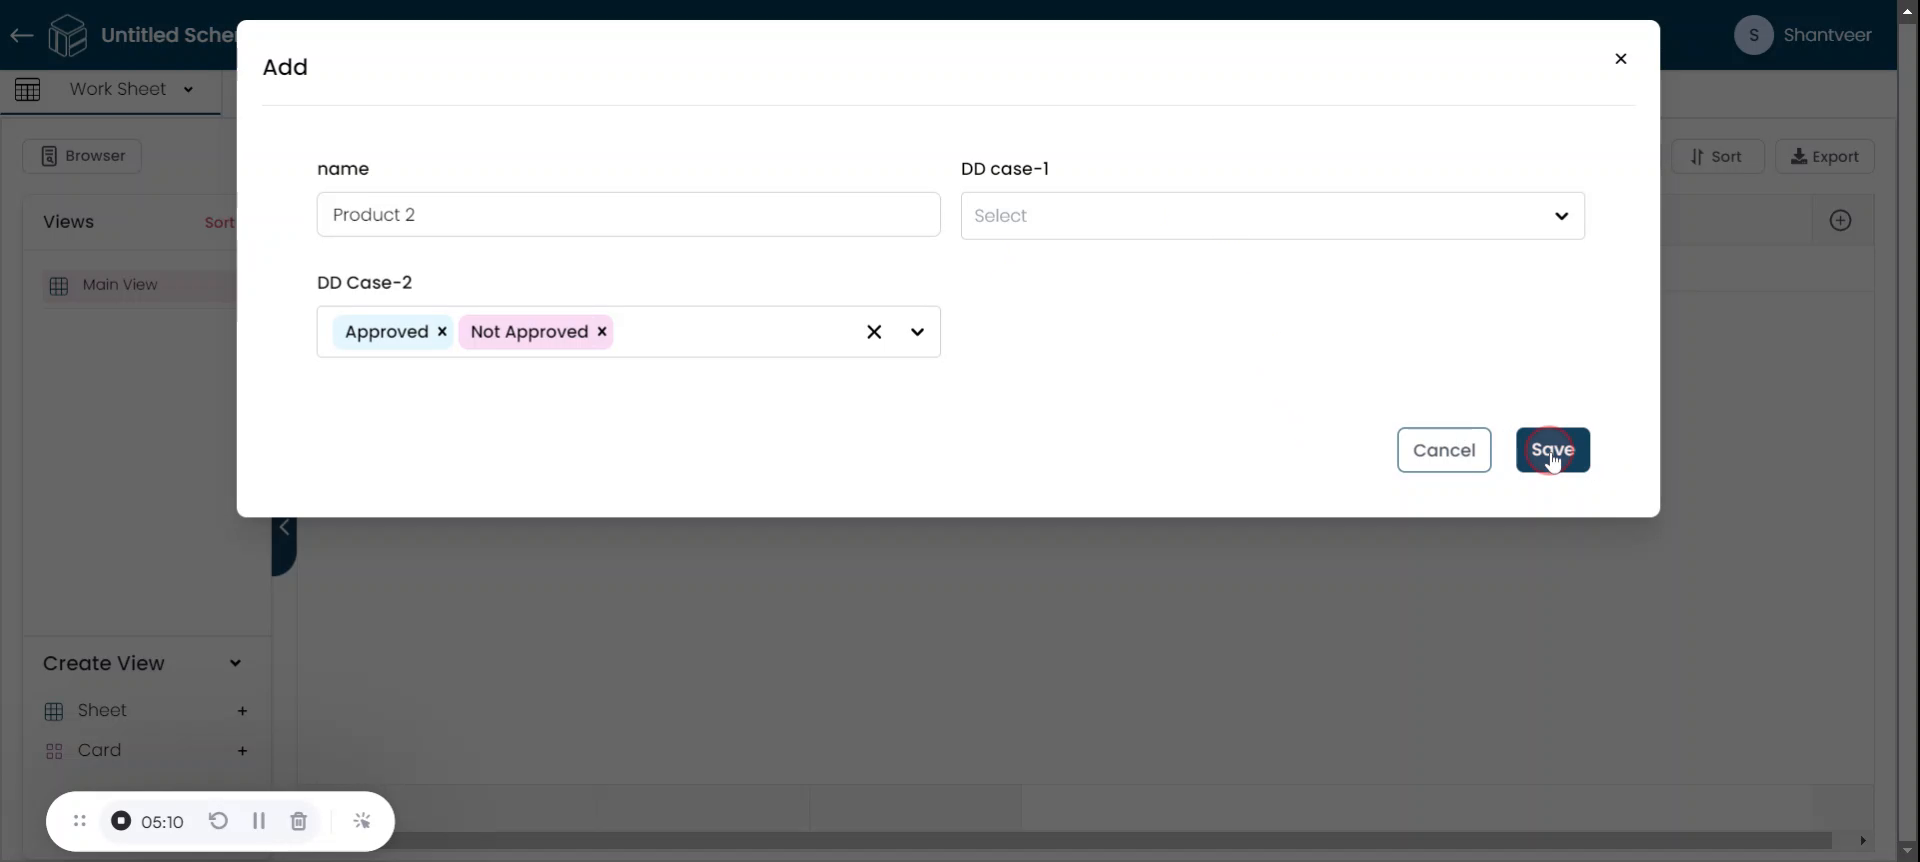
Display Selected Options
Both selected options will be displayed in the worksheet, such as "Approved" and "Not Approved."
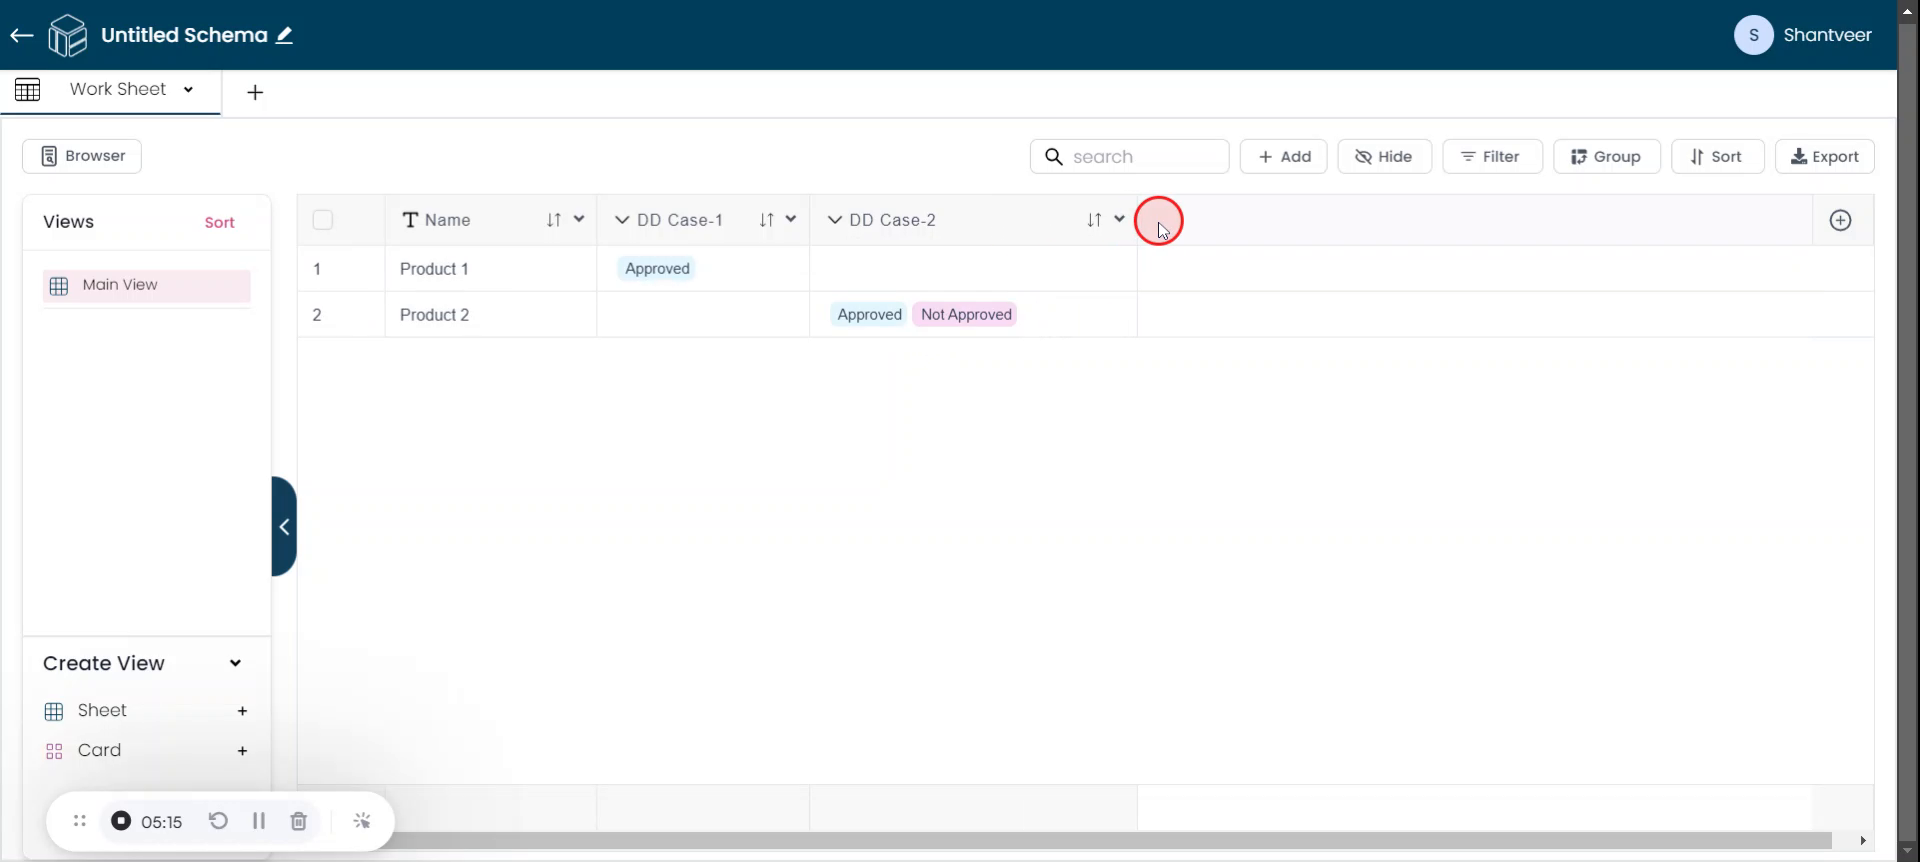
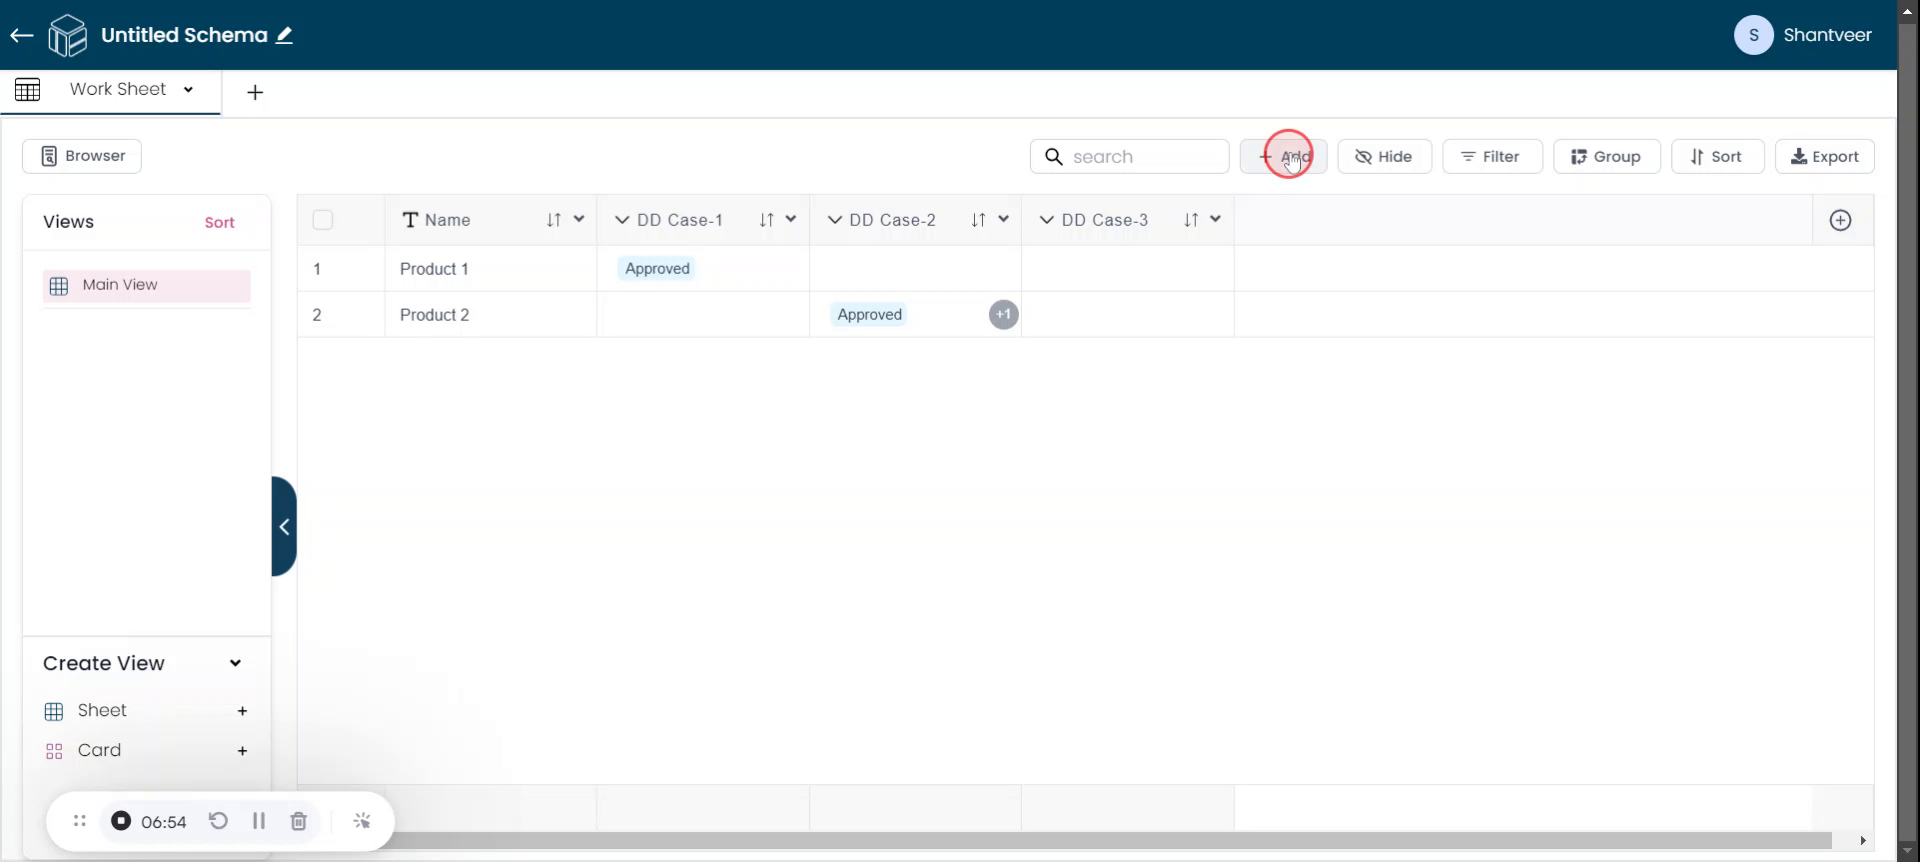
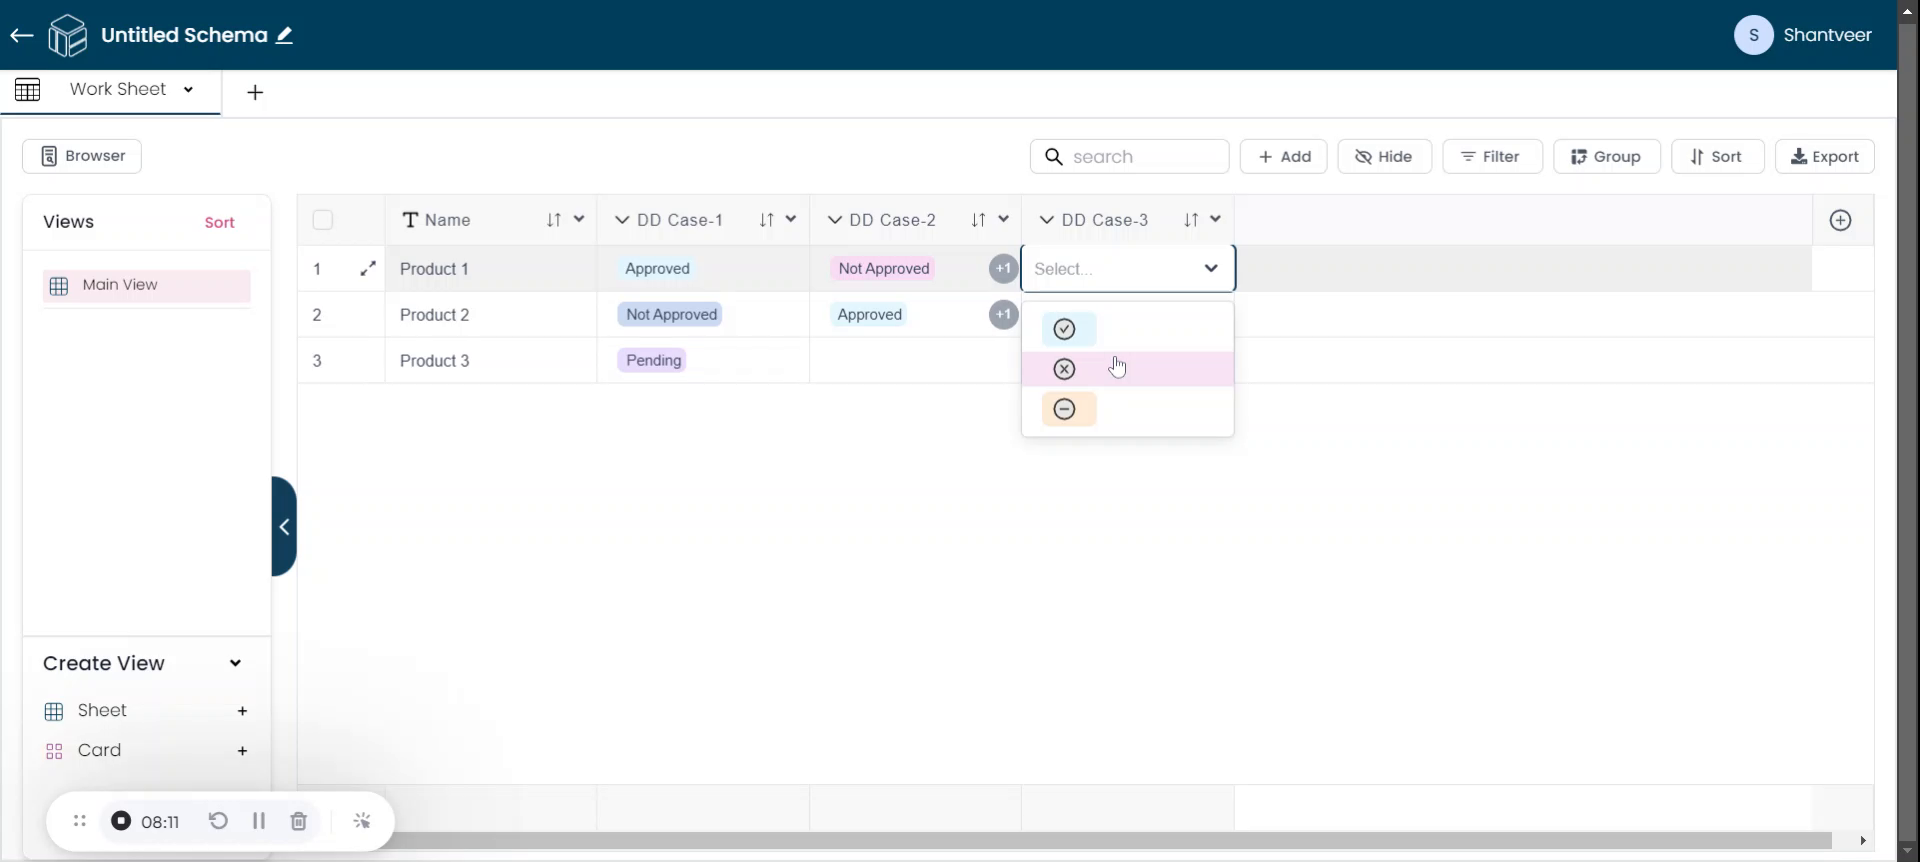
Adding an Icon-Only Drop-Down
Click on "plus" icon to add a new field.
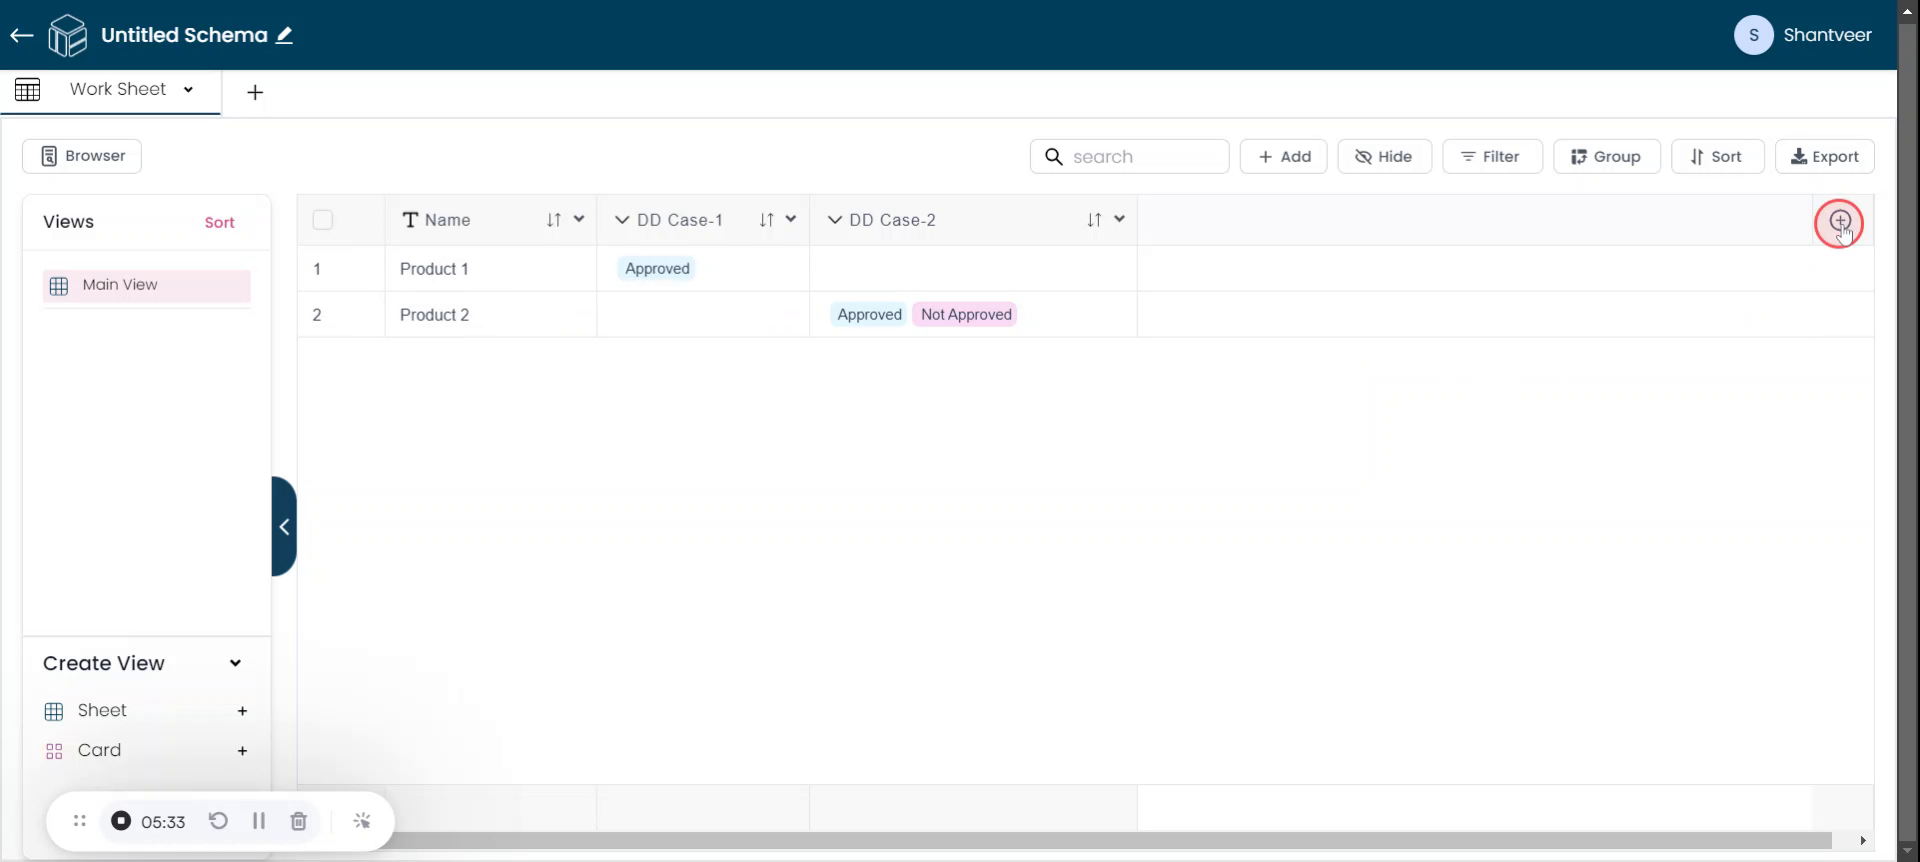
Select Dropdown
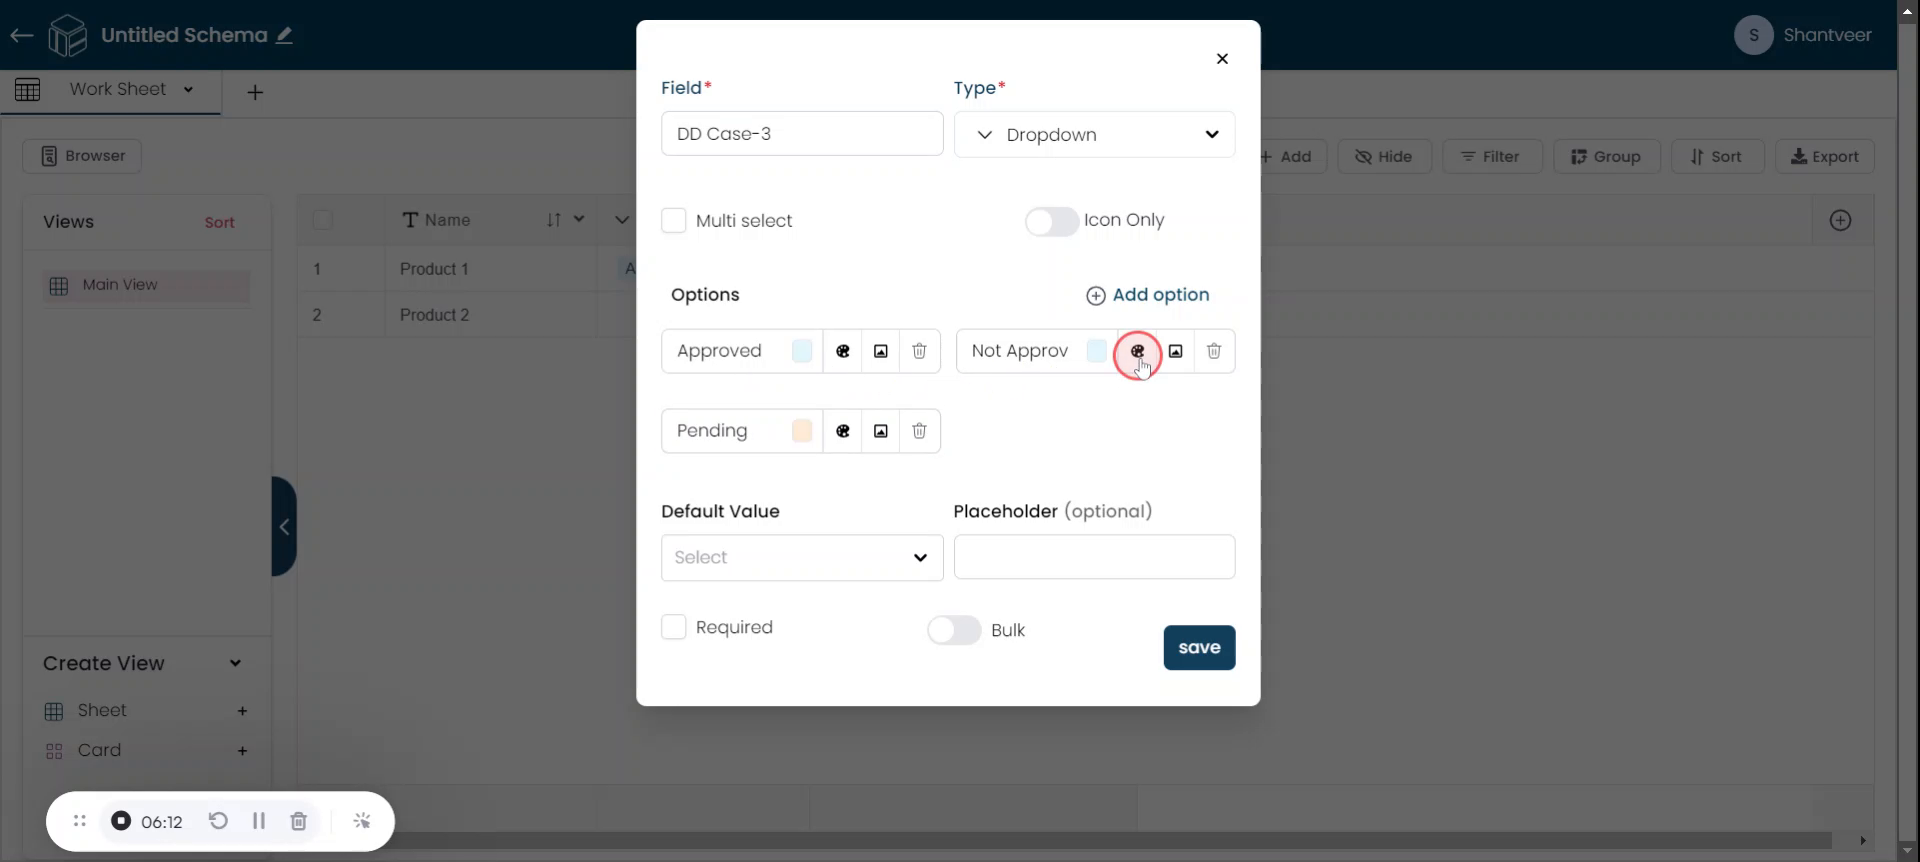
From the pop-up, select the drop-down field. For this example, naming the field as DD Case-3.

Customize Options and Colors
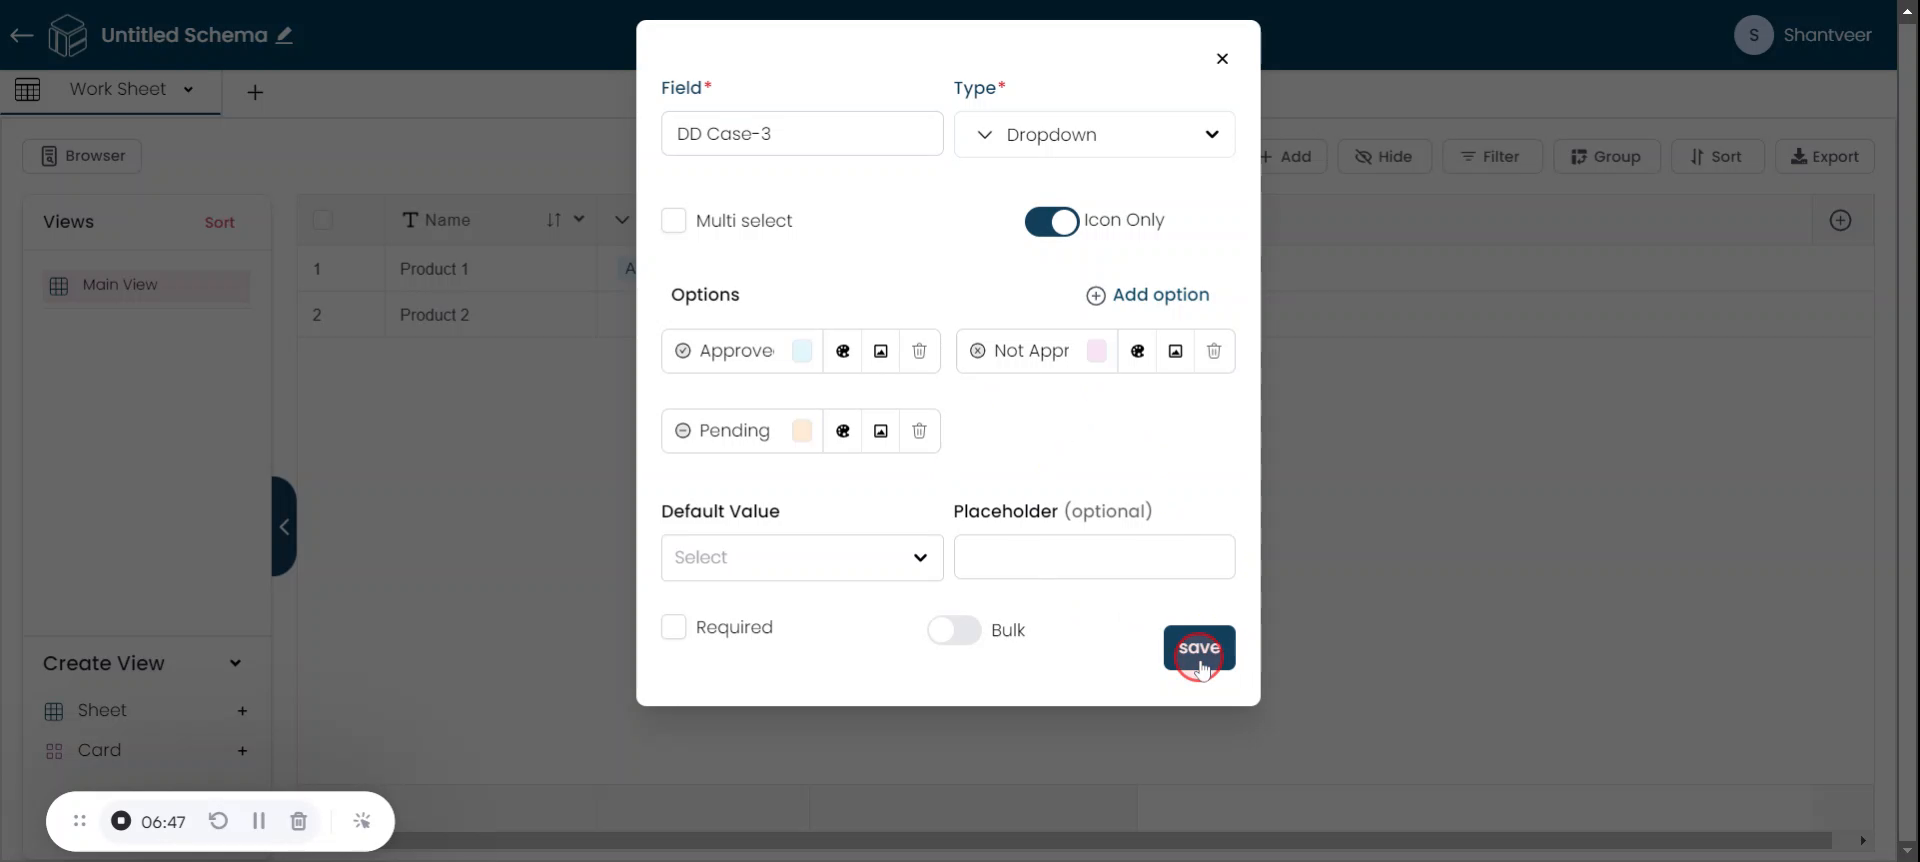
And add the options according to your preferences, if needed, change the colors of options by clicking the color option. Change the color as required. and Enable the icon-only option.

Select Icons & Save
And set the icons for the all the options by clicking on the icon selector. After configuring all necessary details, click "Save."

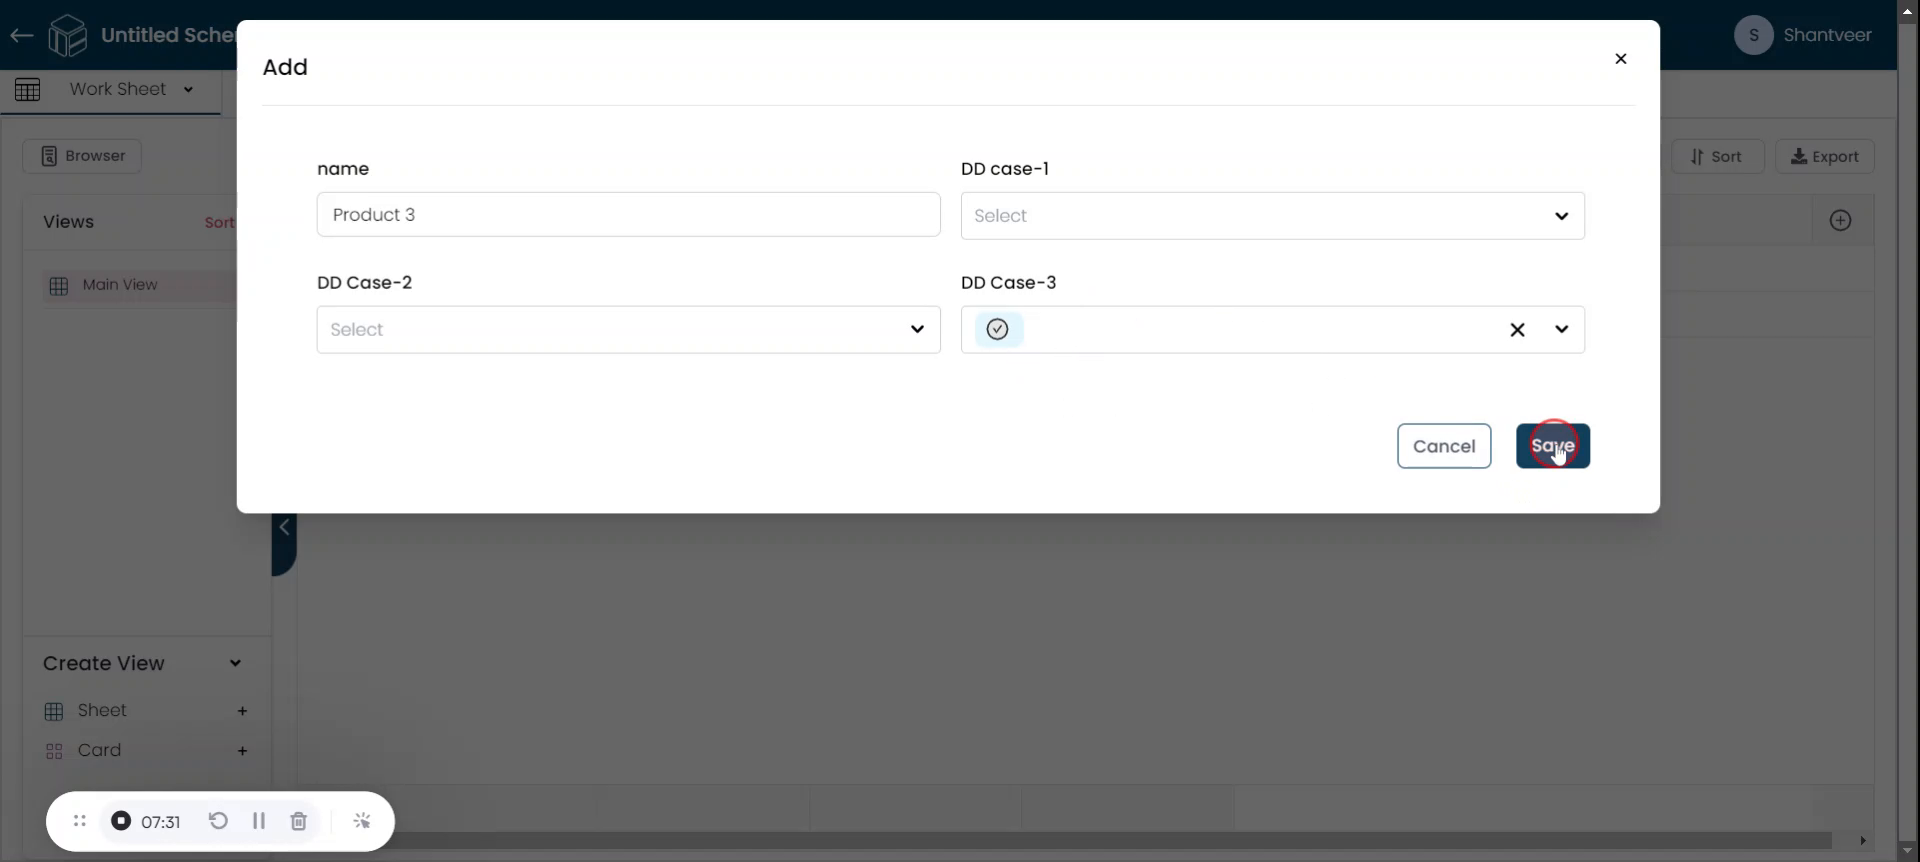
Add Row To Verify
The field will appear in the worksheet. To test it, click on "Add" and fill the other fields and in DD case-3 field select one option from drop down and it only display icons when an option is selected. After adding all necessary details, click "Save."

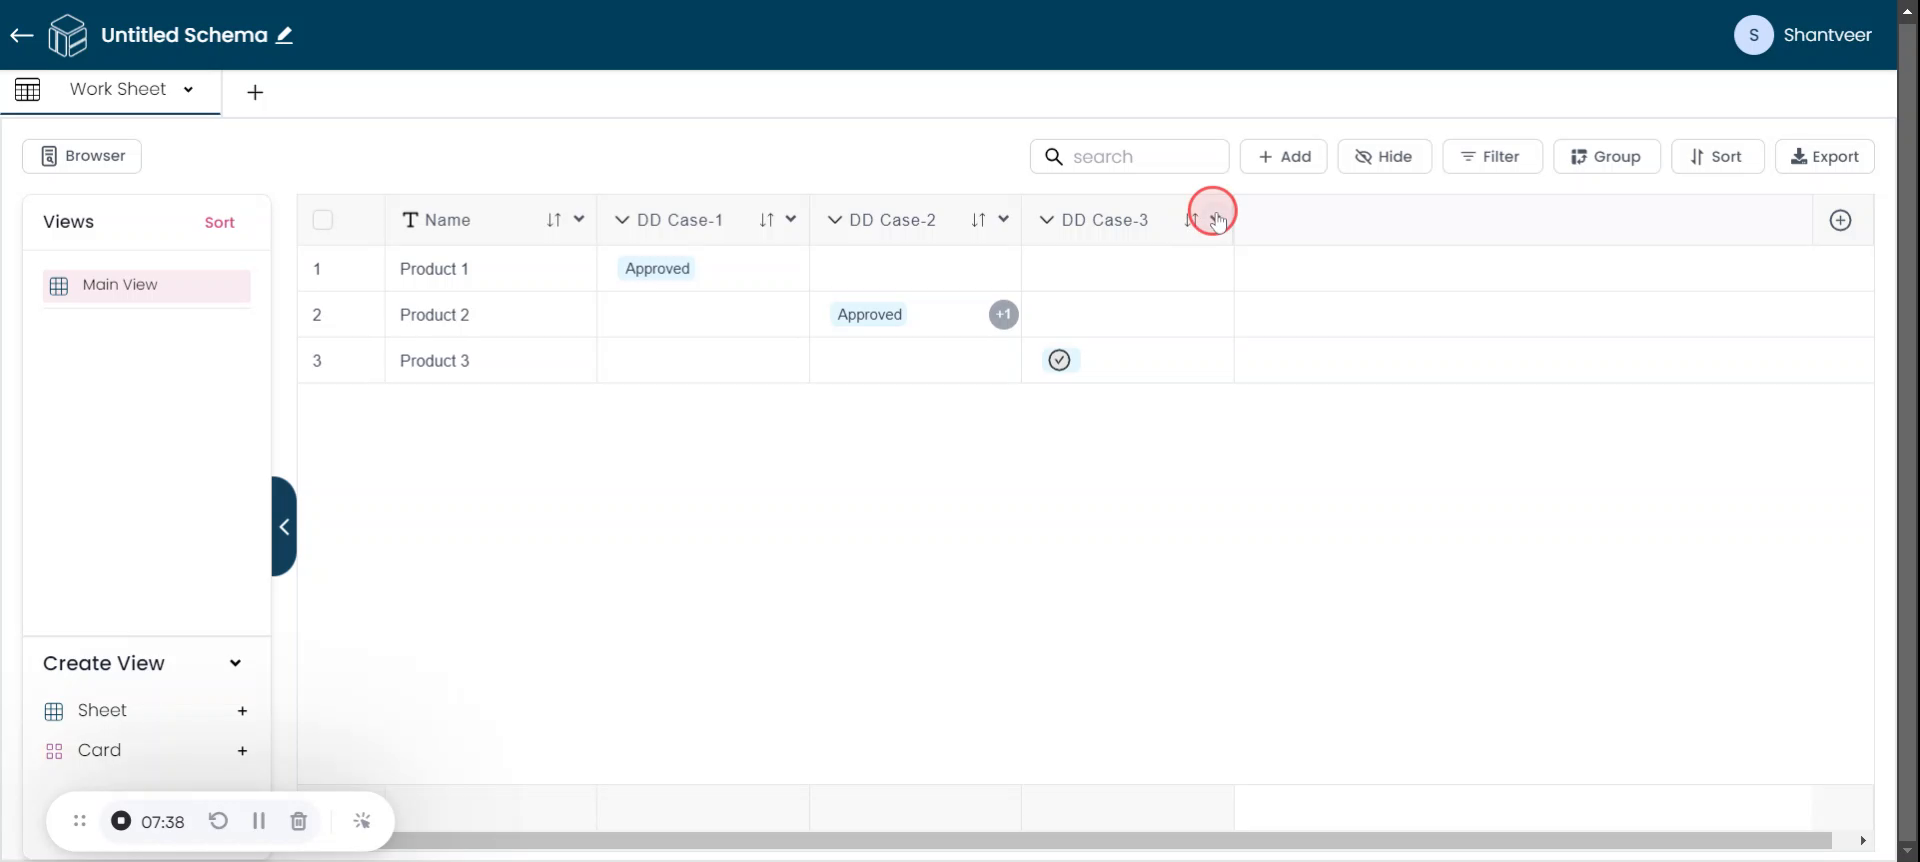
Only Icons Displayed
The row is added to the worksheet and In DD case- 3, only the icons will be displayed.
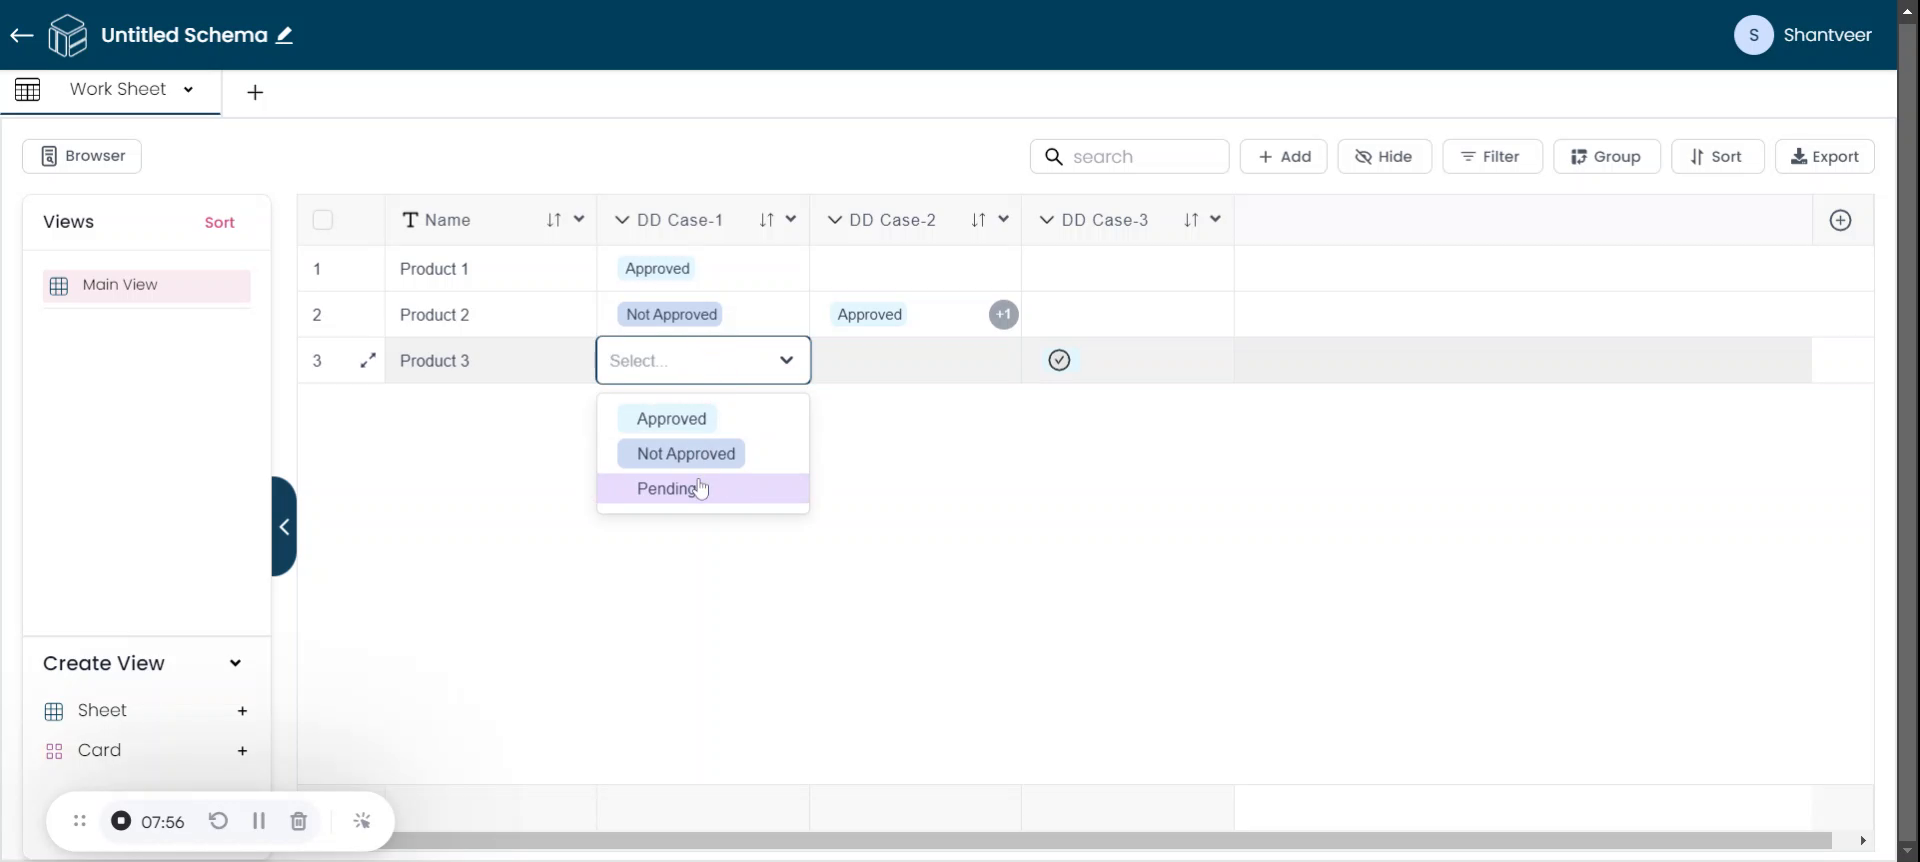
Double-Click To Edit
You can also update rows by double click on the particular cell that which you want to update/edit.
Try out: Combination of Single select dropdown with by enabling icon only option and Multi select drop down with by enabling icons only option