Adding a Rich Text Field
In this guide, we will show you how to add the Rich Text field and its features to our worksheet.
Click the 'Add Row' button, select the 'Rich Text' option from the 'Type' dropdown in the popup, give the field a name of your choice, and click 'Save' to add the field to the worksheet.
 Fig-1
Fig-1
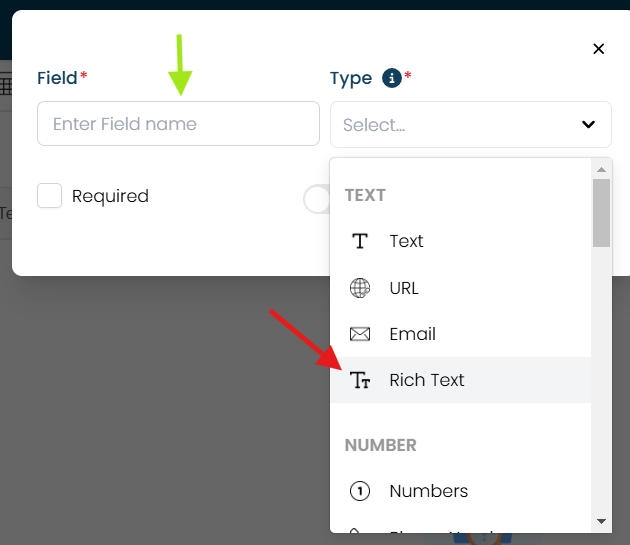 Fig-2
Fig-2
Click the 'Add' button to add the records/rows to the worksheet.
 Fig-3
Fig-3
Once you click the 'Add' button, a pop-up will appear. You can either click on the field to type the content you want to enter, or press '/' to open some options.
 Fig-4
Fig-4
These are some options that will be displayed when the user presses '/'.
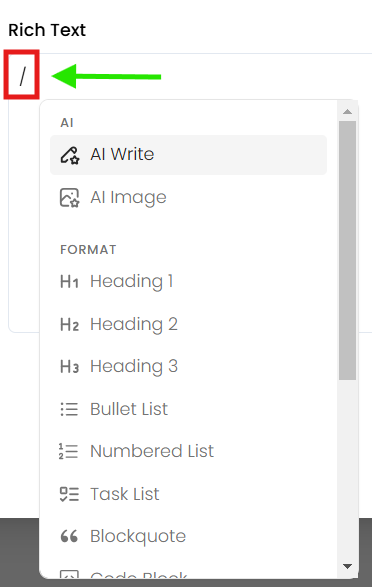 Fig-5
Fig-5
AI Write
When the user clicks on the 'AI Write' option, a prompt space will appear where you can enter your content.
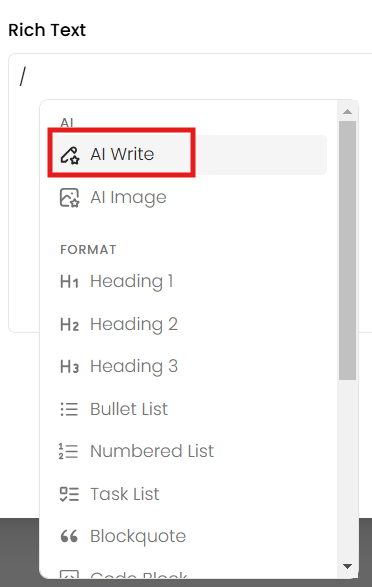 Fig-6
Fig-6
 Fig-7
Fig-7
Then, you can type your text and click on 'Generate' to create the content.
 Fig-8
Fig-8
To add the content to the field, click on 'Insert.' You can also regenerate the content and set the content type by clicking on the downward arrow of the default option. To remove the content, click on the 'Discard' button.
 Fig-9
Fig-9
To save the content, click the 'Save' button. It will then be added to the existing worksheet.
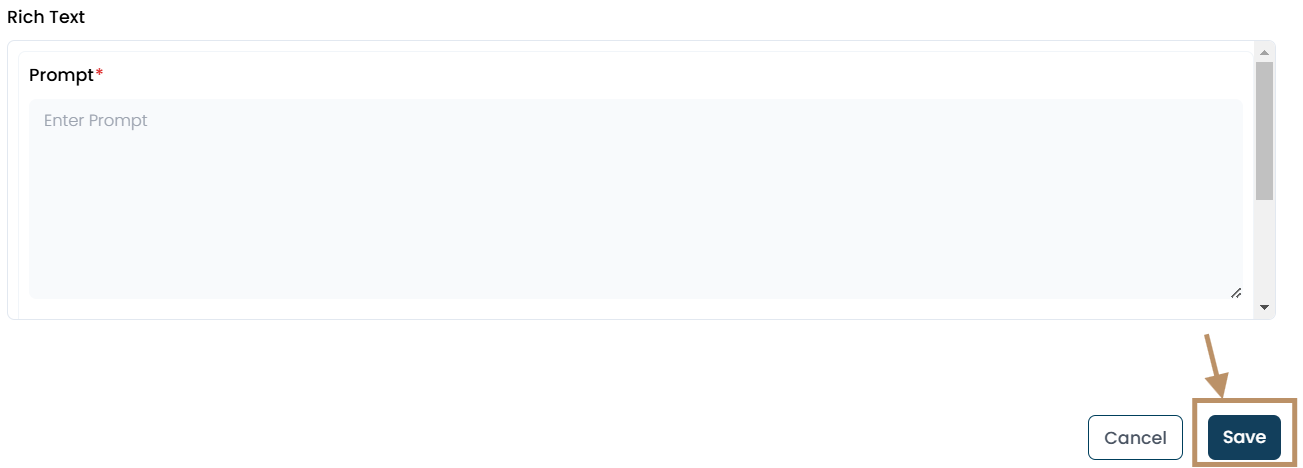 Fig-10
AI Image
Please repeat the same steps to add the AI images by clicking on the 'AI Image' option in the list.
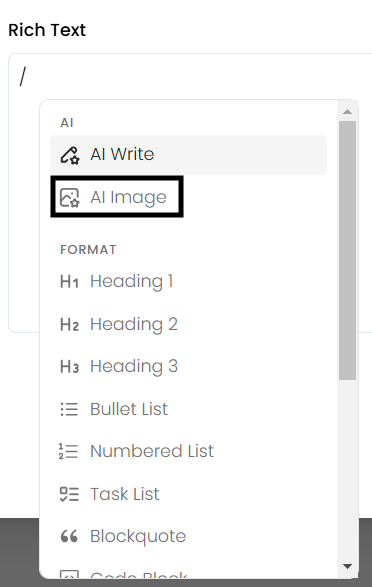 Fig-11
Headings
When you click on the Heading 1, Heading 2, or Heading 3 options, you can set the font size according to your requirements.
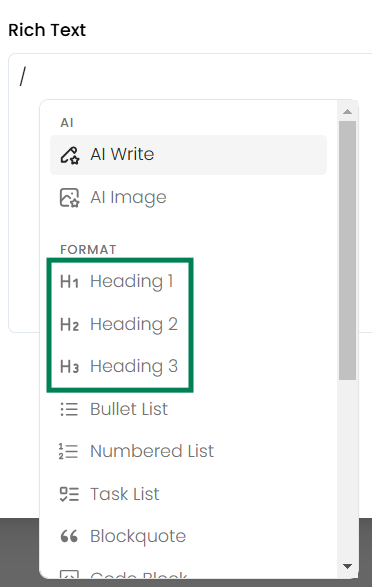 Fig-12
Bullet List
Clicking on the 'Bullet List' option will allow the user to add points as bullet points.
Fig-13
Number List
And the 'Number List' will allow the user to add content as numbered points.
Fig-14
Task List
Clicking on the 'Task List' option allows you to add tasks.
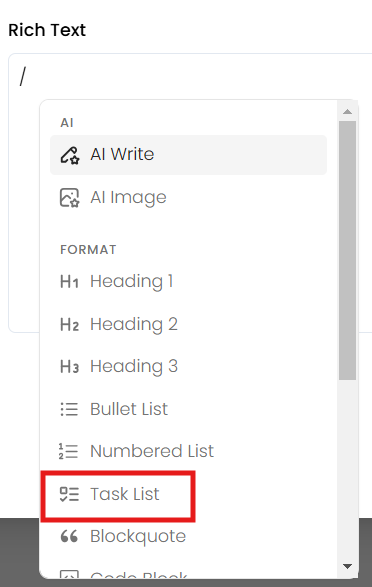 Fig-15
After adding a task, clicking on the radio buttons will mark the task as completed by striking it through.
Fig-16
Blockquote
Clicking on the blockquote option allows the user to highlight text from an external source or emphasize something.
Code Block
A 'Code Block' is used to display code in a fixed-width font, often in a separate section of text, to make it stand out from the rest of the content. It is typically used in programming documentation or tutorials to show snippets of code.
Fig-17
Table
It enables us to add multiple rows and columns.
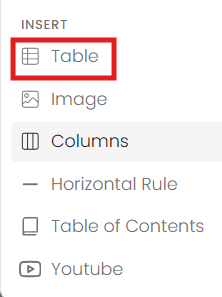 Fig-18
Fig-19
You can add/delete rows and columns by clicking on the three-dot option for the specific row or column.
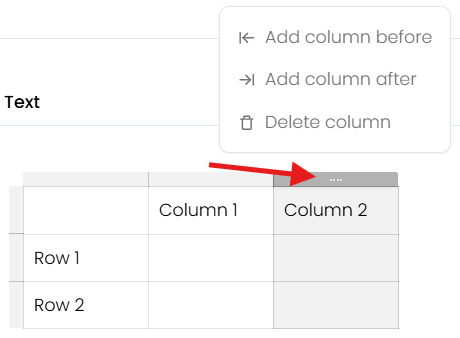 Fig-20
Image
Clicking on the image option allows the user to upload an image, and by clicking on the drag-and-drop image here area, the user can also upload an image.
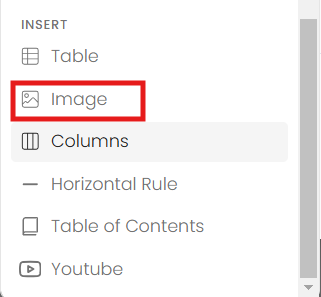 Fig-21
 Fig-22
Columns
It will allow the user to add their content in two different columns. and you can set up your content.
 Fig-23
Horizontal Rule
A horizontal rule is used in text formatting to create a visible line that separates content. It's commonly used in documents, web pages, and markdown files to visually divide sections or topics.
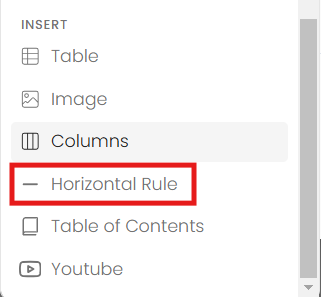 Fig-24
Fig-25
Table of Content
A Table of Contents is a list that outlines the sections or chapters of a document, typically organized in hierarchical order. It provides an overview of the content, allowing readers to quickly navigate to specific sections.
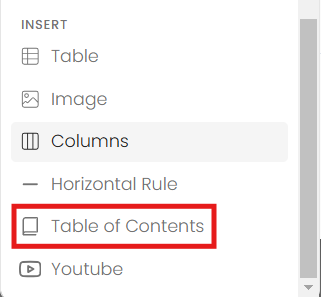 Fig-26
Fig-27
Refer to the link below for more clarification. https://screenrec.com/share/ZjnQyqP2Rx Vid-1
Youtube
This option enables us to add a video link in the URL field. Once the URL is added, click the 'Add' button, and it will be displayed in the field.
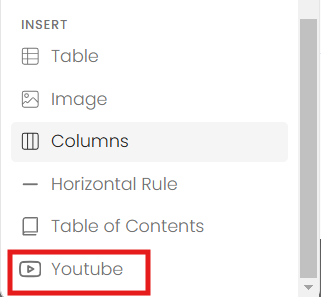 Fig-28
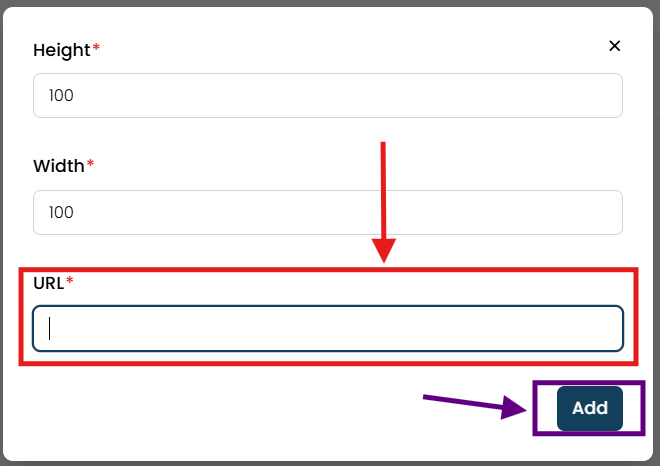 Fig-29