Adding Image Field
This guide provides a step-by-step process on how to add an image field to your worksheet. Follow the instructions carefully to ensure the image field is integrated correctly and functions as expected.
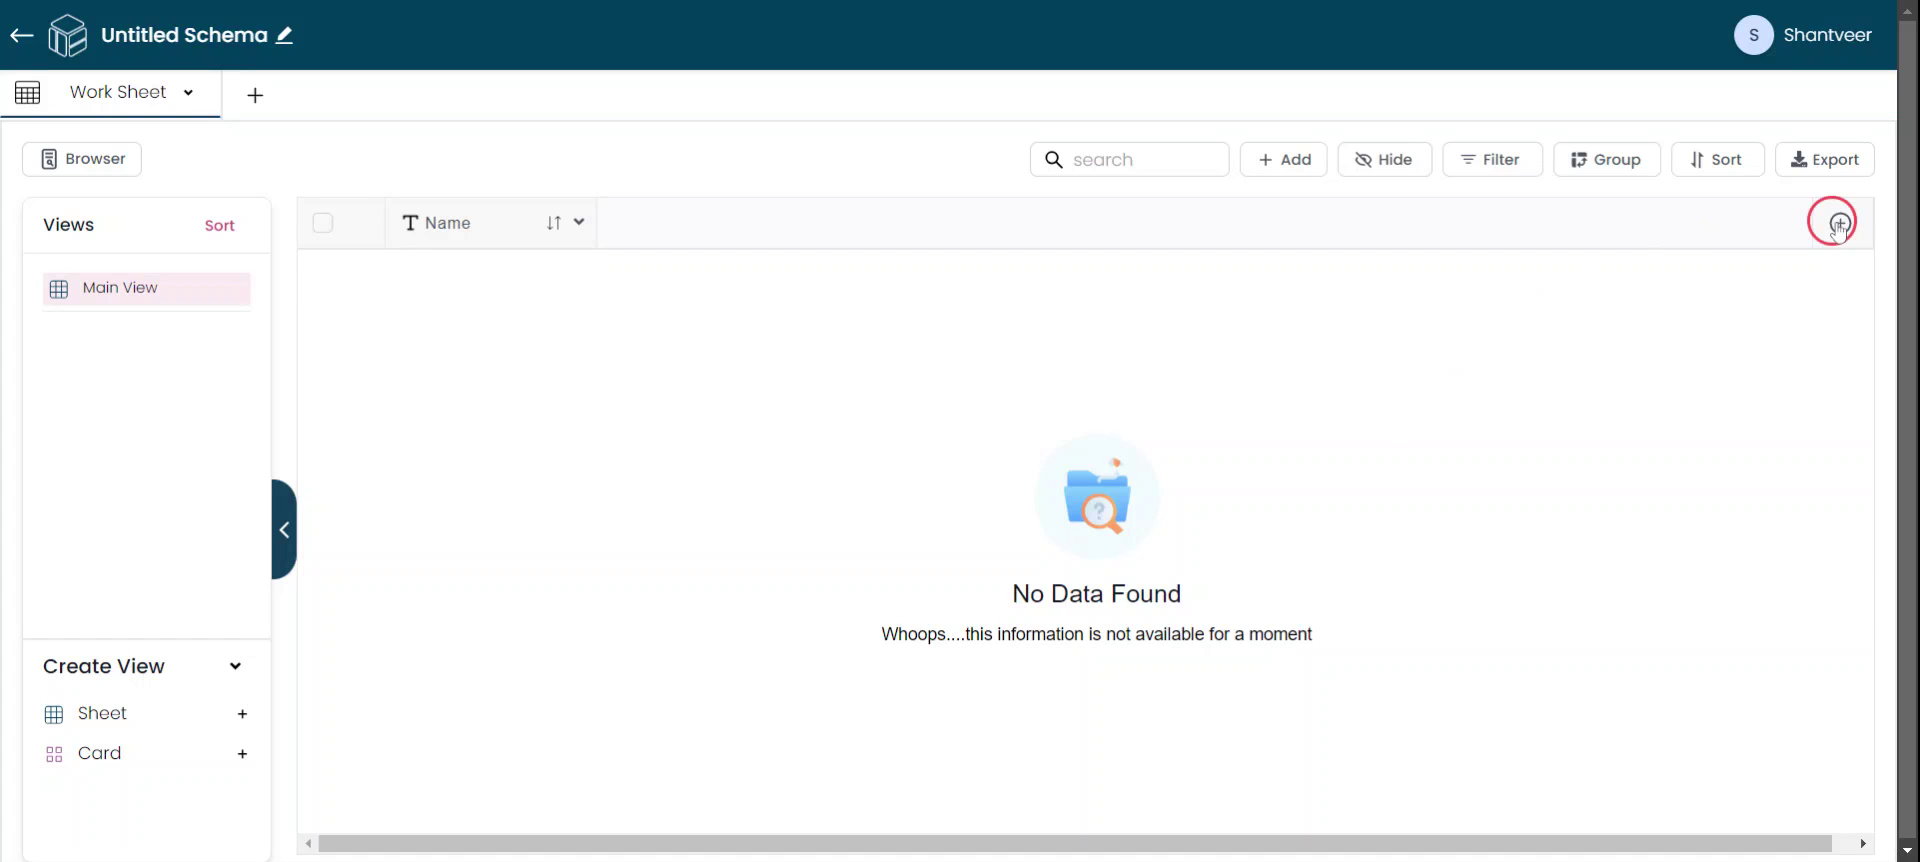
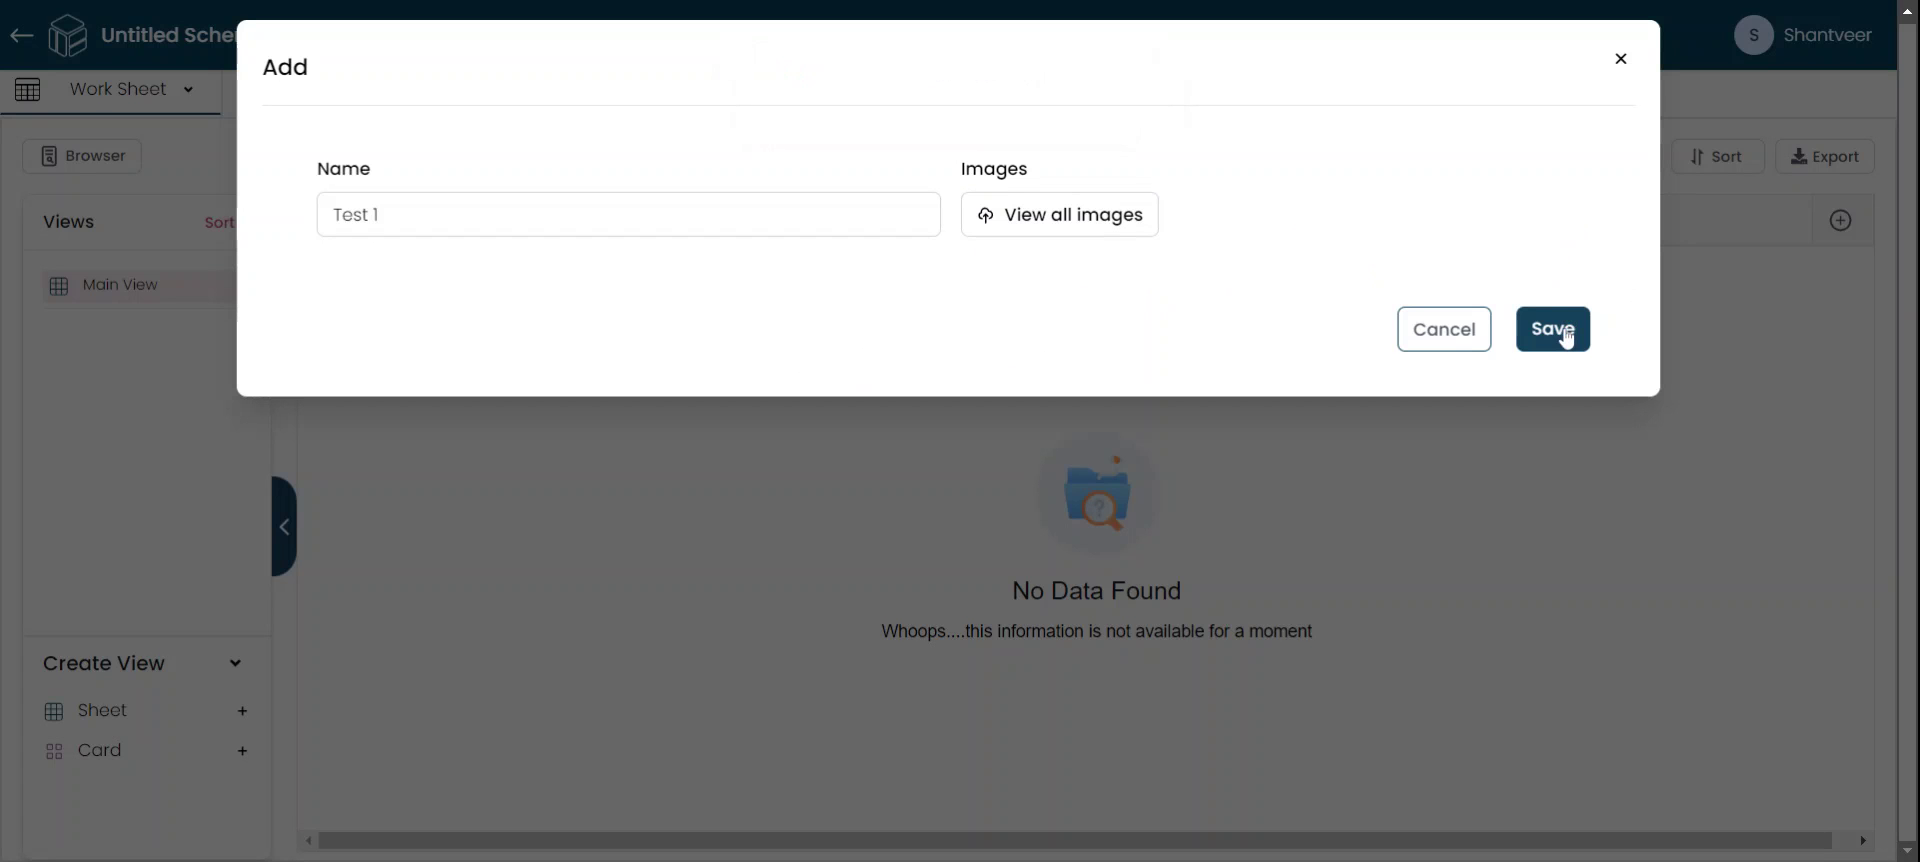
Add Image
To add an image field, click the plus icon. A pop-up will appear. In the pop-up, select 'image' from the type drop-down menu.
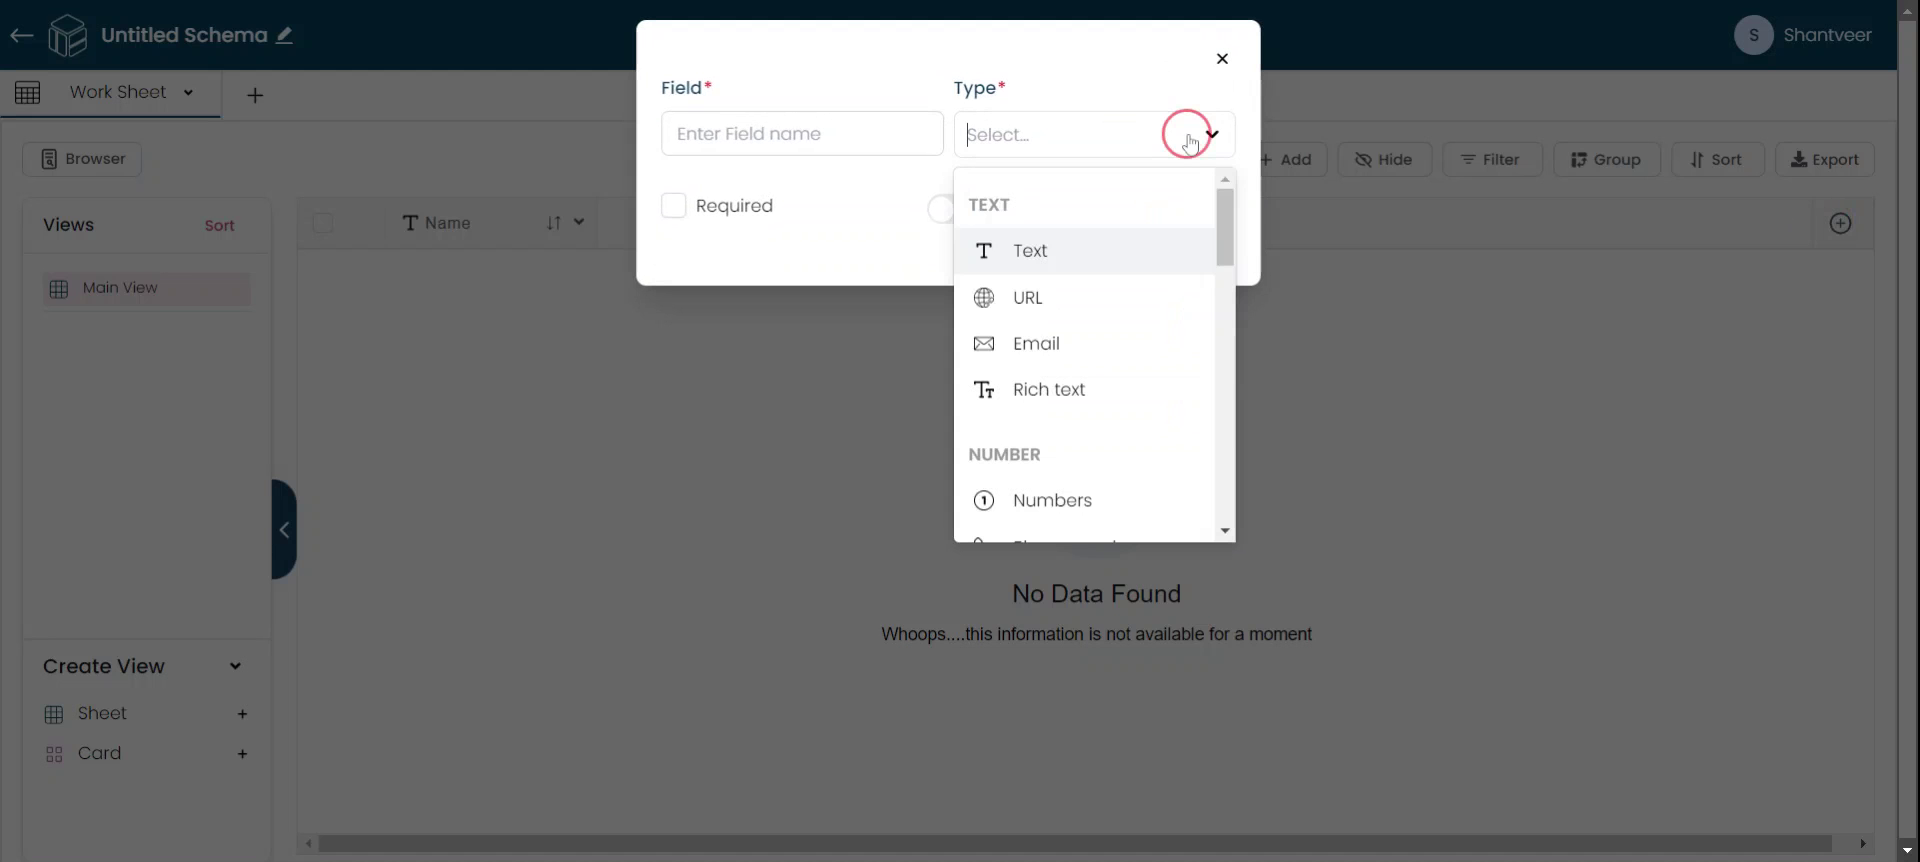
Configure Field
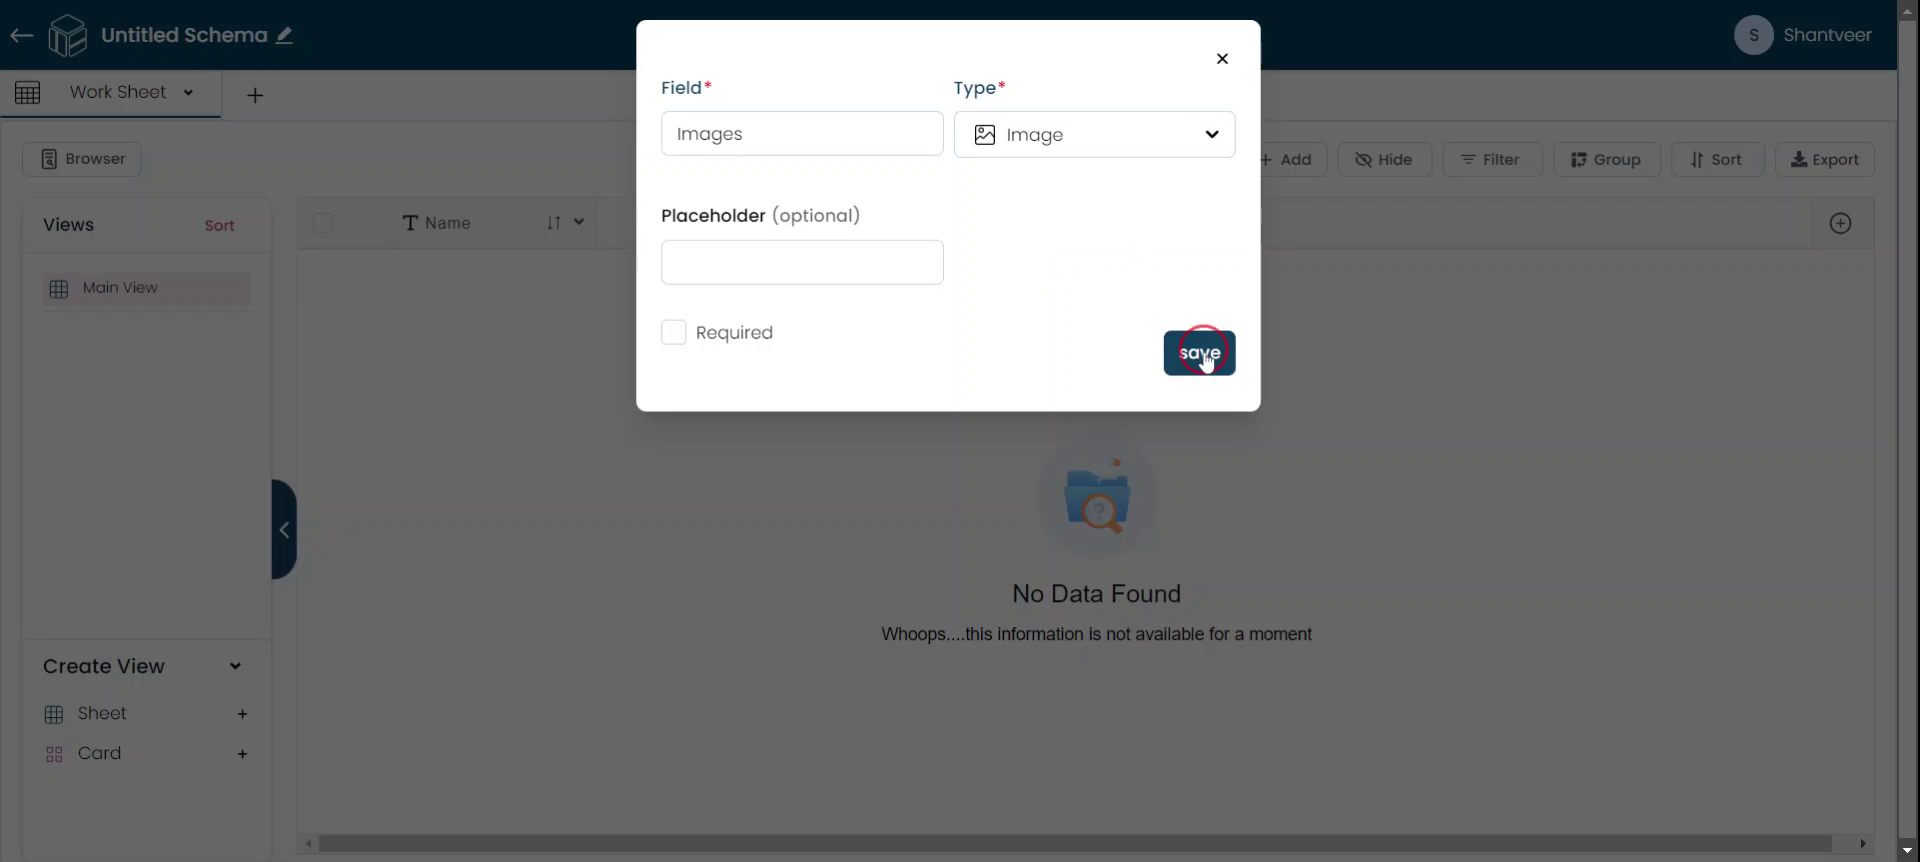
Set the field name according to your preference. You can set the placeholder for this and if you want the field to be mandatory, enable the required option.


Save Field
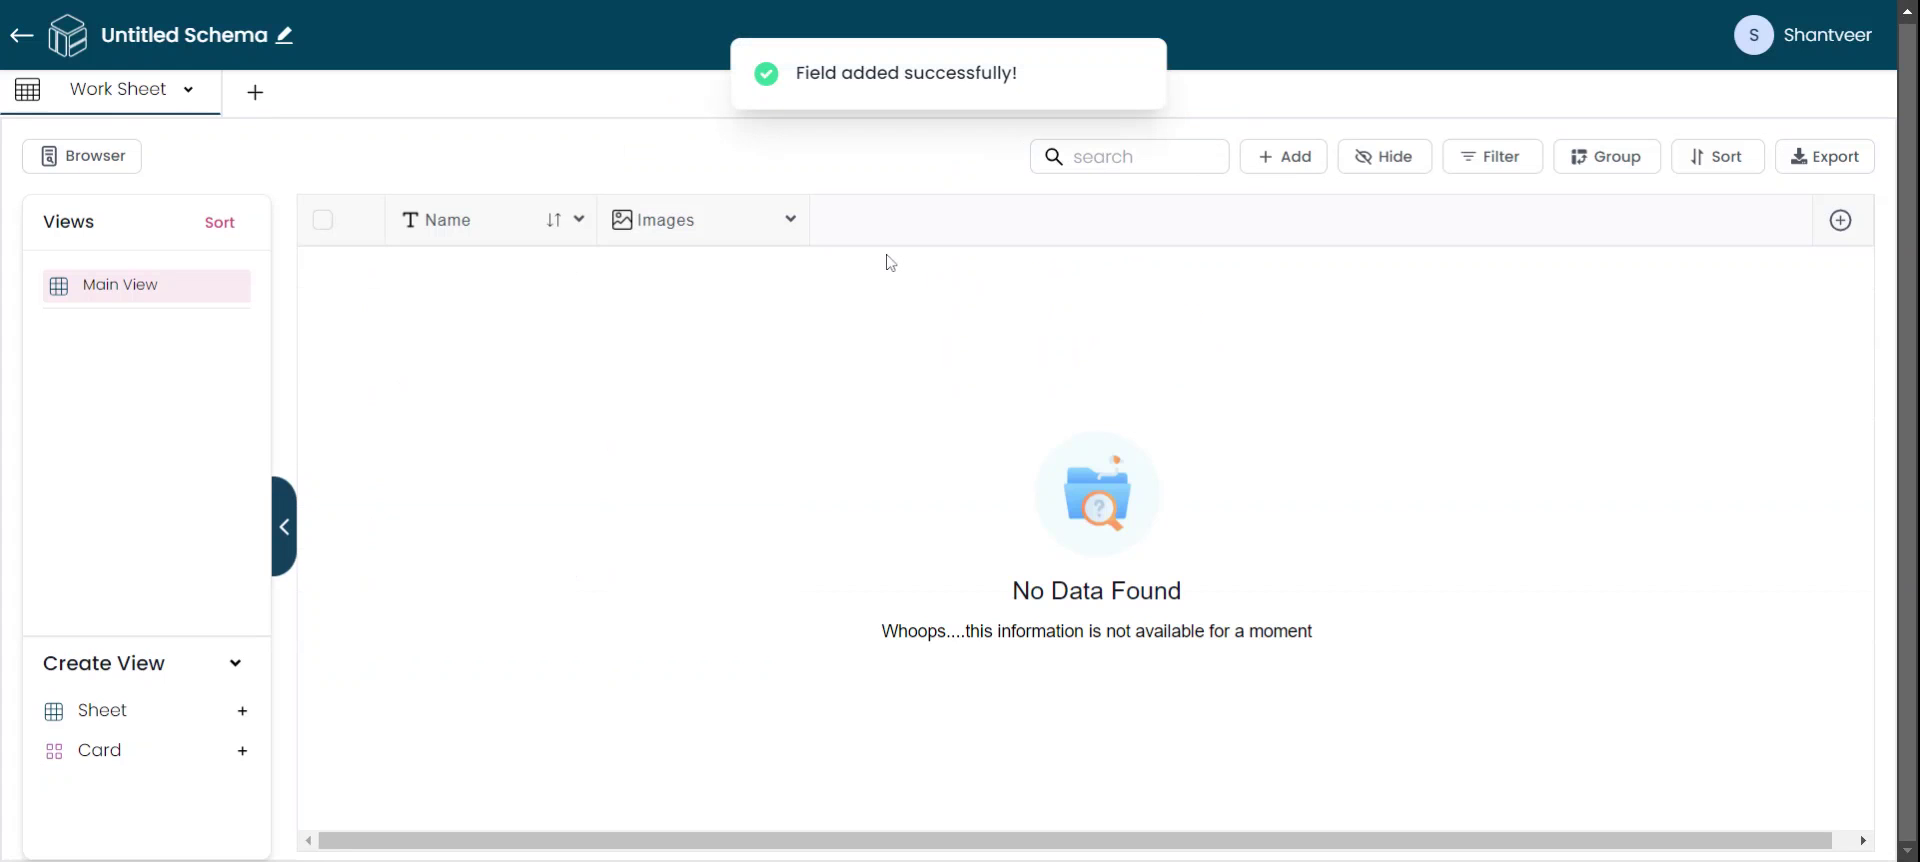
Fill in all the necessary details, then click 'Save.' The added field will appear in the existing worksheet.
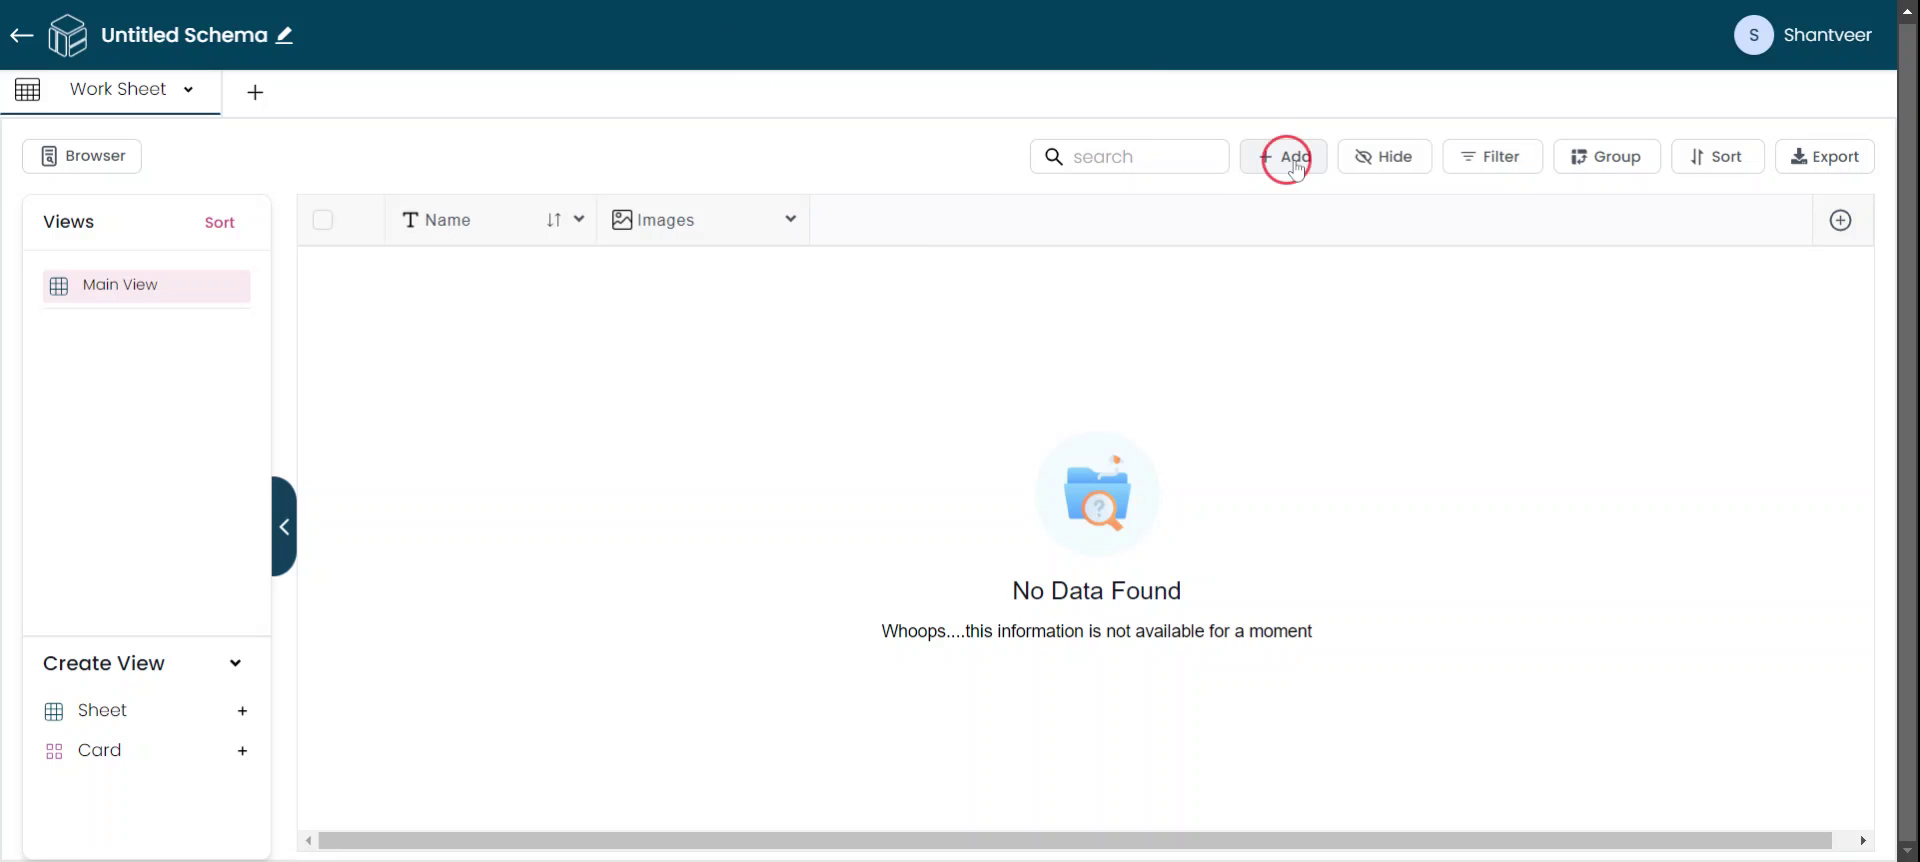
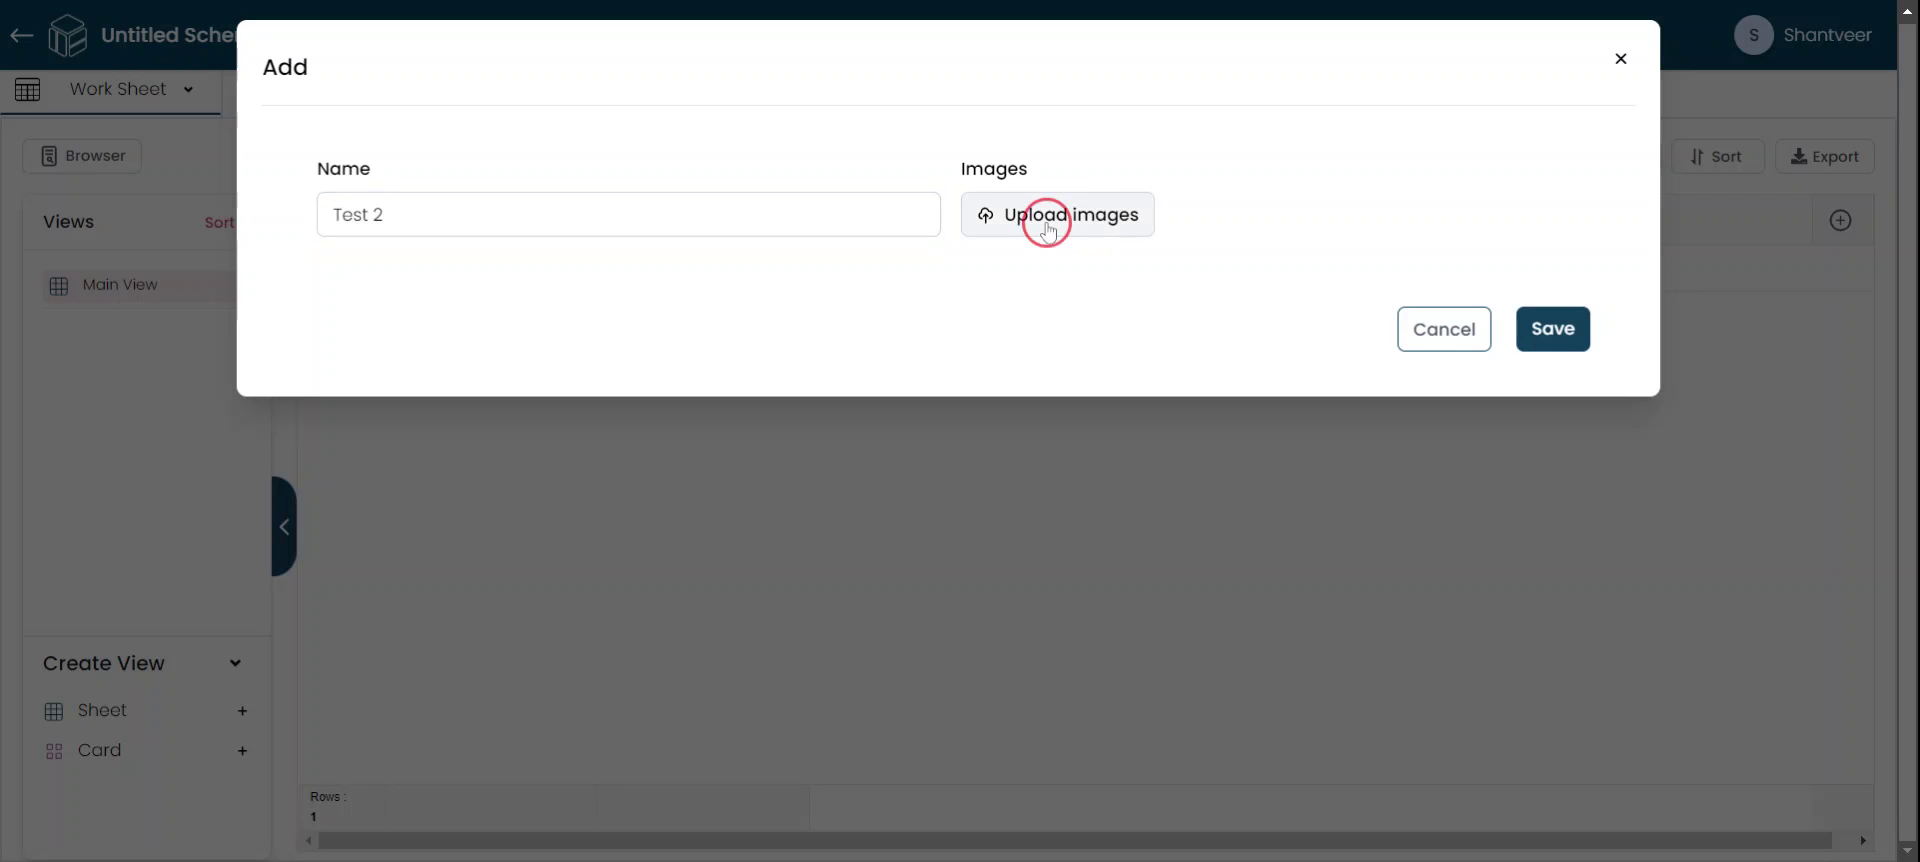
Add Row & Image
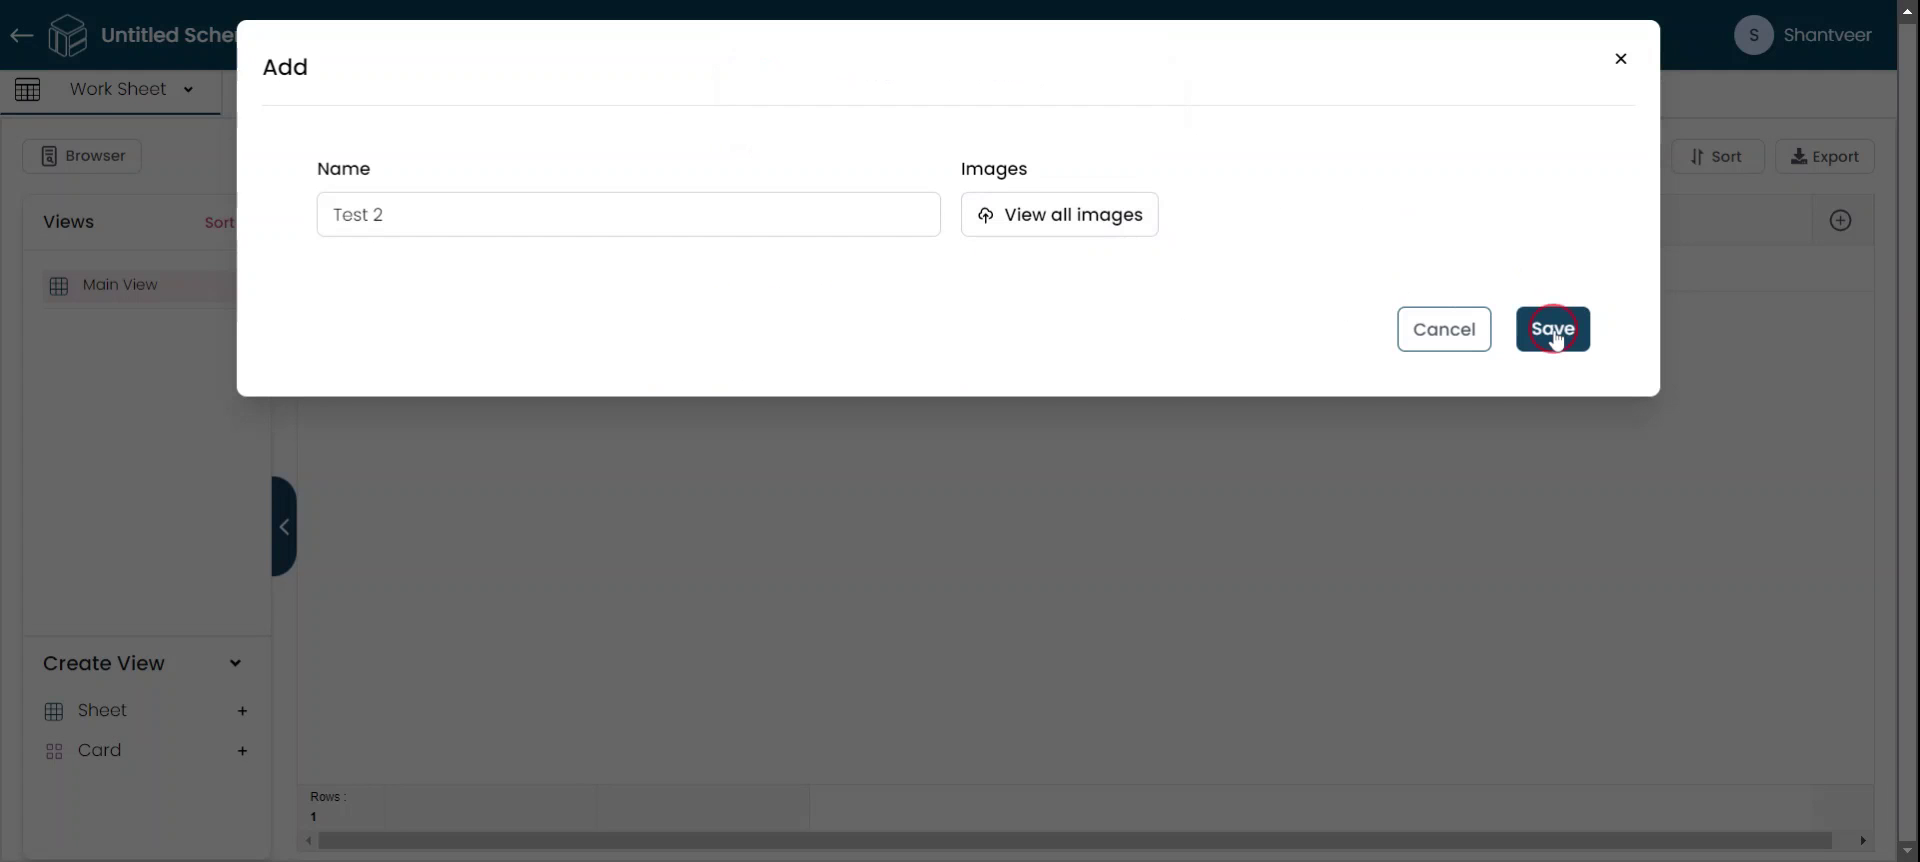
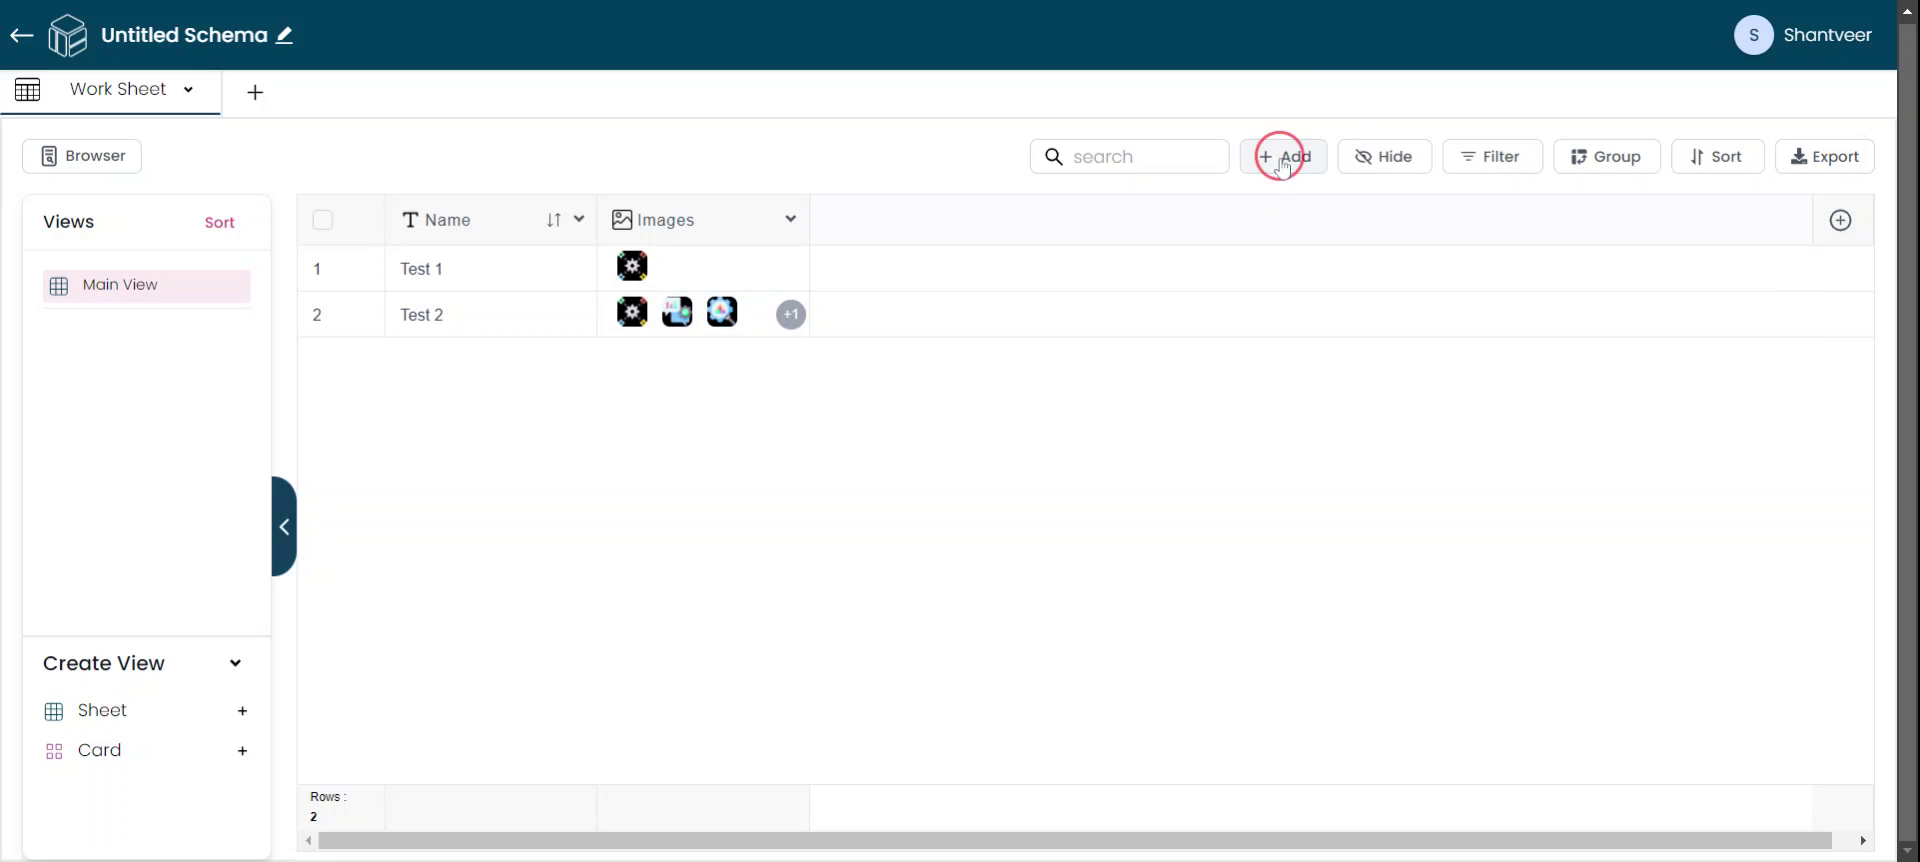
To add rows, click 'Add' and enter the other details. For the image field, click the 'Upload Image' button.

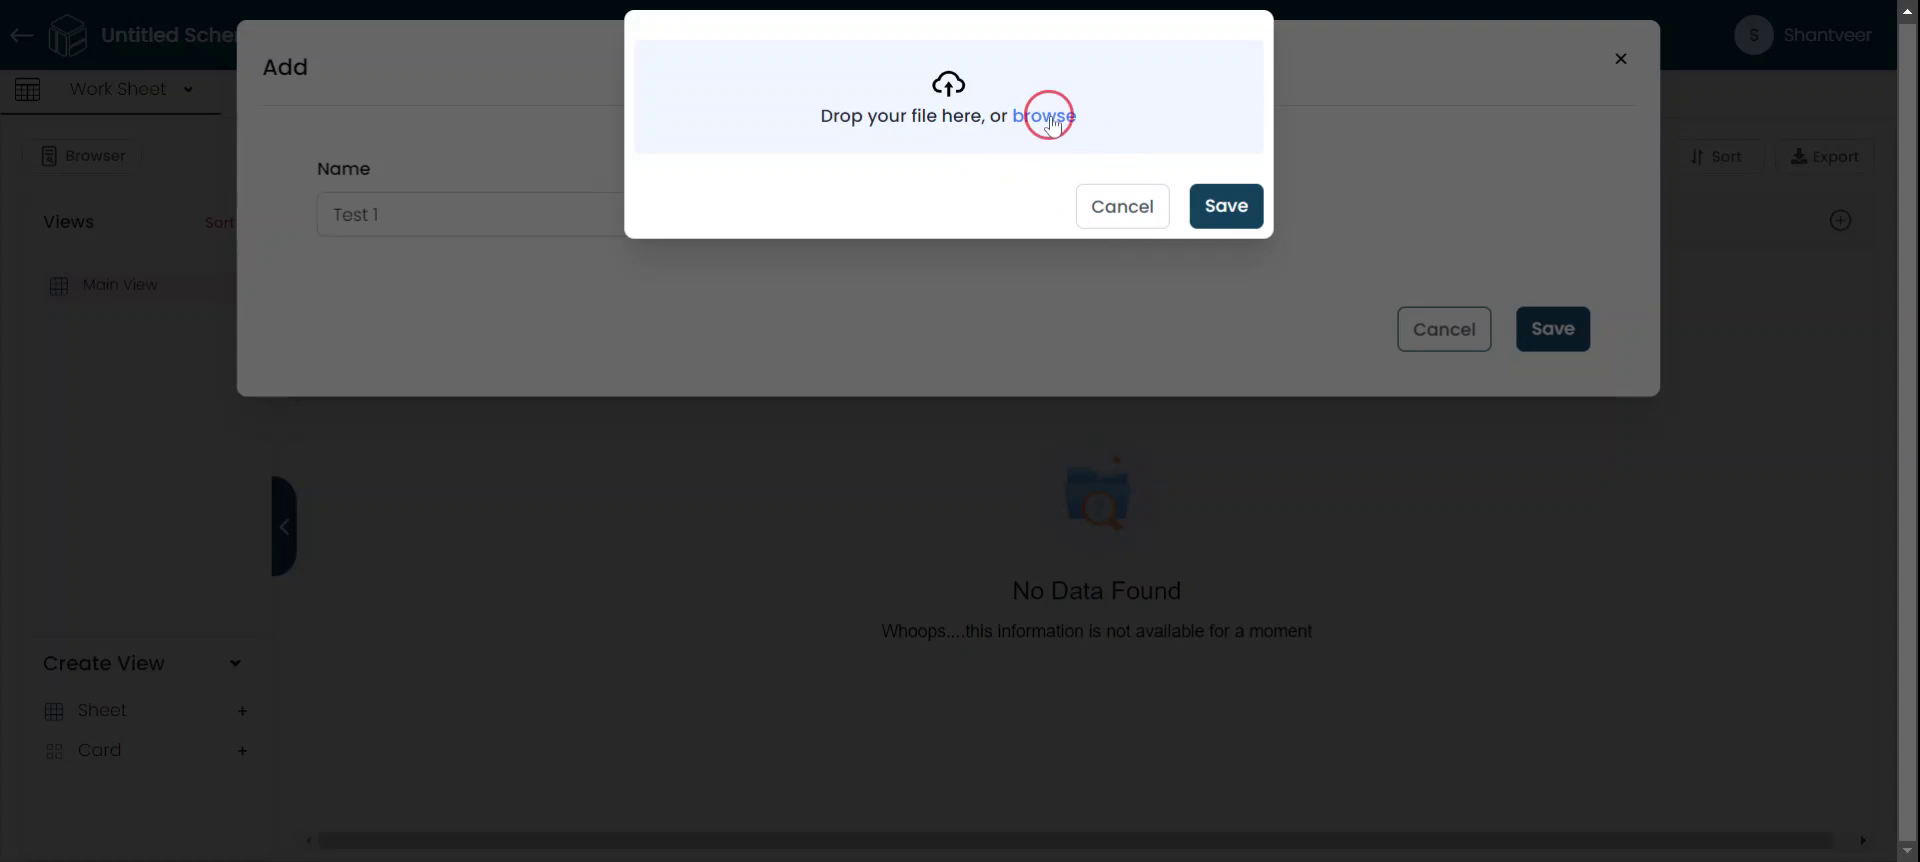
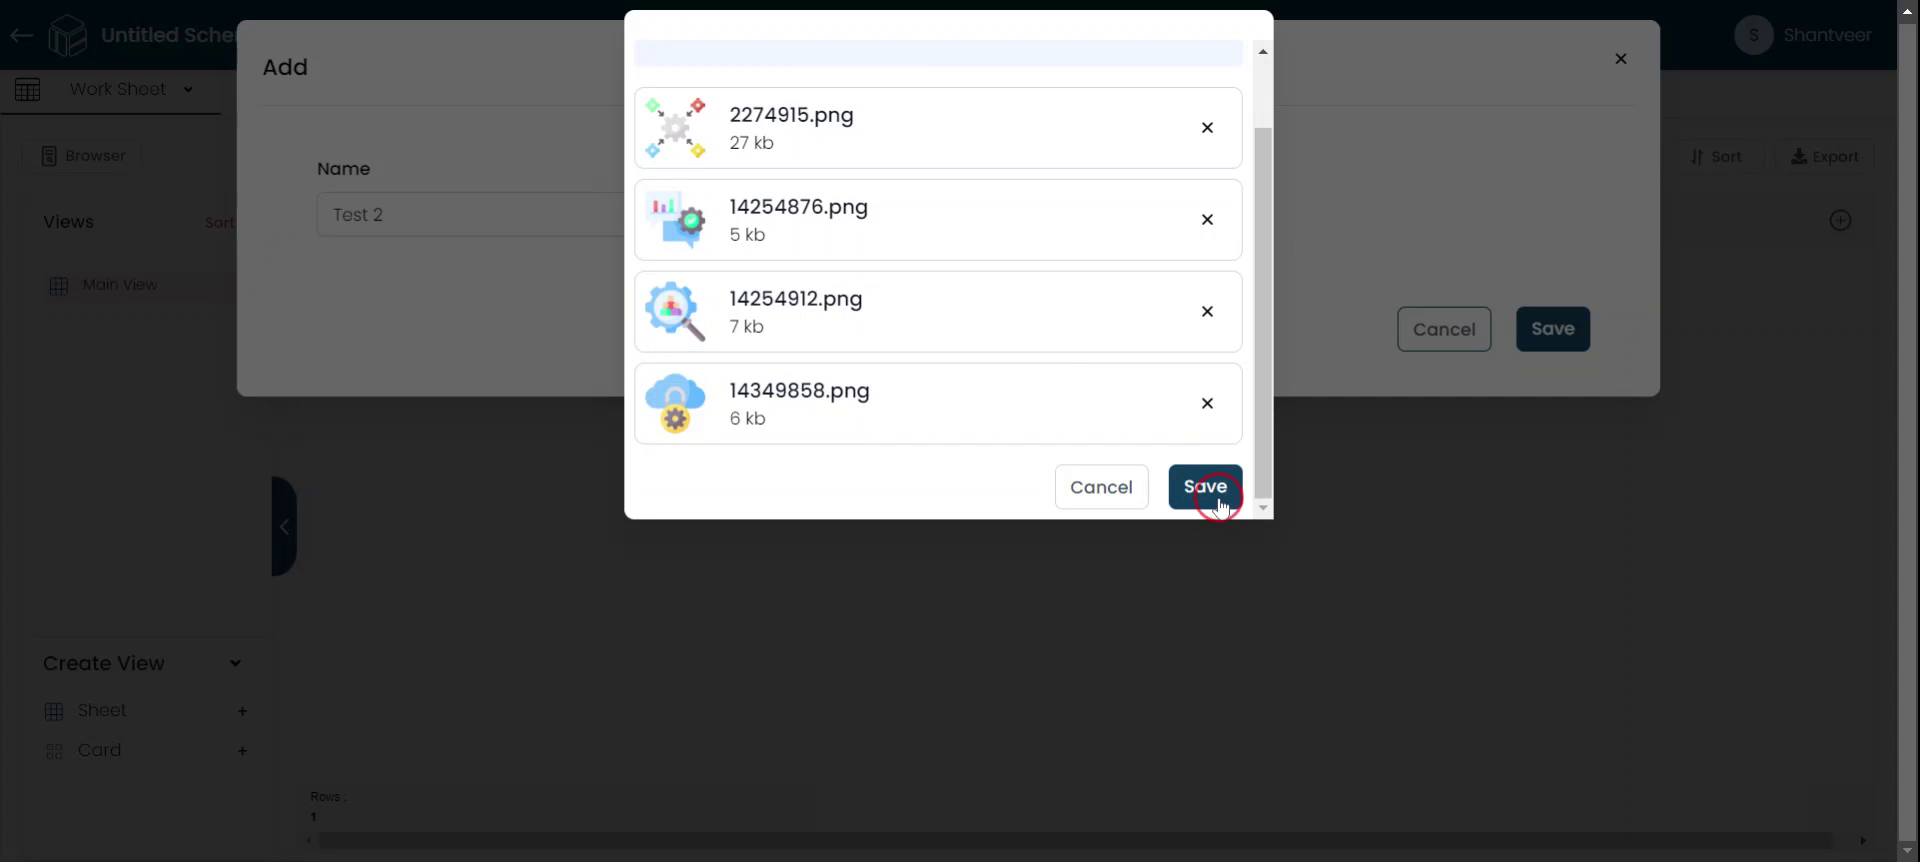
Upload Image
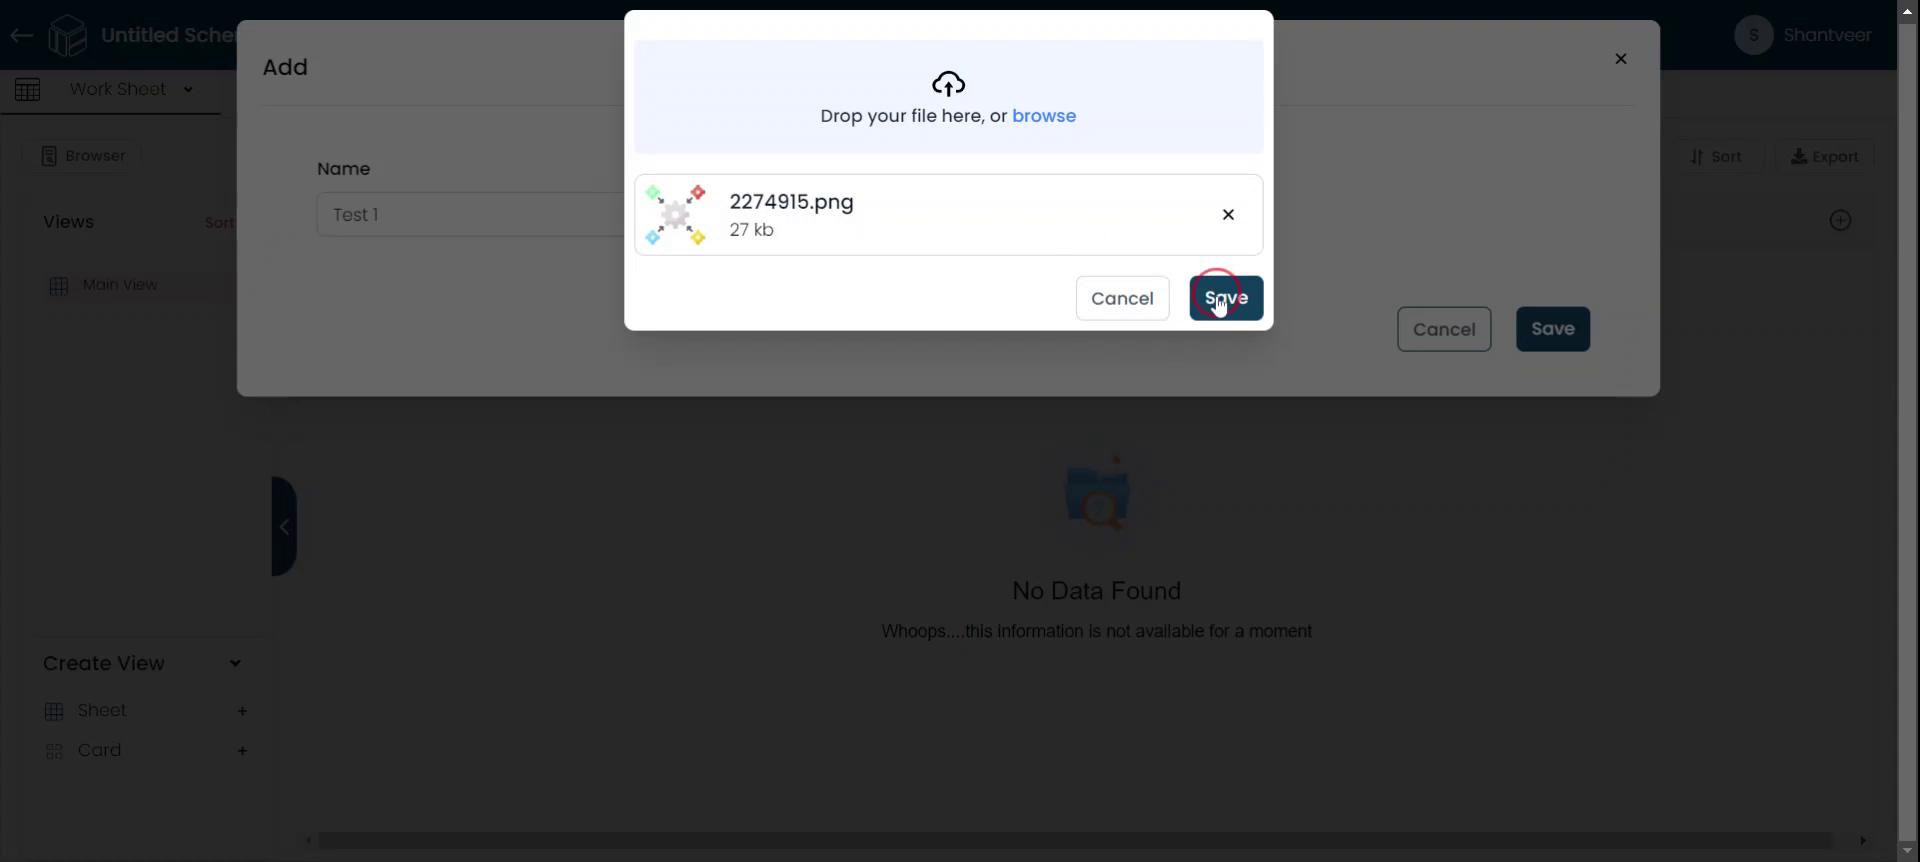
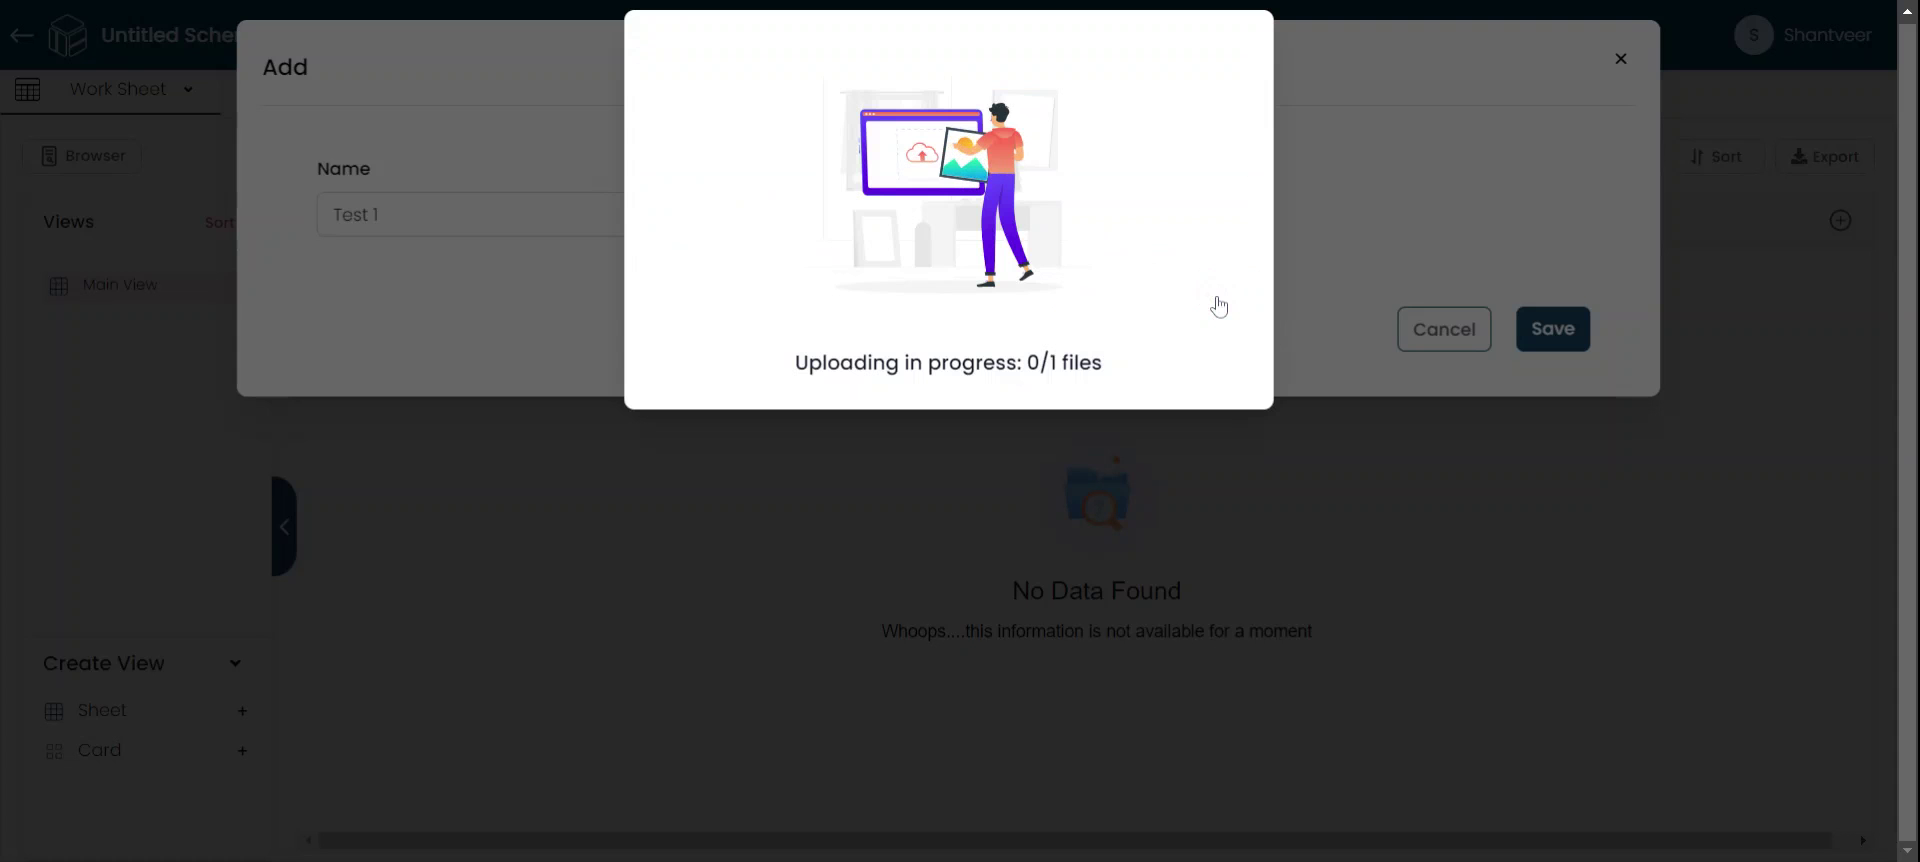
After clicking the 'Upload Image' button, a pop-up will appear. You can either drag and drop your images into the pop-up or click 'Browse' to select the image from your files. Once selected, click 'Save' to upload the image to the field.
Save Details
After filling in all the necessary details, click 'Save,' and the information will be added to the respective fields.
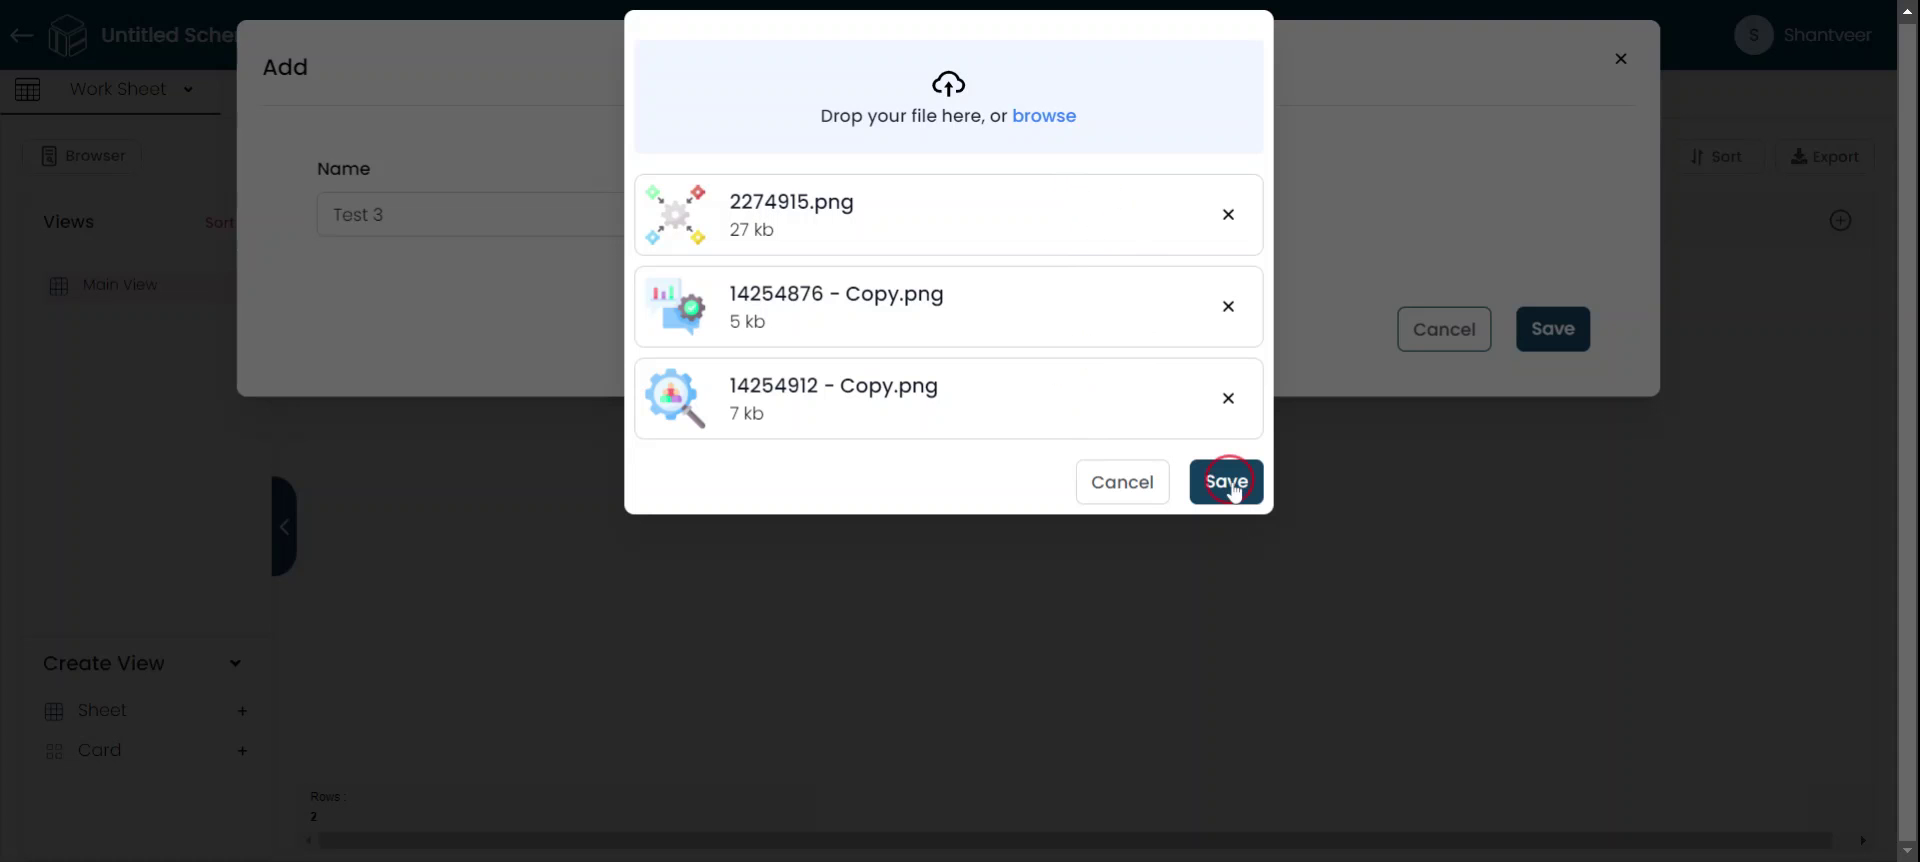
Upload Multiple Images
This time, we will upload multiple images. Click 'Add,' enter the field name, and then click 'Upload Images.' Browse and select the multiple images you want to upload, and then proceed with the upload.
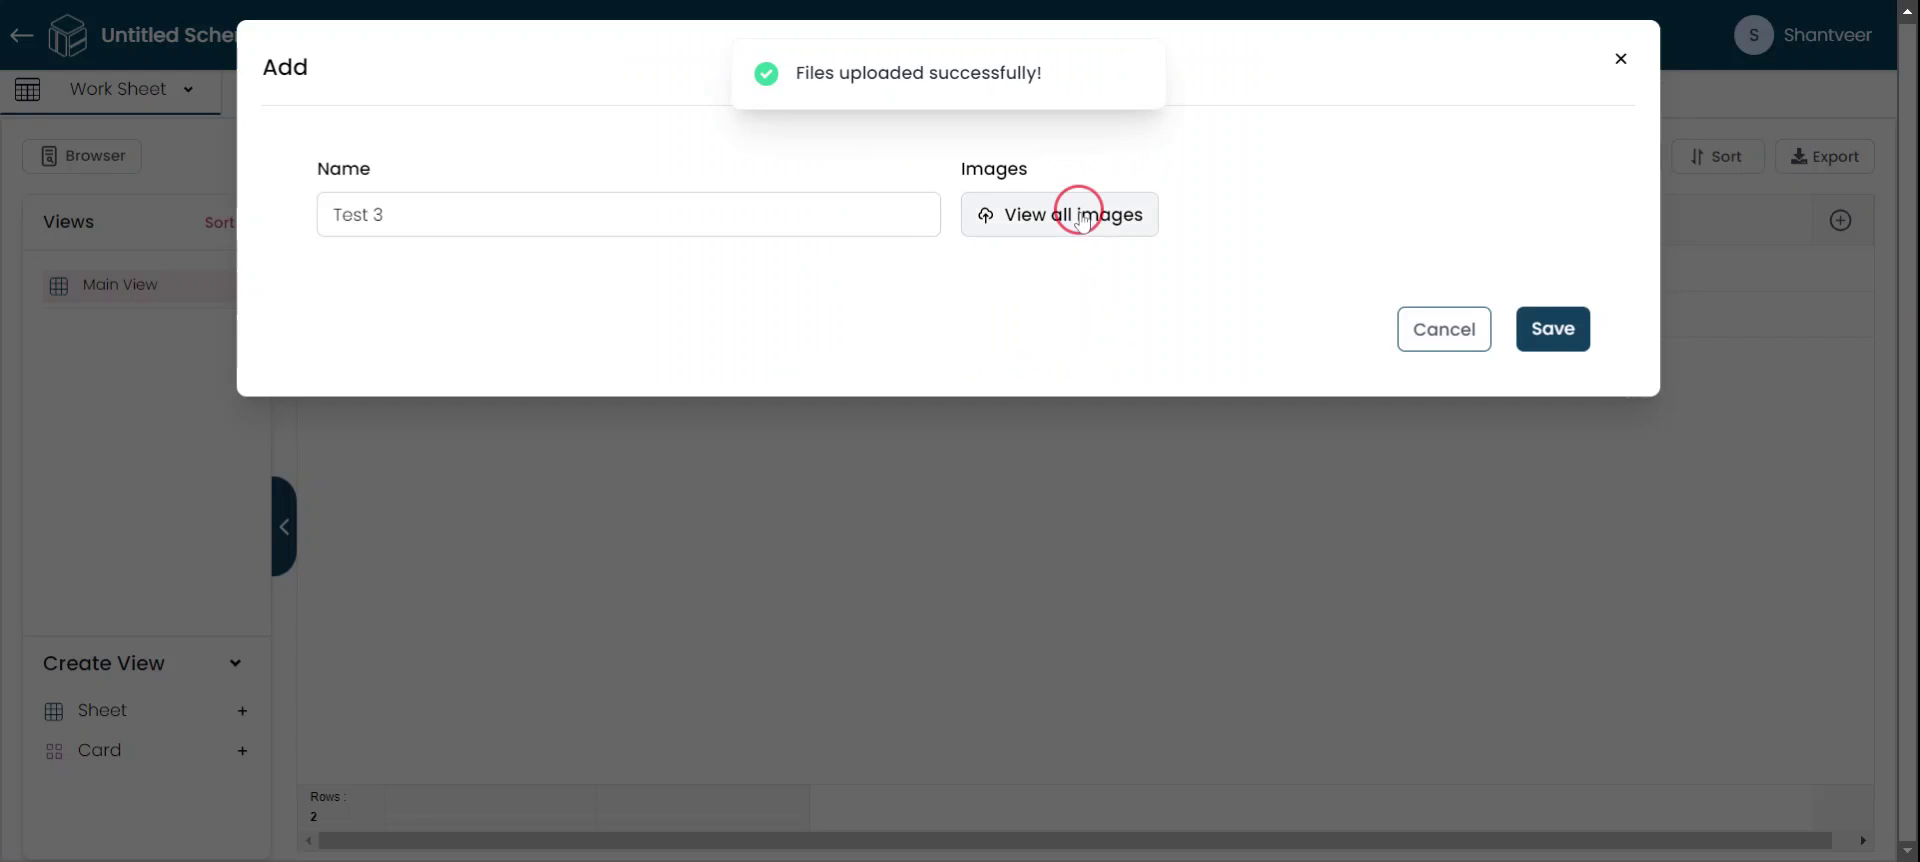
Save Uploaded Images
You will see that the selected images are uploaded to the image field. Click 'Save,' and the upload details will be displayed in the same pop-up. After adding all the other necessary details, click 'Save' again to complete the process.

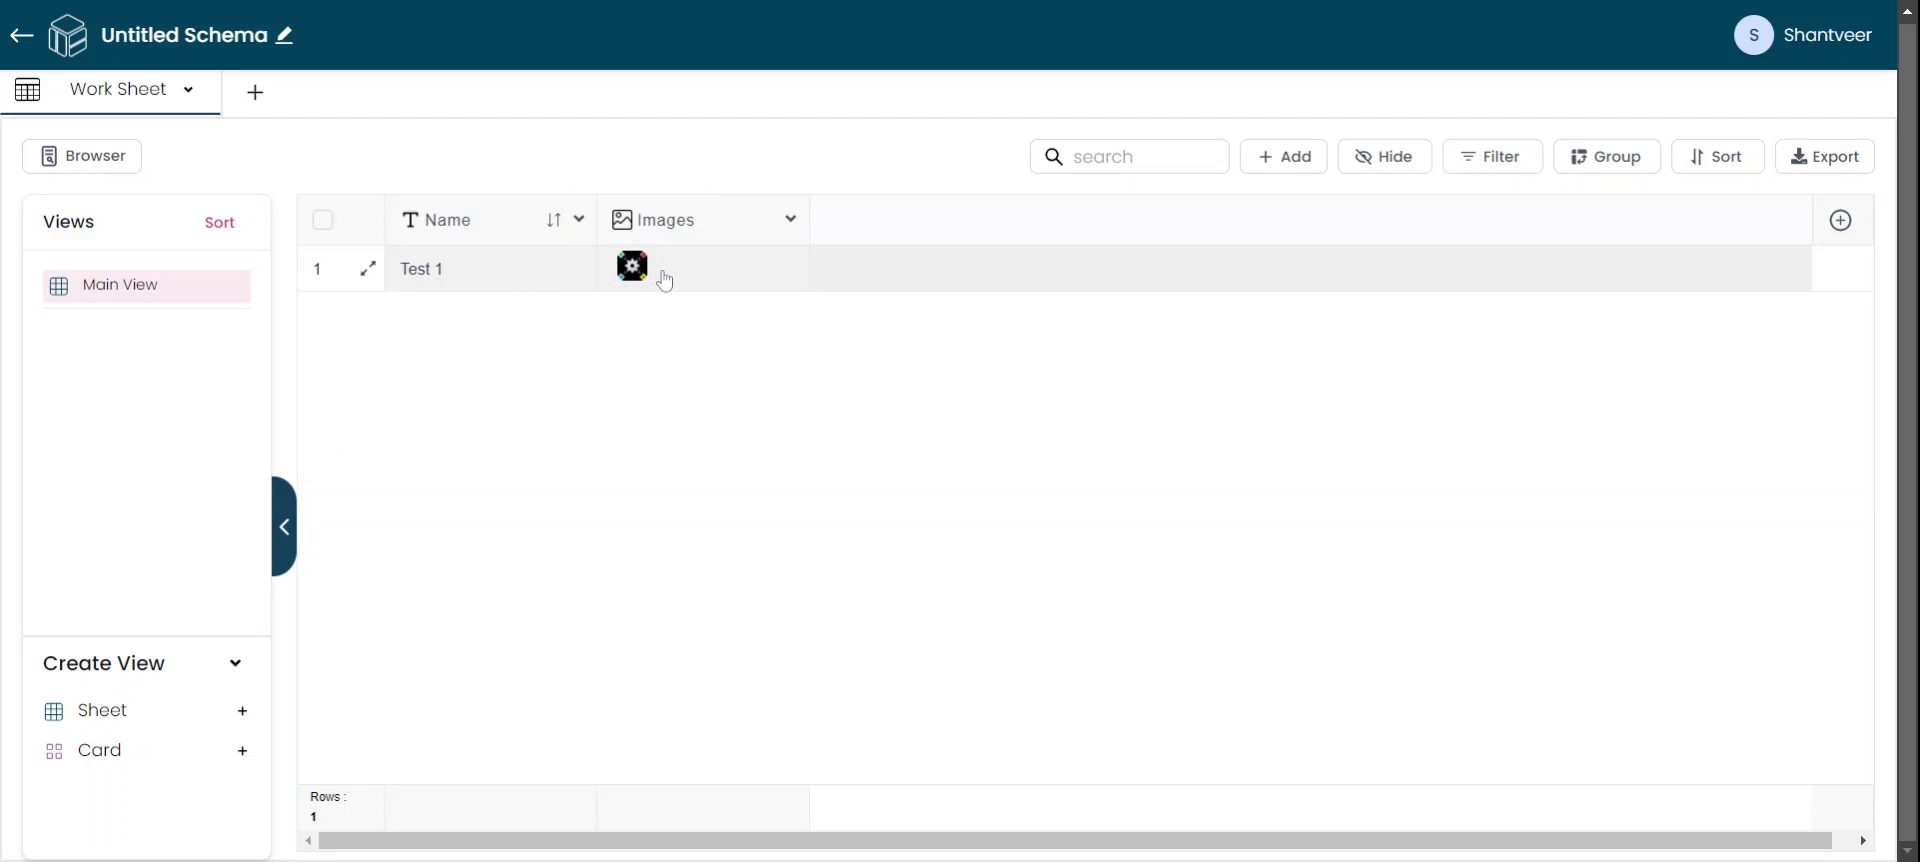
View Uploaded Images
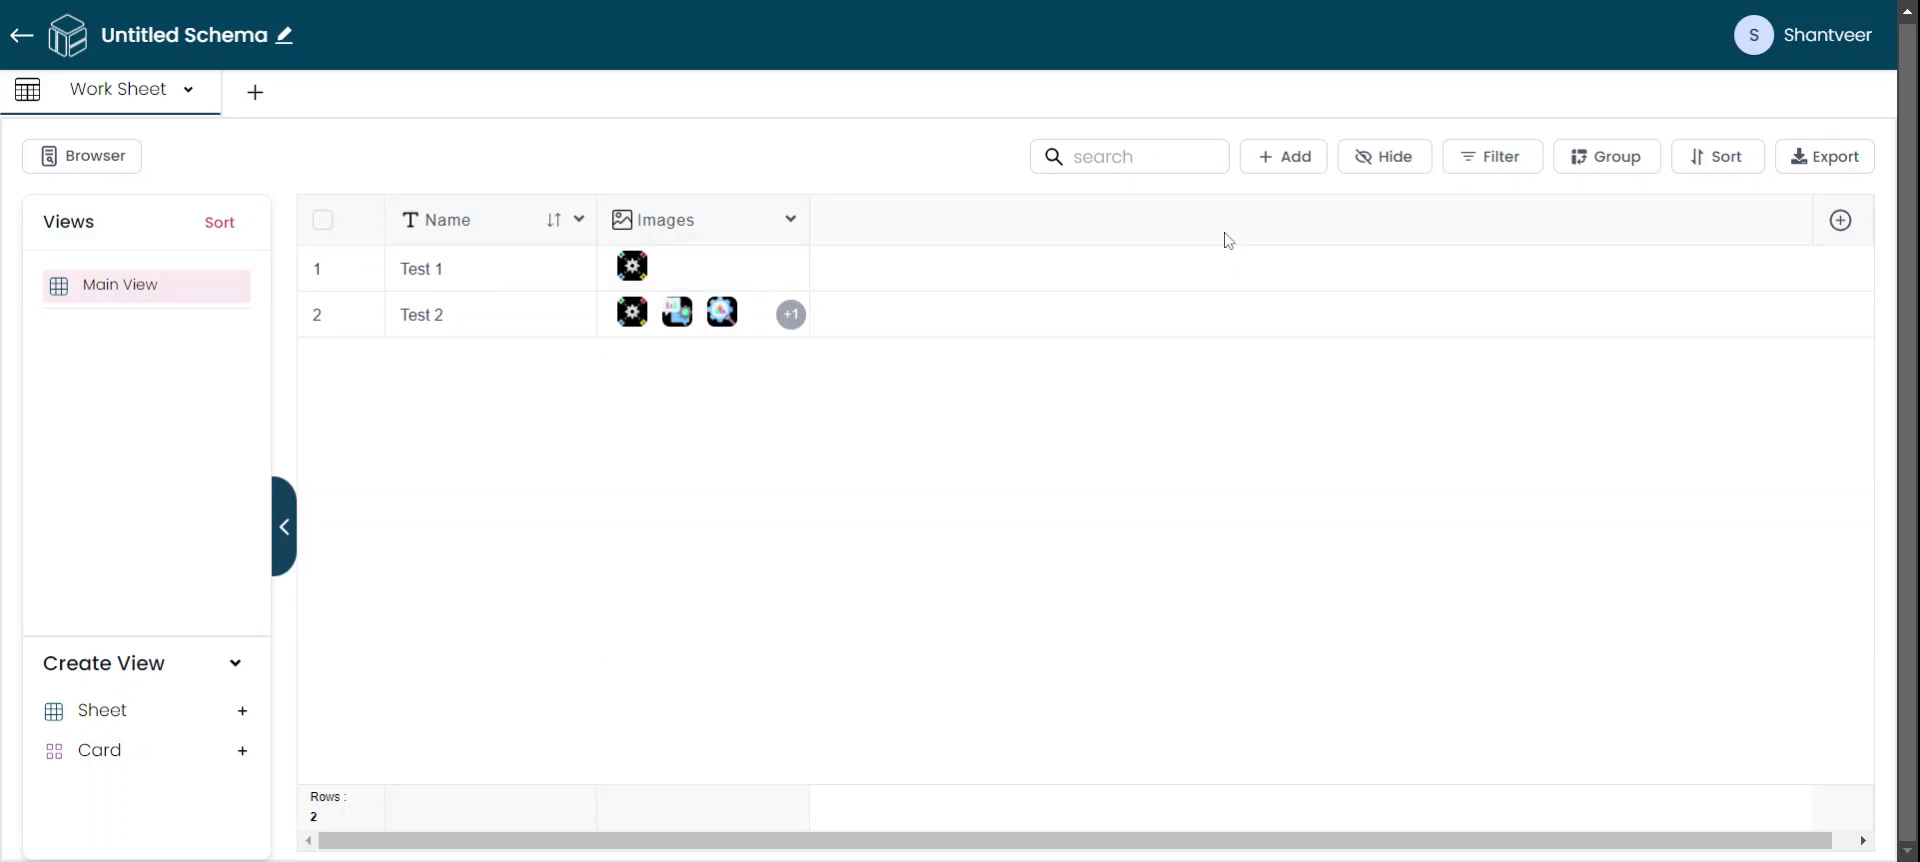
Observe that the images are now displayed in their respective rows.
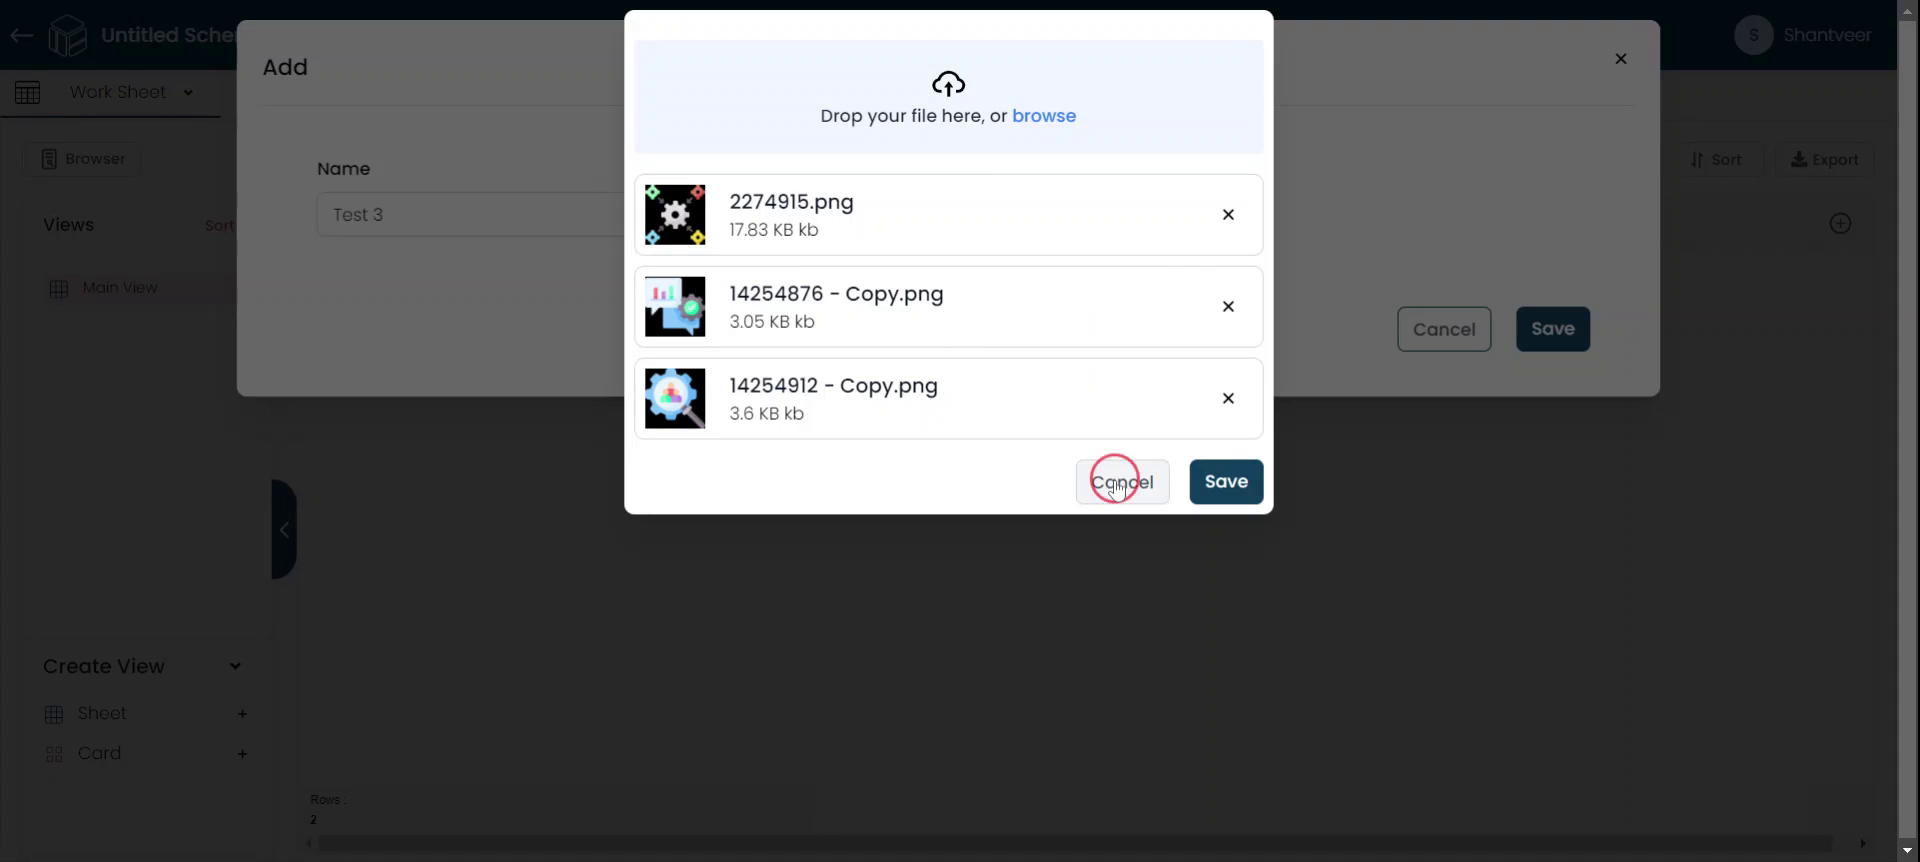
Delete Uploaded Images
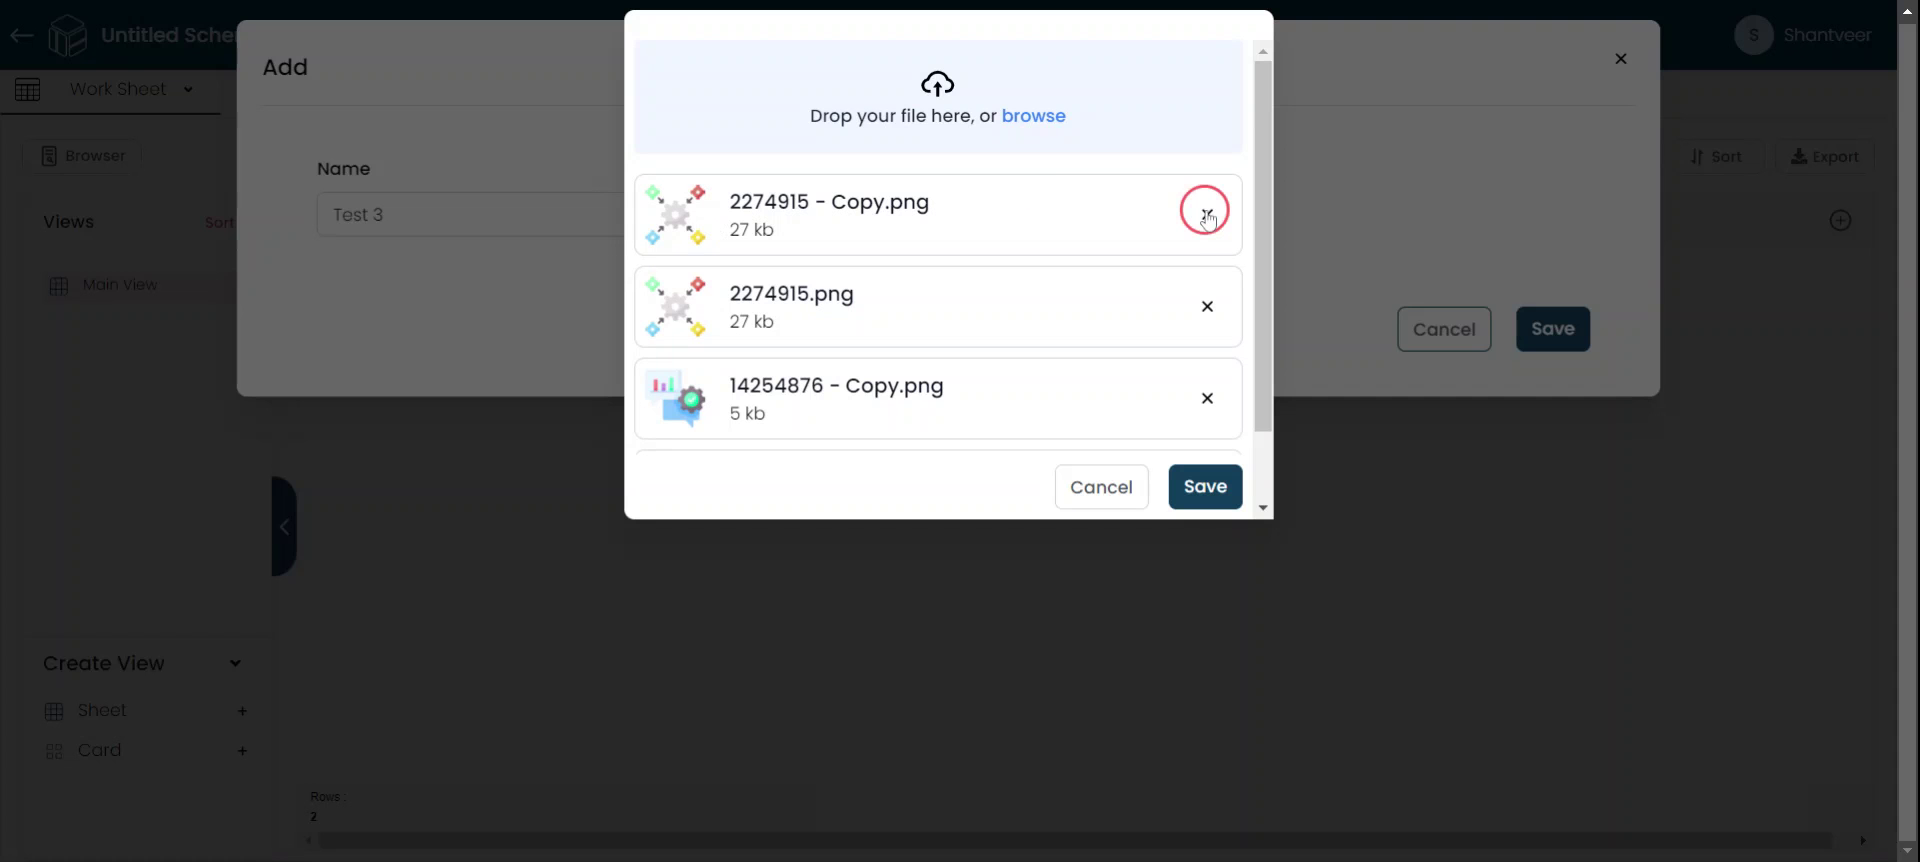
In this guide, I will show you how to delete the images you selected while uploading. To do this, click on ‘Add,’ fill in the required details, click on ‘Upload Images,’ browse, and select the images.
Remove Unwanted Images
To delete images, click on ‘Cancel’ for duplicates or any unwanted images. The unwanted images will be removed from the list. Once you’re done, click on ‘Save.’
Verify Removed Images
The list will be updated, and the removed images will be taken out. To cross-verify, click on ‘View All Images.’ After ensuring the image is removed, click on ‘Cancel’ because we are not updating the fields.
Verify Uploaded Images
The uploaded images will appear in the existing worksheet.

Note: The image field supports JPEG (JPG), PNG, and GIF formats.