Adding Time Field
This guide provides a detailed step-by-step process for adding a time field. Follow each step carefully to ensure that the time field is configured correctly.
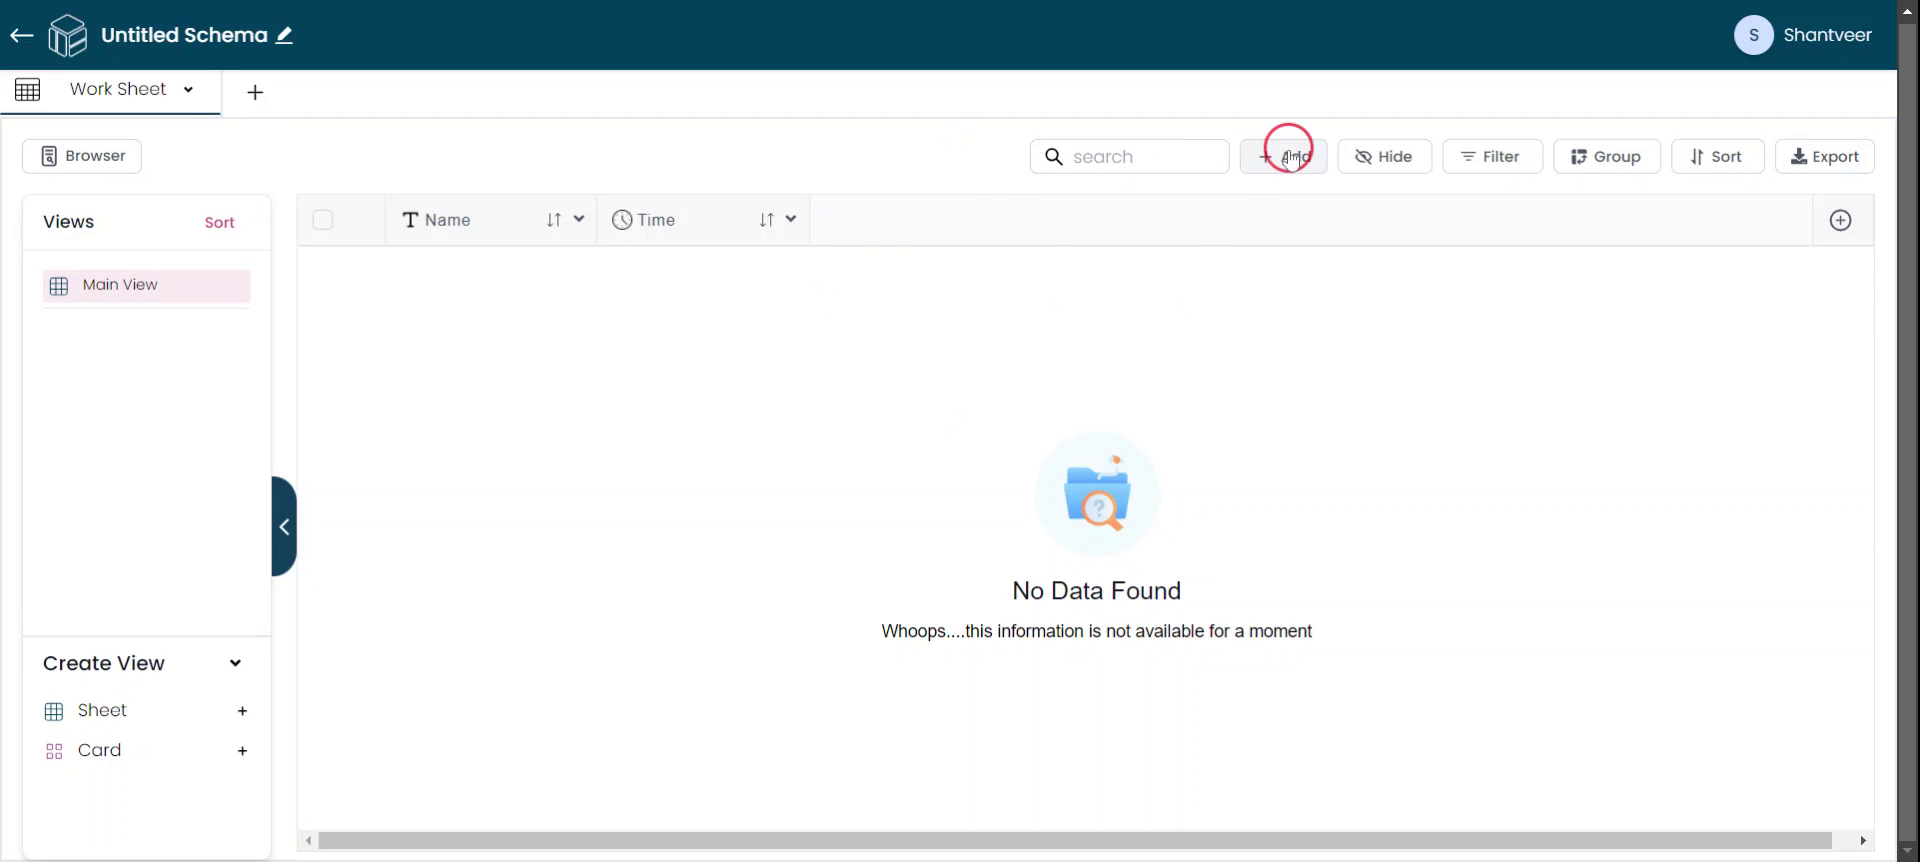
Add Time Field
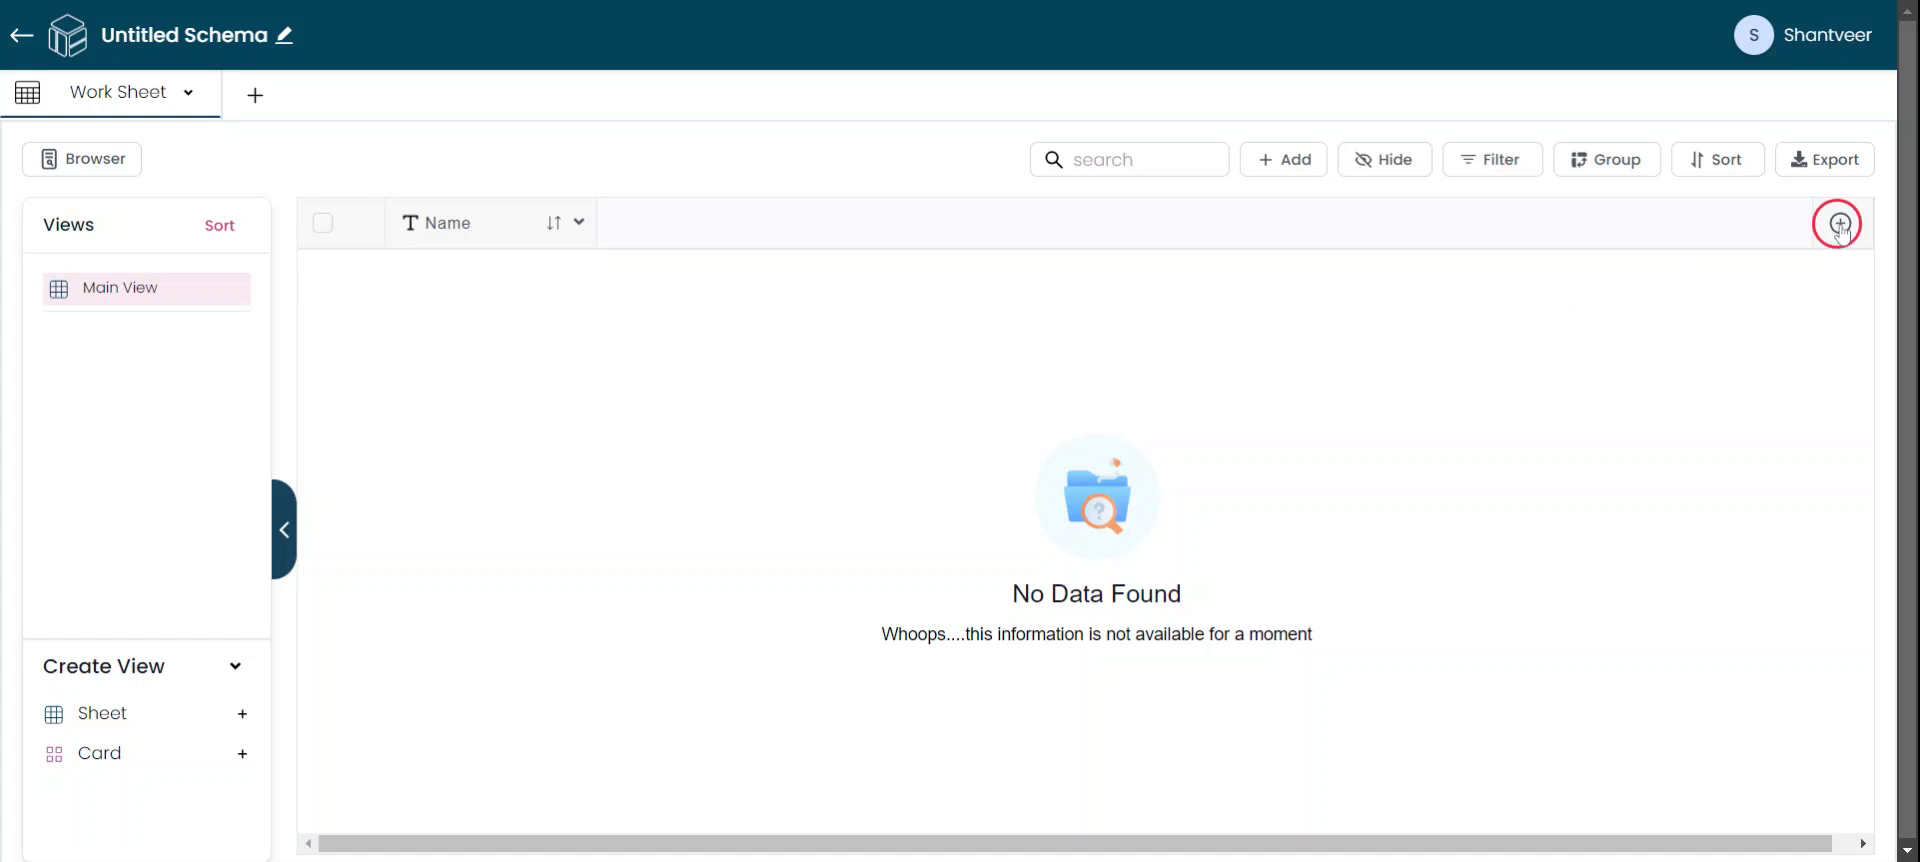
In this document, I'll show you how to add the time field. To do so, click the plus icon. After you click it, a pop-up will appear.
Select Time Field Type
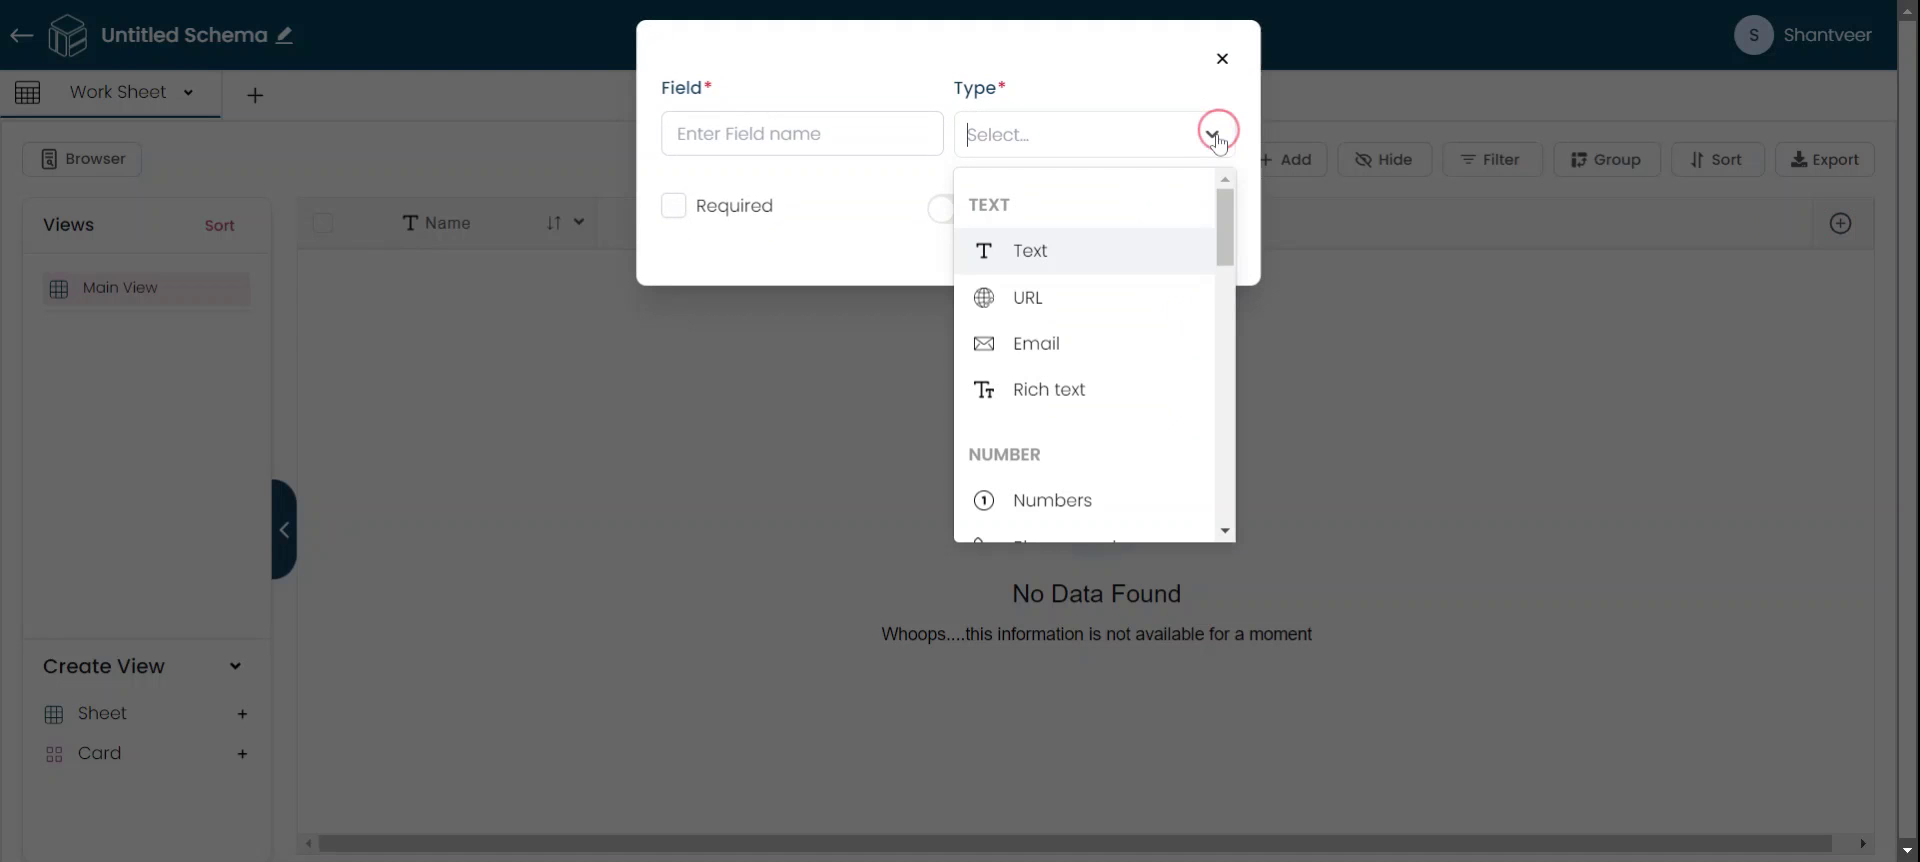
In the pop-up, select 'Time' from the type dropdown menu, as we're adding a time field.
Set Hour Type
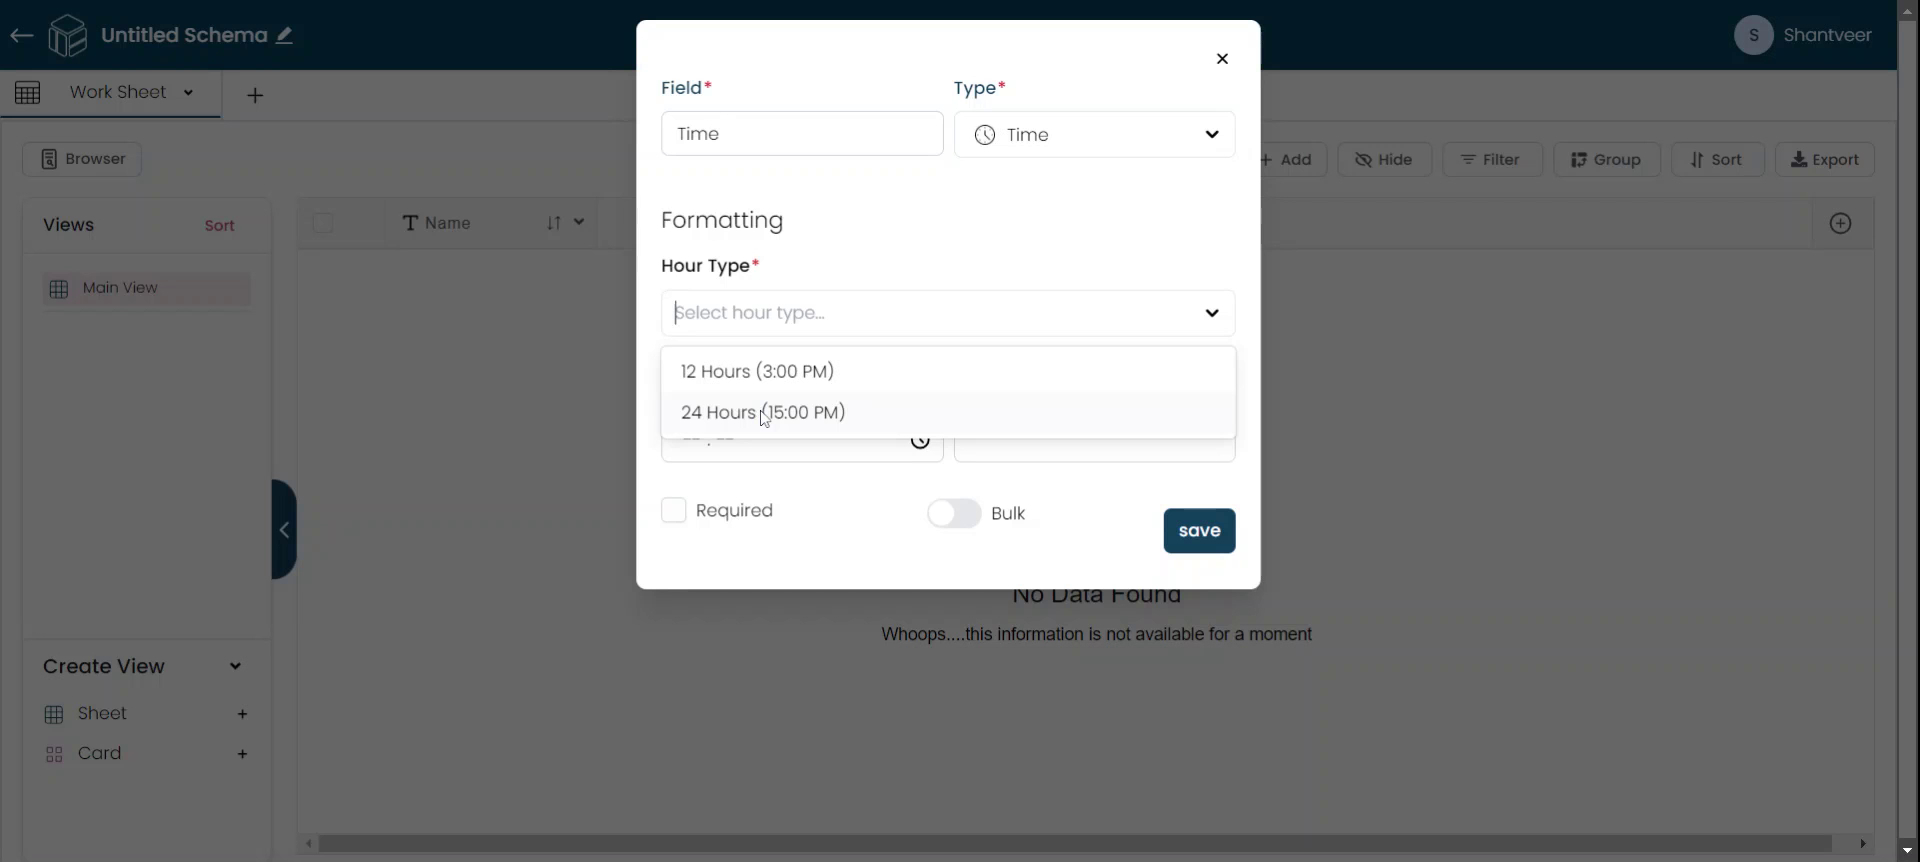
Name the field according to your preference. Be sure to fill in the 'Hour Type' field as well, as it is mandatory when adding a time field.

Select Hour Format
Click on the Hour Type field to see two options: the 12-hour format and the 24-hour format. Choose the one that best suits your preference.
Configure Fields
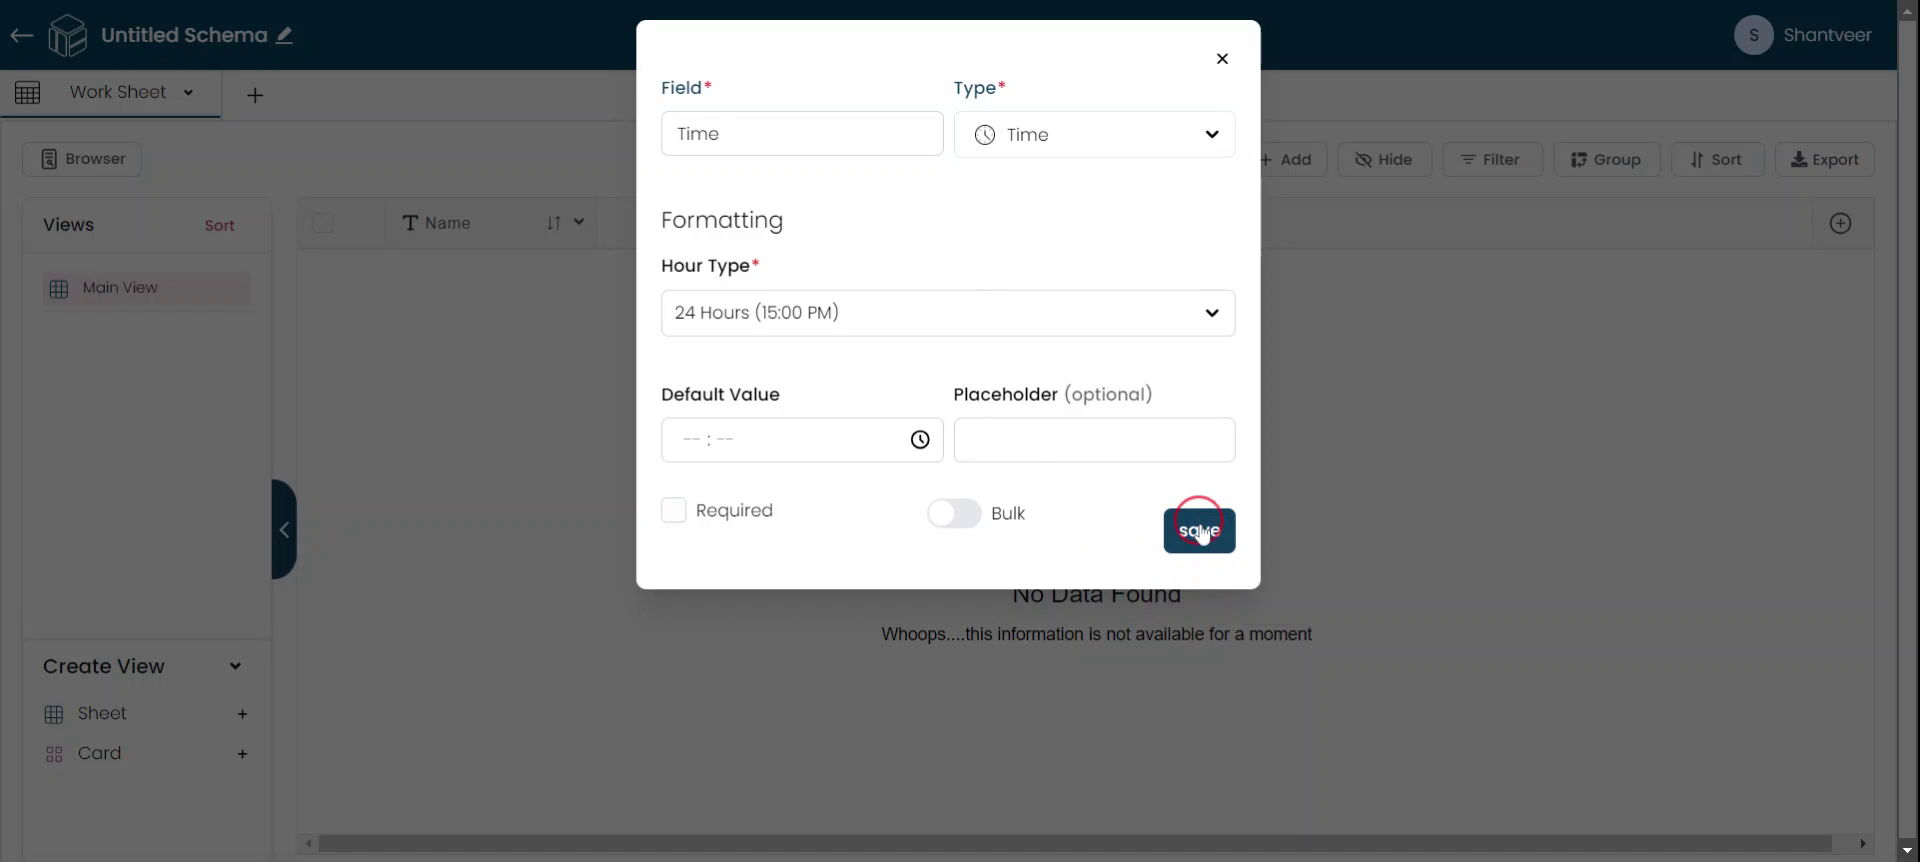
You can set a default value and a placeholder for the field. If you want the field to be mandatory, enable "Required" option. Additionally, if you need to bulk update rows, you can enable the bulk option.

Verify Time Field
After filling in all the necessary details, click 'Save'. The newly added field will then appear in the existing worksheet.
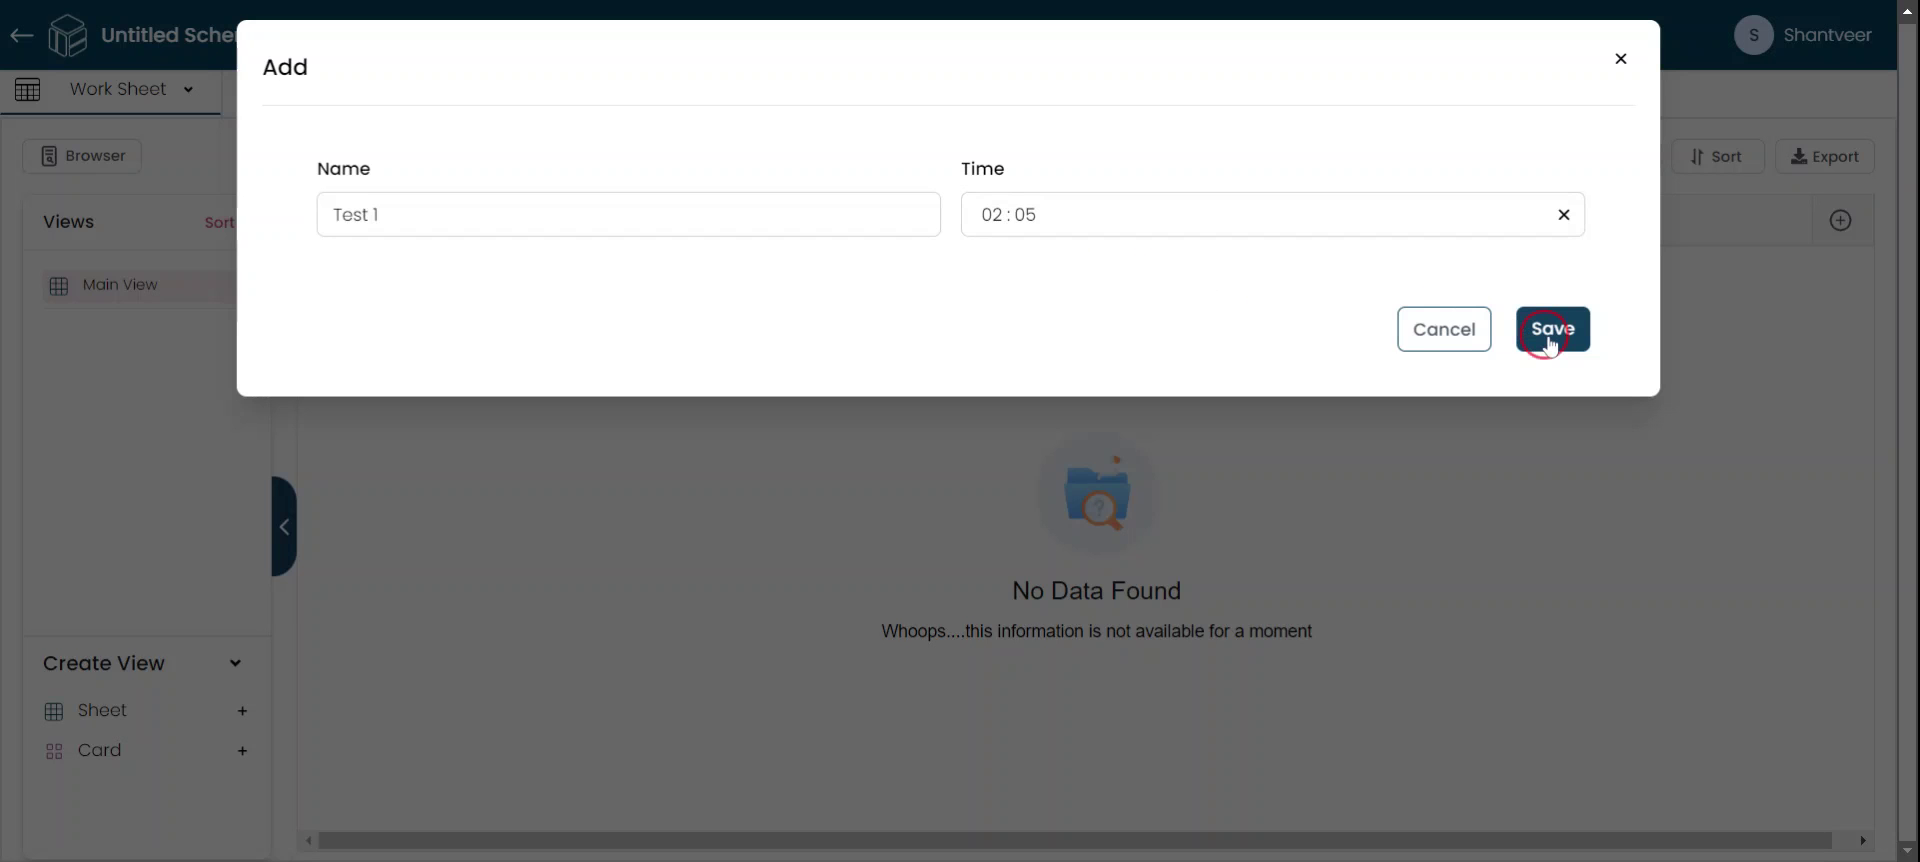
Add Field & Save
To see how it works, click 'Add' and fill in the details, then click 'Save.' The added rows will be reflected in the respective fields. Remember that the format is set to 24 hours, so it will accept both 12-hour and 24-hour formats.
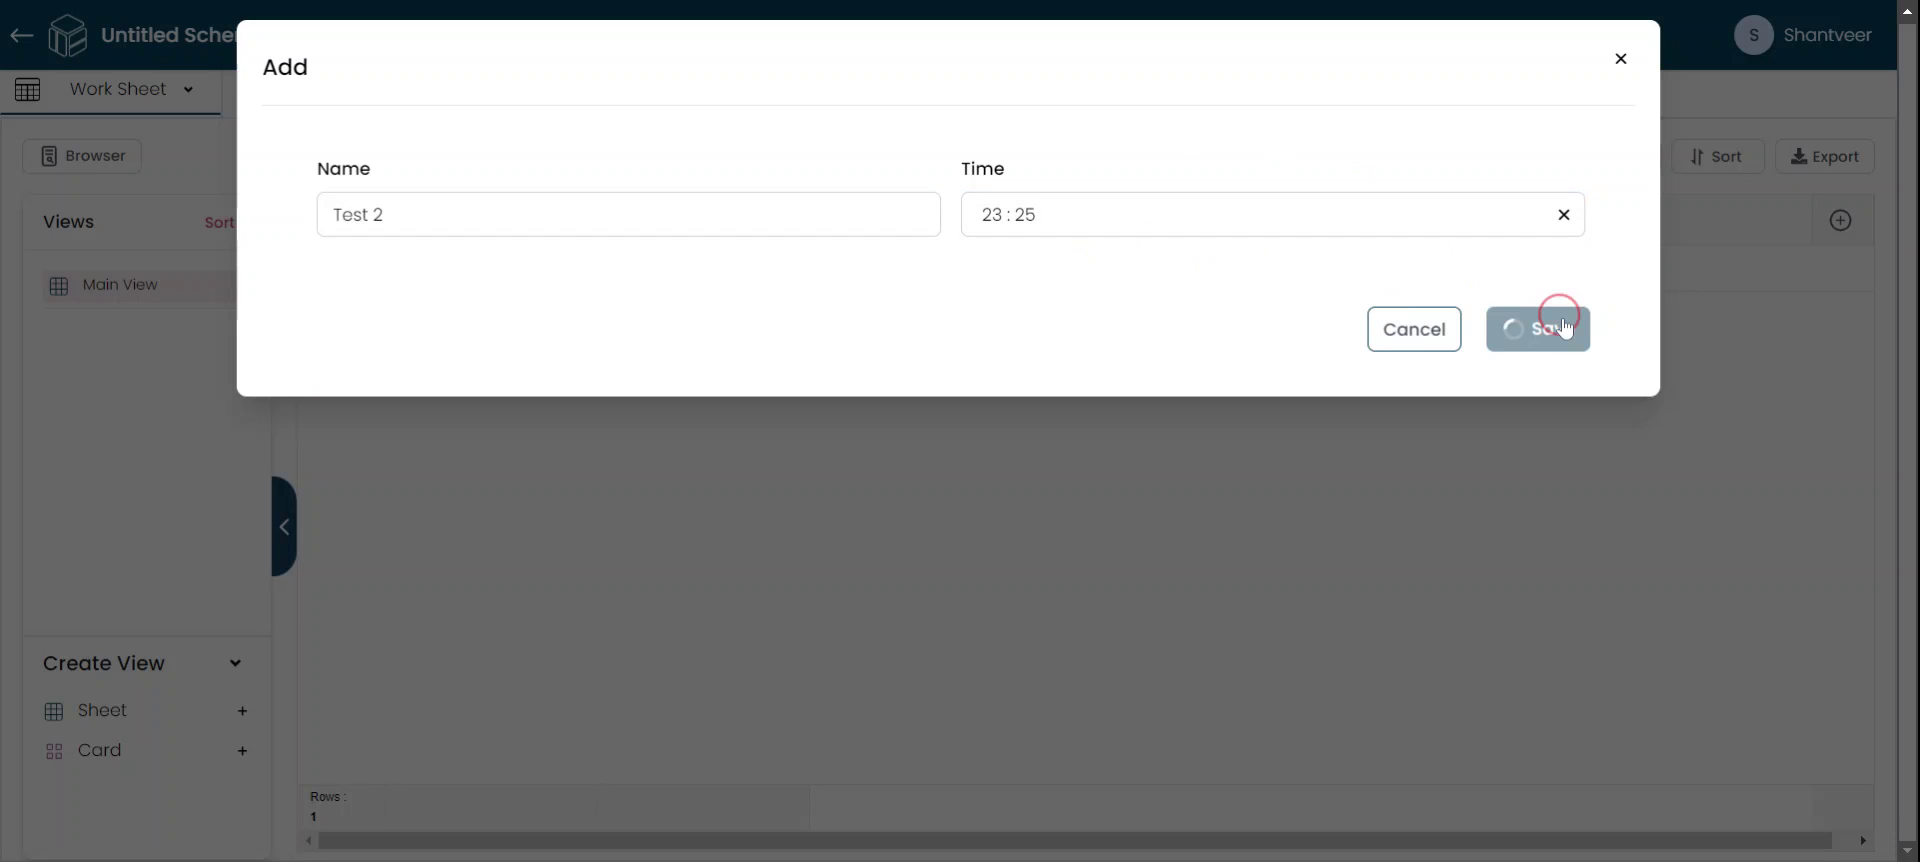
Verify Functionality
Try adding a time that fits the 24-hour format. After filling in the necessary details, click 'Save.' The added time will be reflected in the worksheet.

Note: You can set the 'Hours Type' to the 12-hour format, so it will not accept the 24-hour format.