Adding a Auto Number Field
This guide provides a detailed process for adding an autonumber field to your worksheet. Follow these steps to ensure the auto number field is configured correctly and operates as expected.
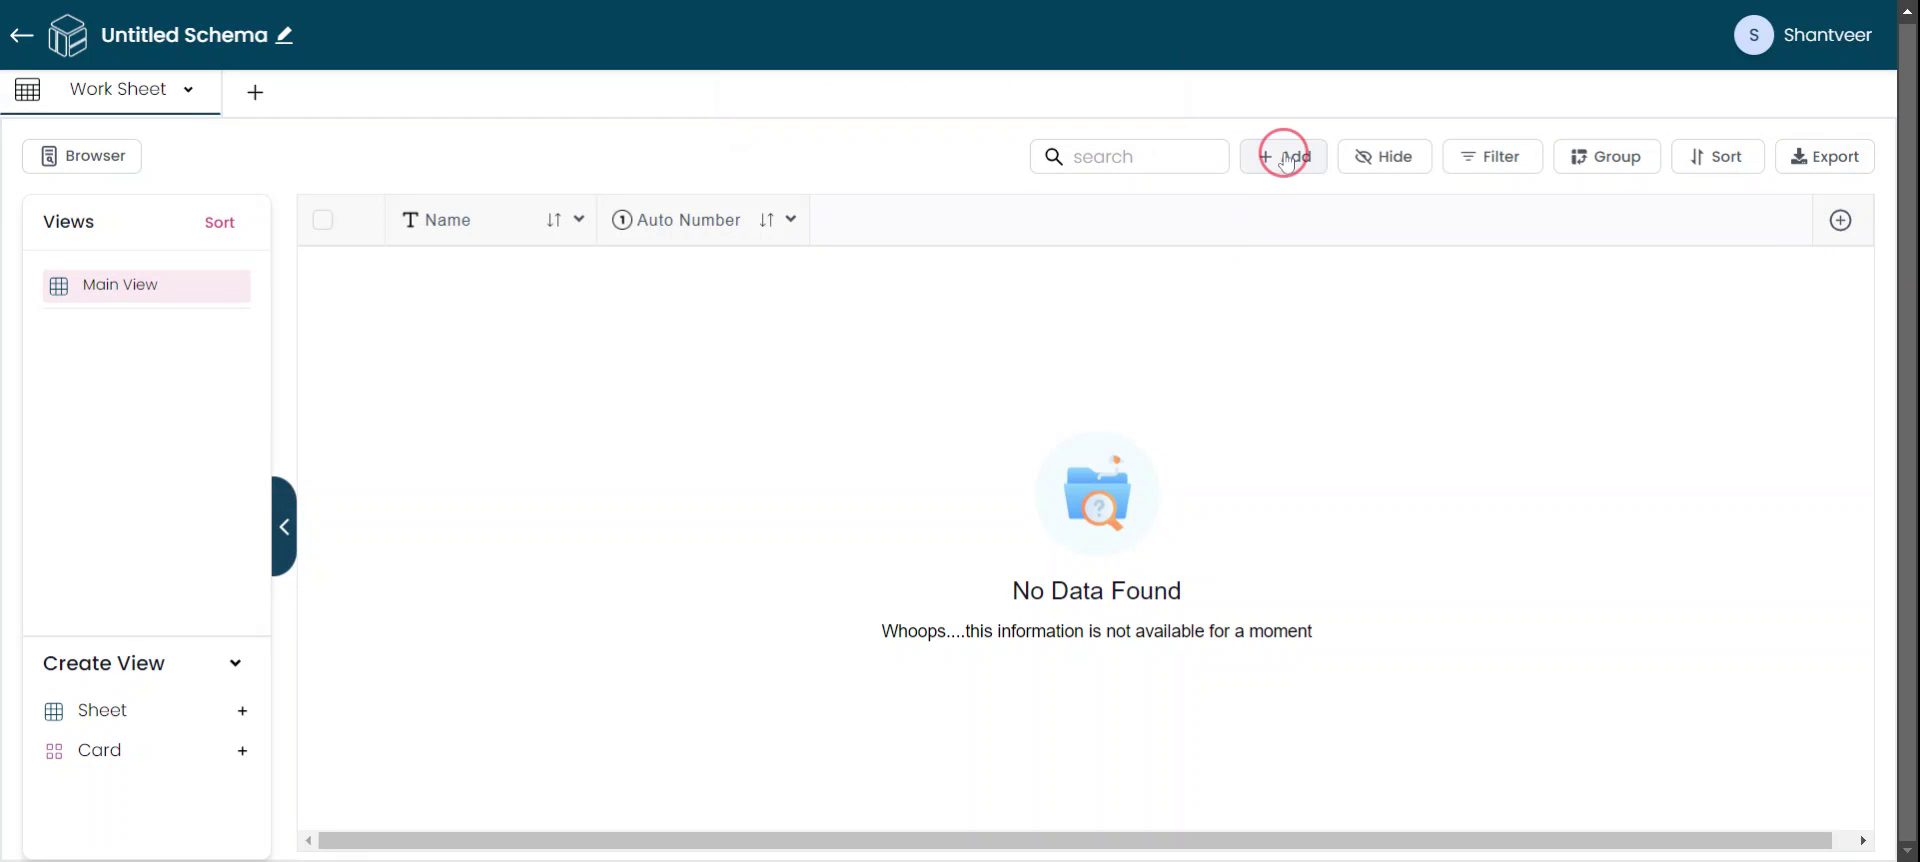
Autonumber Field Setup
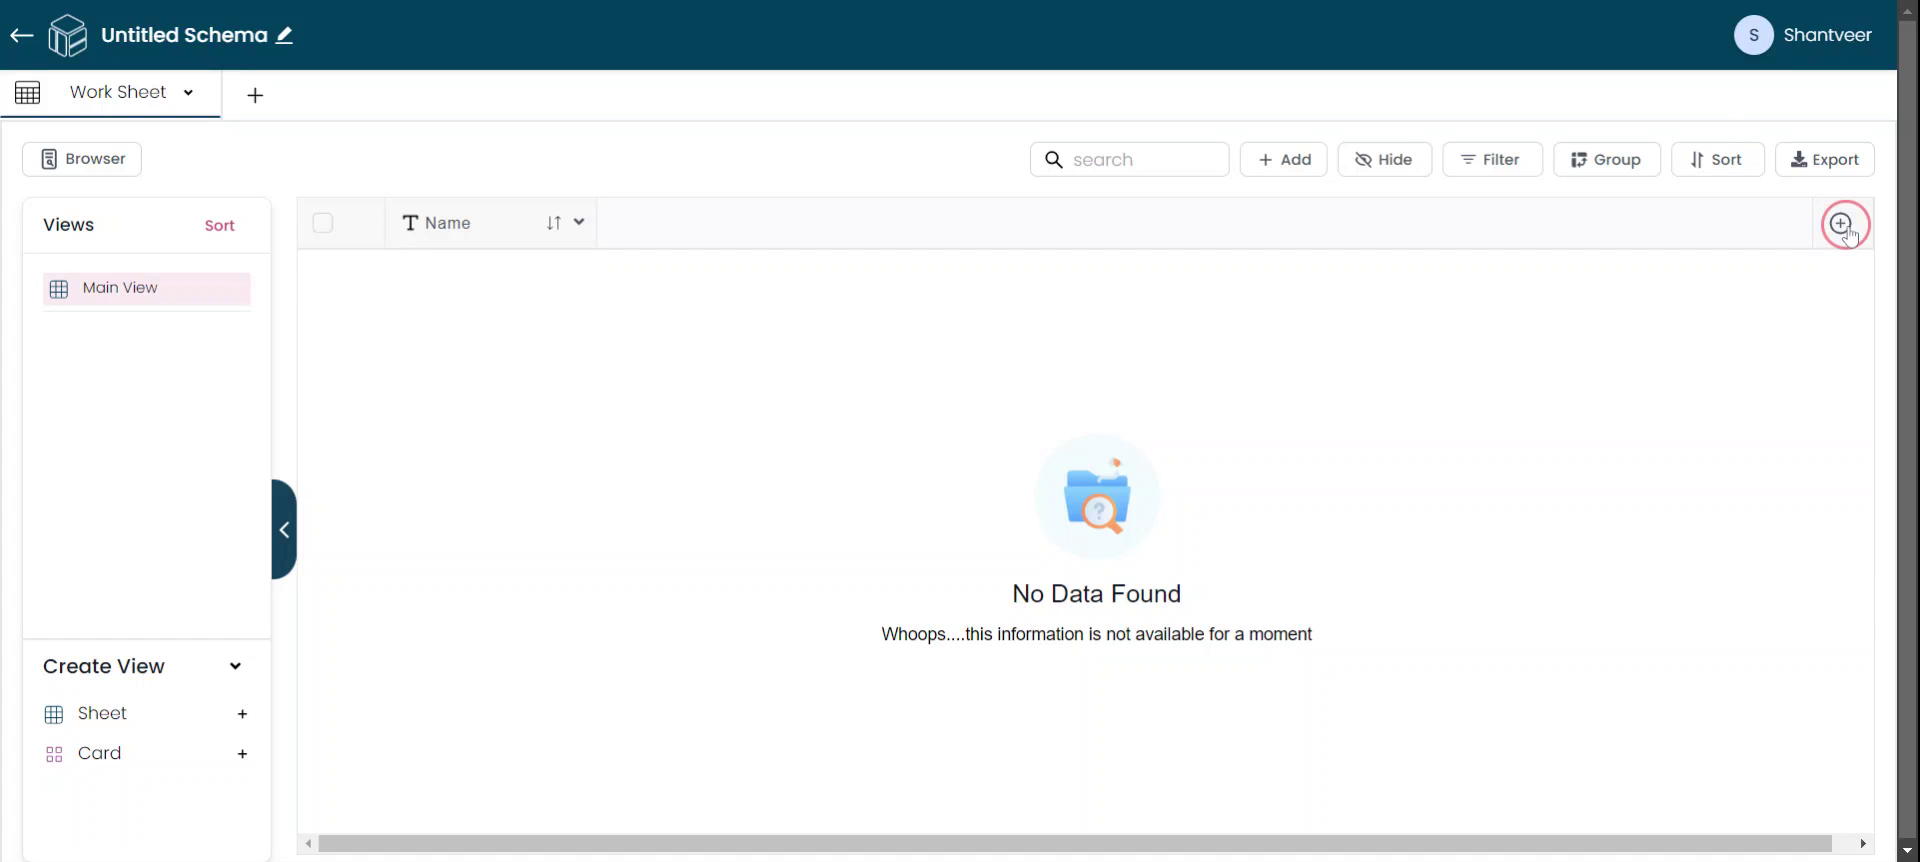
In this document, I will guide you on how to add an autonumber field. Start by clicking the plus icon.
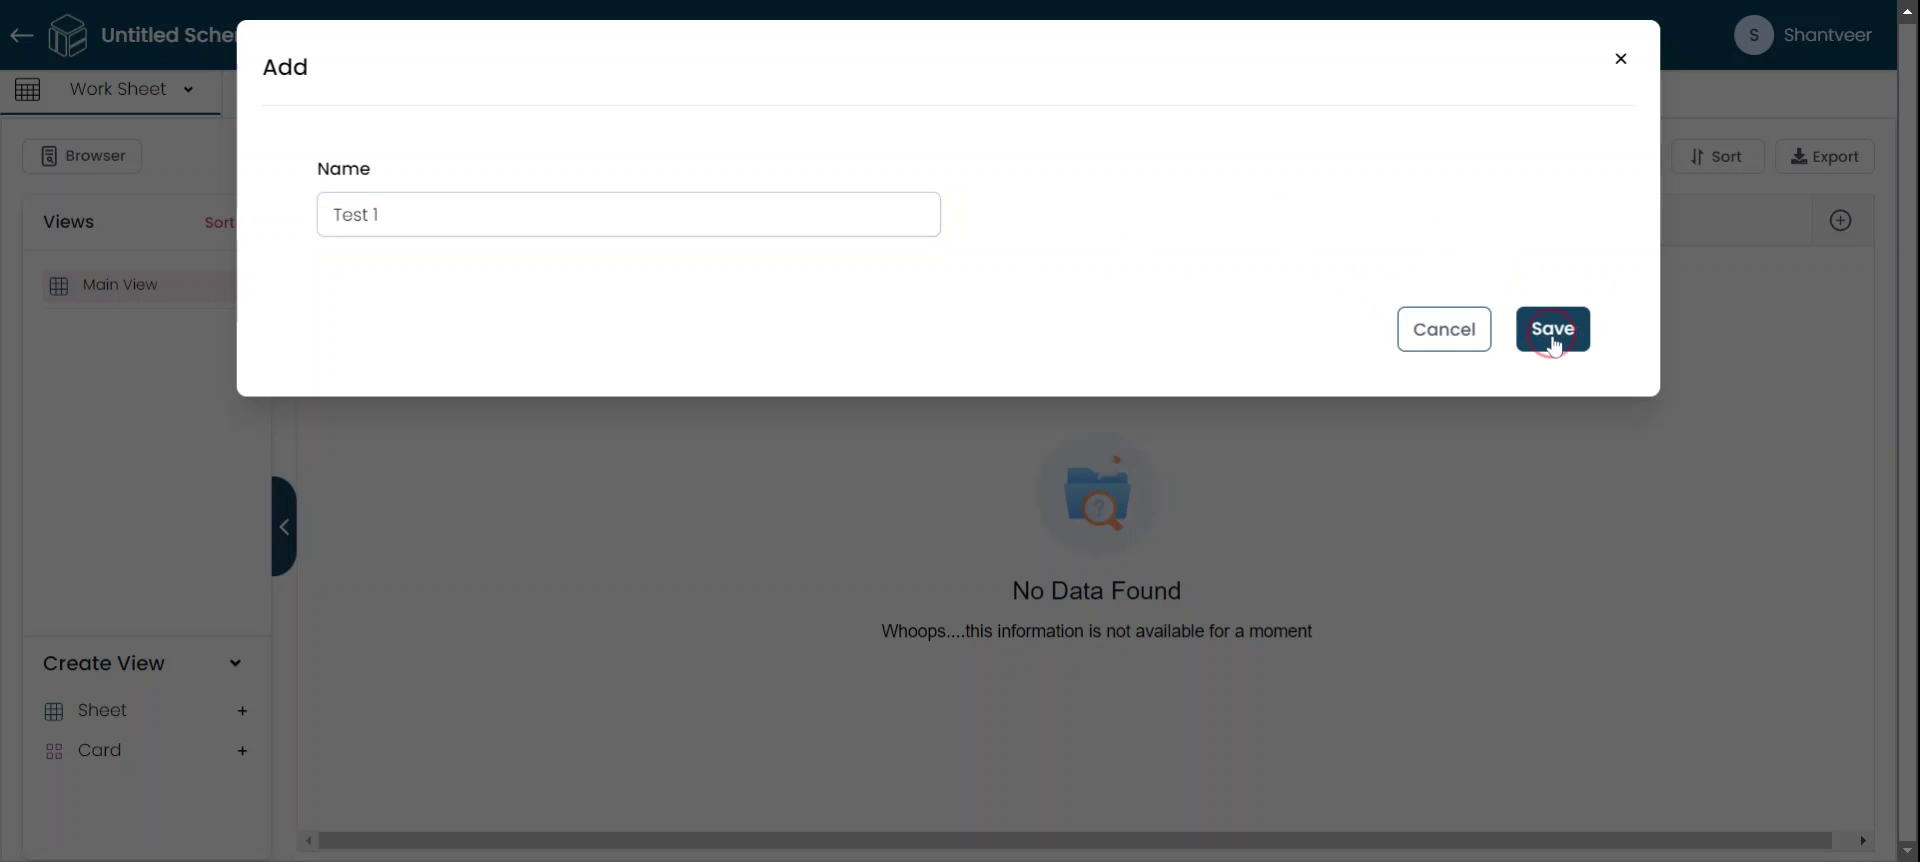
Create Auto Number Field
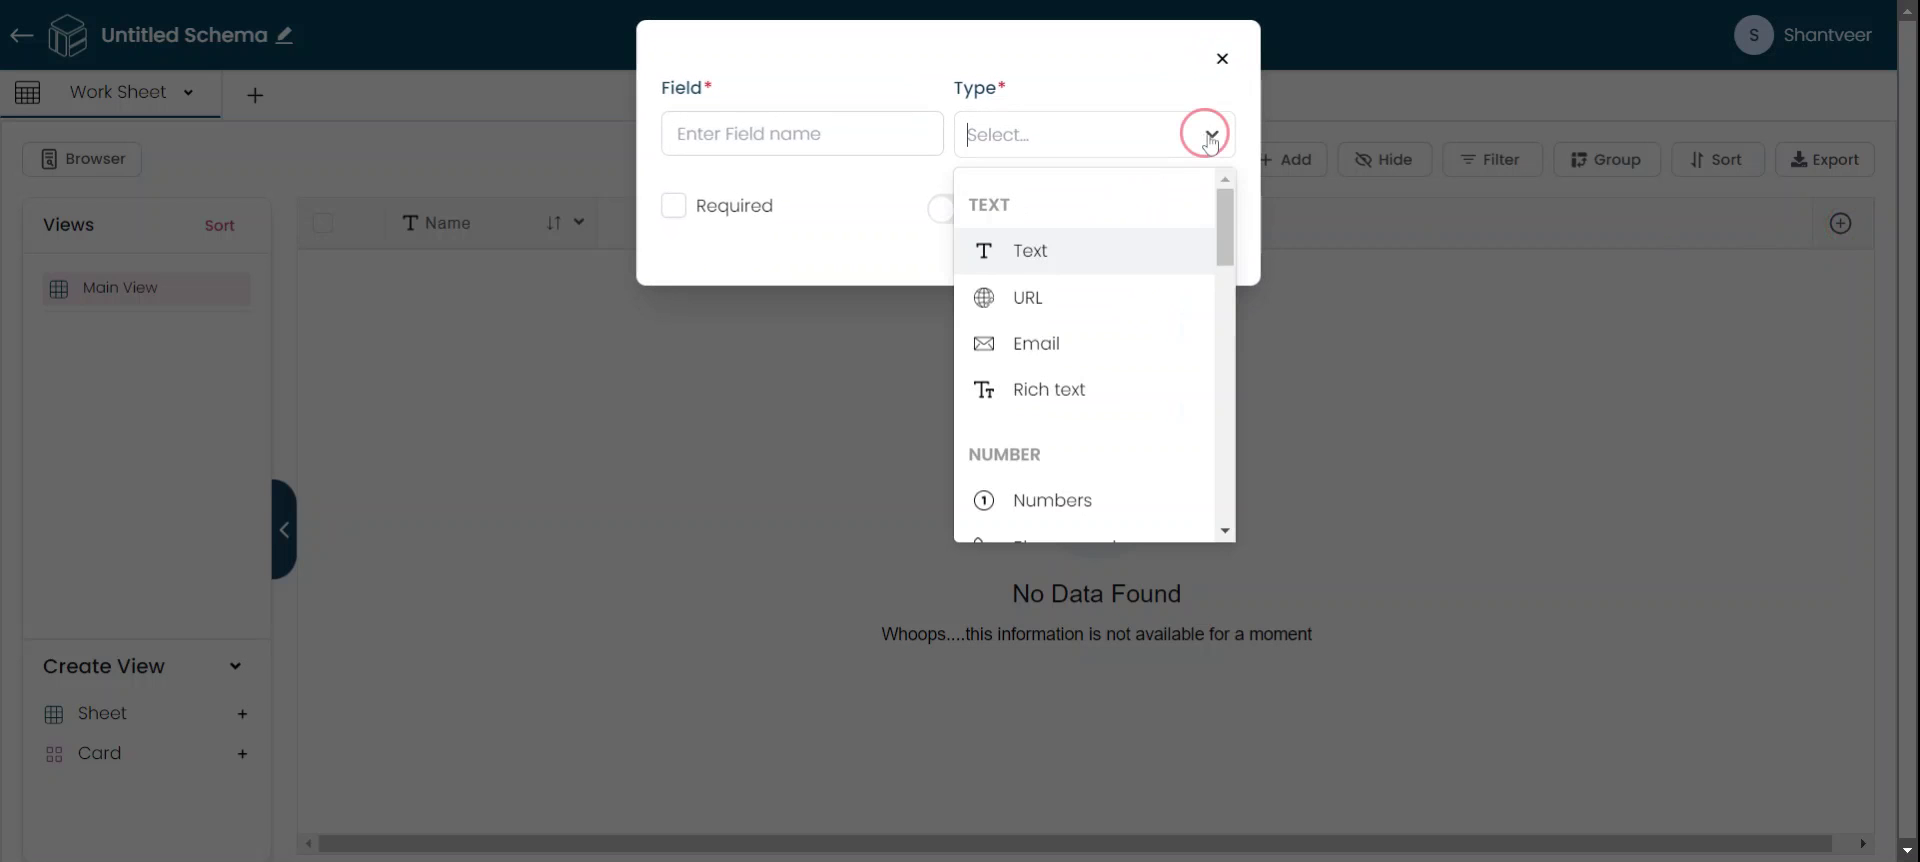
After clicking the plus icon, a pop-up window will appear. In this window, select the "Auto Number" from type field. Then, enter a name for the field according to your preference.

Configure Prefix and Start Number
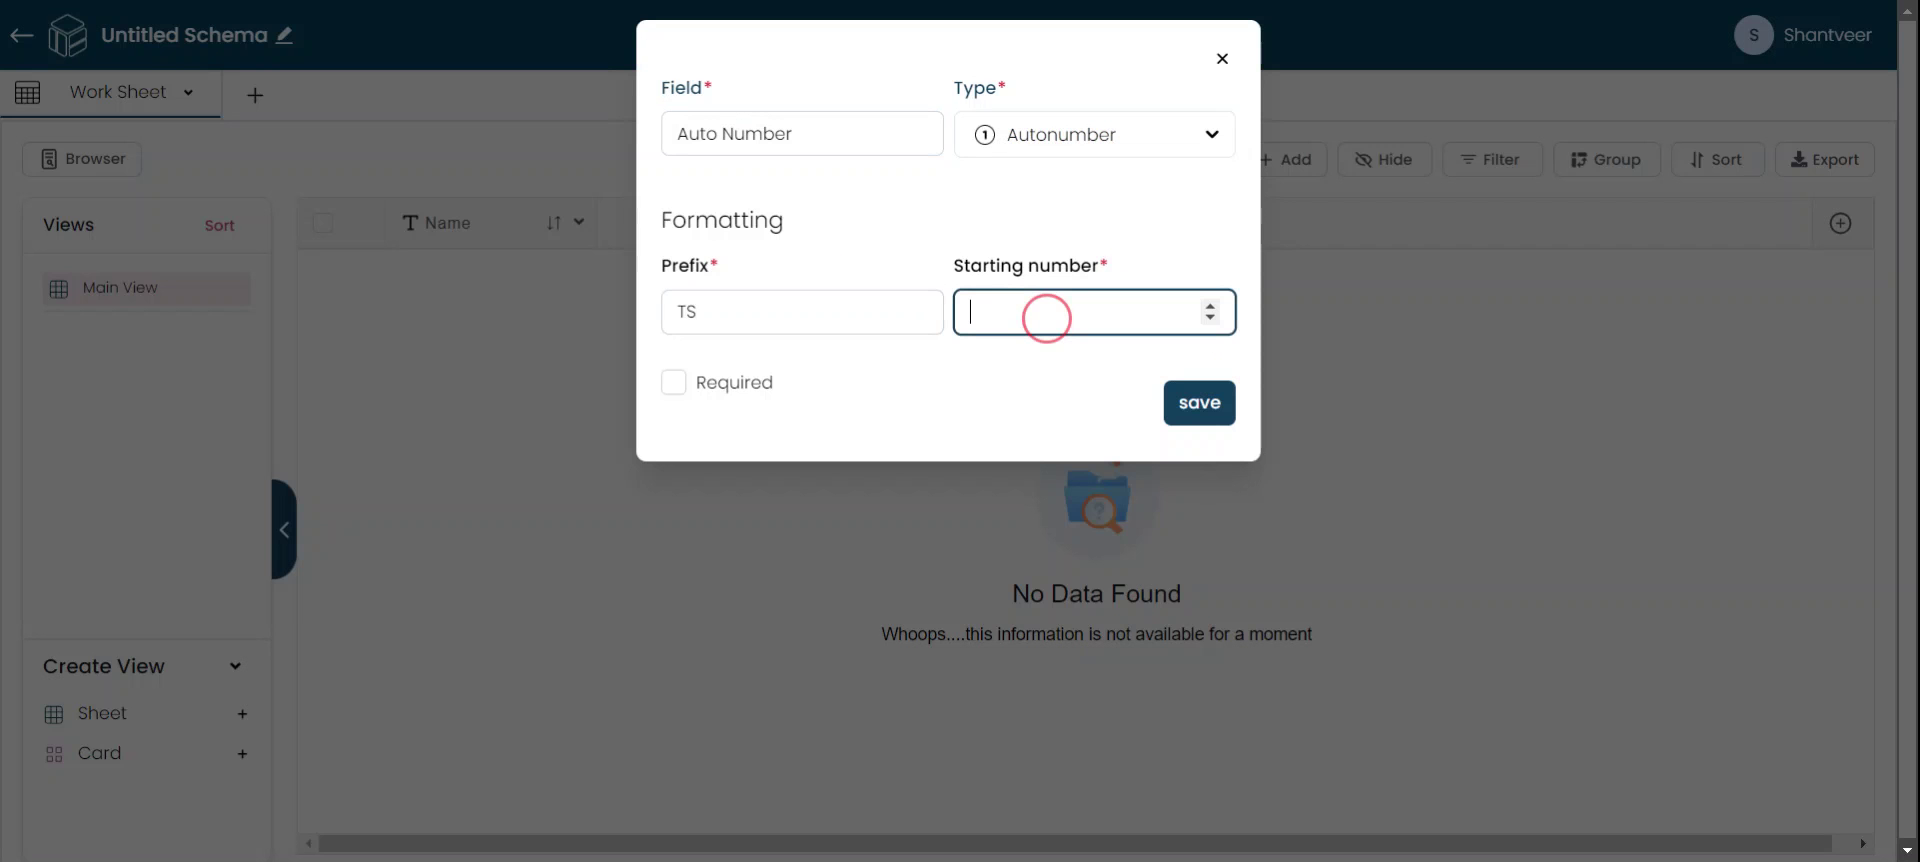
Set the 'Prefix' and 'Starting Number' fields, as these are mandatory when adding the auto number field.

Set Prefix and Starting Number
For now, enter 'TS' as the prefix and '101' as the starting number. You can adjust these values according to your preferences. After providing the details, click 'Save' to complete the process.

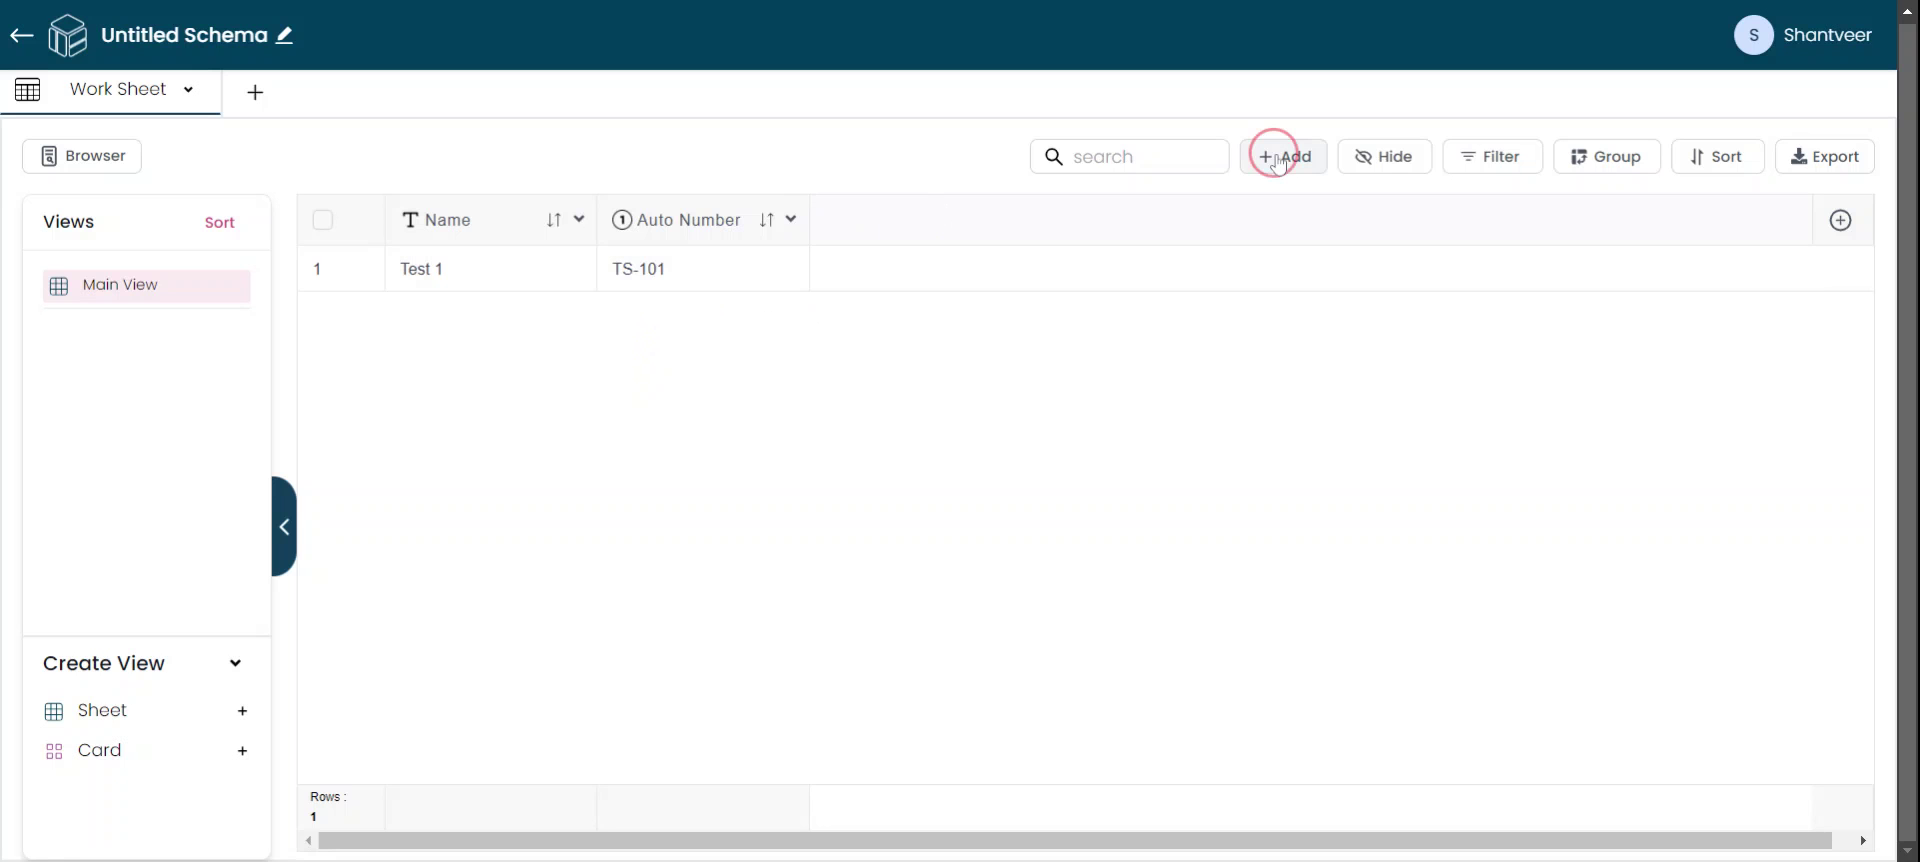
Add Row and Verify
To verify, click 'Add'. Don’t worry if the auto number field isn’t visible when adding rows, as it is auto-generated. Fill out the other fields as needed.

Save to Generate Auto Number
After filling out the fields, click 'Save'. You will see that the auto number field is populated with the prefix and starting number you set when adding the field.
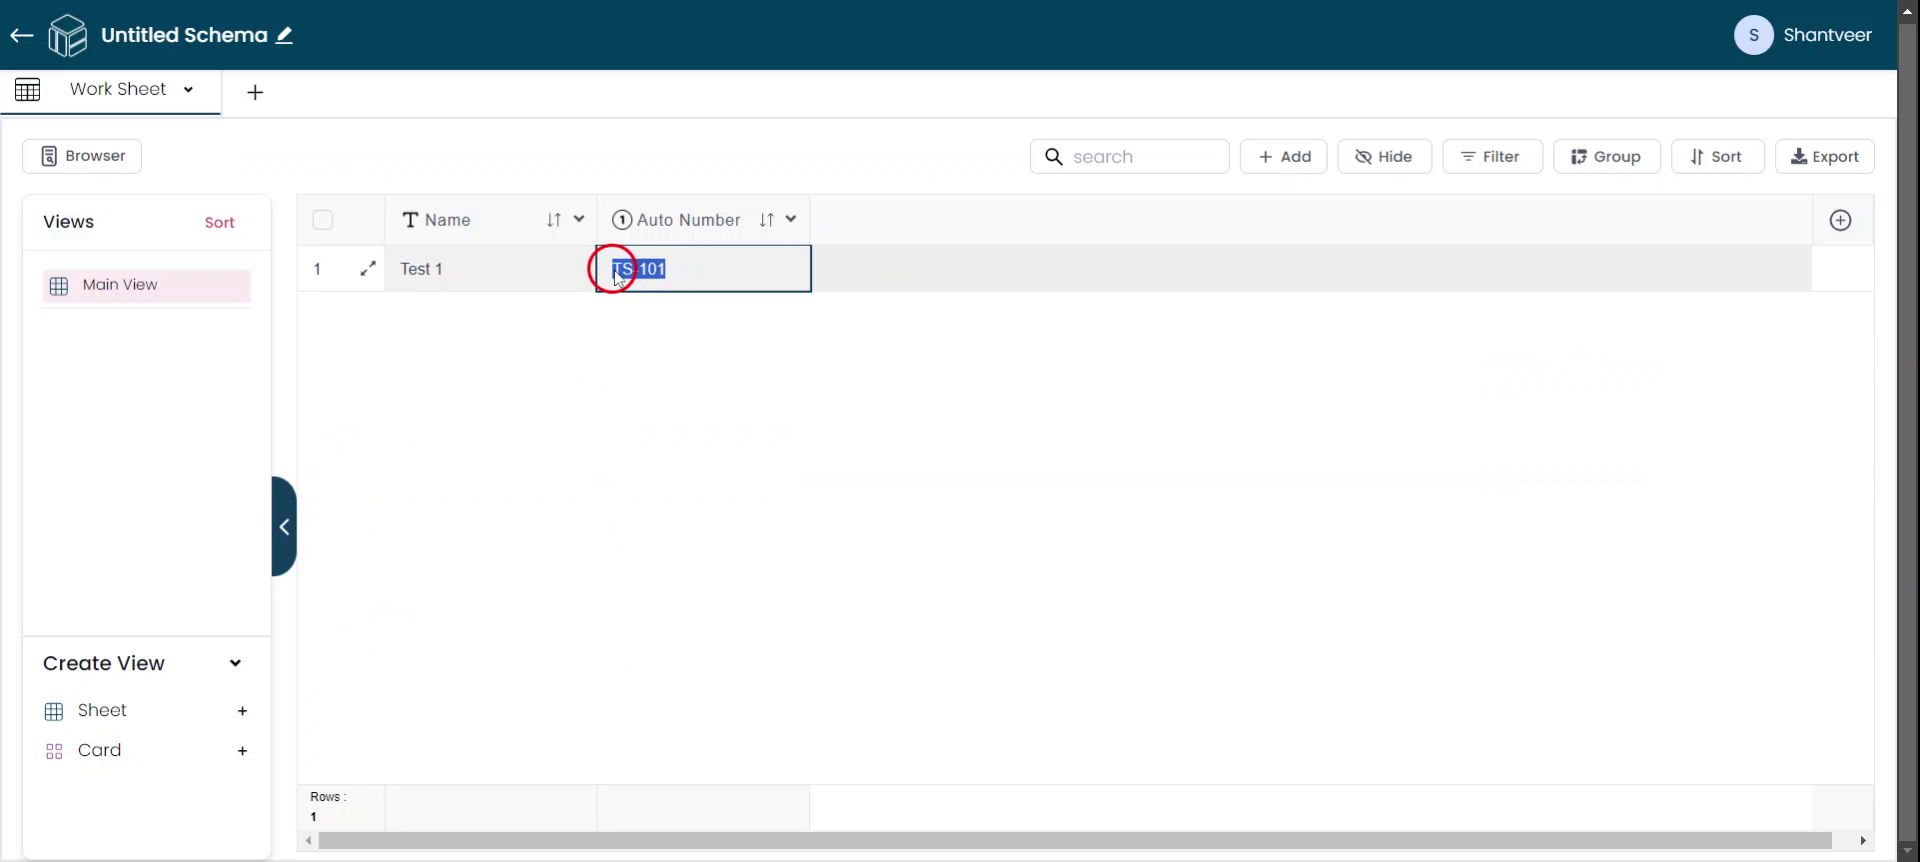
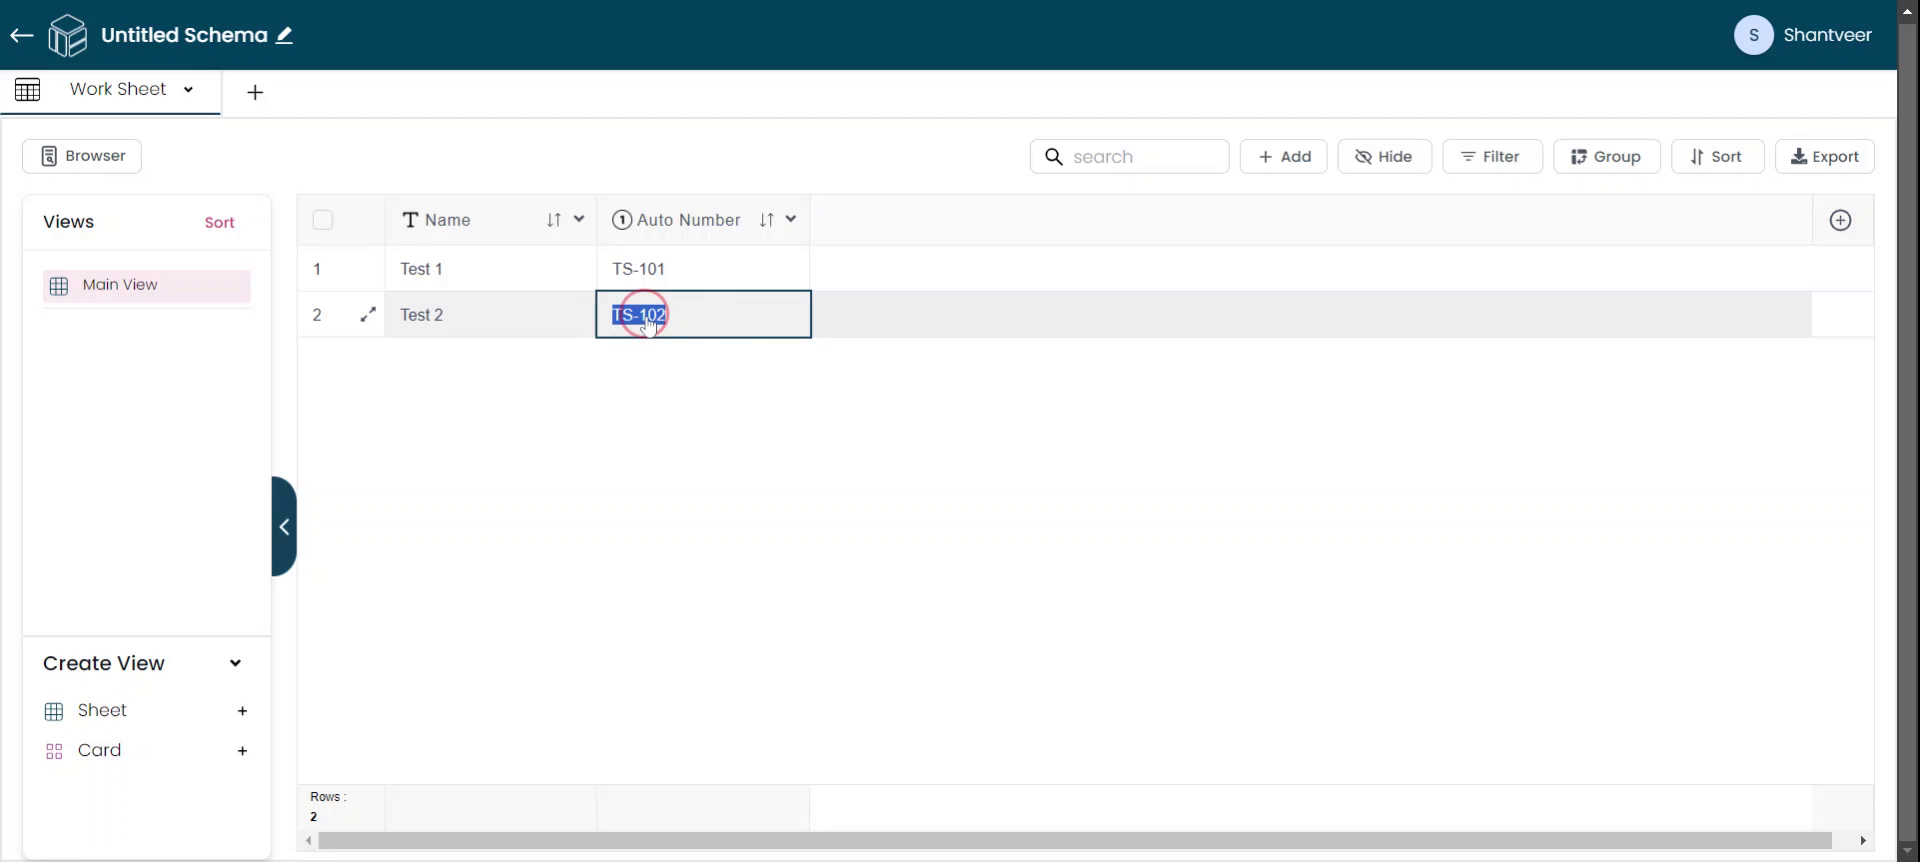
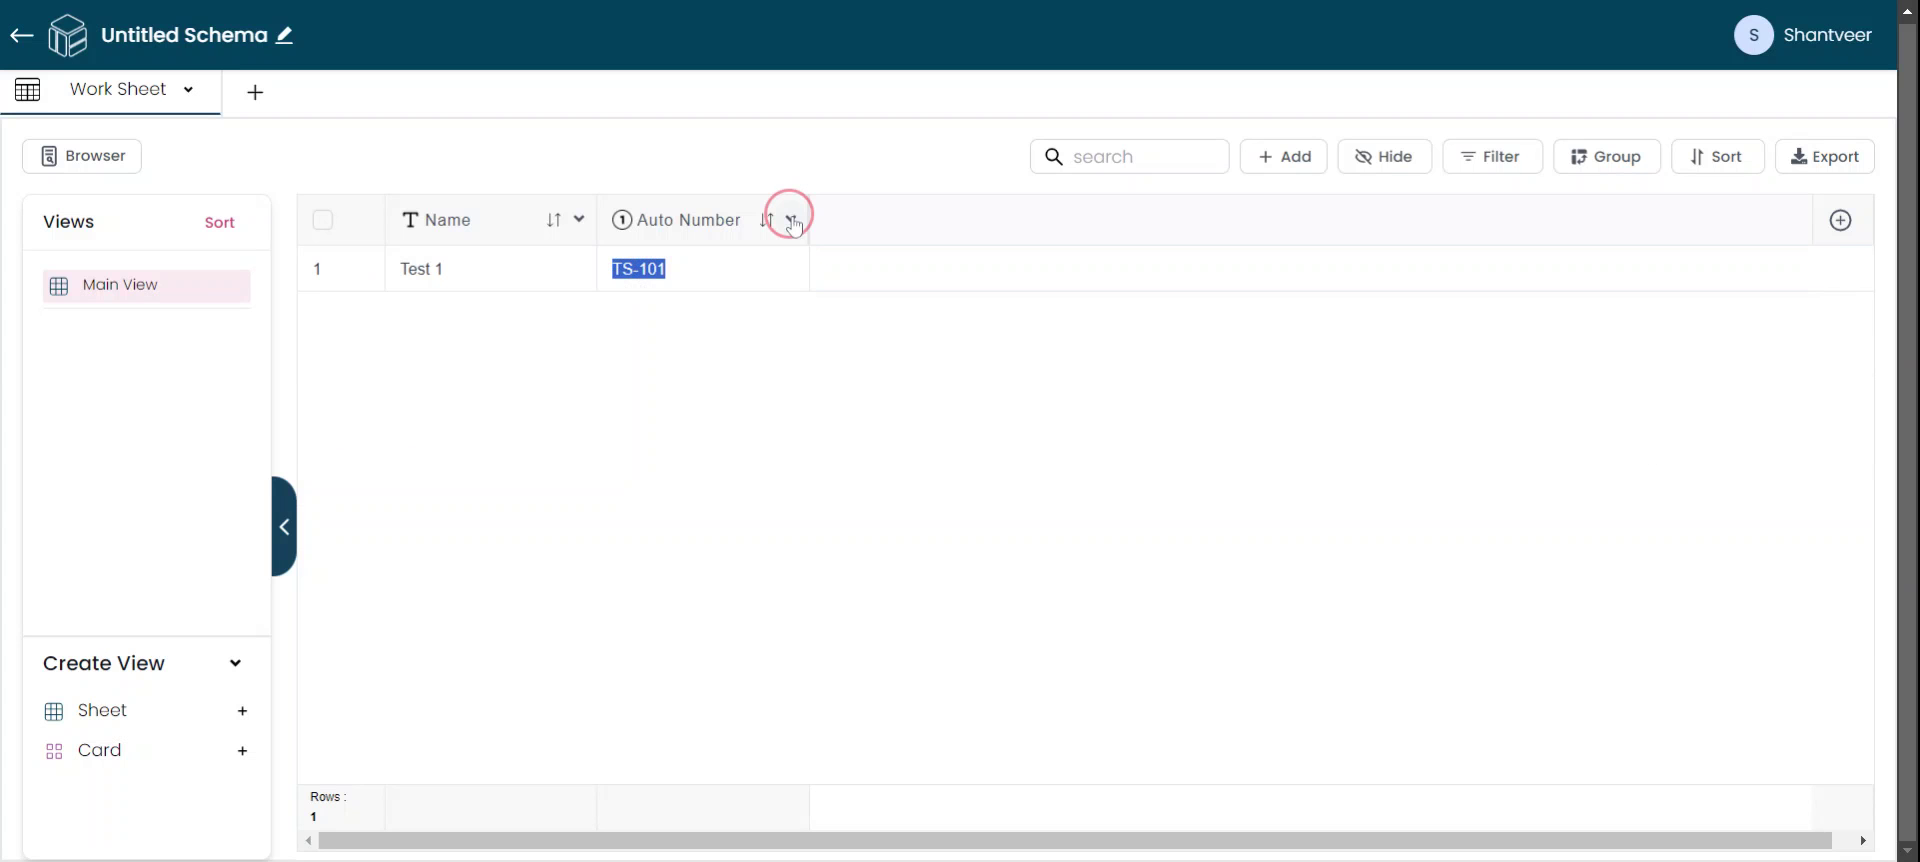
Autonumber Displayed
You will notice that the auto number field displays the prefix 'TS' followed by the starting number '101' that you set earlier.

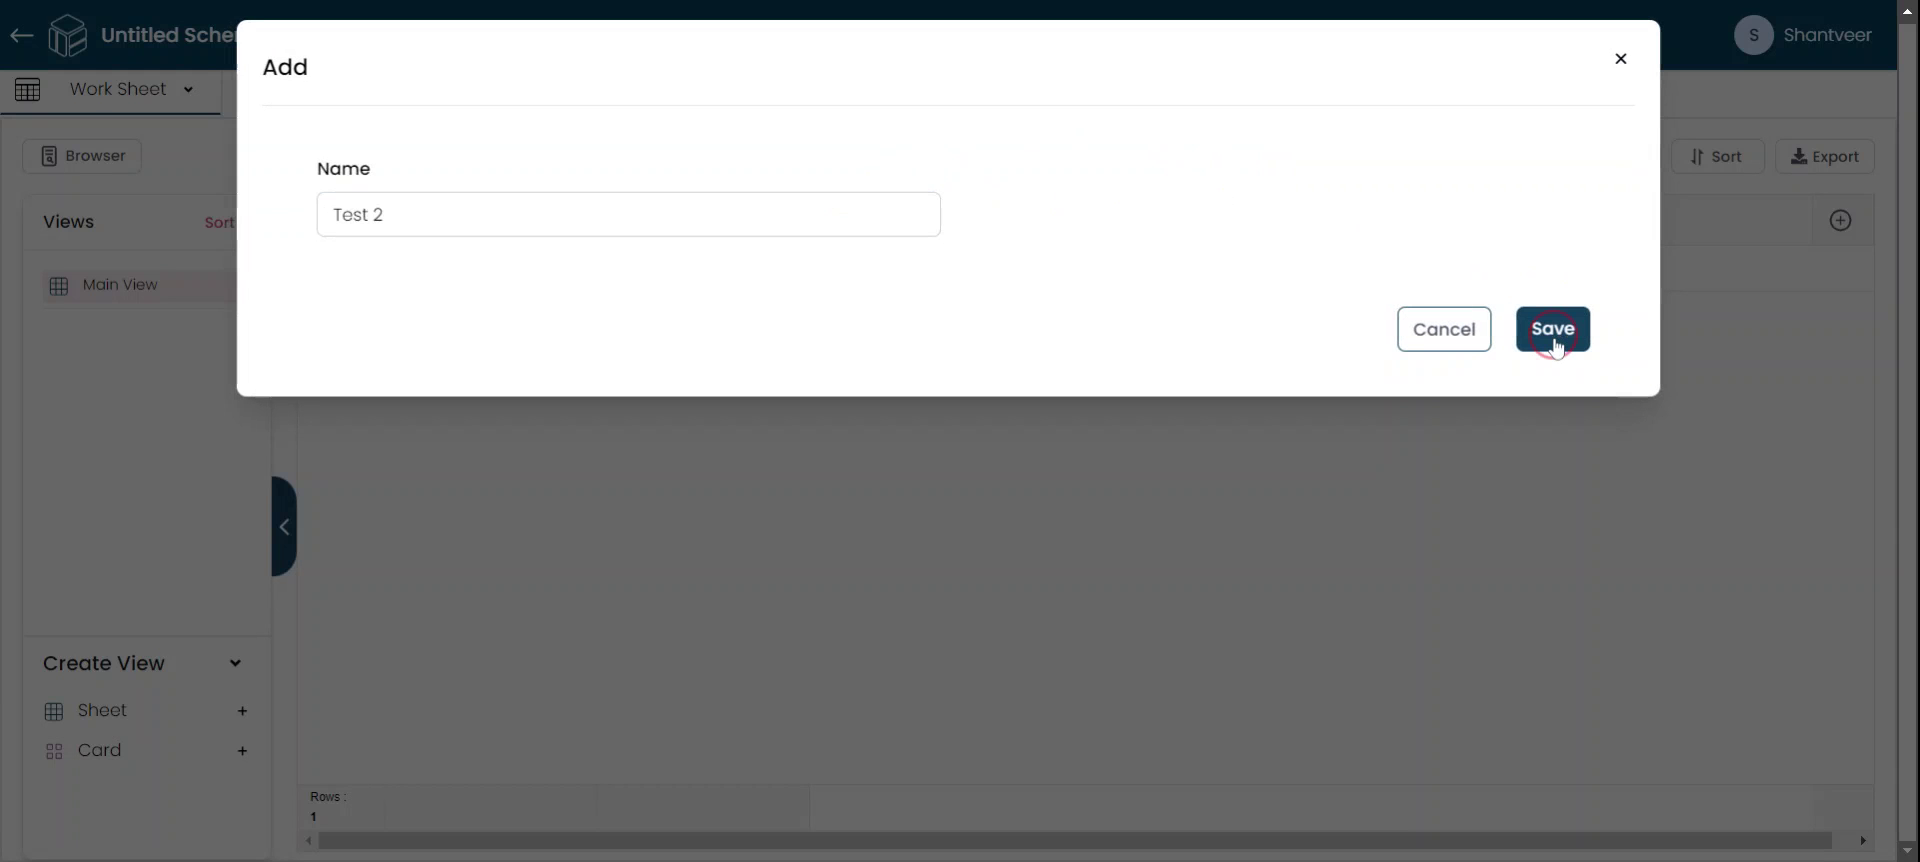
Add Row and Save
To add another row, click 'Add' as mentioned earlier. Since this is an auto-generated field, you don’t need to worry about it. After filling out the necessary details, click 'Save'.
Sequential Numbering
The row will be added to the existing worksheet, and the auto number field will be filled with the next sequential number, maintaining the same prefix.