Adding a Last Modified Time Field
This guide provides a step-by-step process to add a "Last Modified Time" field to an existing worksheet. Follow the instructions to seamlessly incorporate this feature, ensuring data is automatically updated with the latest modifications.
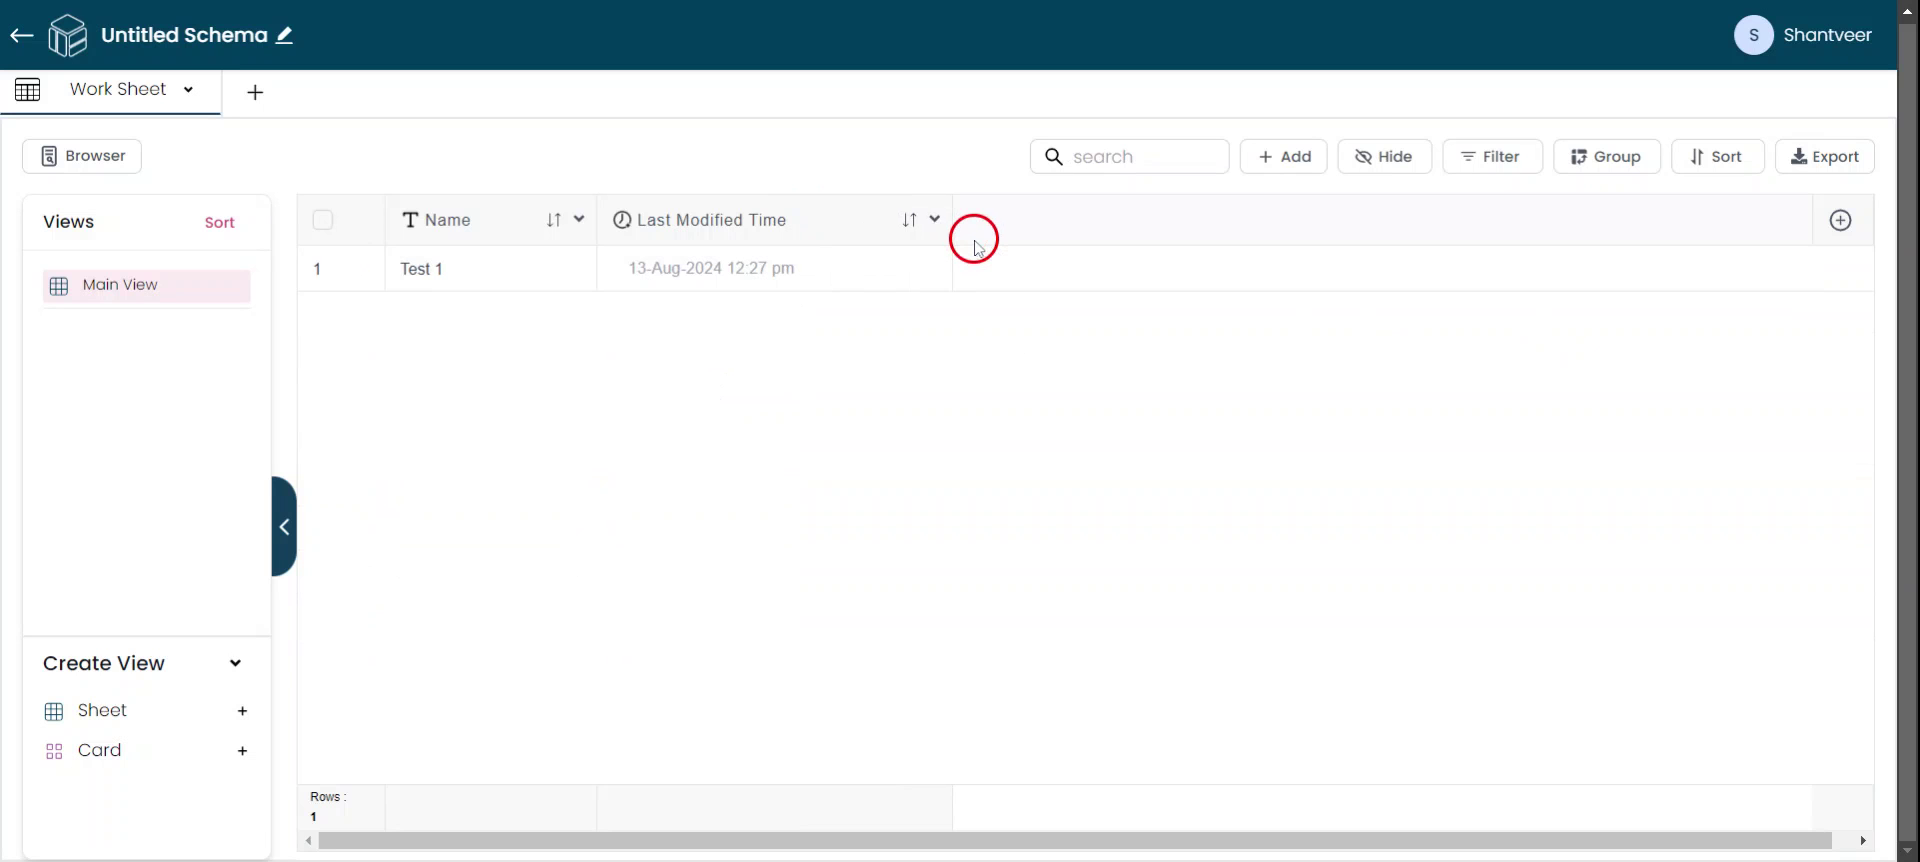
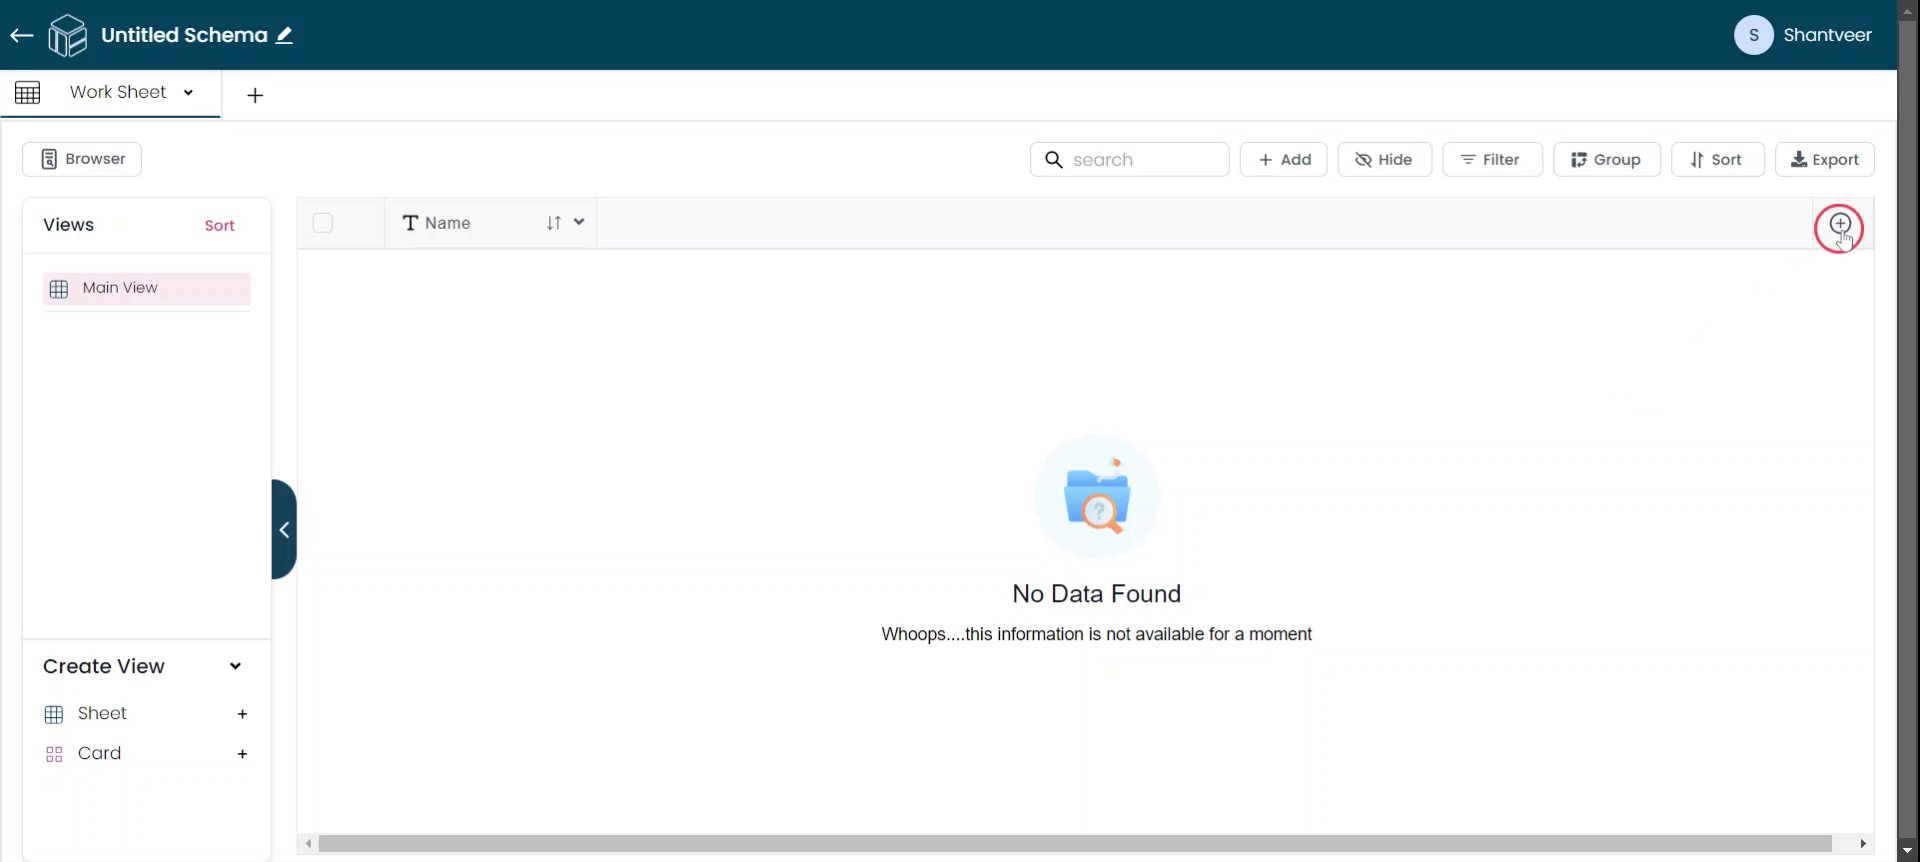
Add Last Modified Field
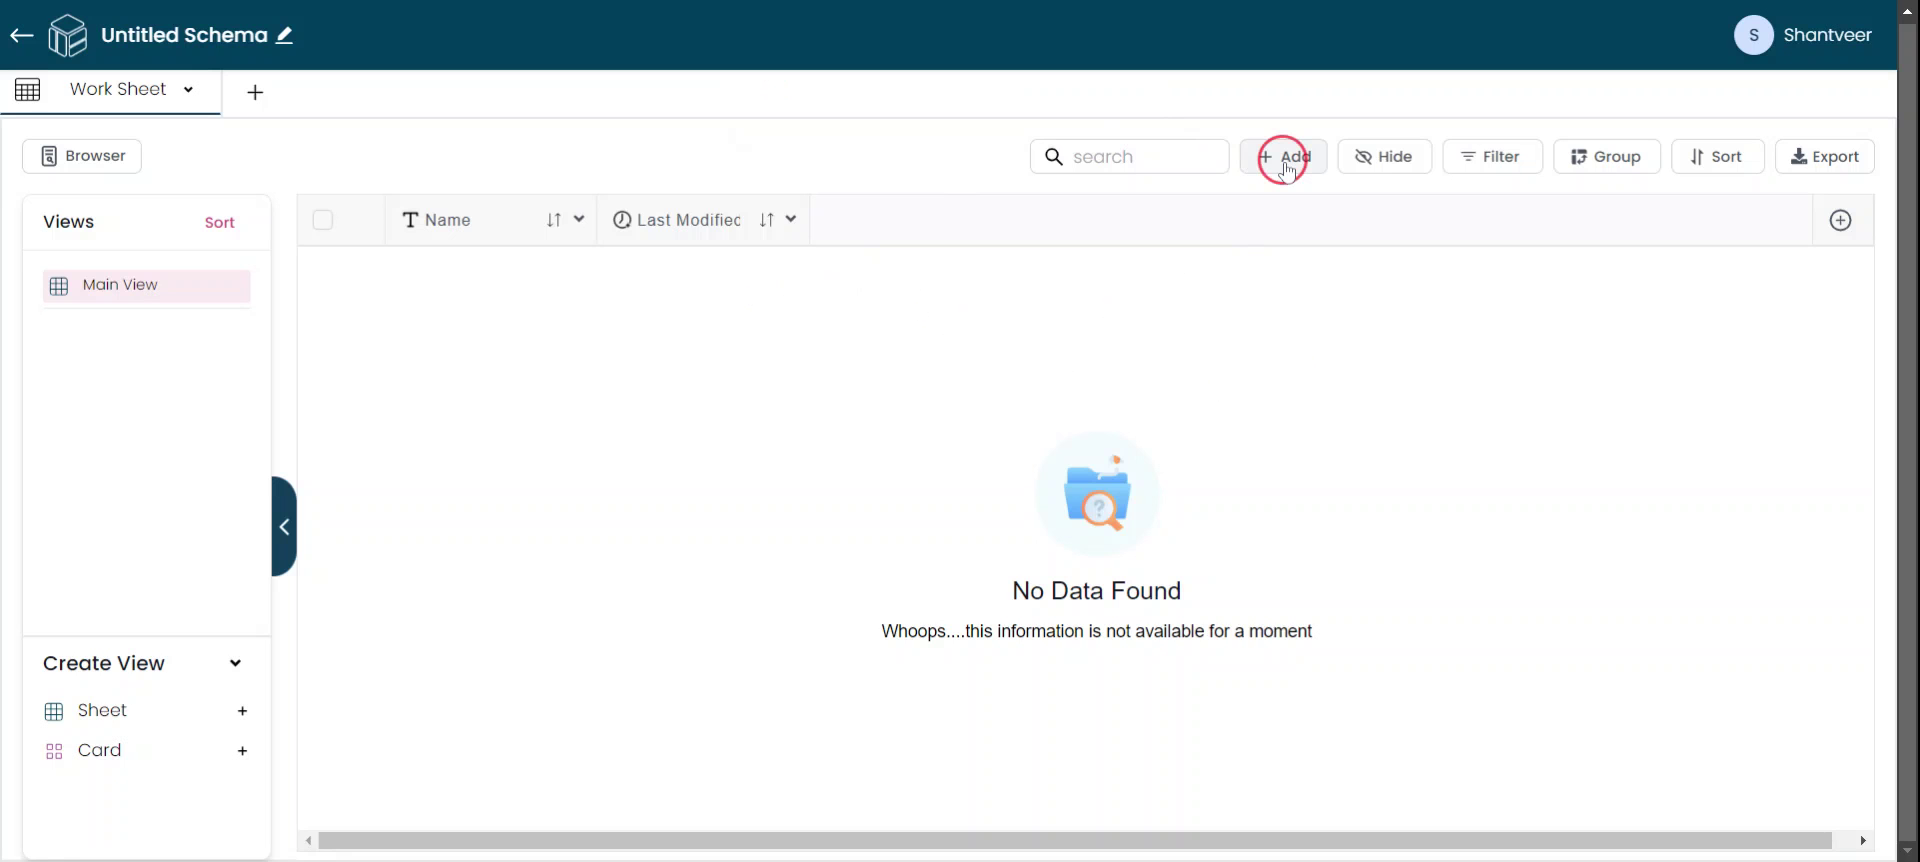
To begin, click on the plus icon to start the process of adding a "Last Modified Time" field to the worksheet.
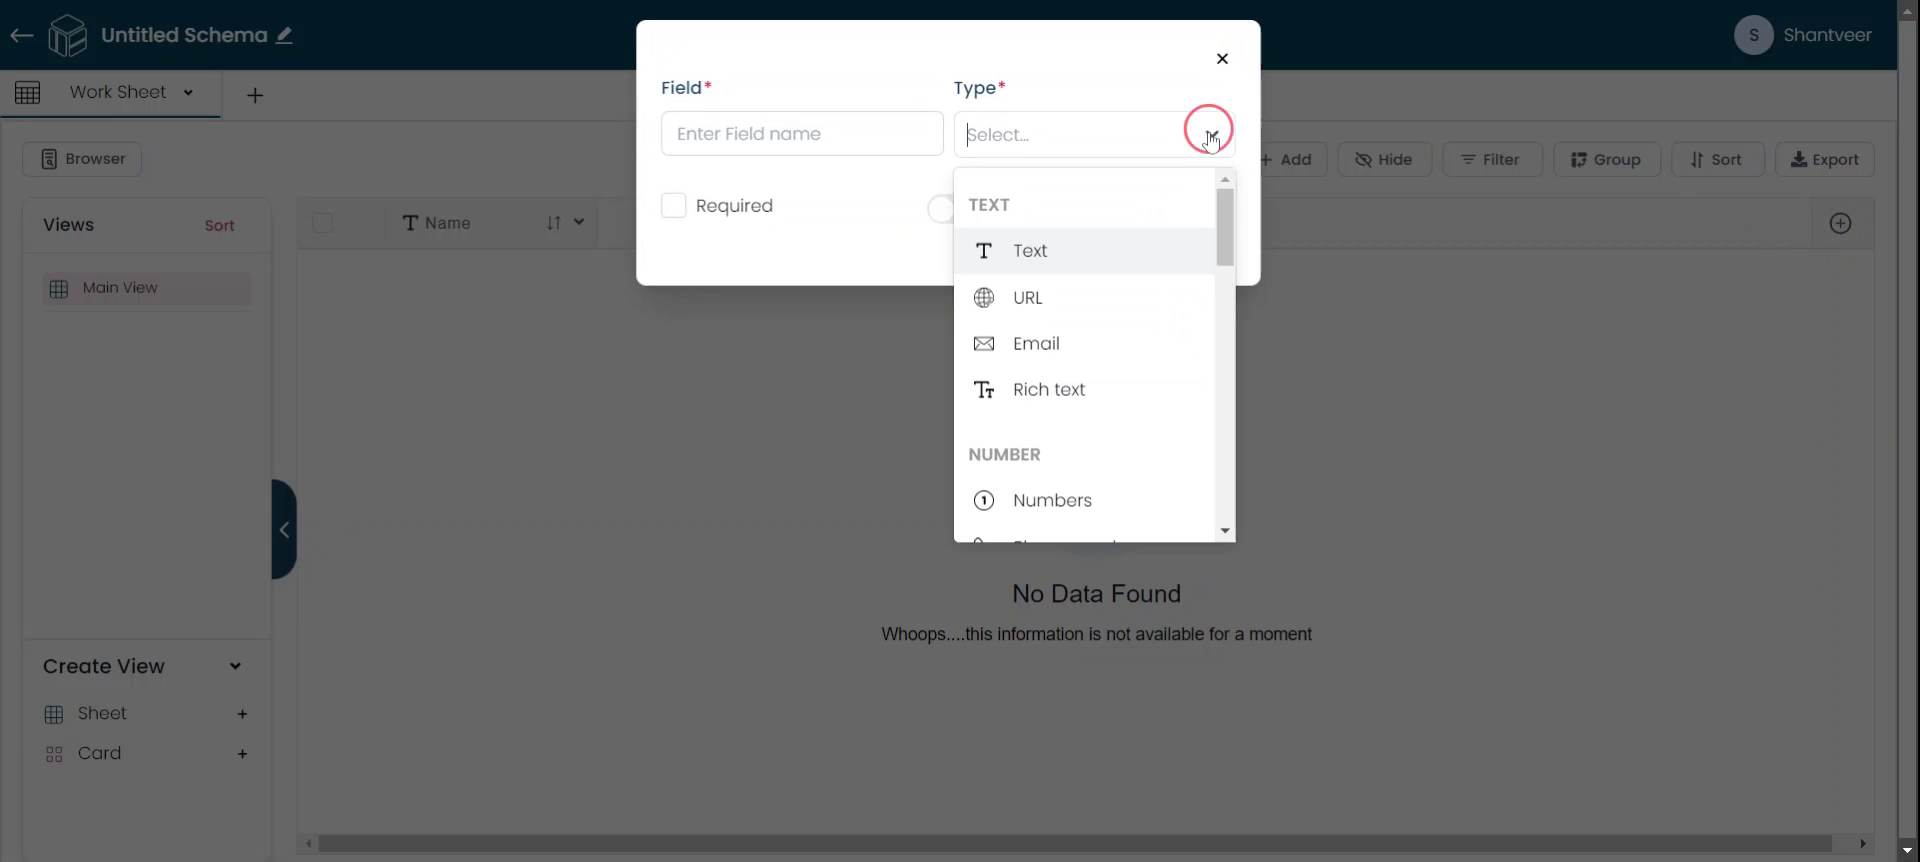
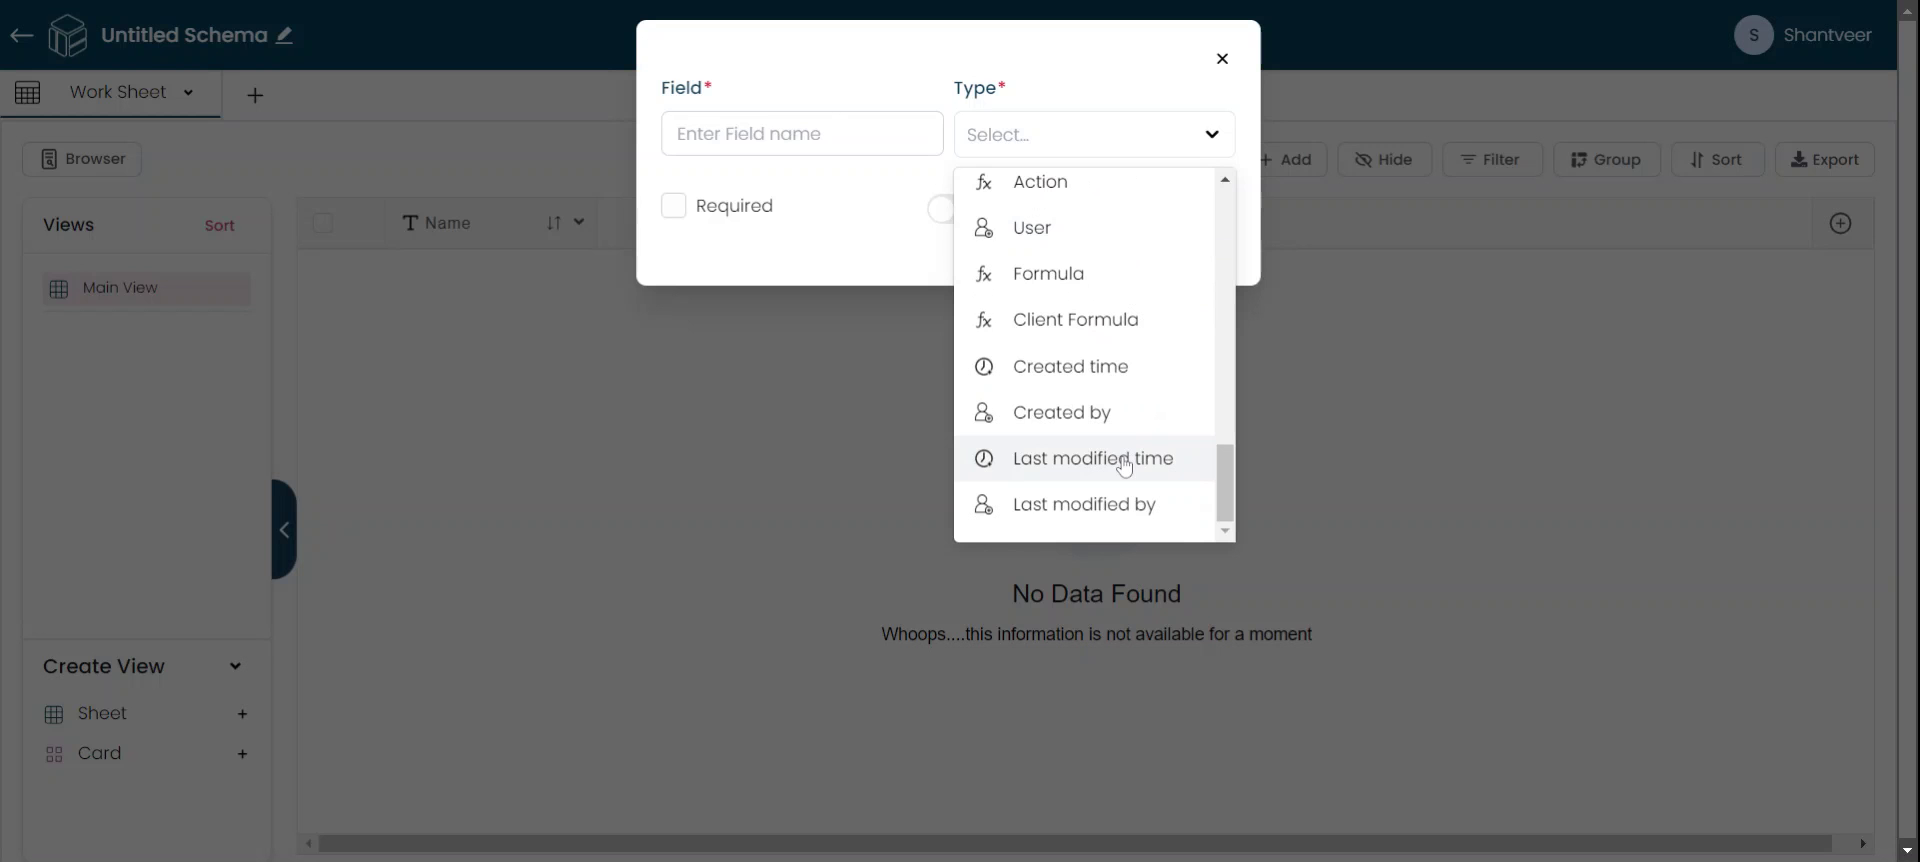
Add Last Modified Type
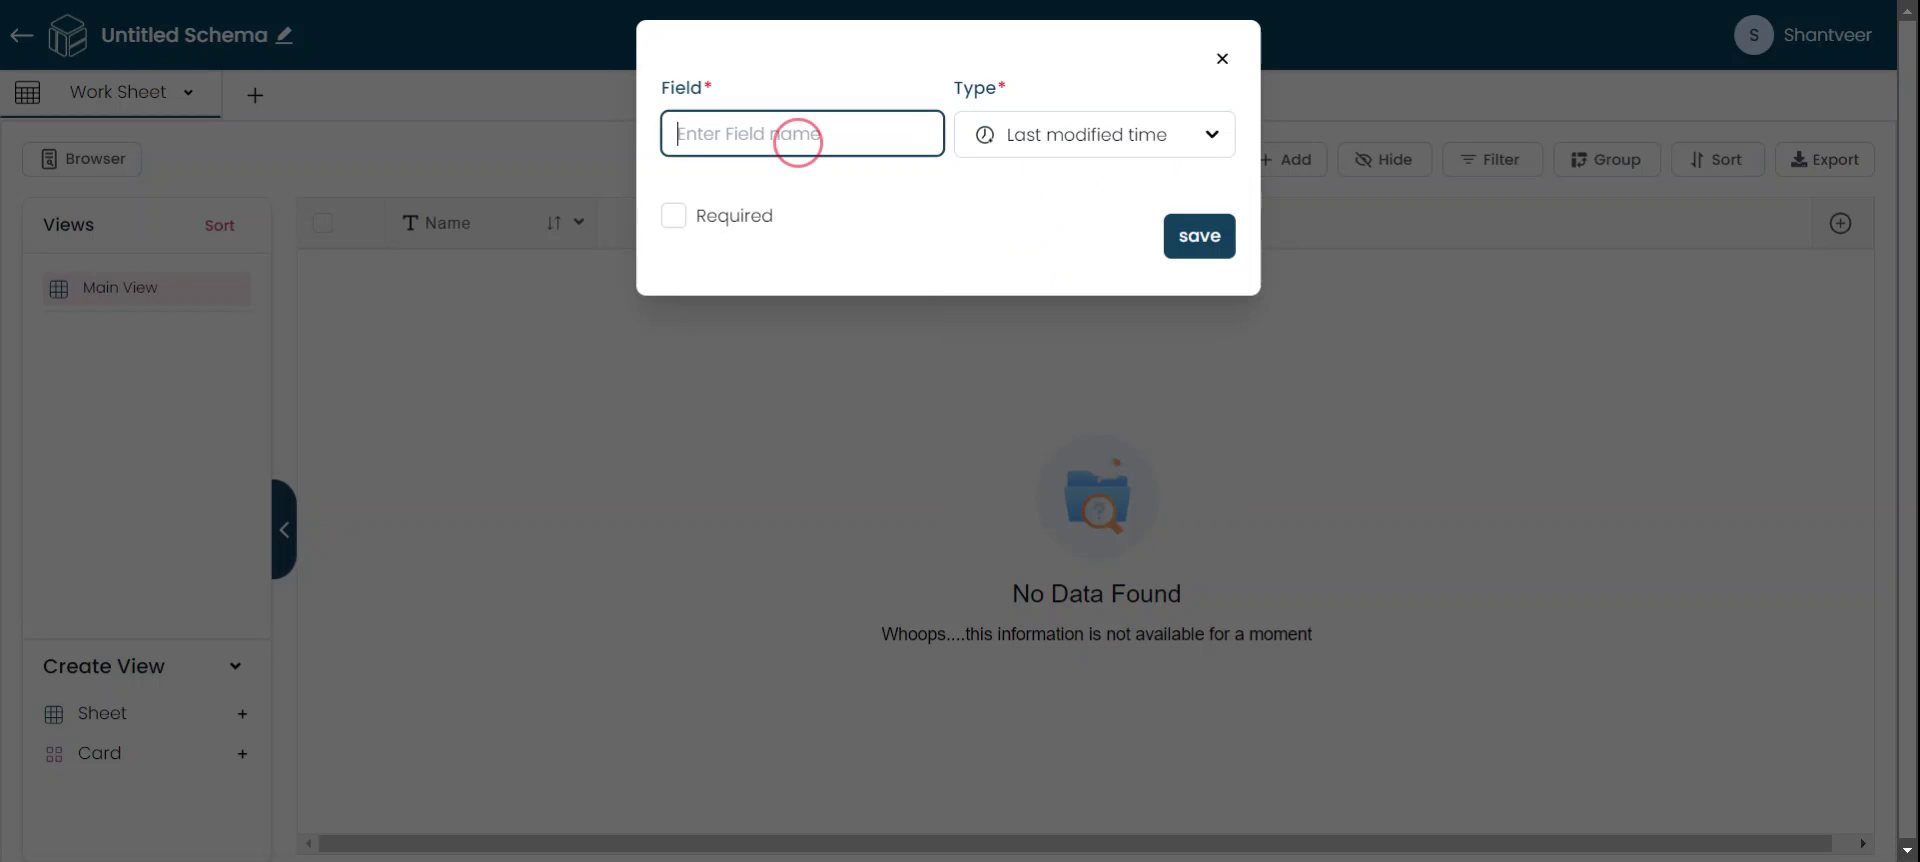
After clicking on the plus icon, a pop-up will appear. From the type drop-down menu, select the "Last Modified Time" option, as we are adding a field to track the last modified time.
Configure Field Settings
Set the field name according to your preference. After naming the field, enable the 'Required' option if you want to make the field mandatory. Fill in all the necessary details and click 'Save.'

Save and Add
Once you click 'Save,' the field will be added to the existing worksheet. To test its functionality, click on 'Add.'
Save To Verify
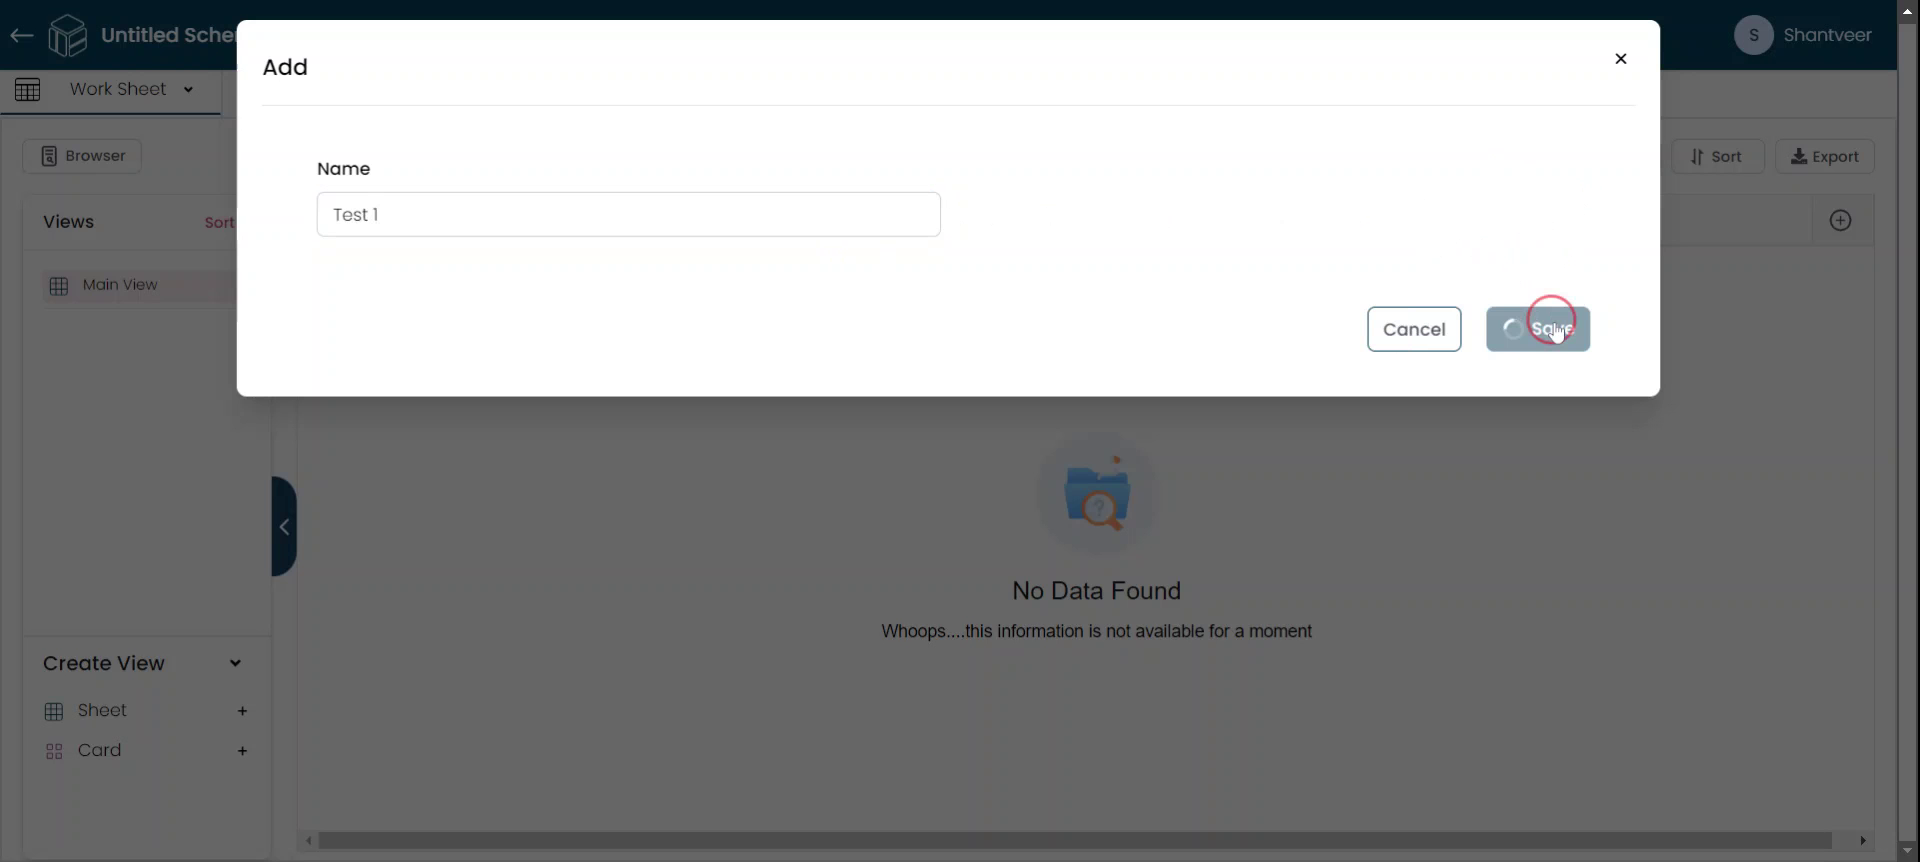
This field is auto-generated and non-editable, so it will not appear when adding rows. Fill in the other necessary details and click 'Save.'
Auto-update Timestamp
You will see the date and time when the row was added reflected in the 'Last Modified Time' field. This field will automatically update whenever the row is modified.