Adding a Created Time Field
In this manual, you will learn how to seamlessly add a created time field to an existing worksheet. This process involves a series of steps to ensure that the time field is correctly formatted and functional.
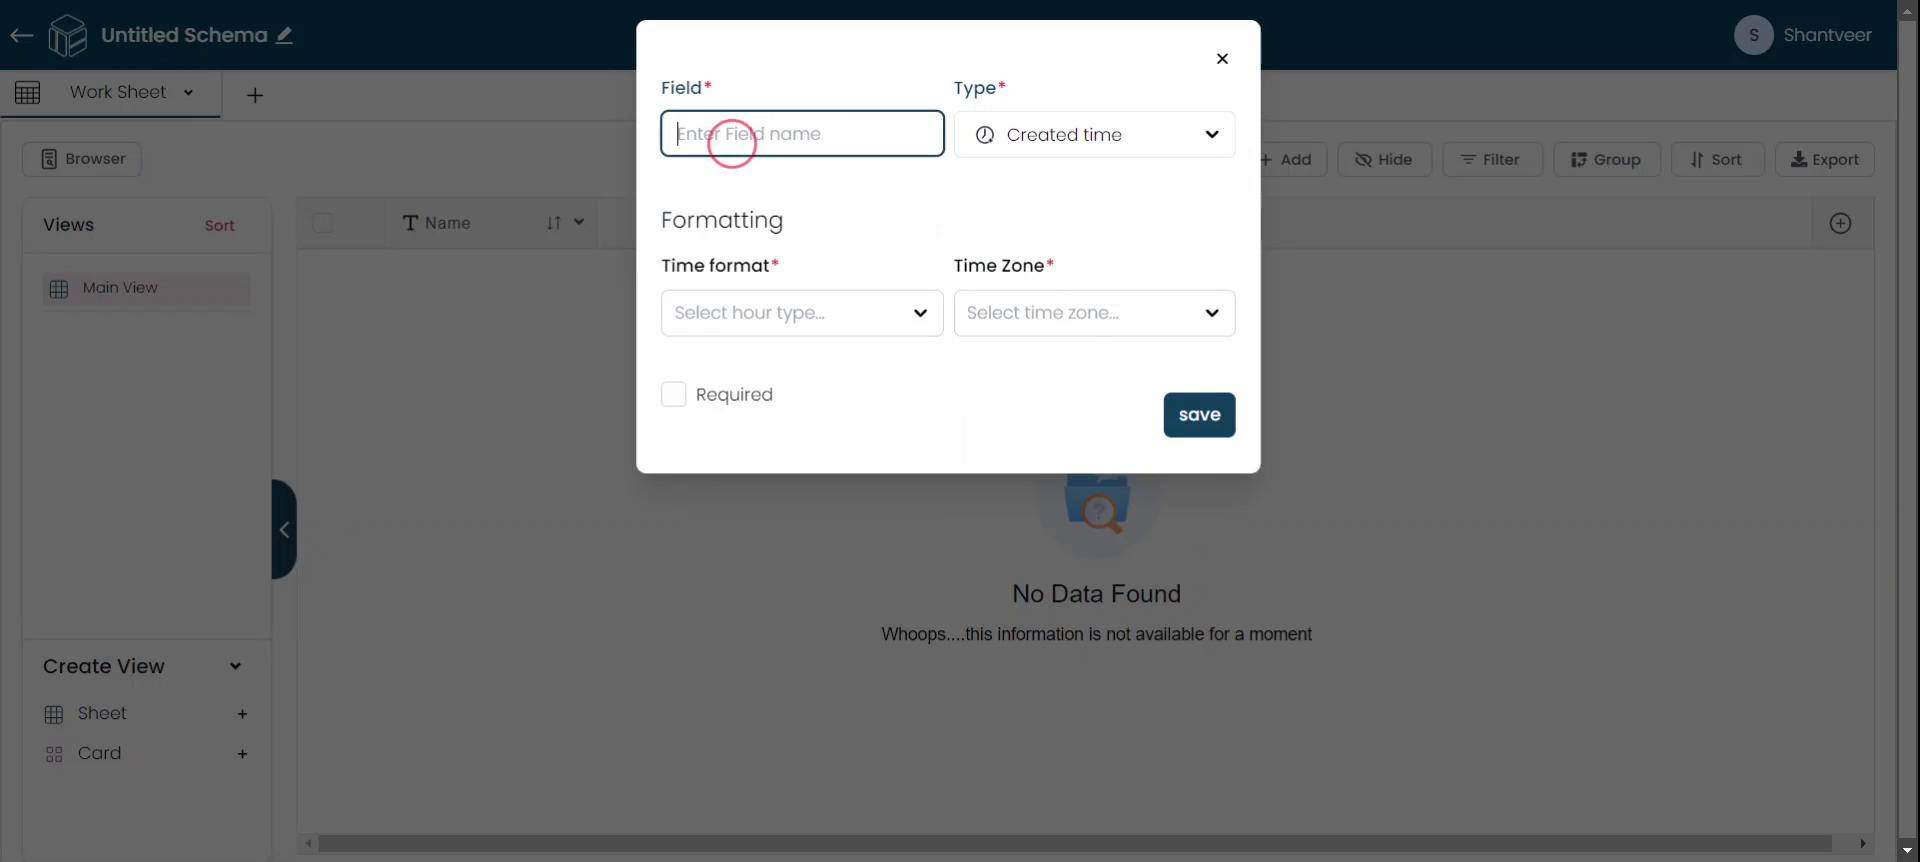
Add Created Time Field
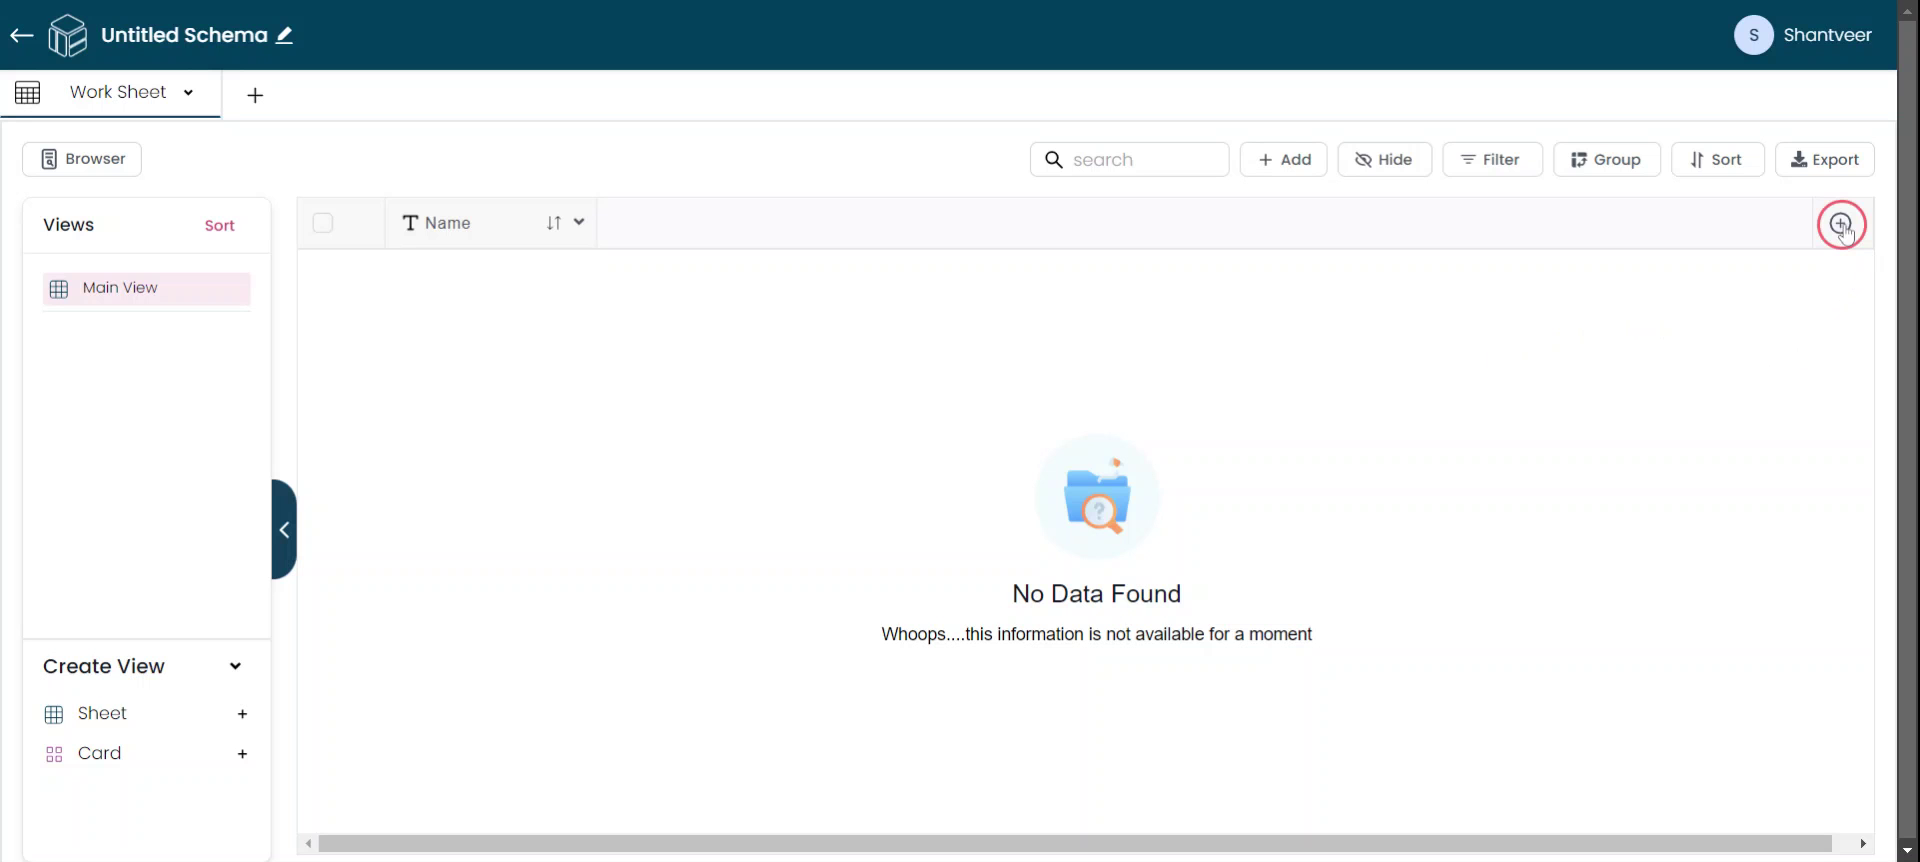
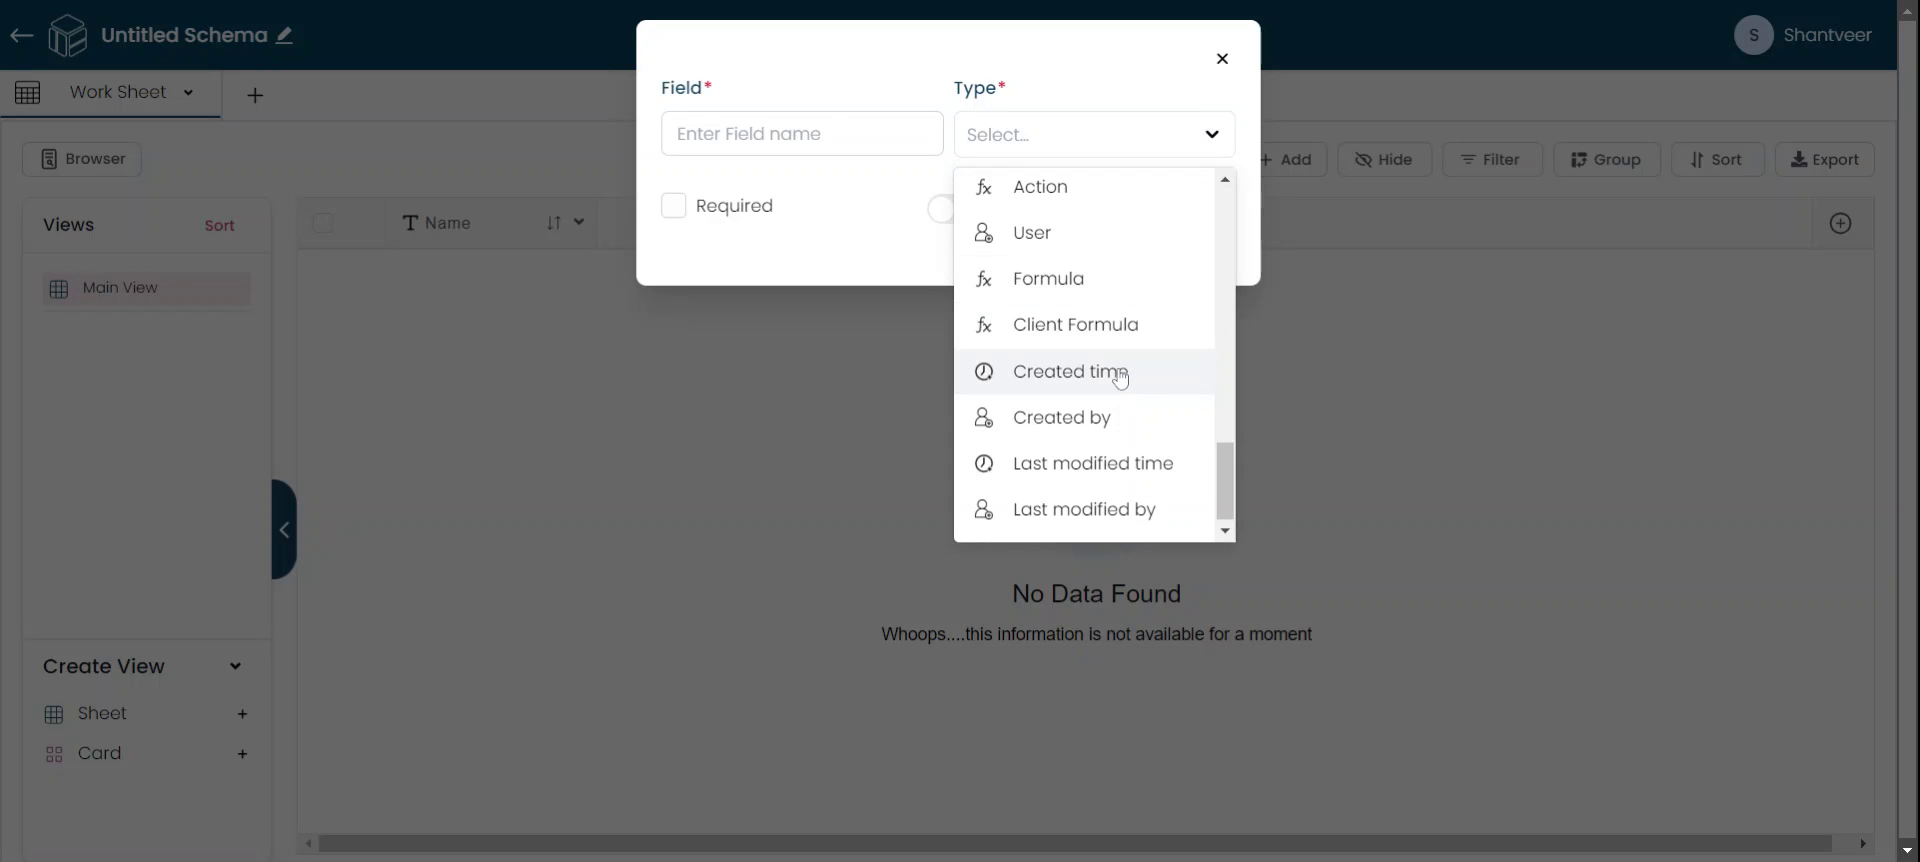
Click the plus icon to add a "Created Time" field to the existing worksheet. A pop-up window will appear. From the "Type" drop-down menu, select "Created Time." Customize the field according to your preferences.
Set Time Format & Timezone
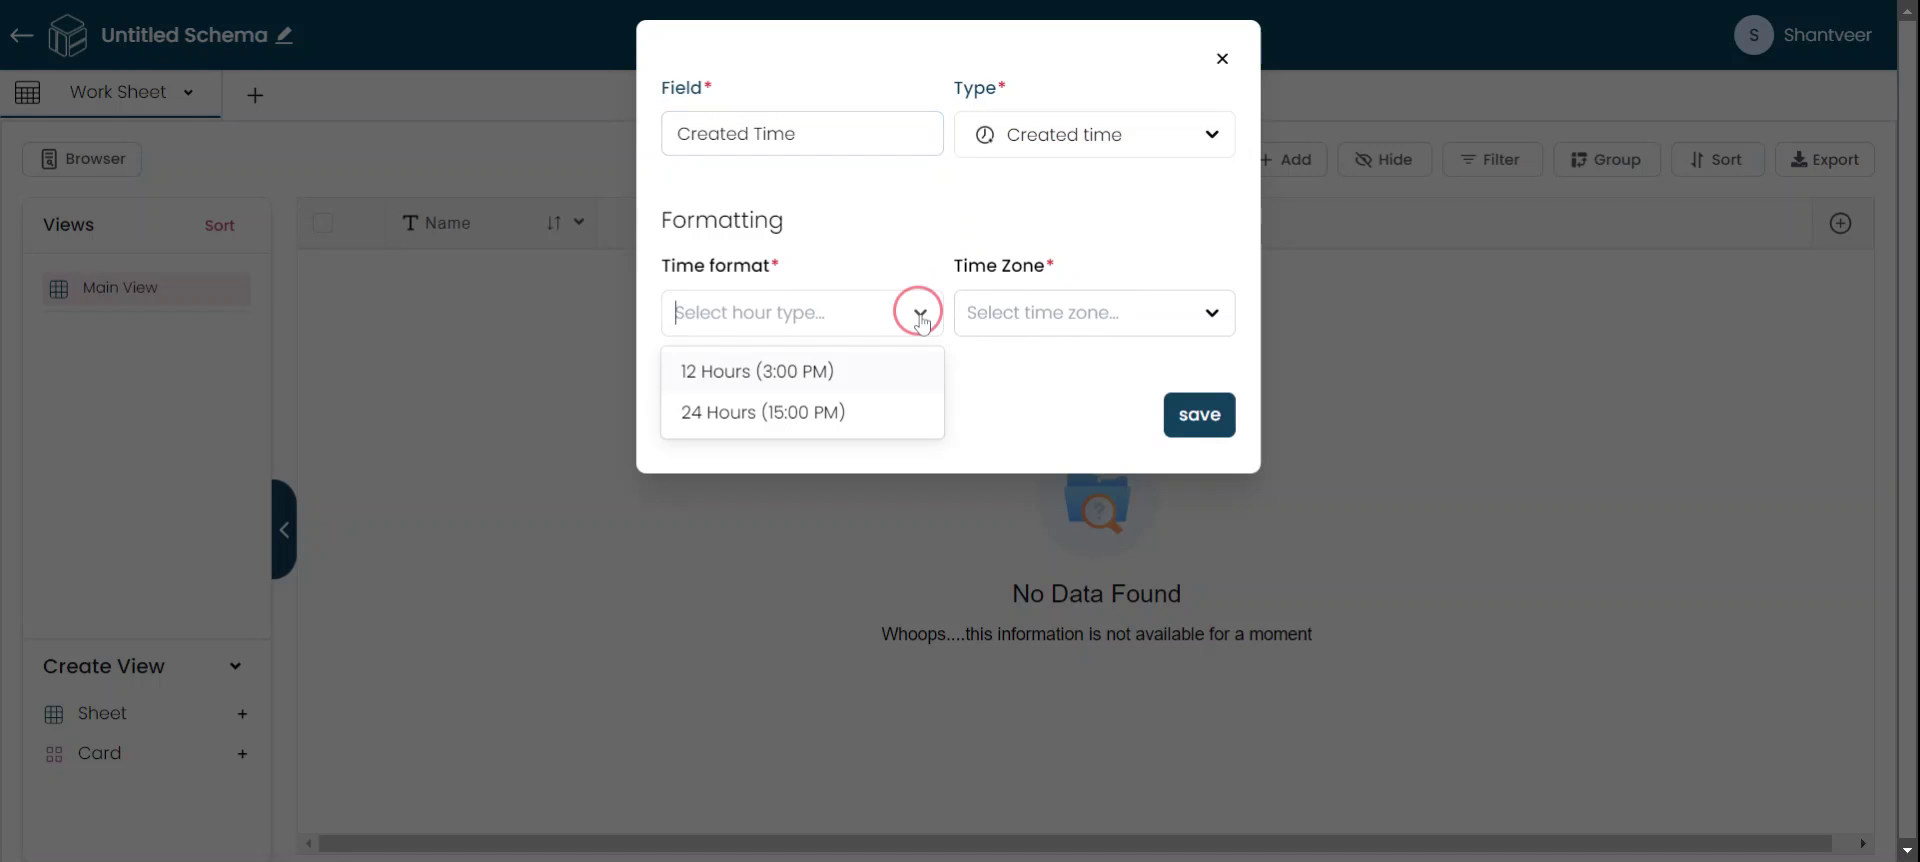
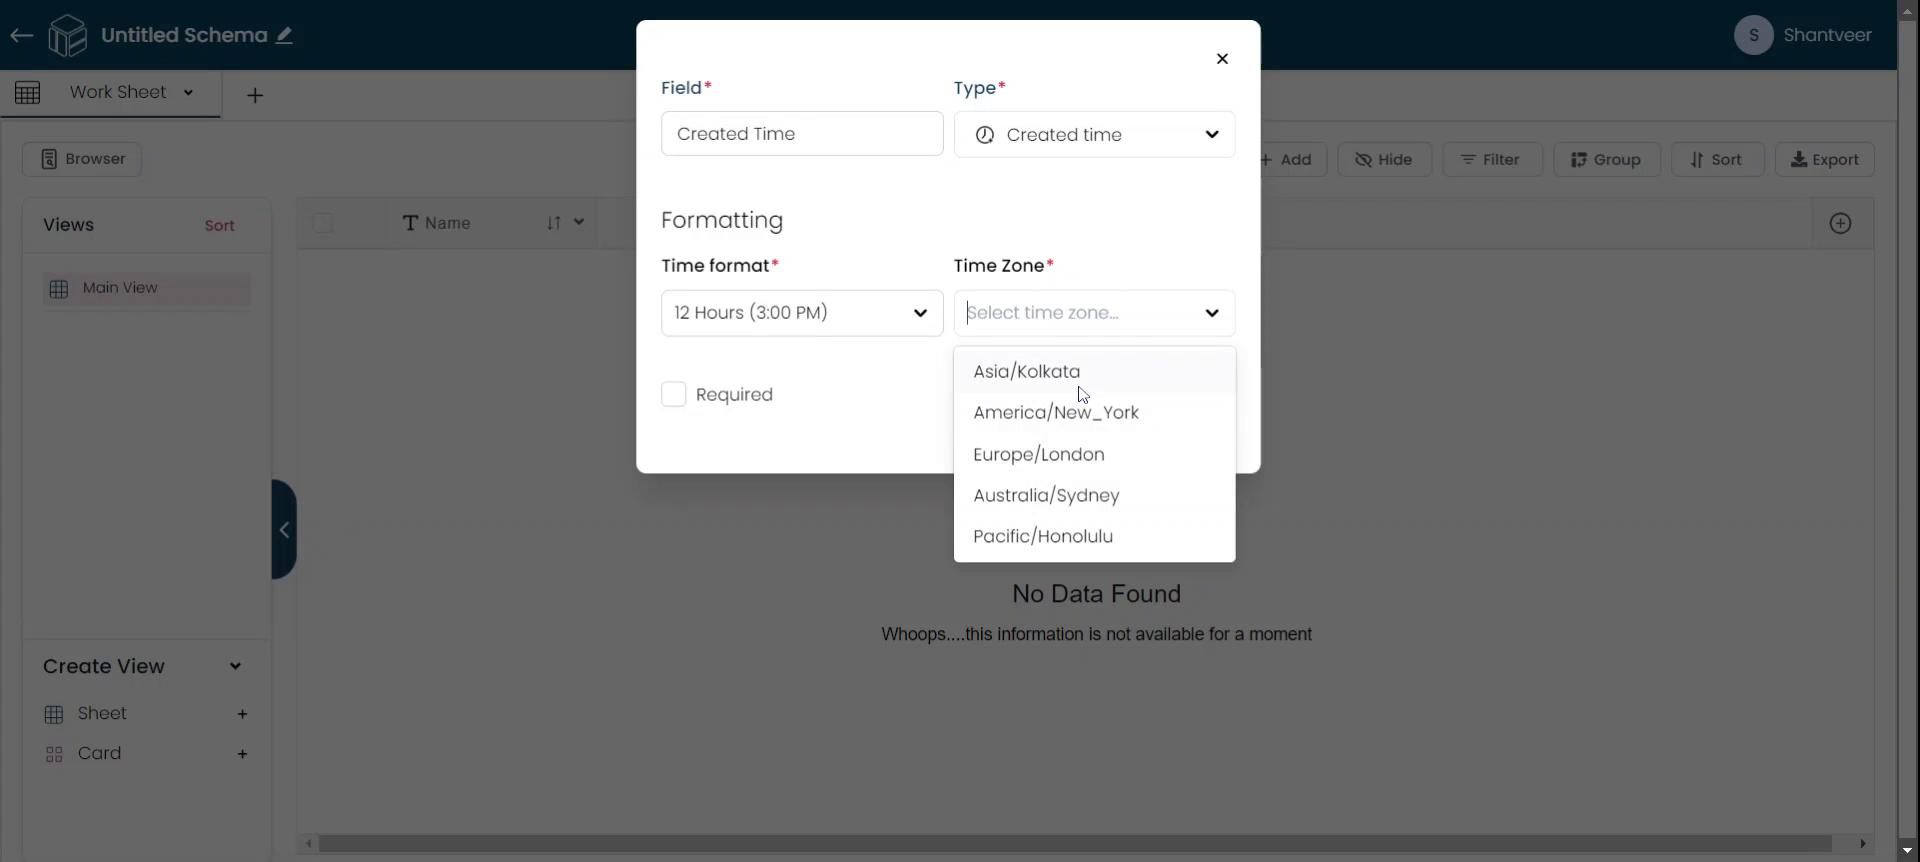
Set the time format and time zone, as these are mandatory when adding the Created Time field. So adjust the time format and time zone according to your preference.
Make Field Mandatory
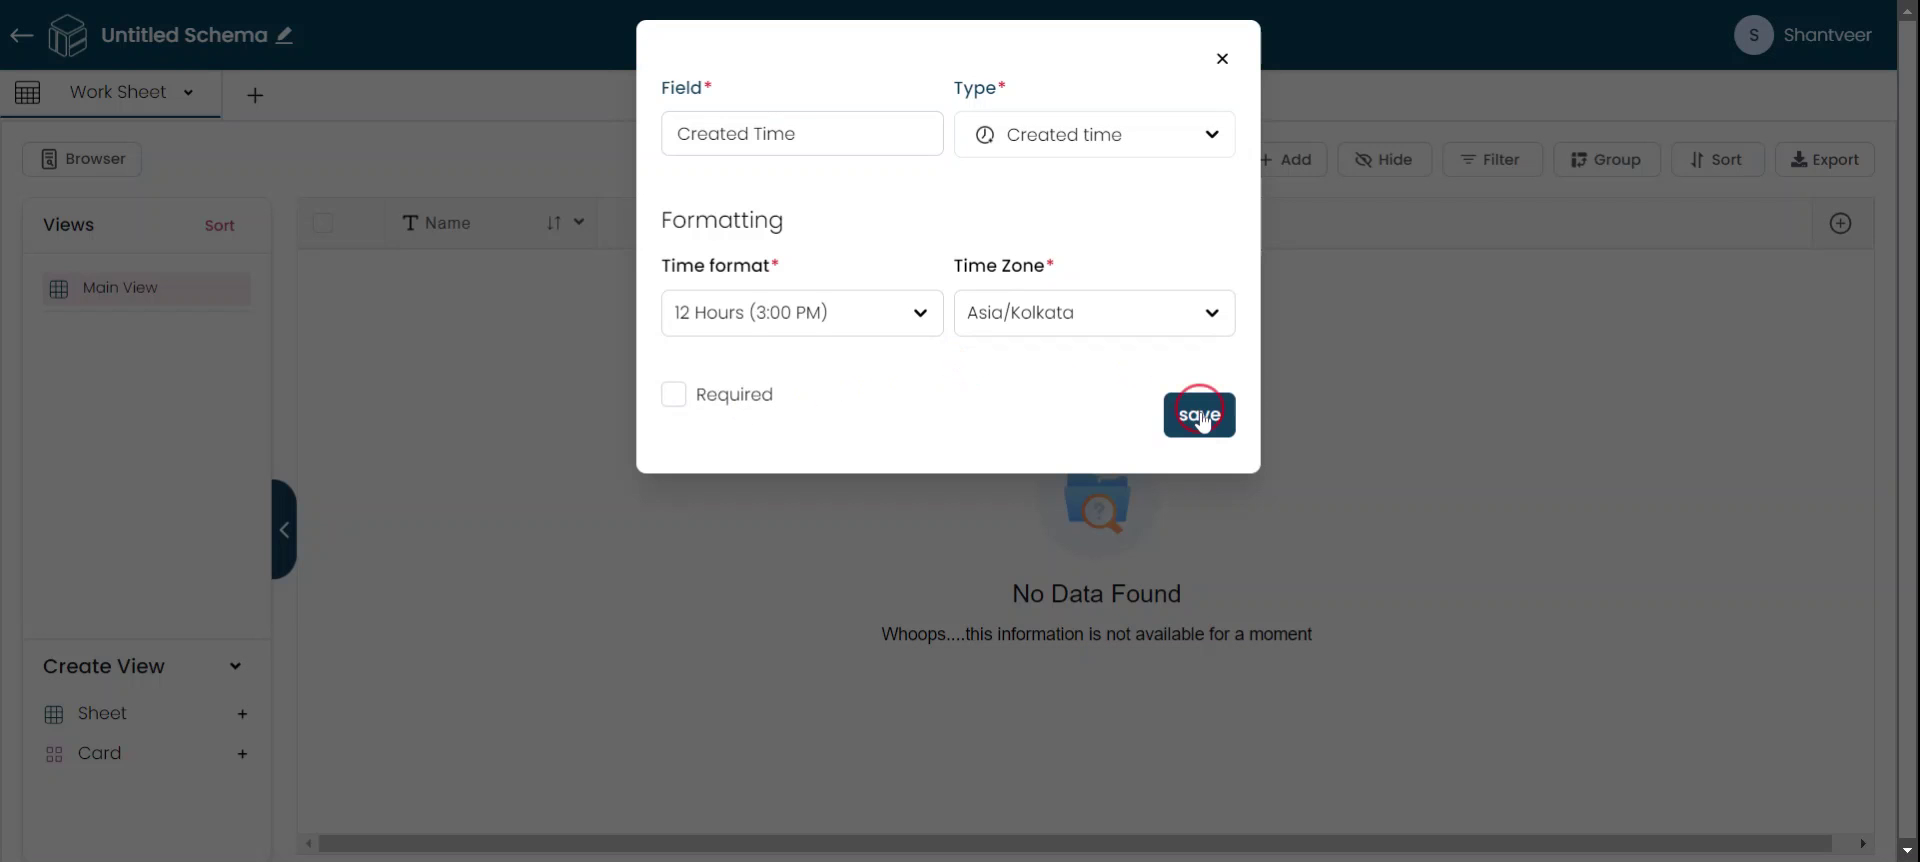
If you want the field to be mandatory, enable the corresponding option. After completing all the details, click the Save button.
Verify Created Time Field
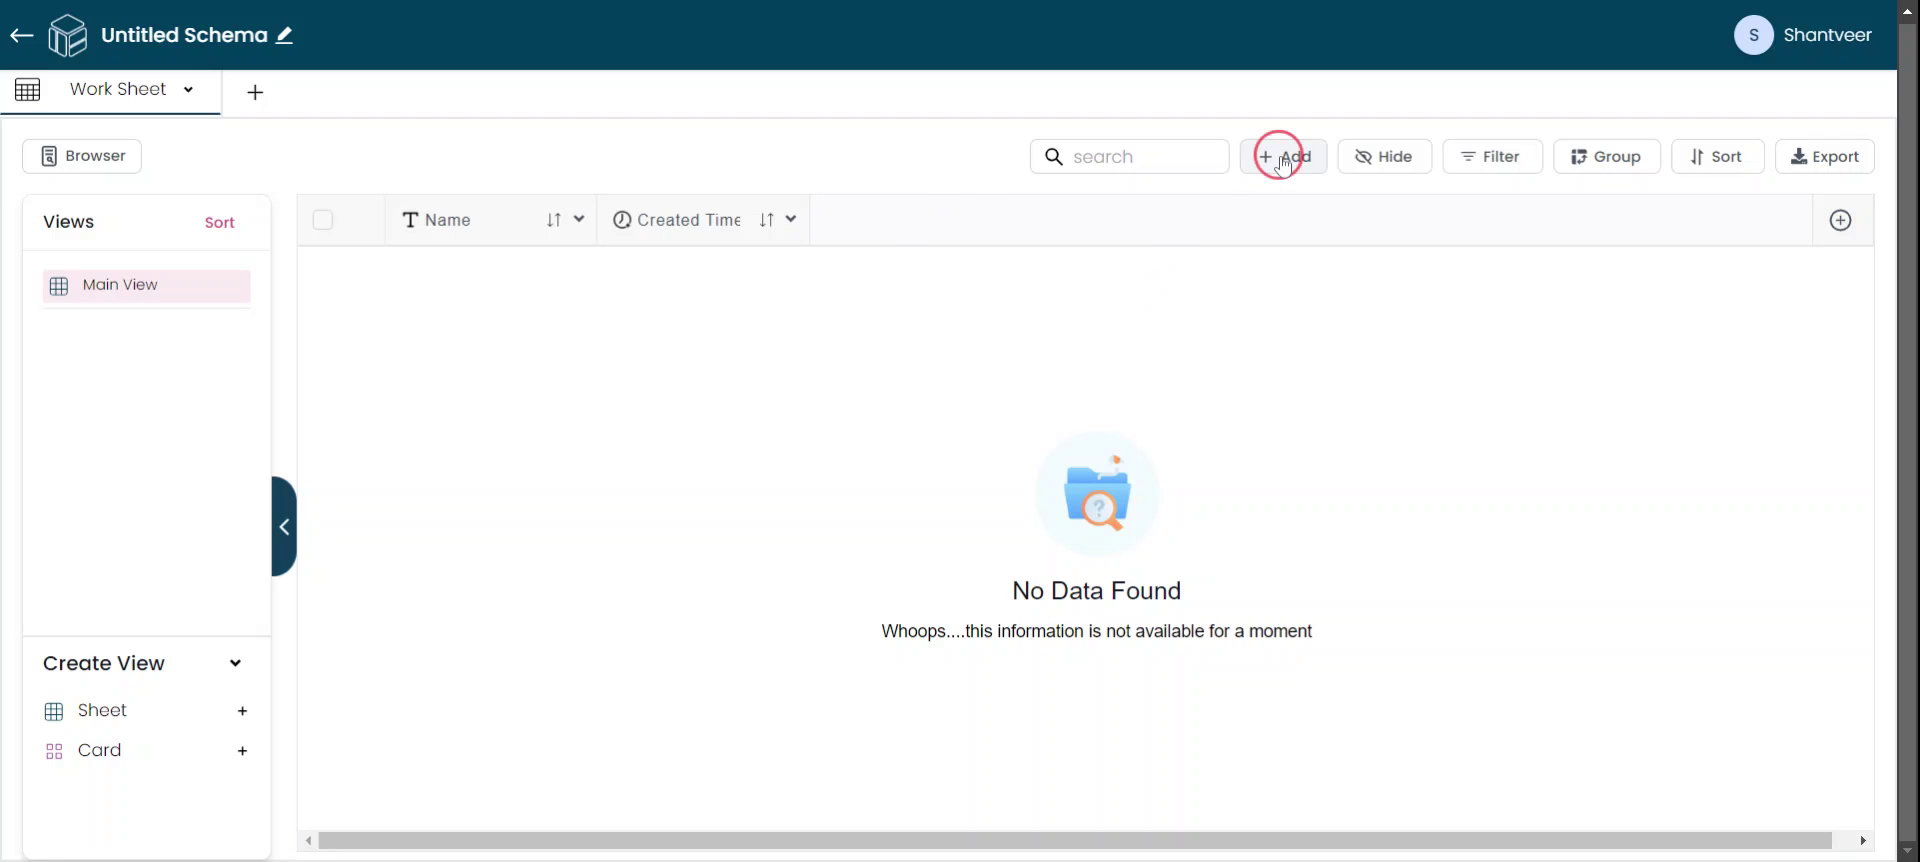
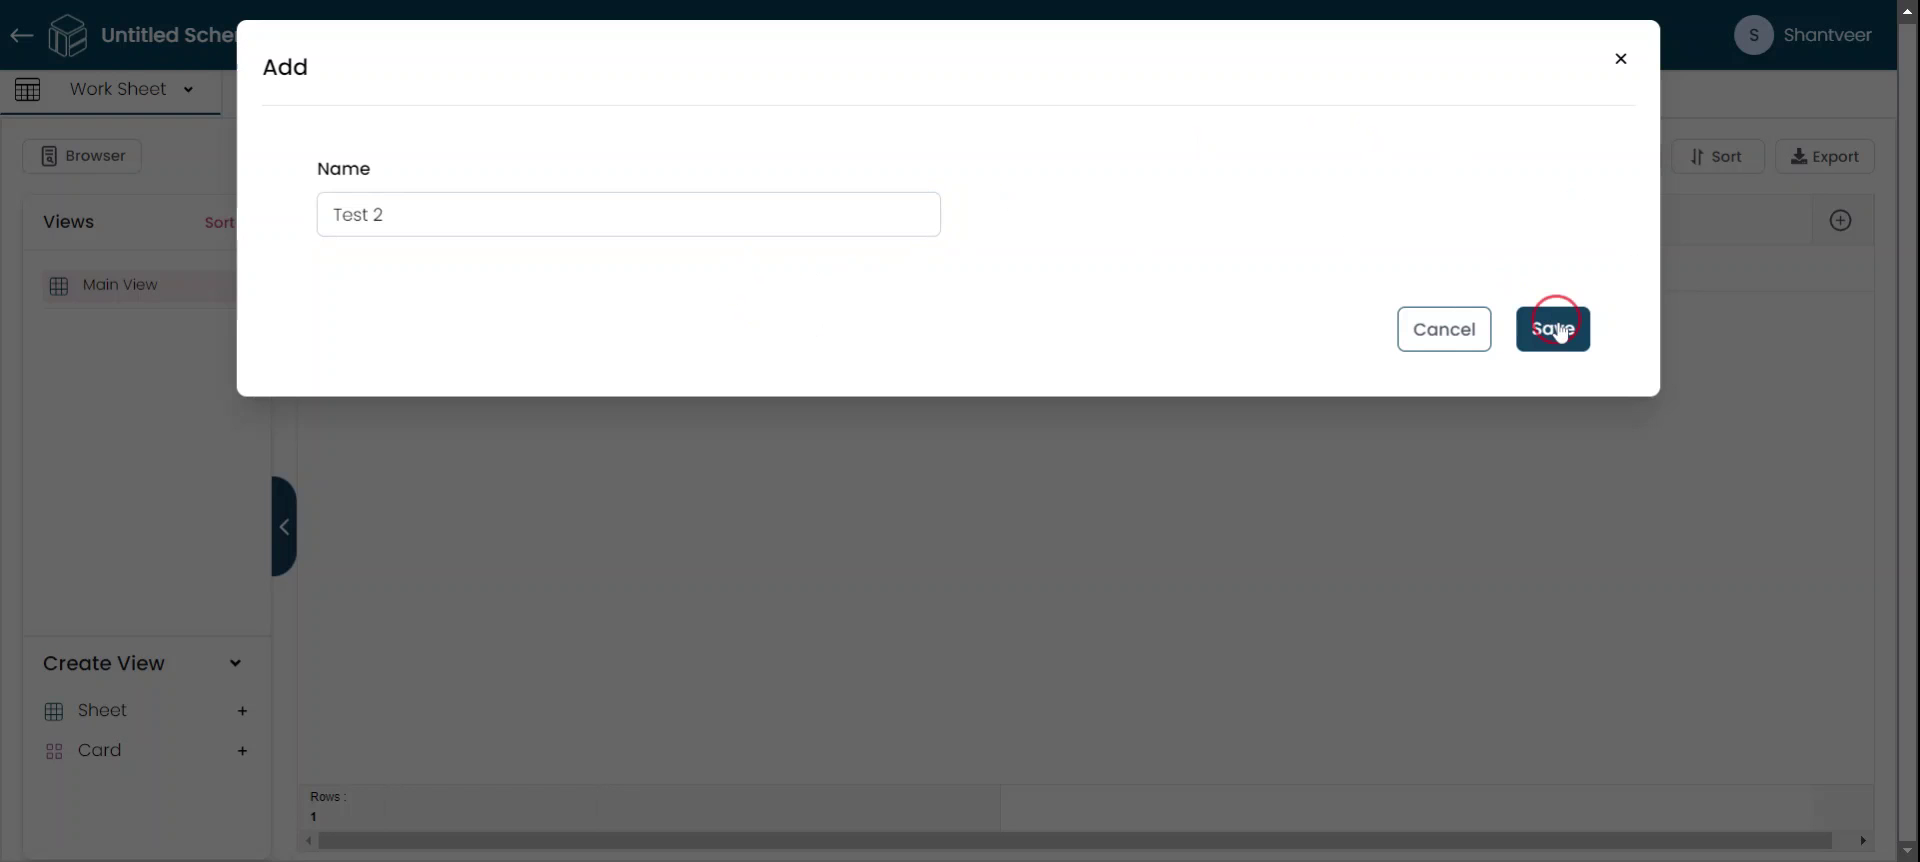
The Created Time field will now be added to the existing worksheet. To verify, click on the 'Add' button.
Auto-Generate Created Time
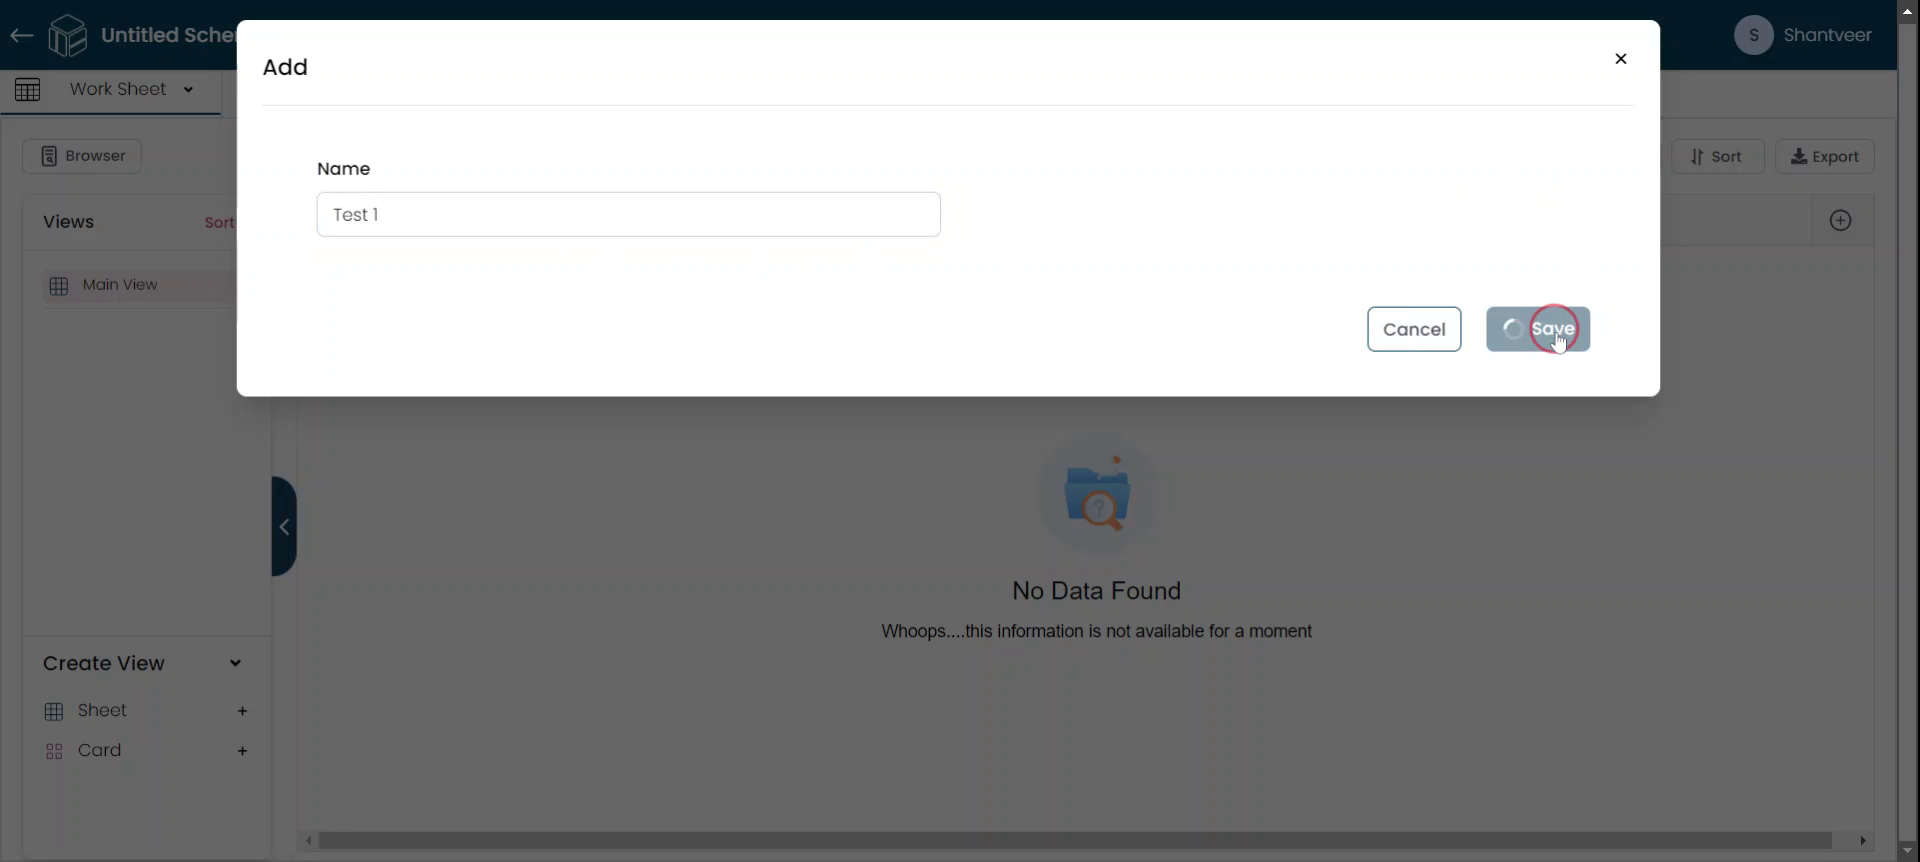
Fill in the name field. The Created Time field will be automatically generated and non-editable. It may not be visible when adding the row, click 'Save' to complete the process.
Display Date and Time
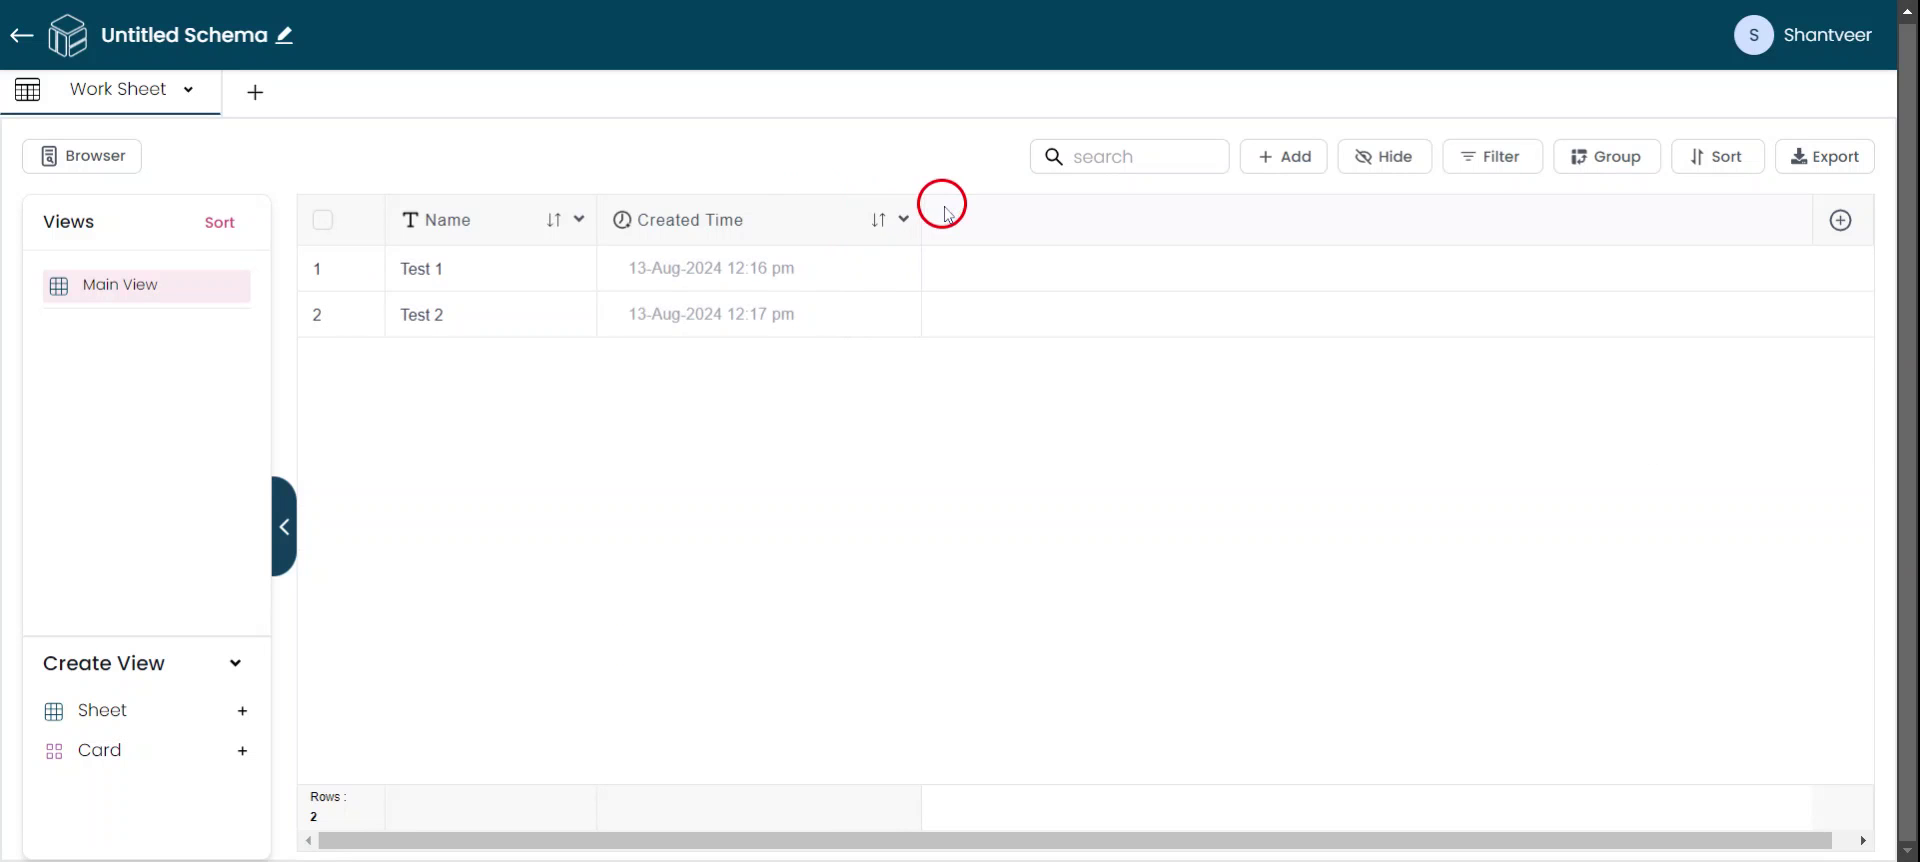
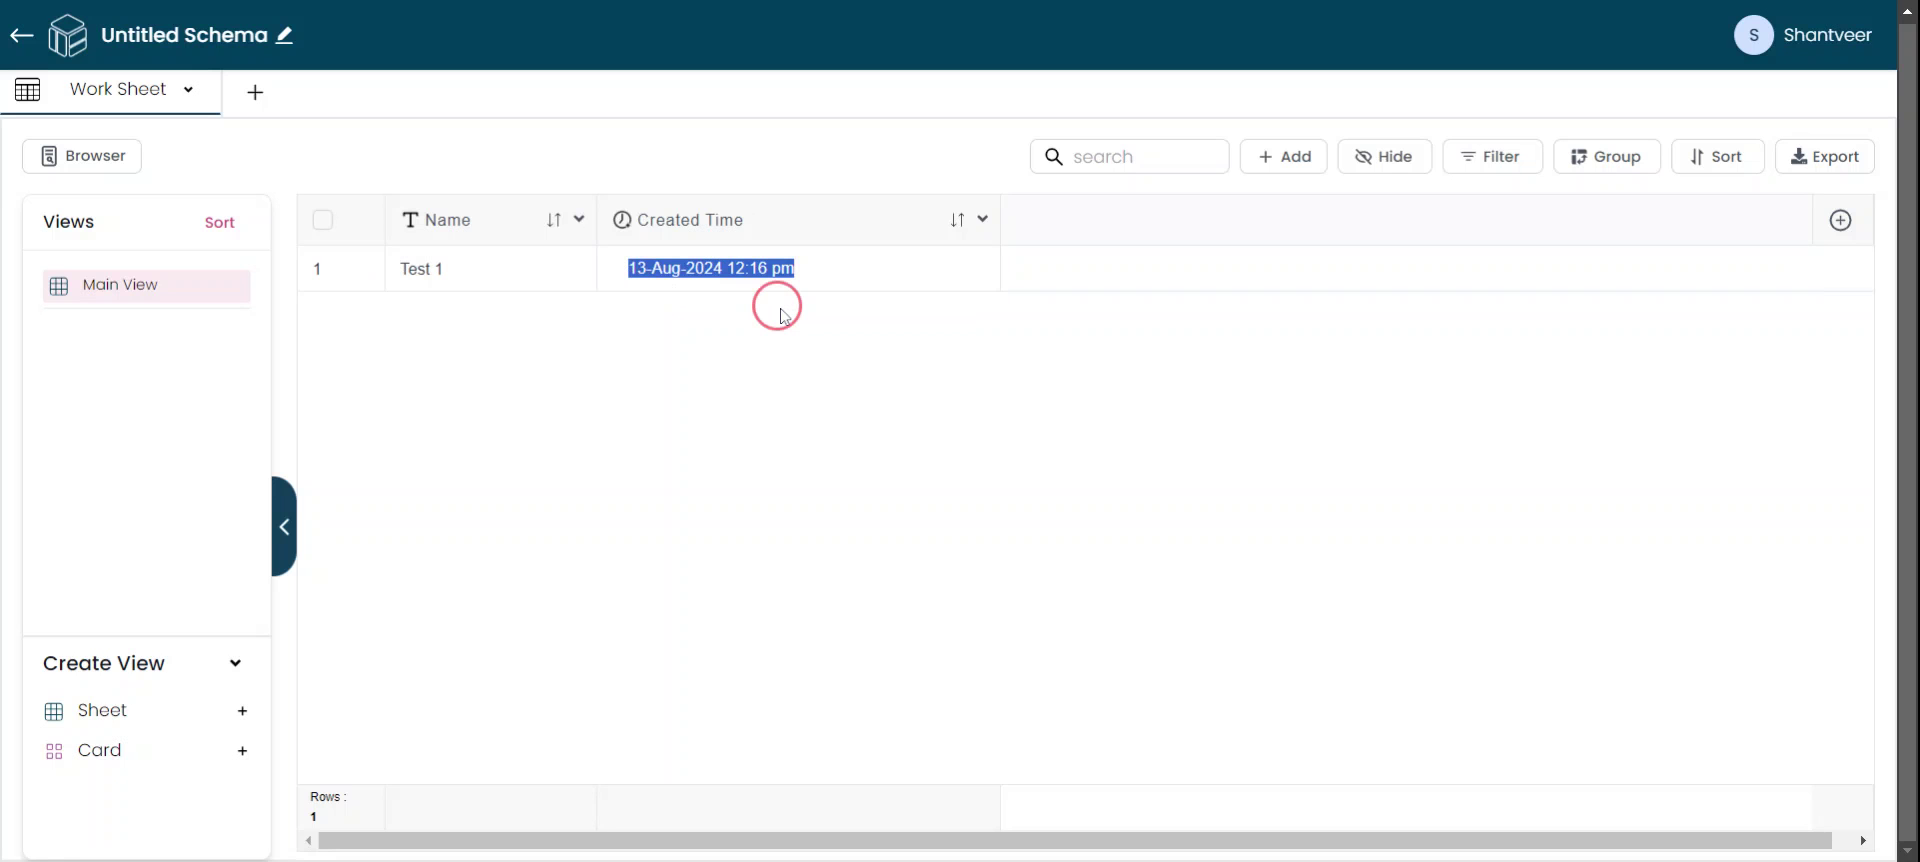
The Created Time field will display both the date and time when the row is added to the worksheet. For example, if the row is added on August 13, 2024, at 12:16 PM, the field will show this same date and time.
Verify Time and Date
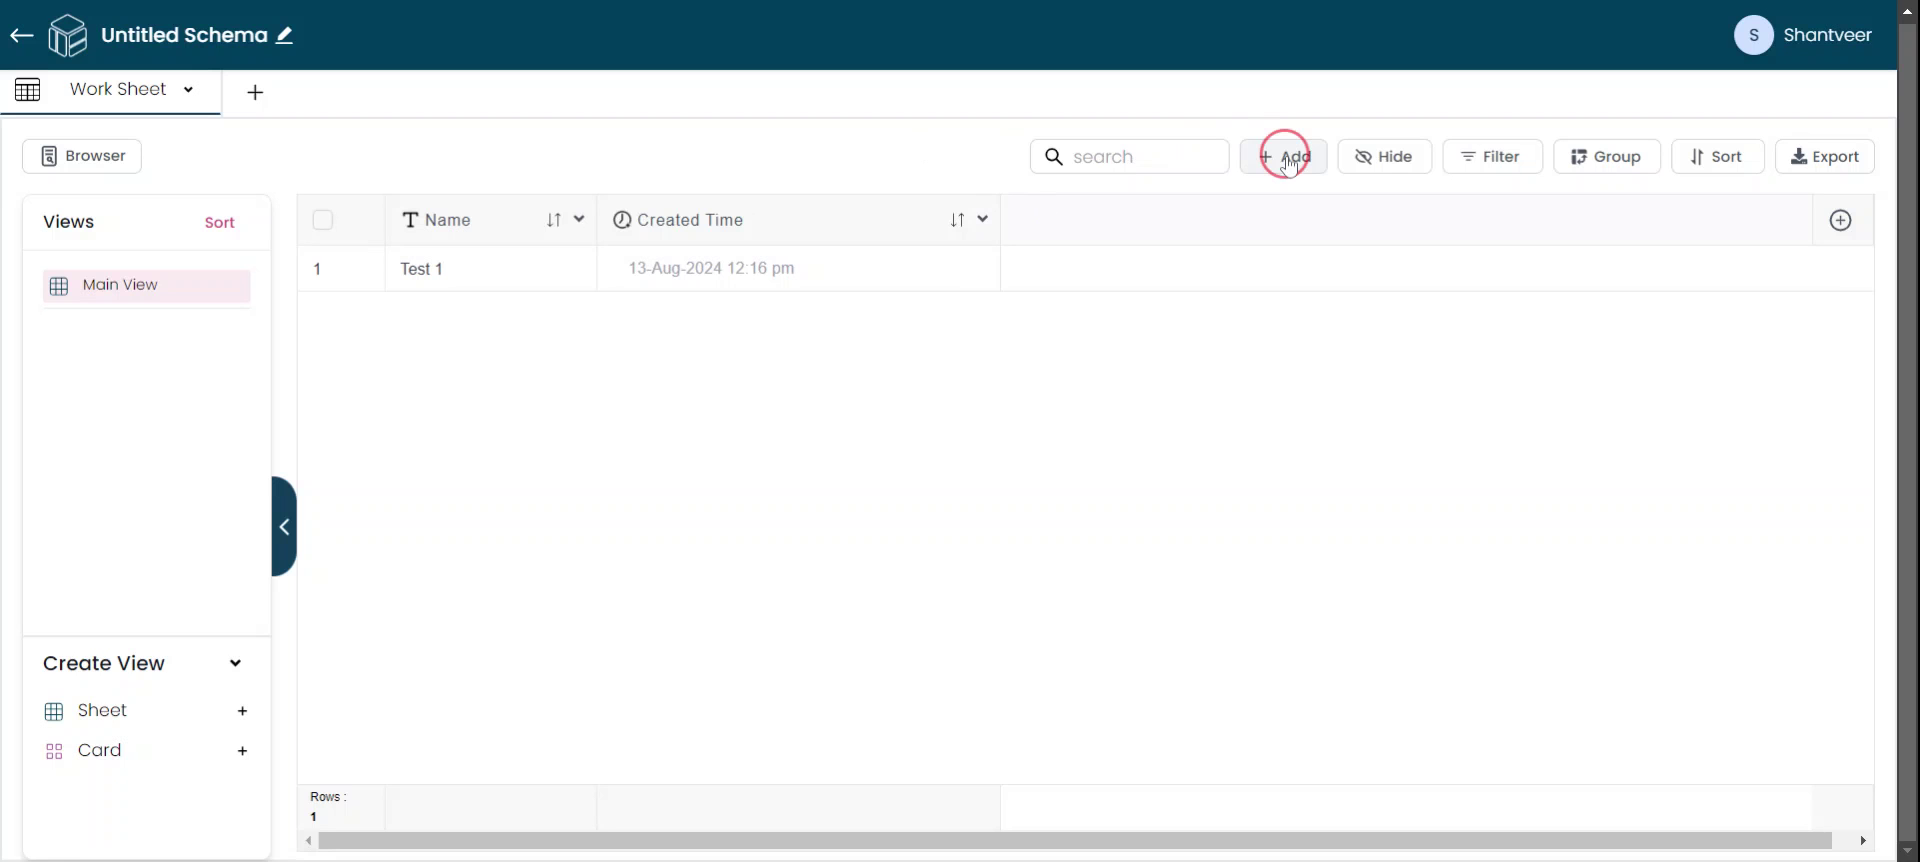
To test whether the time updates correctly, click on 'Add,' enter a name in the field, and then click 'Save.' Remember, the date will also update according to the date when the row is added.
View Updated Time
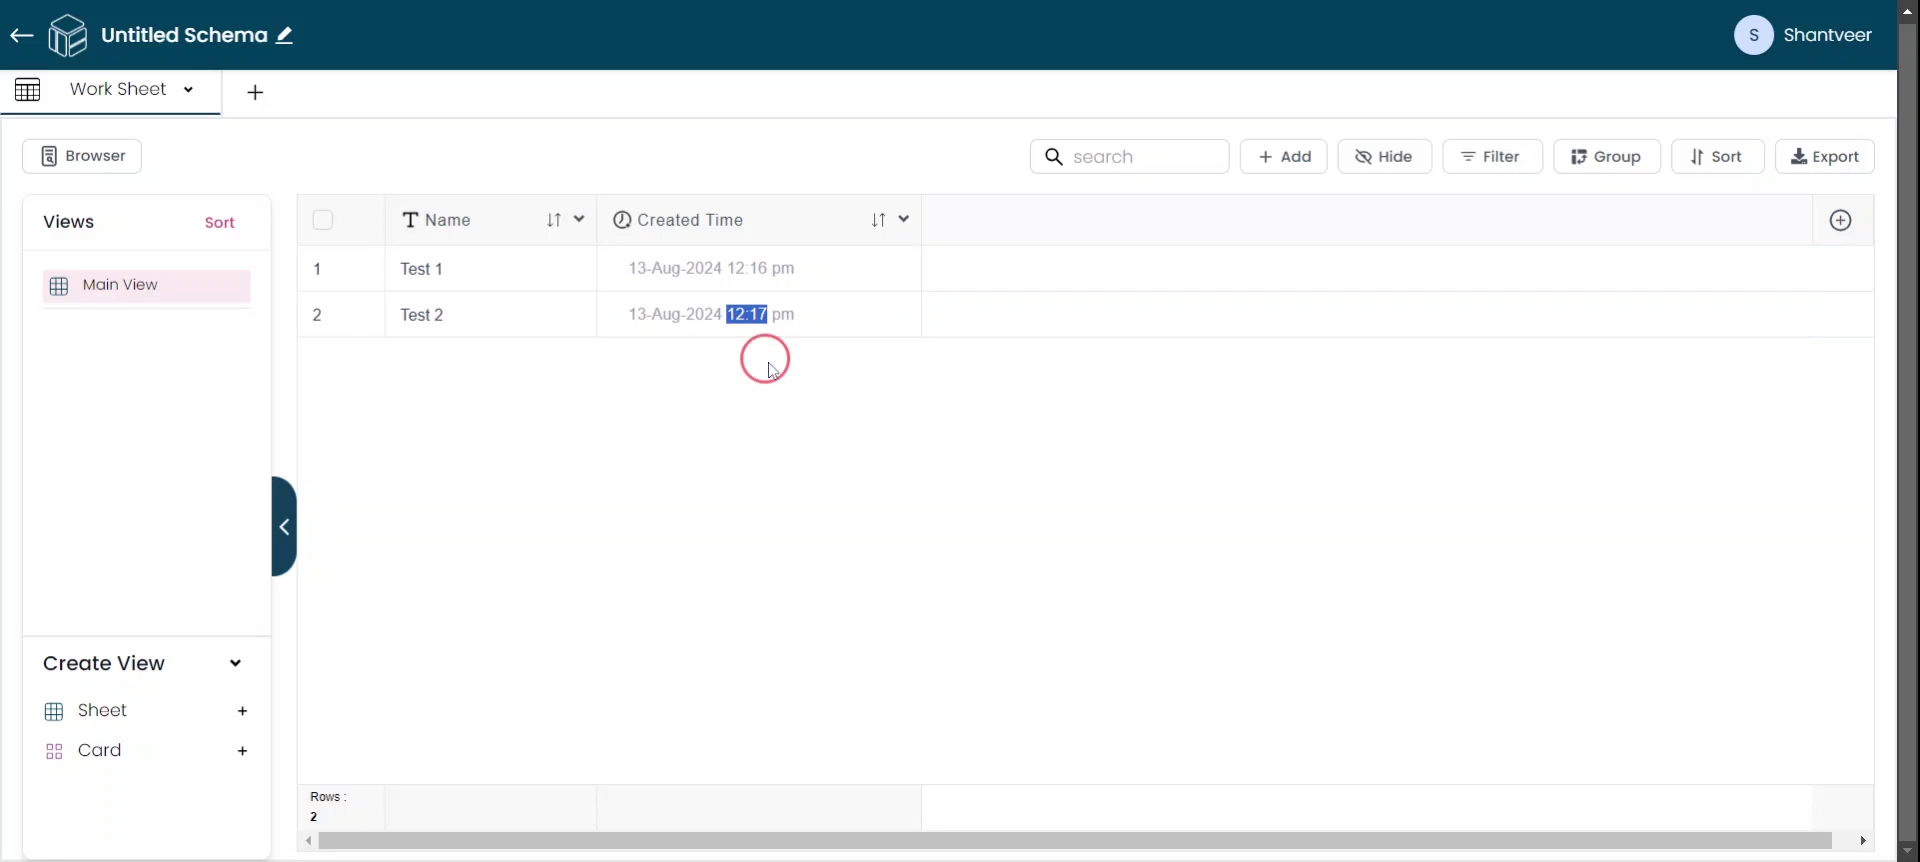
The row will be added to the existing worksheet, and you will see that the time has changed. For example, the first row added at 12:16 PM will display that time, while a second row added later will show the updated time, such as 2:17 PM.