Adding a Currency Field
This document outlines the process of adding a currency field step-by-step. Follow these instructions to seamlessly integrate a currency field, configure its properties, and test its functionality.
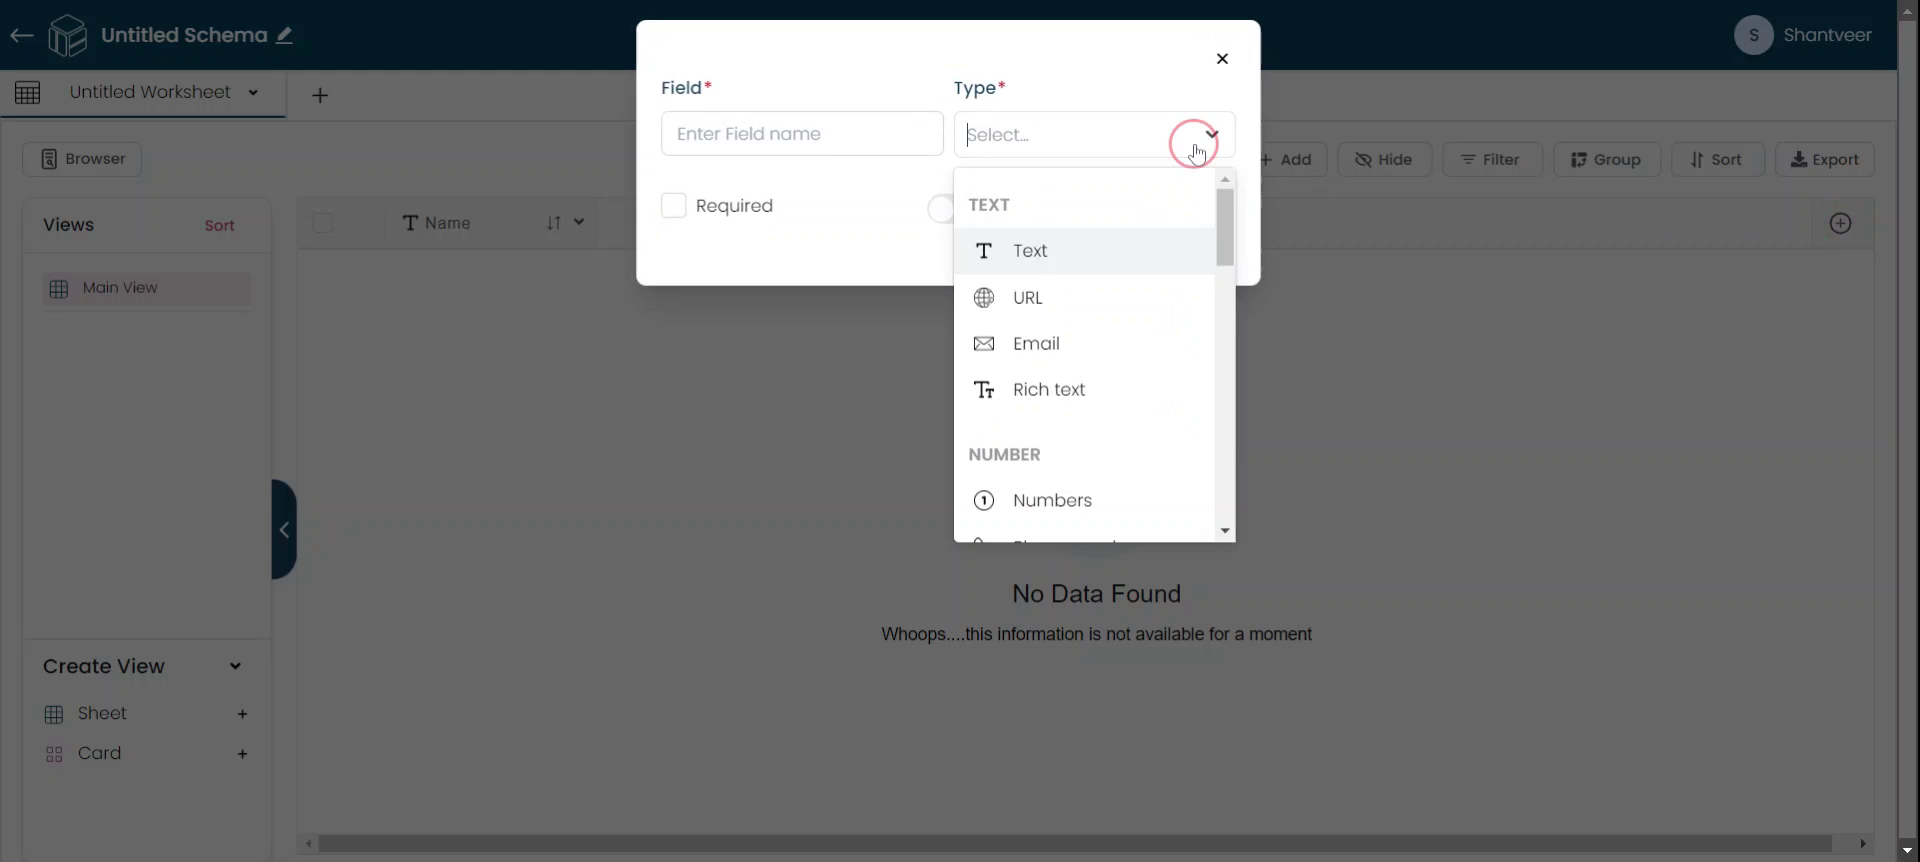
Add Currency Field
Click on the plus icon to add a 'Currency' field. After clicking the plus icon, a pop-up window will appear. Select "currency" from the type drop-down menu to proceed.
Customize Currency Field
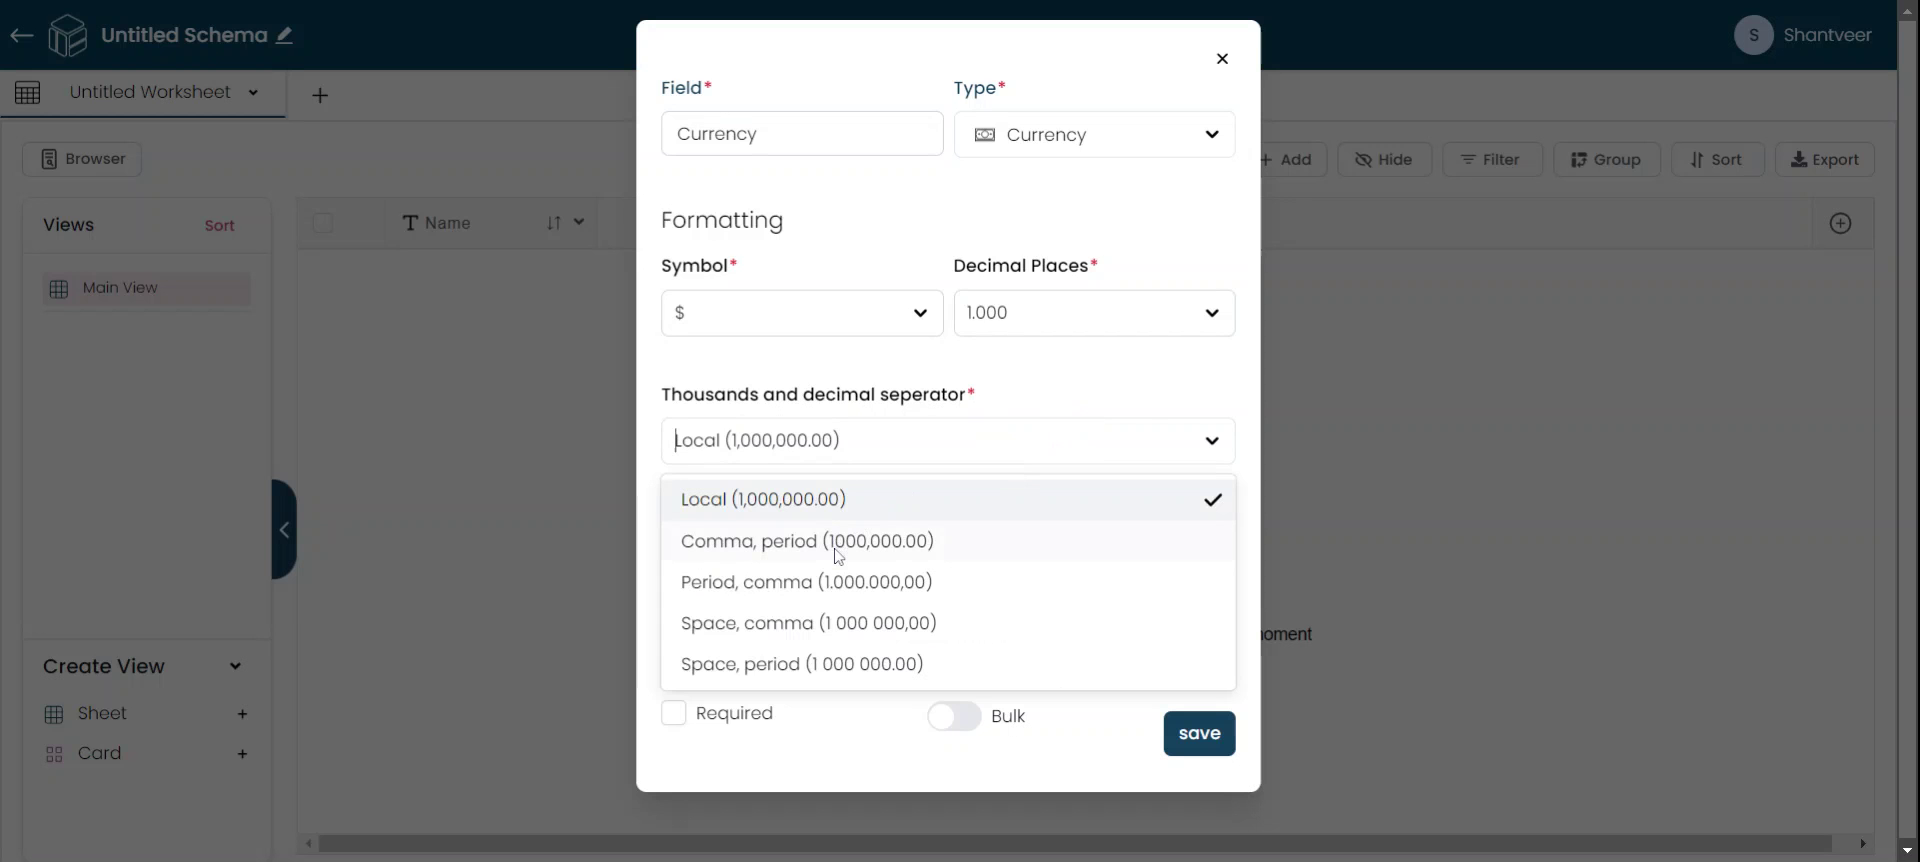
Name the currency field according to your requirements. Fill in the Symbol, Decimal Places, and Thousands and Decimal Separator fields, as these are mandatory when adding the currency field.
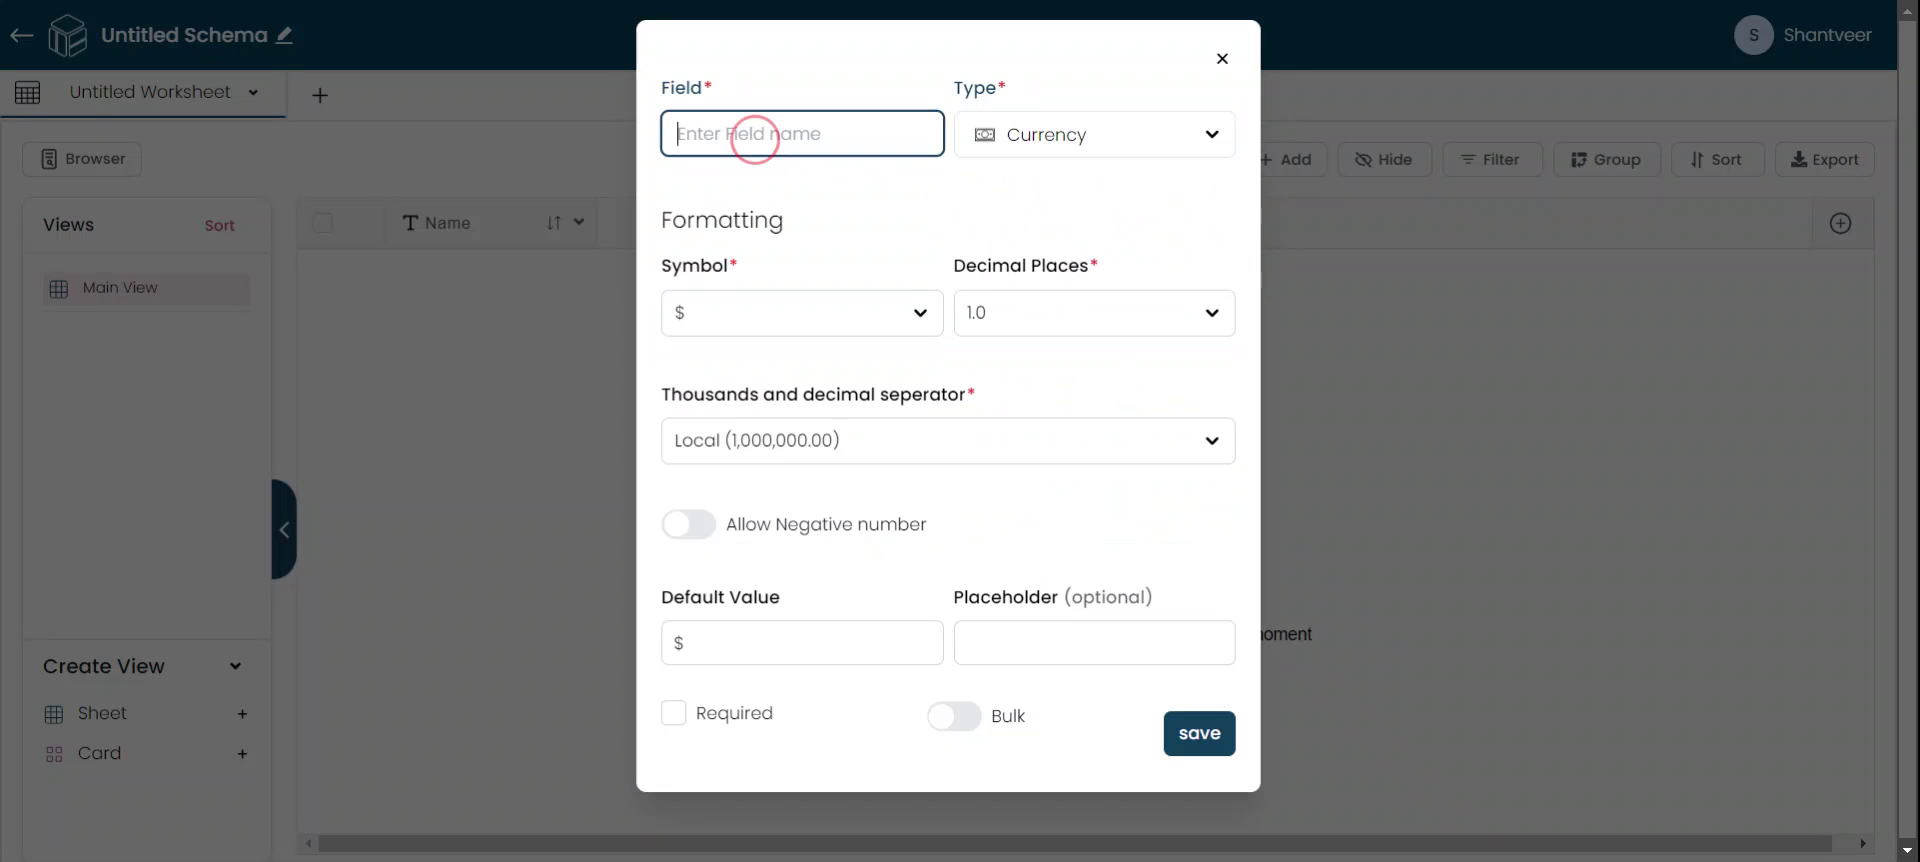

Select Currency
Choose the currency symbol corresponding to the desired country. For this example, selecting the dollar symbol. Then, specify the number of decimal places required for the currency field.


Configure Currency Format
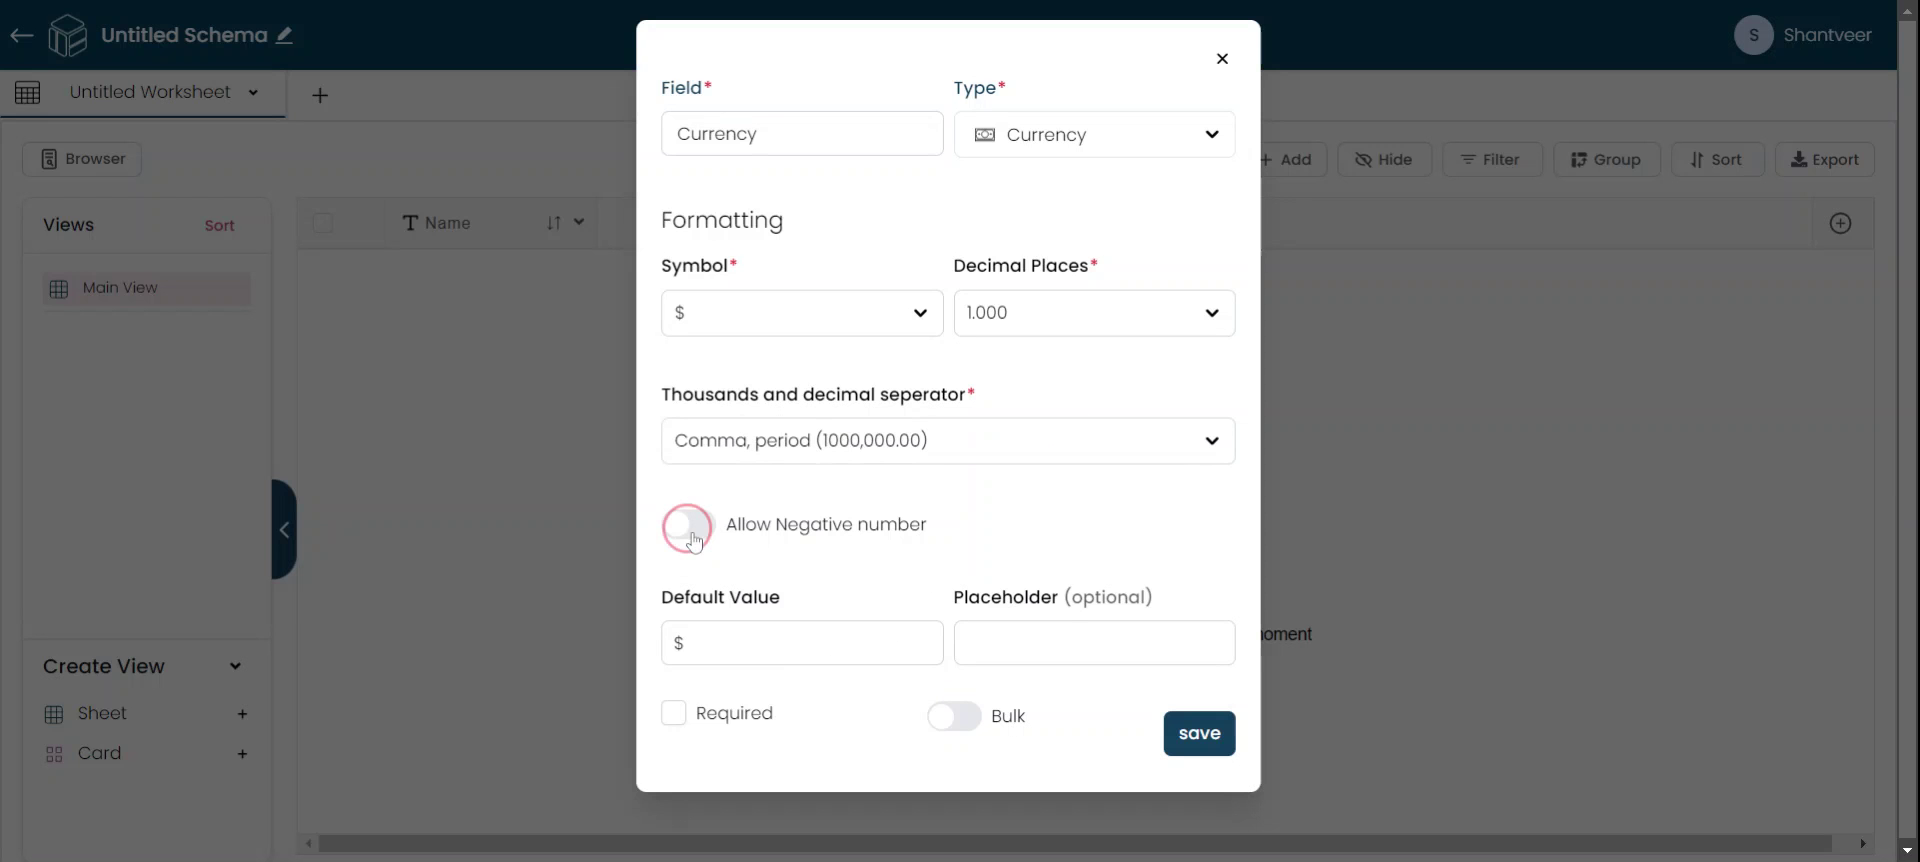
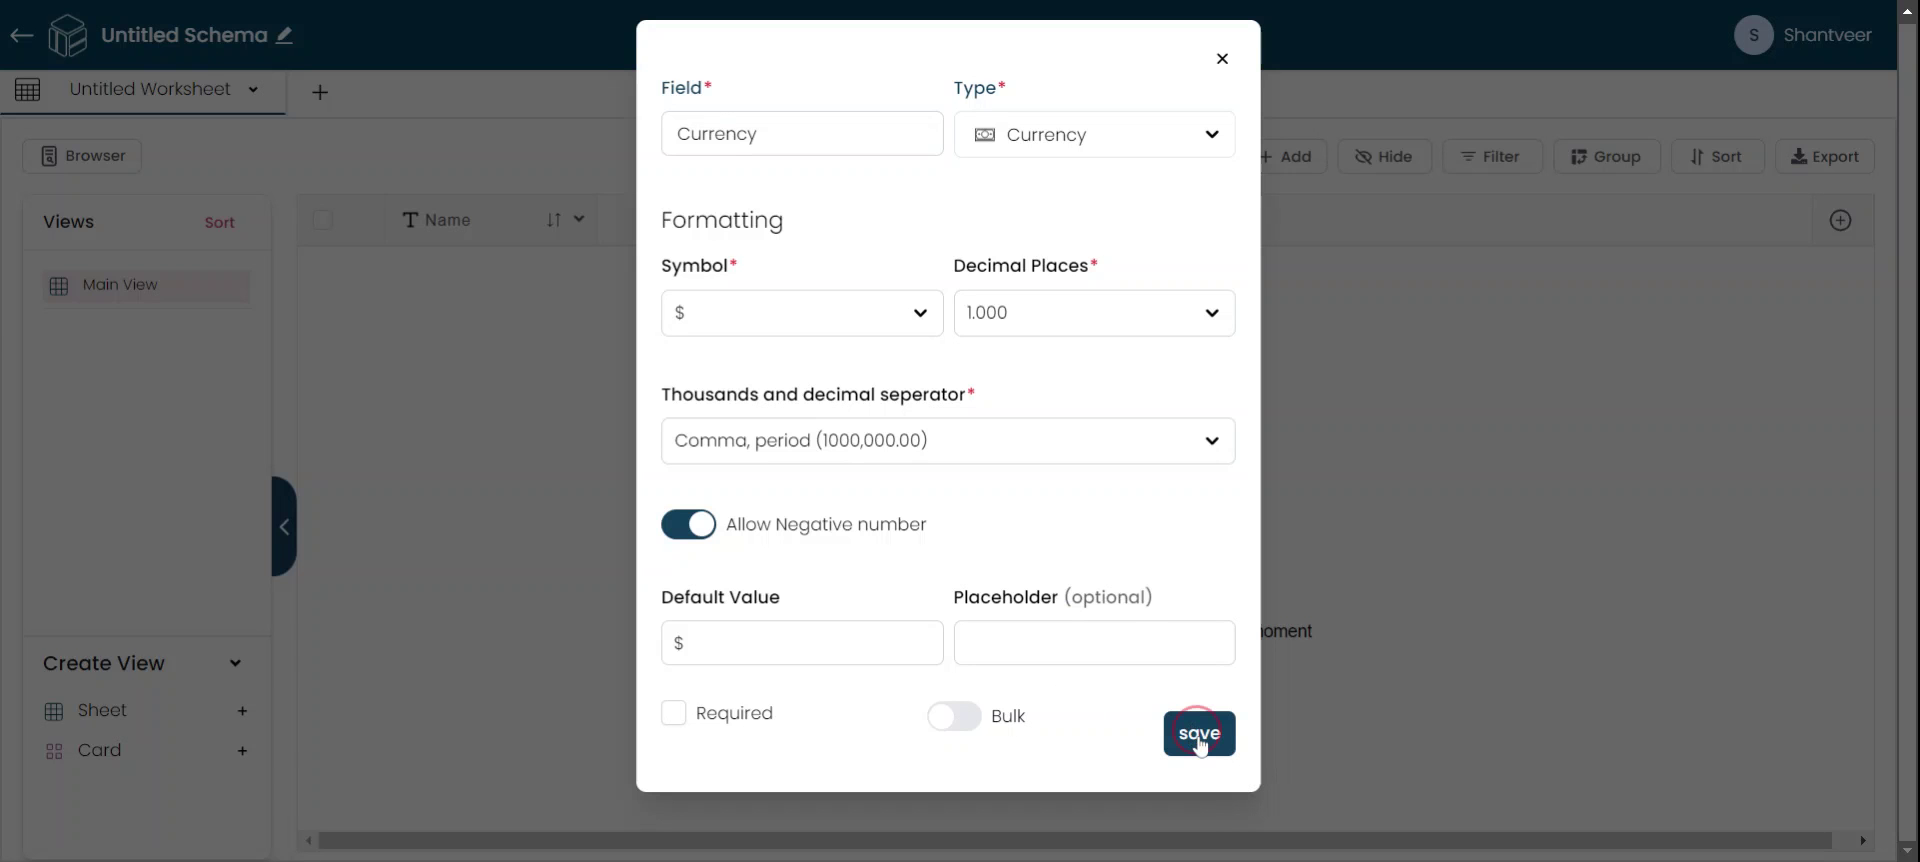
After selecting the decimal places, configure the thousand and decimal separator fields. If needed, enable the 'Allow Negative Number' option to accept negative values.
Configure Field Settings
Configure additional settings: set a default value, add placeholders, make the field mandatory, and enable bulk updates if needed. Once all details are filled, click "save."
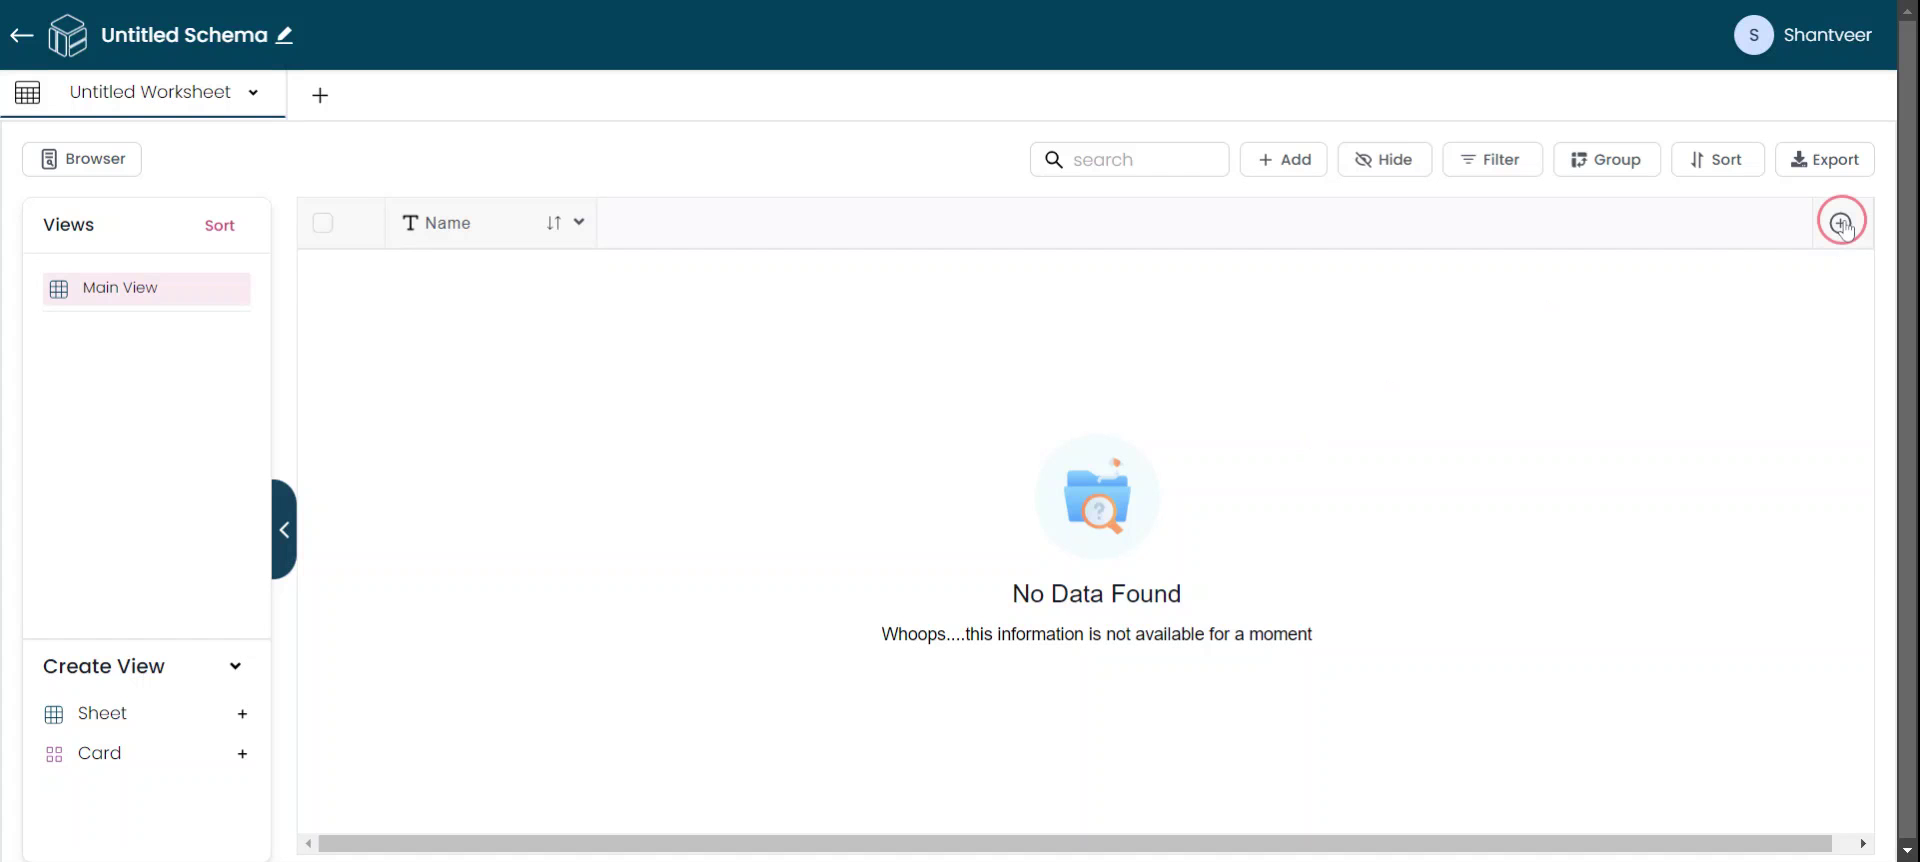
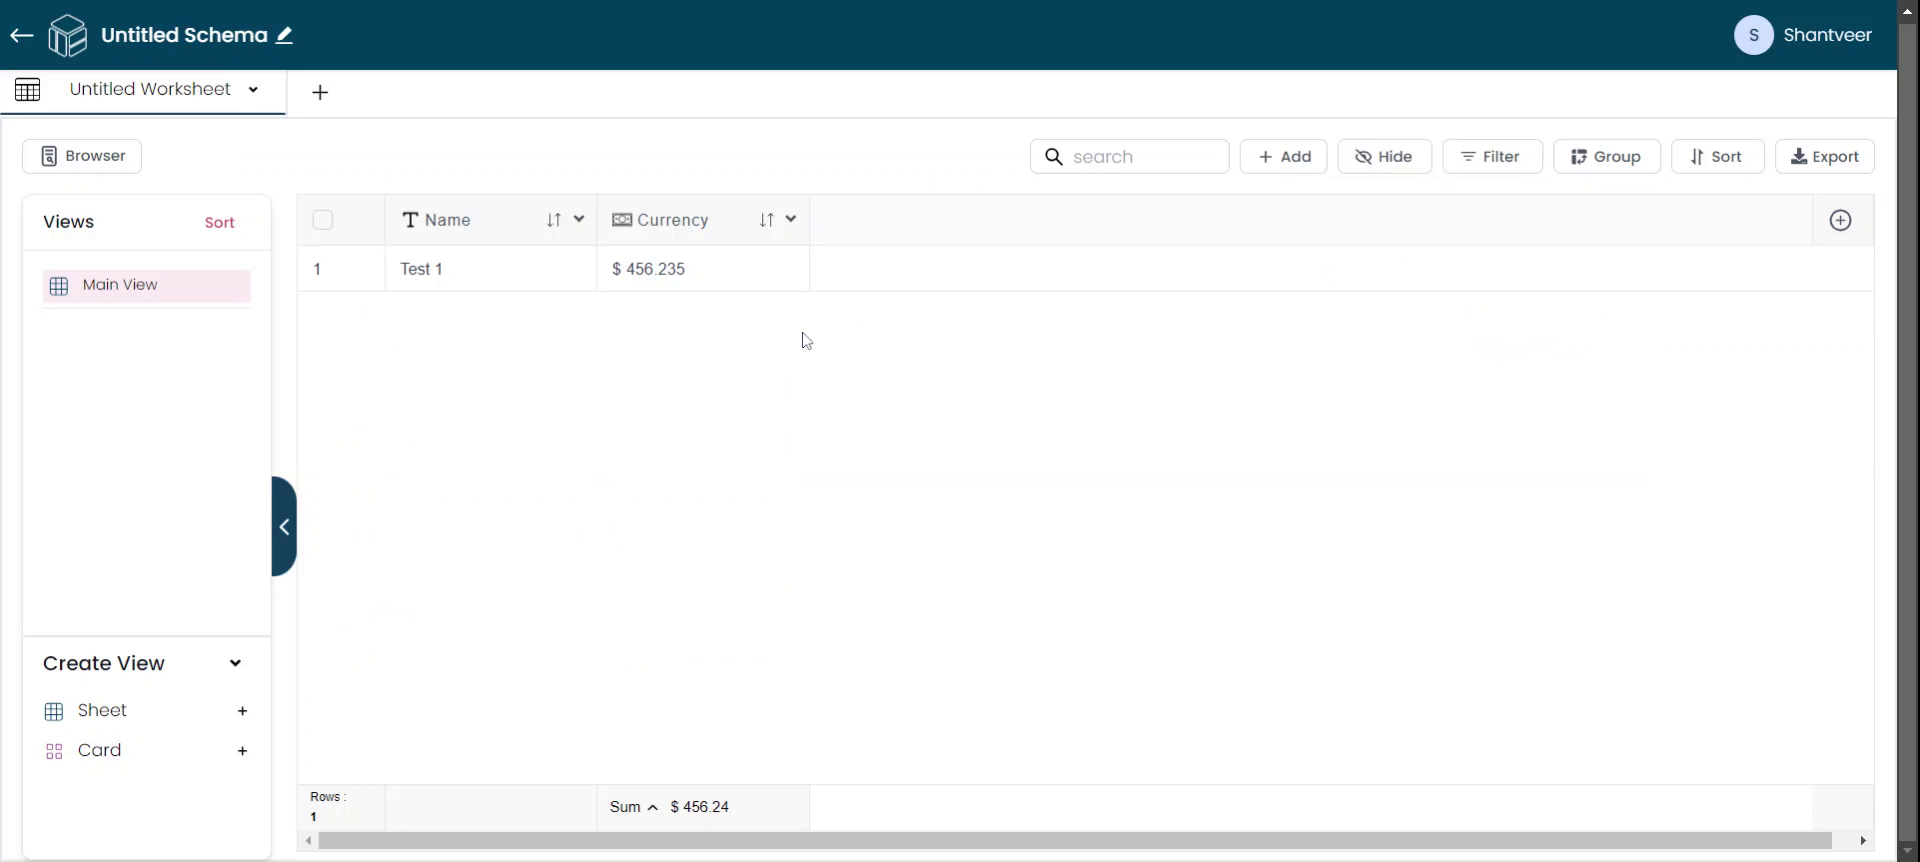
Verify Created field Visibility
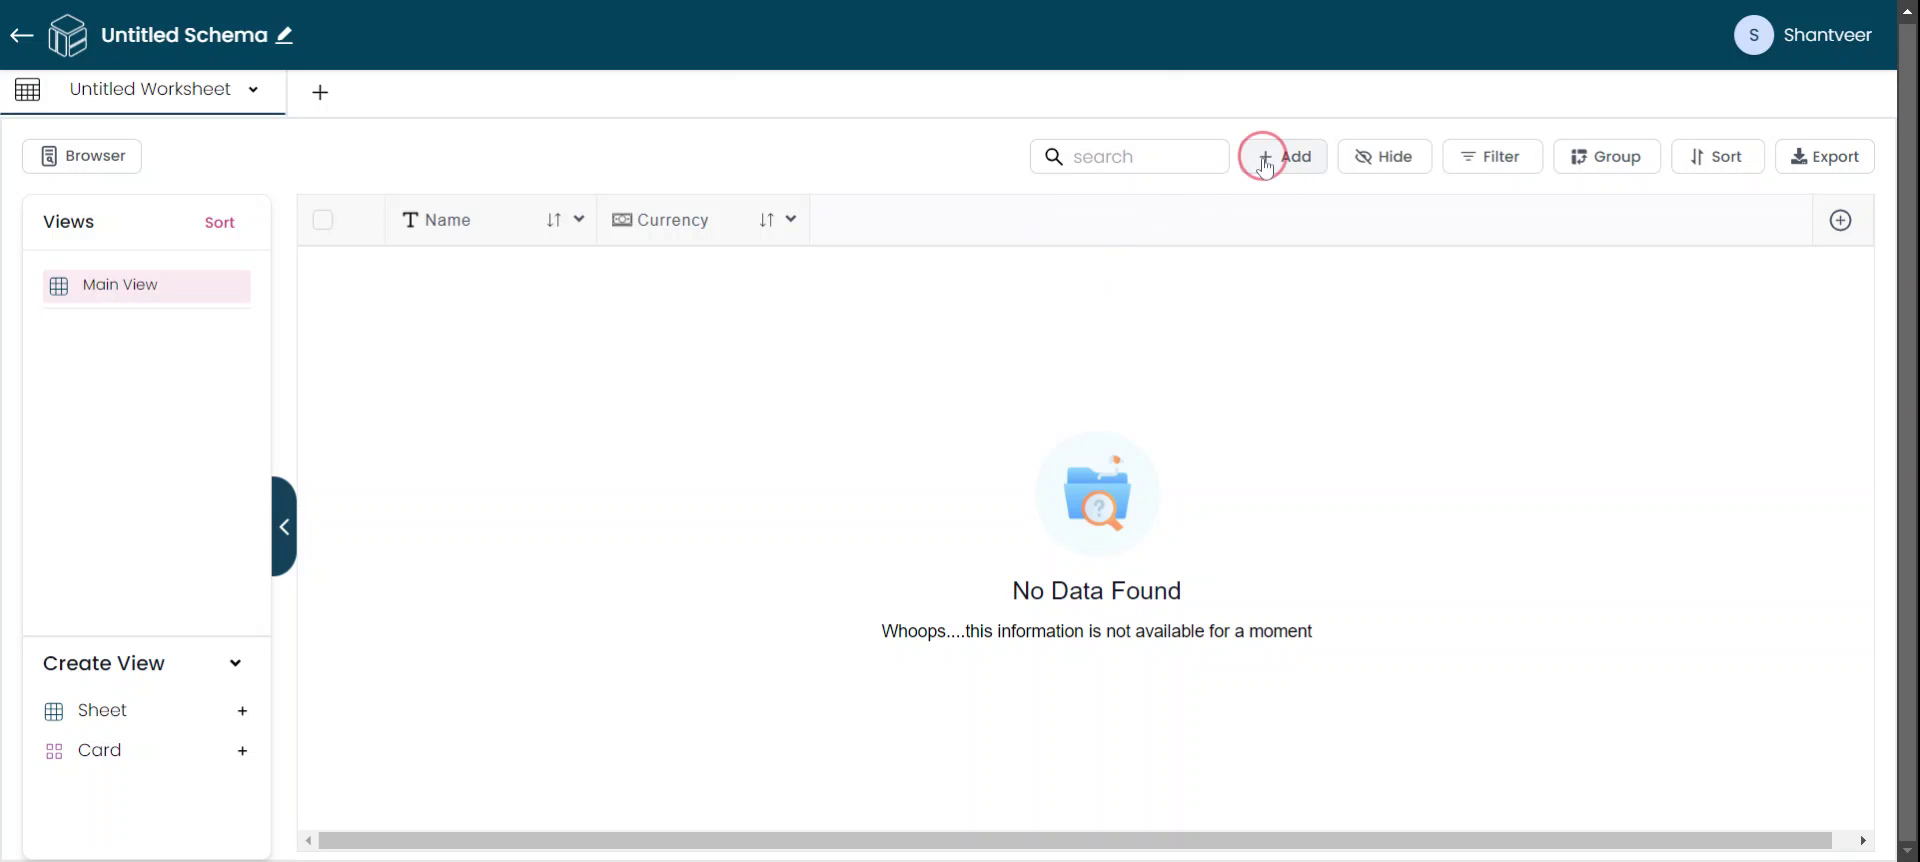
The newly added field will now be visible in the existing worksheet. Click 'Add' to test its functionality,
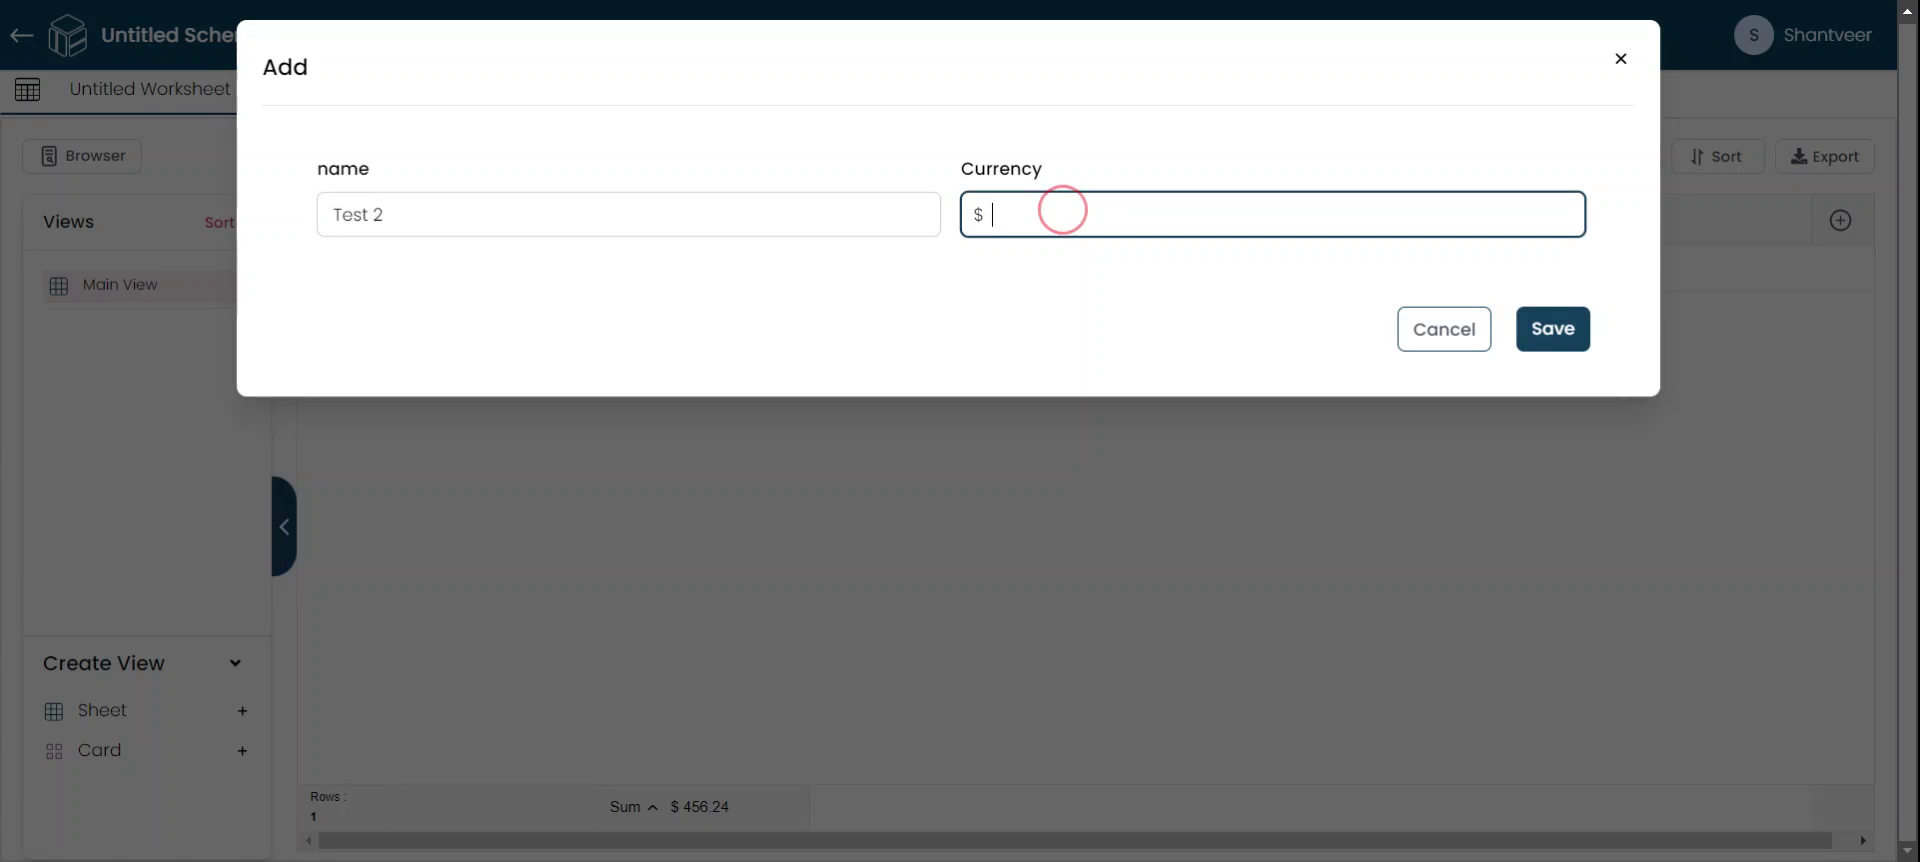
Verify Currency Inputs
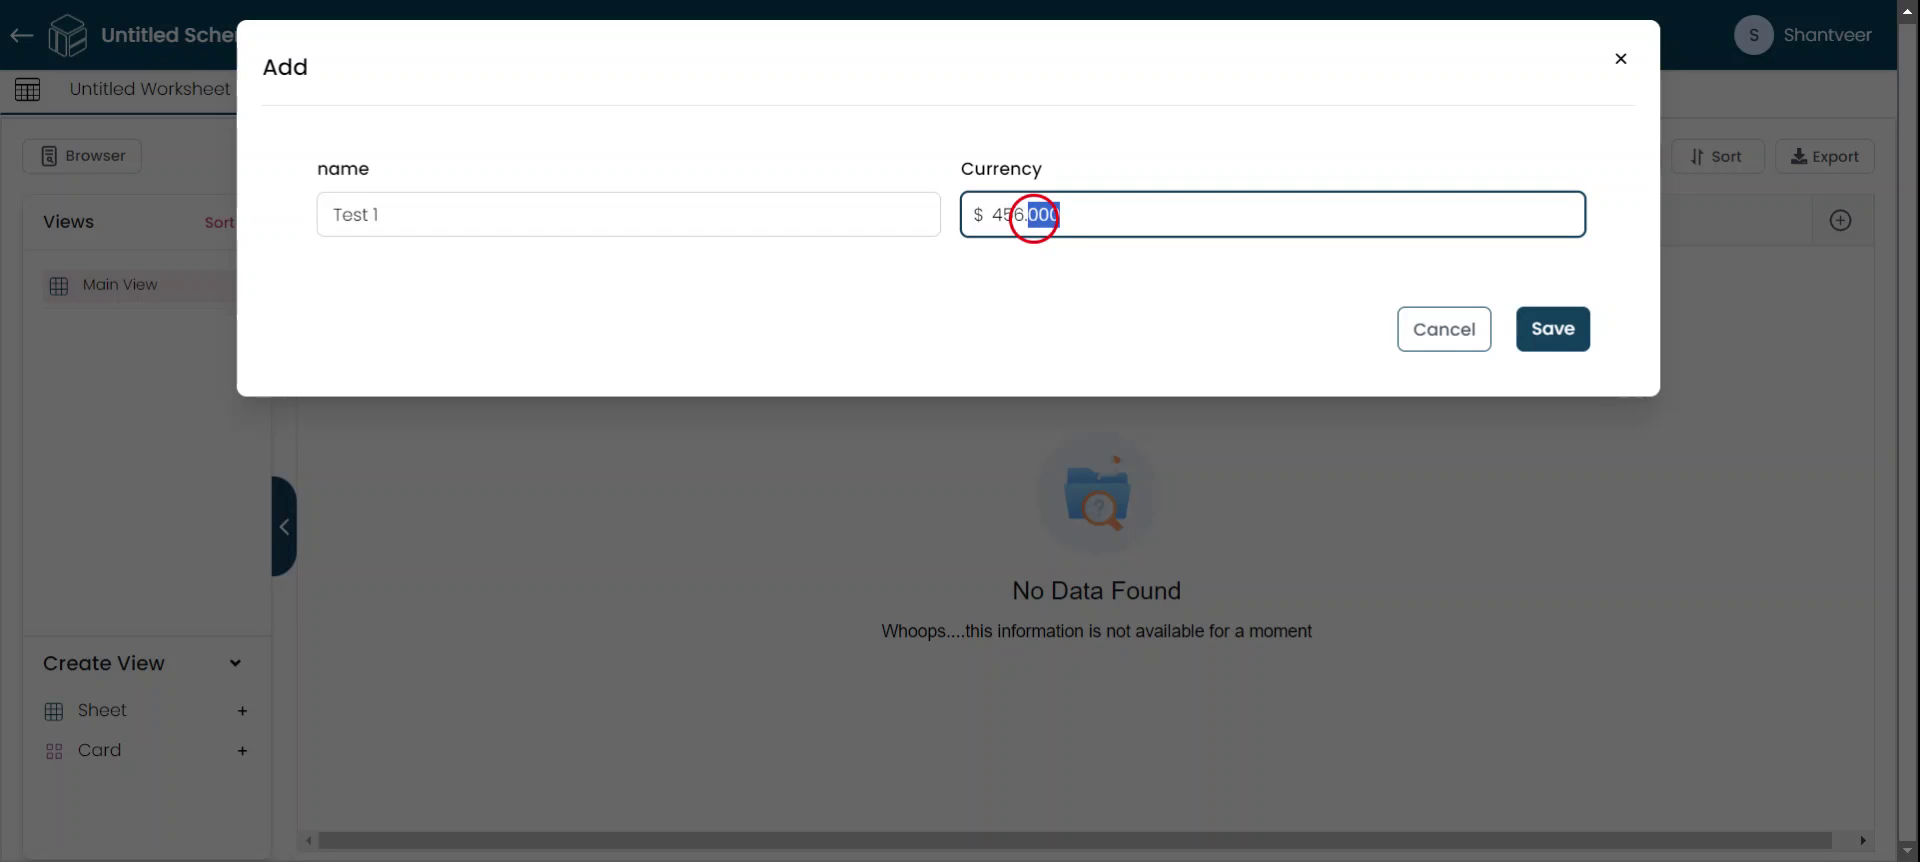
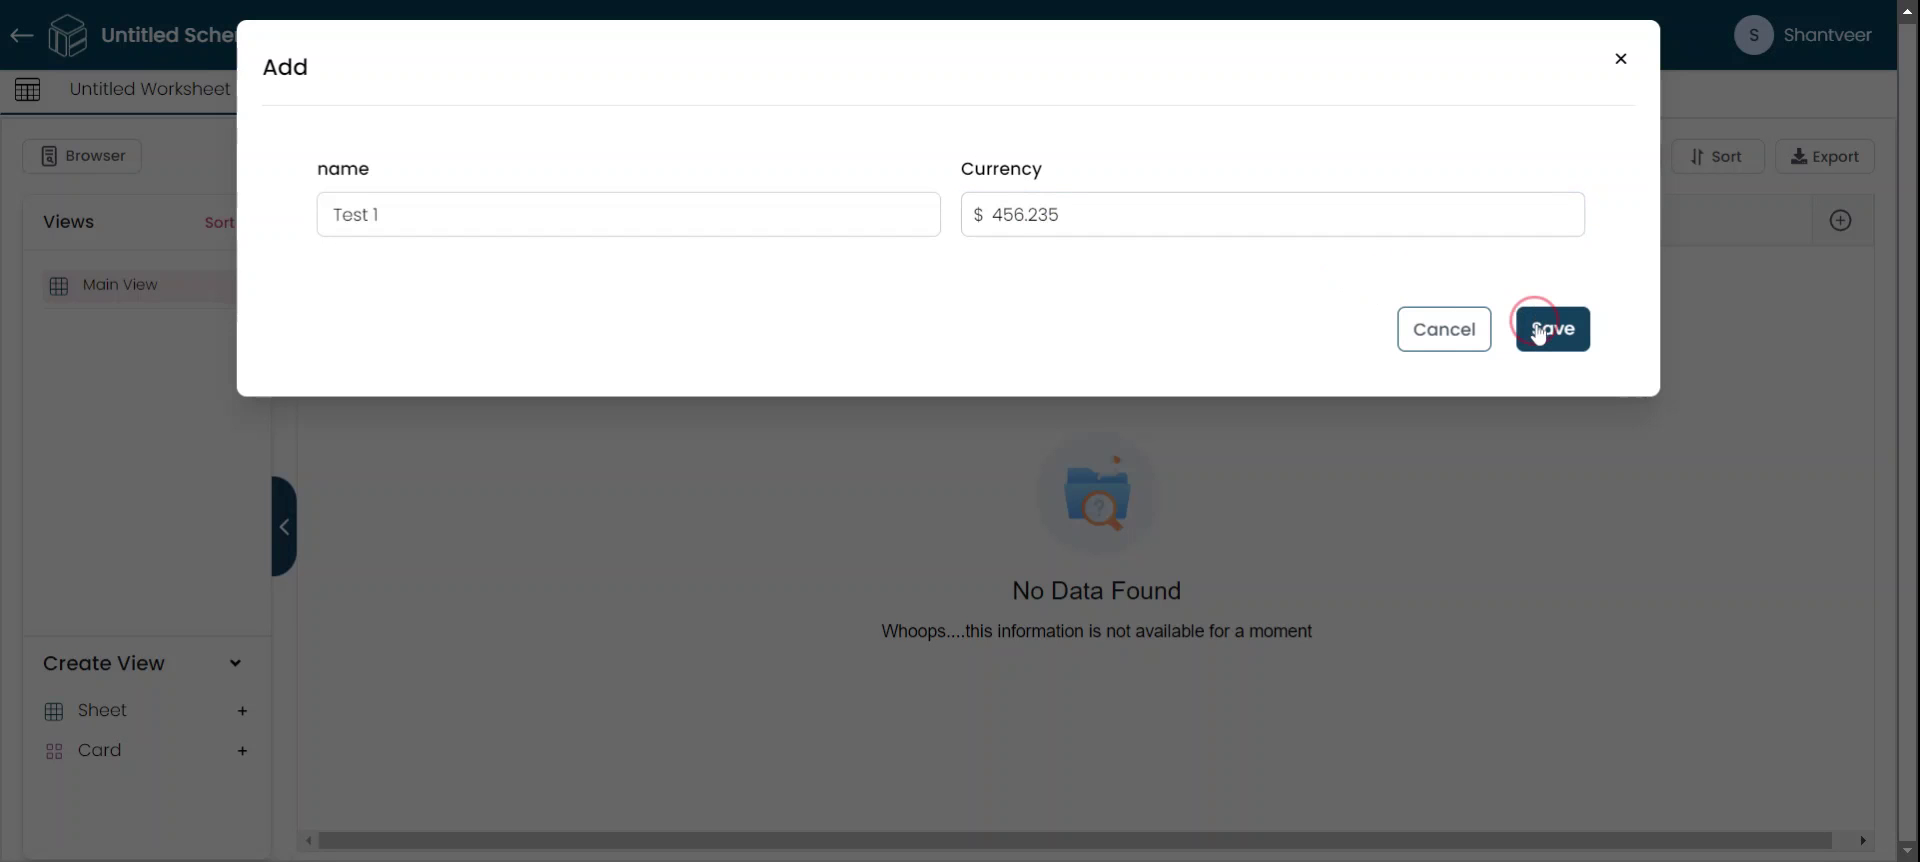
Enter the currency values. The field will allow and display exactly three digits after the decimal point, as configured when adding the field.

Save To Add Row
After entering the required details, click 'Save.' The row will then be added to the worksheet.
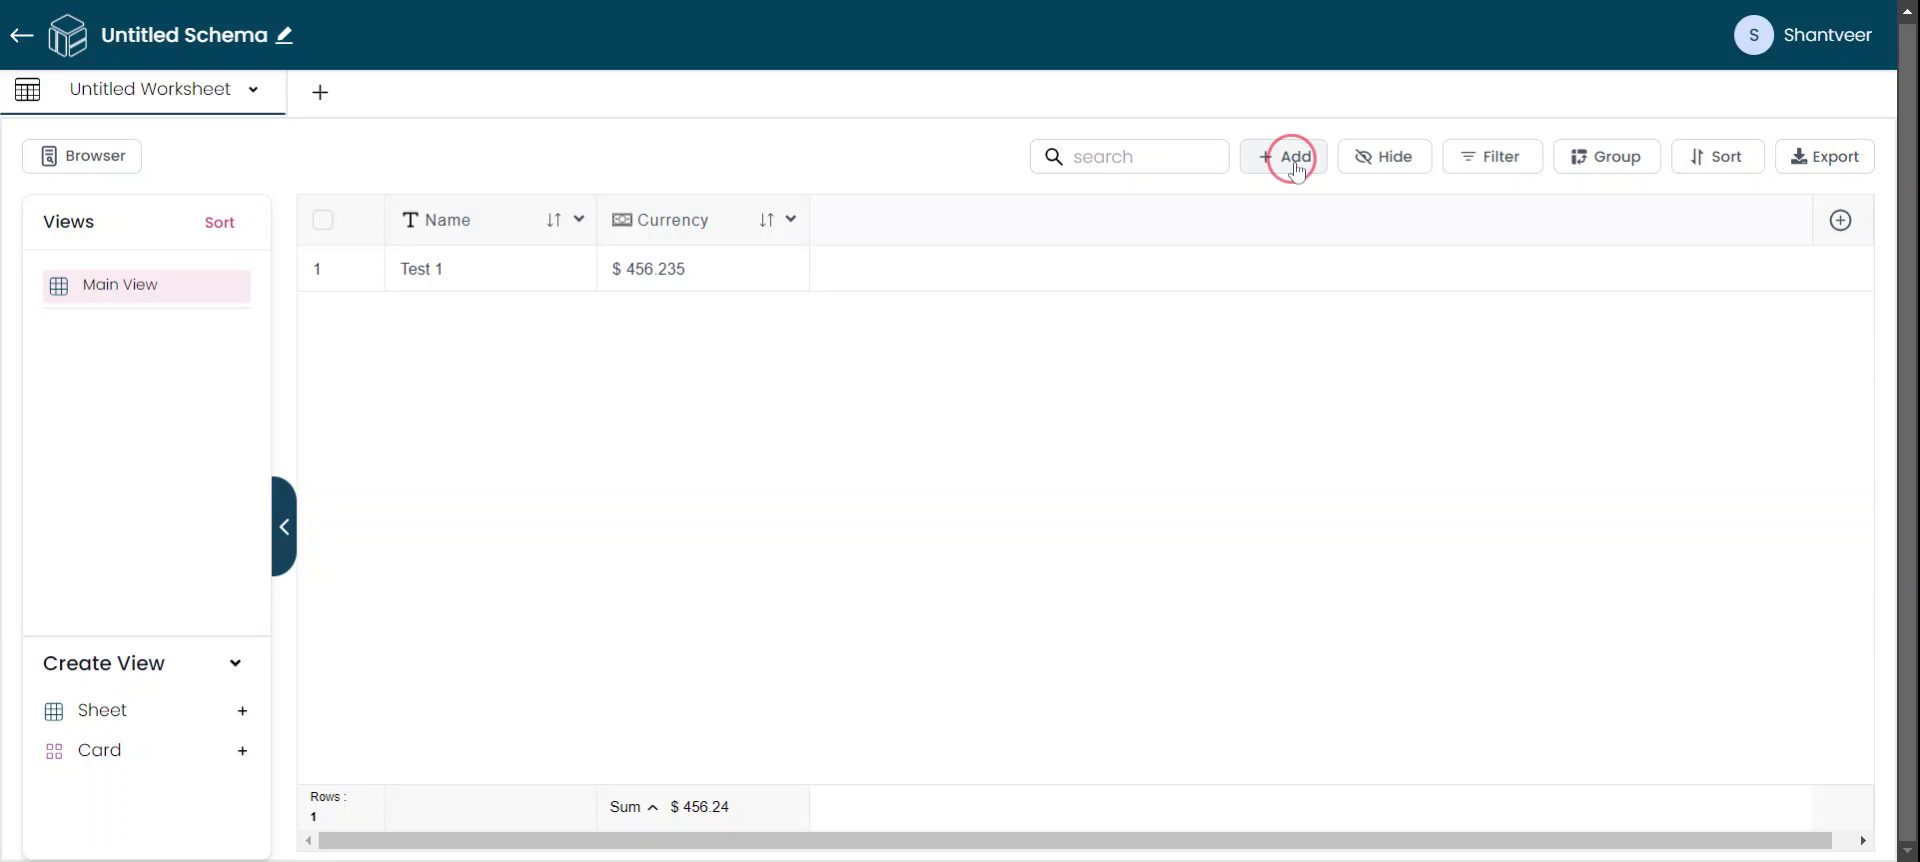
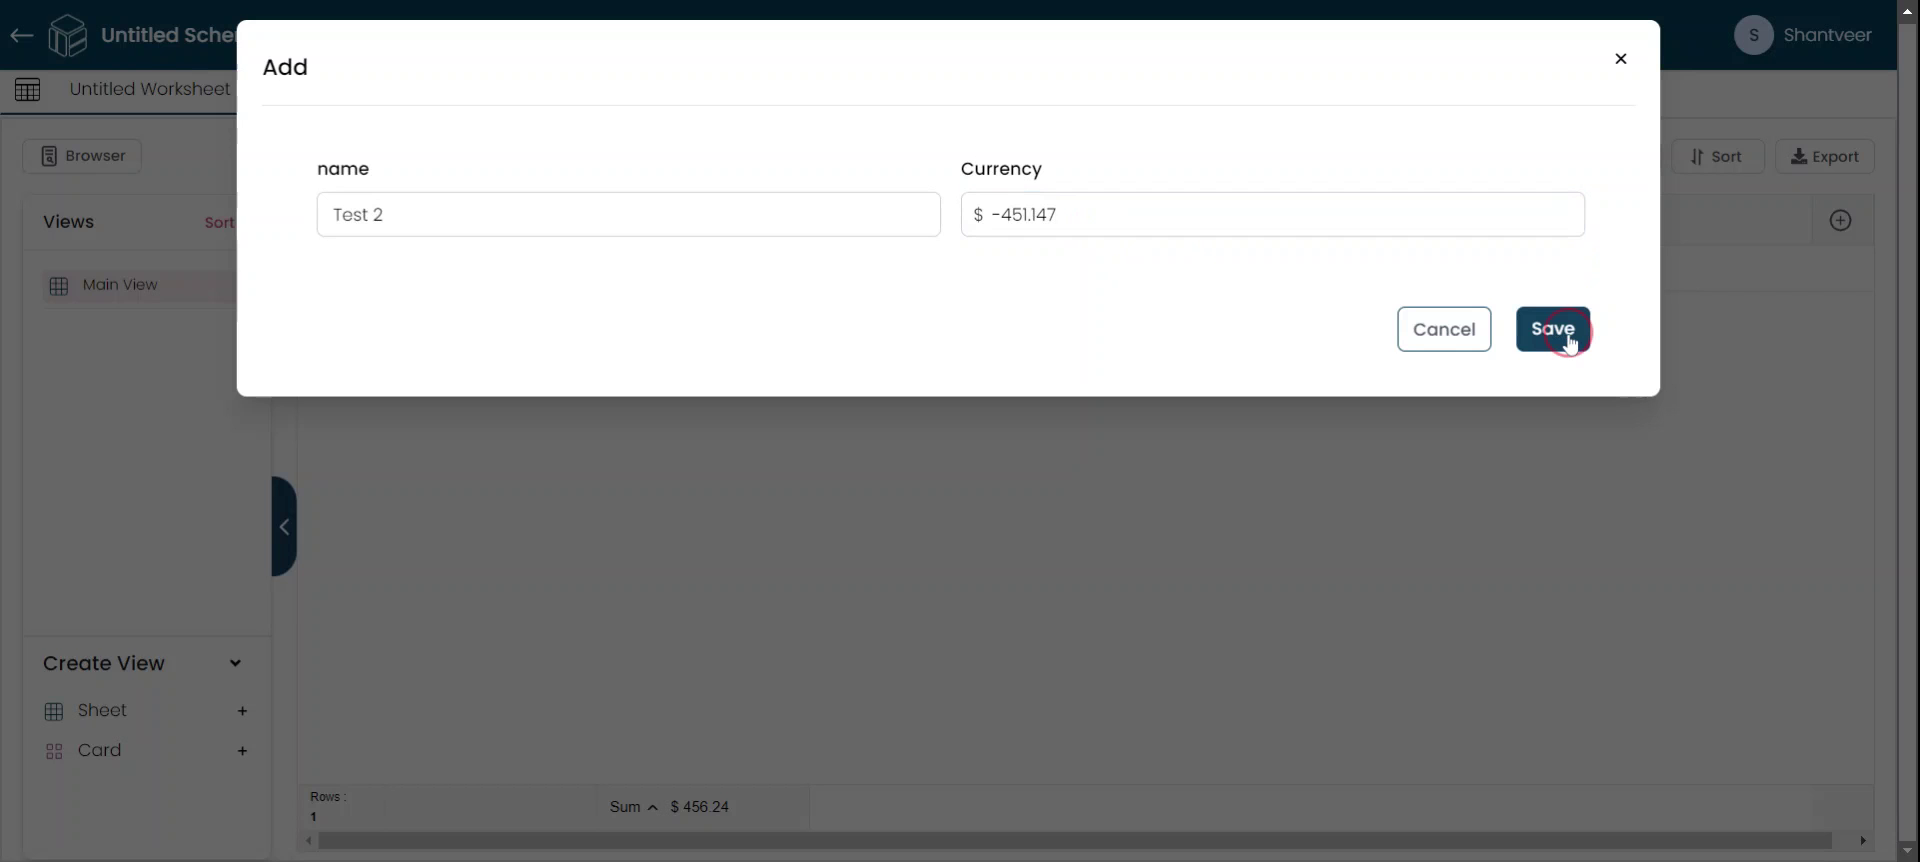
Test Negative Value Input
To test whether the field allows negative values (a feature that was enabled when adding the field), click 'Add' again,
Save Negative Currency Value
Ensure the currency field is filled with negative values, and click 'Save' after entering all necessary details.
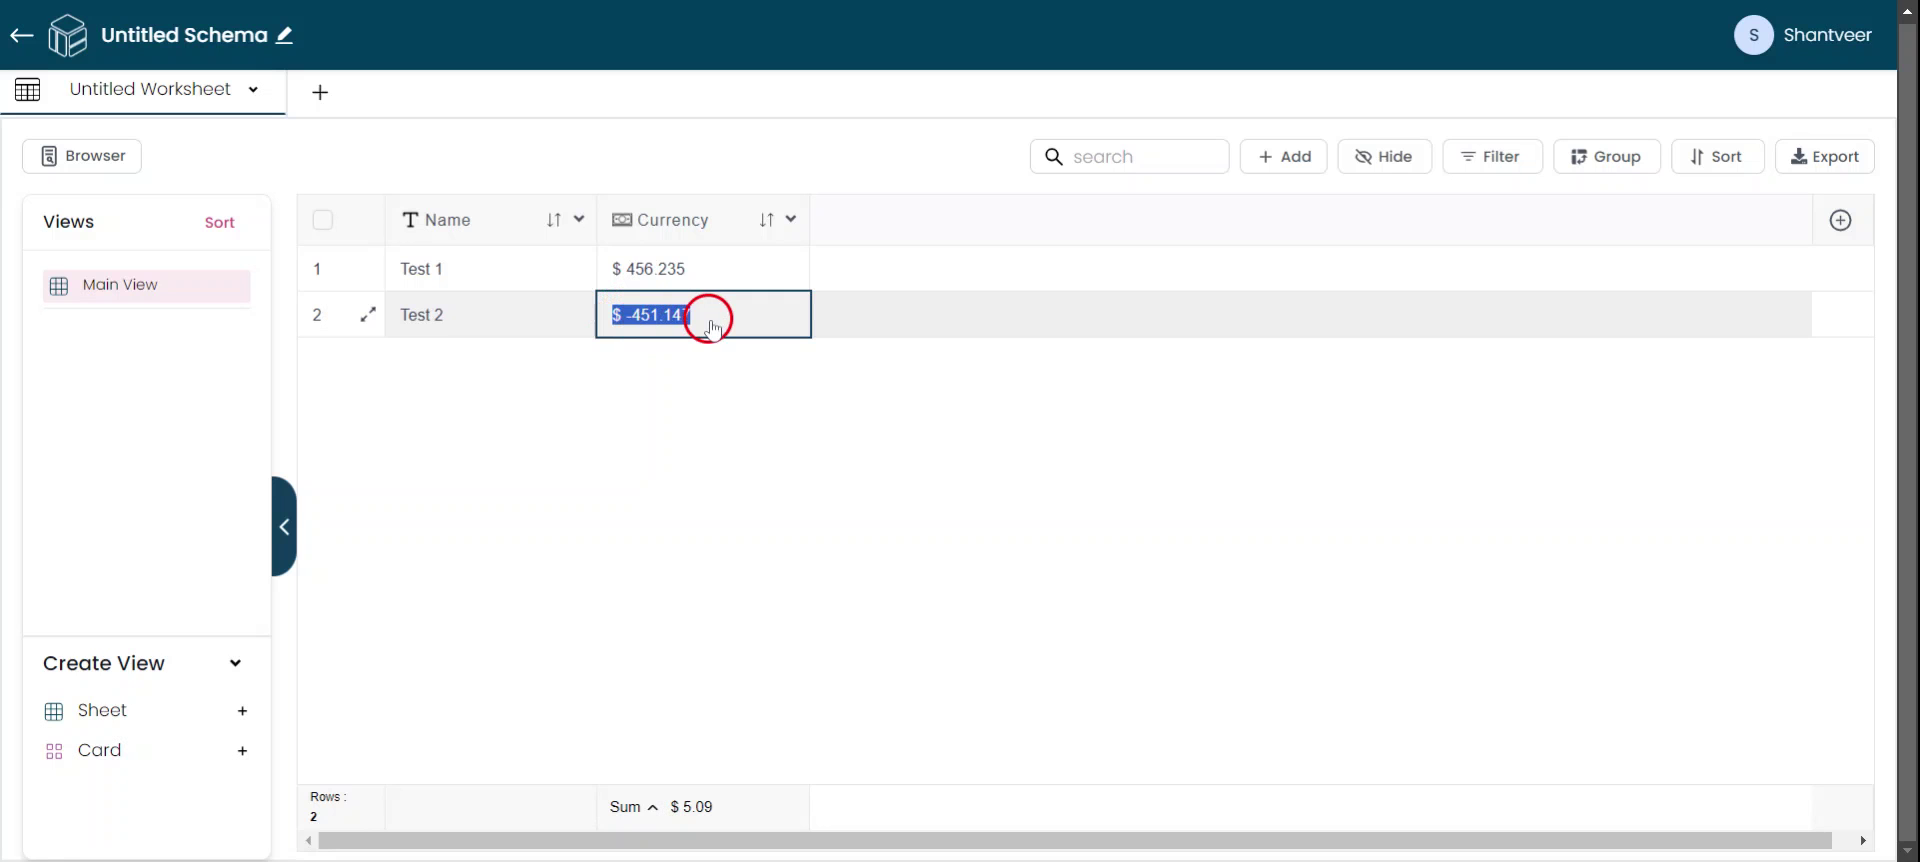
Display Negative Symbol
The newly added row will reflect in the respective fields, and the negative symbol will be displayed accordingly.