General Field Settings
This guide will walk you through the process of adding a field to your worksheet. We will cover everything from initiating the field addition to setting mandatory fields and placeholders. Follow these steps to ensure a smooth and efficient workflow.
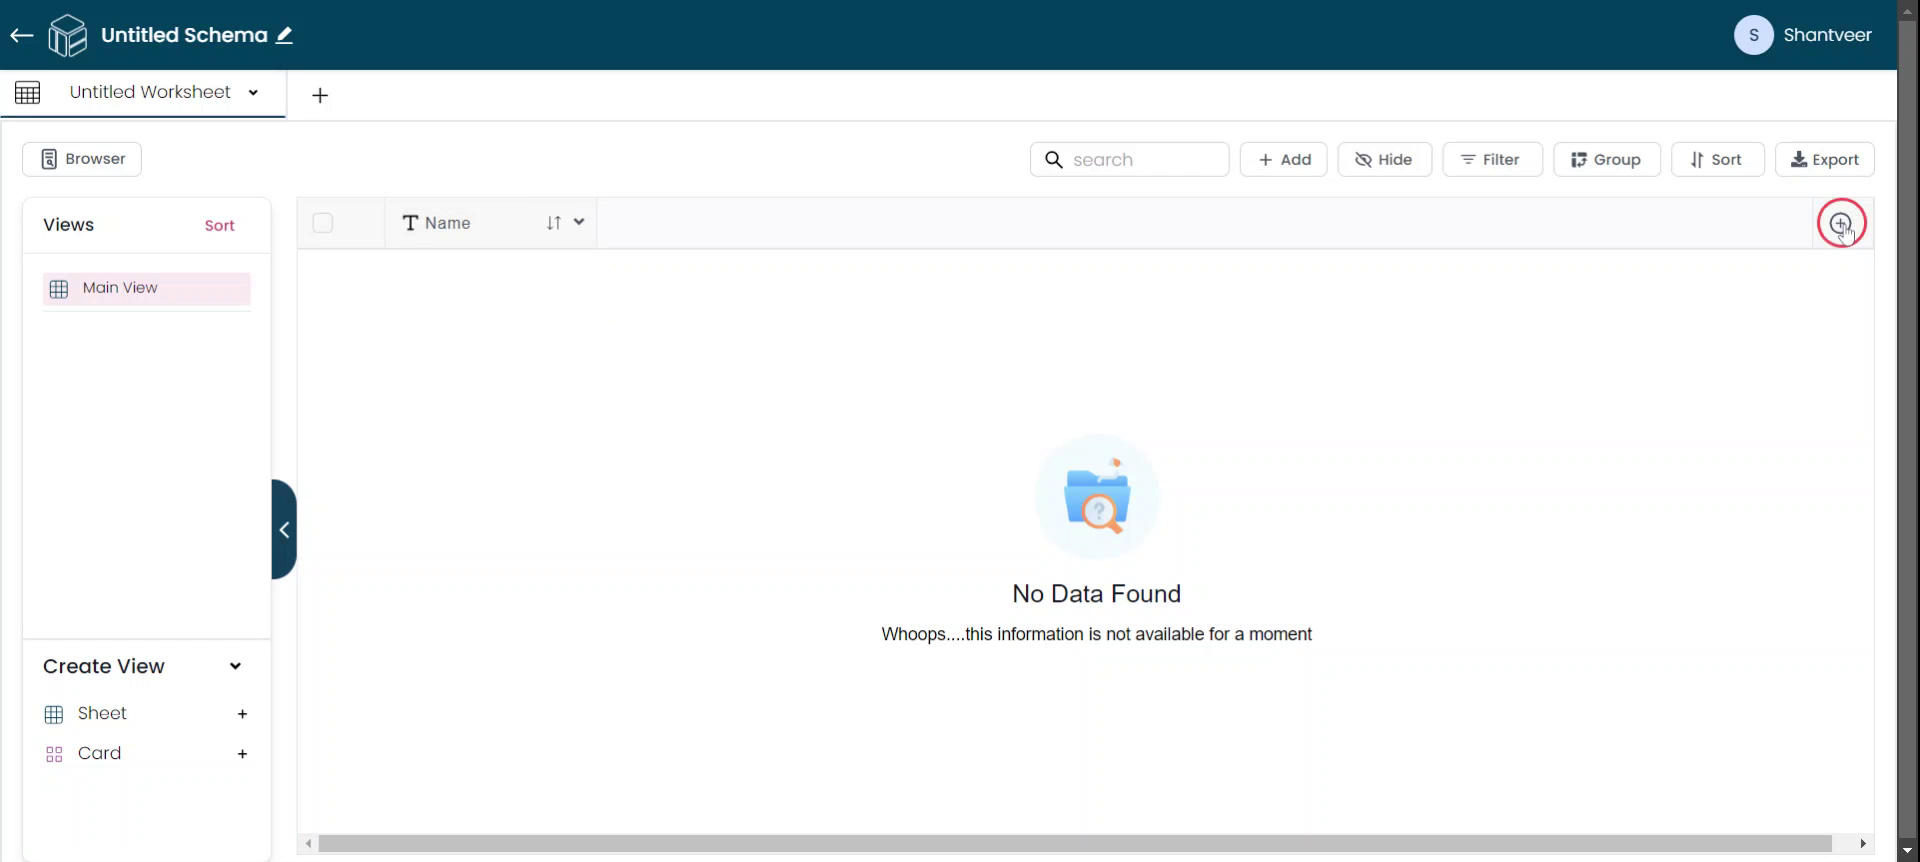
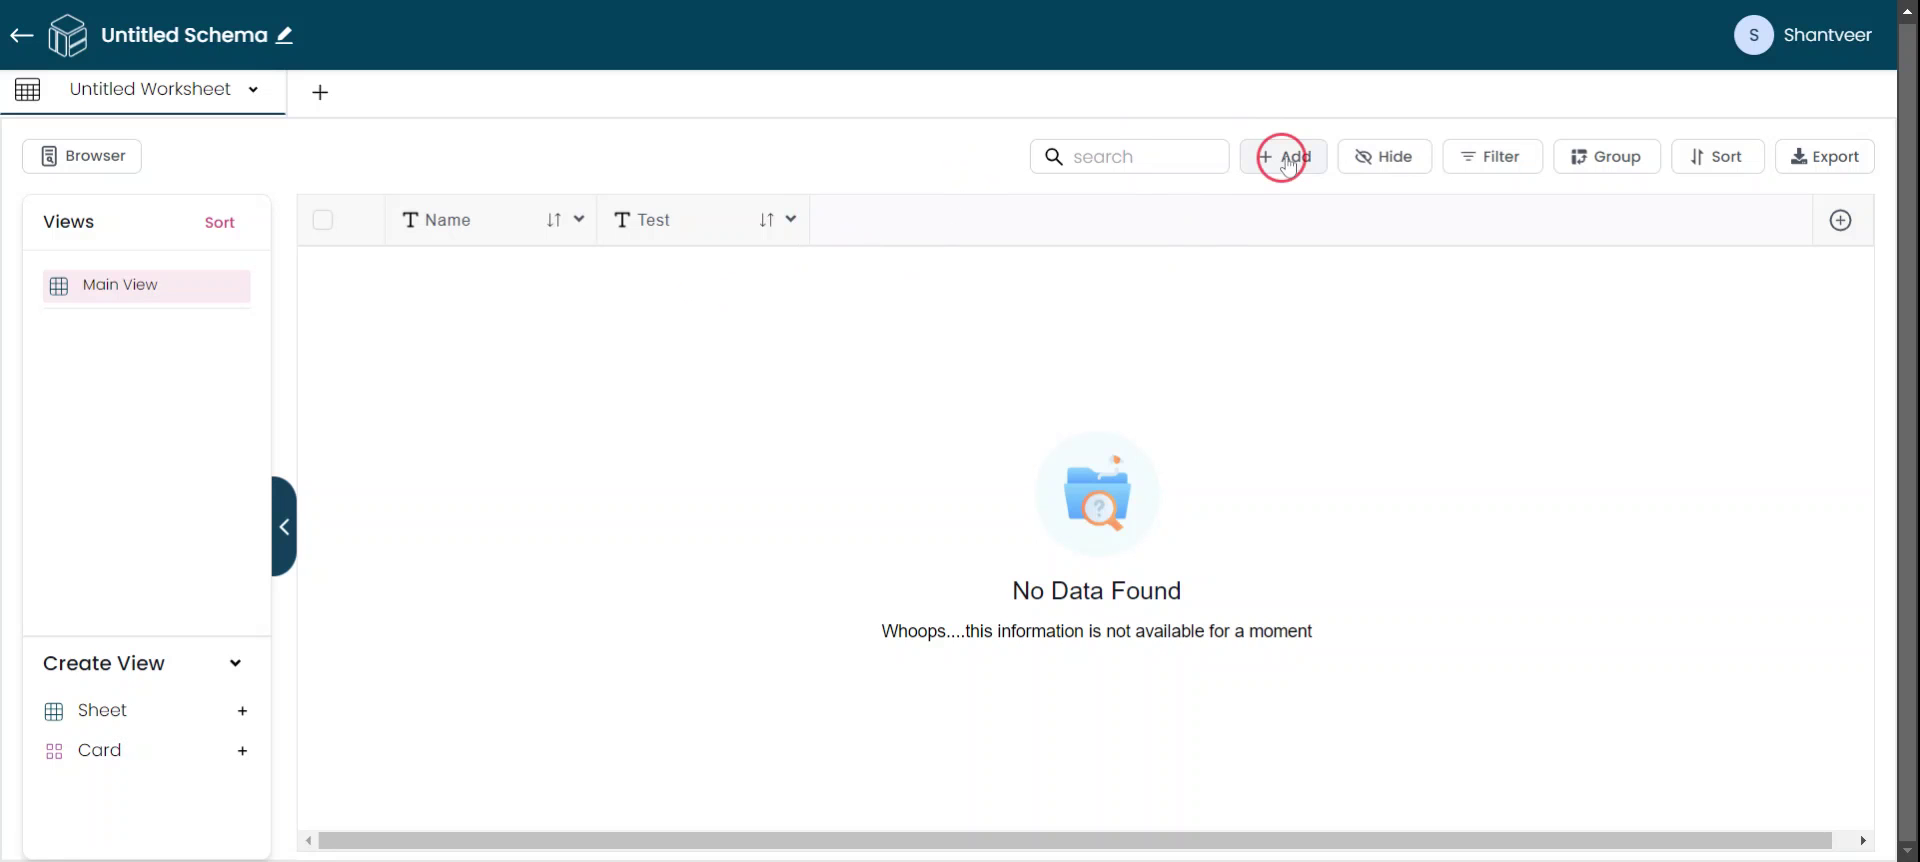
Step 1
Whenever you create a schema, a default worksheet and a default field will be automatically created. You can ignore these for now. To add a new field, click the plus icon.
Step 2
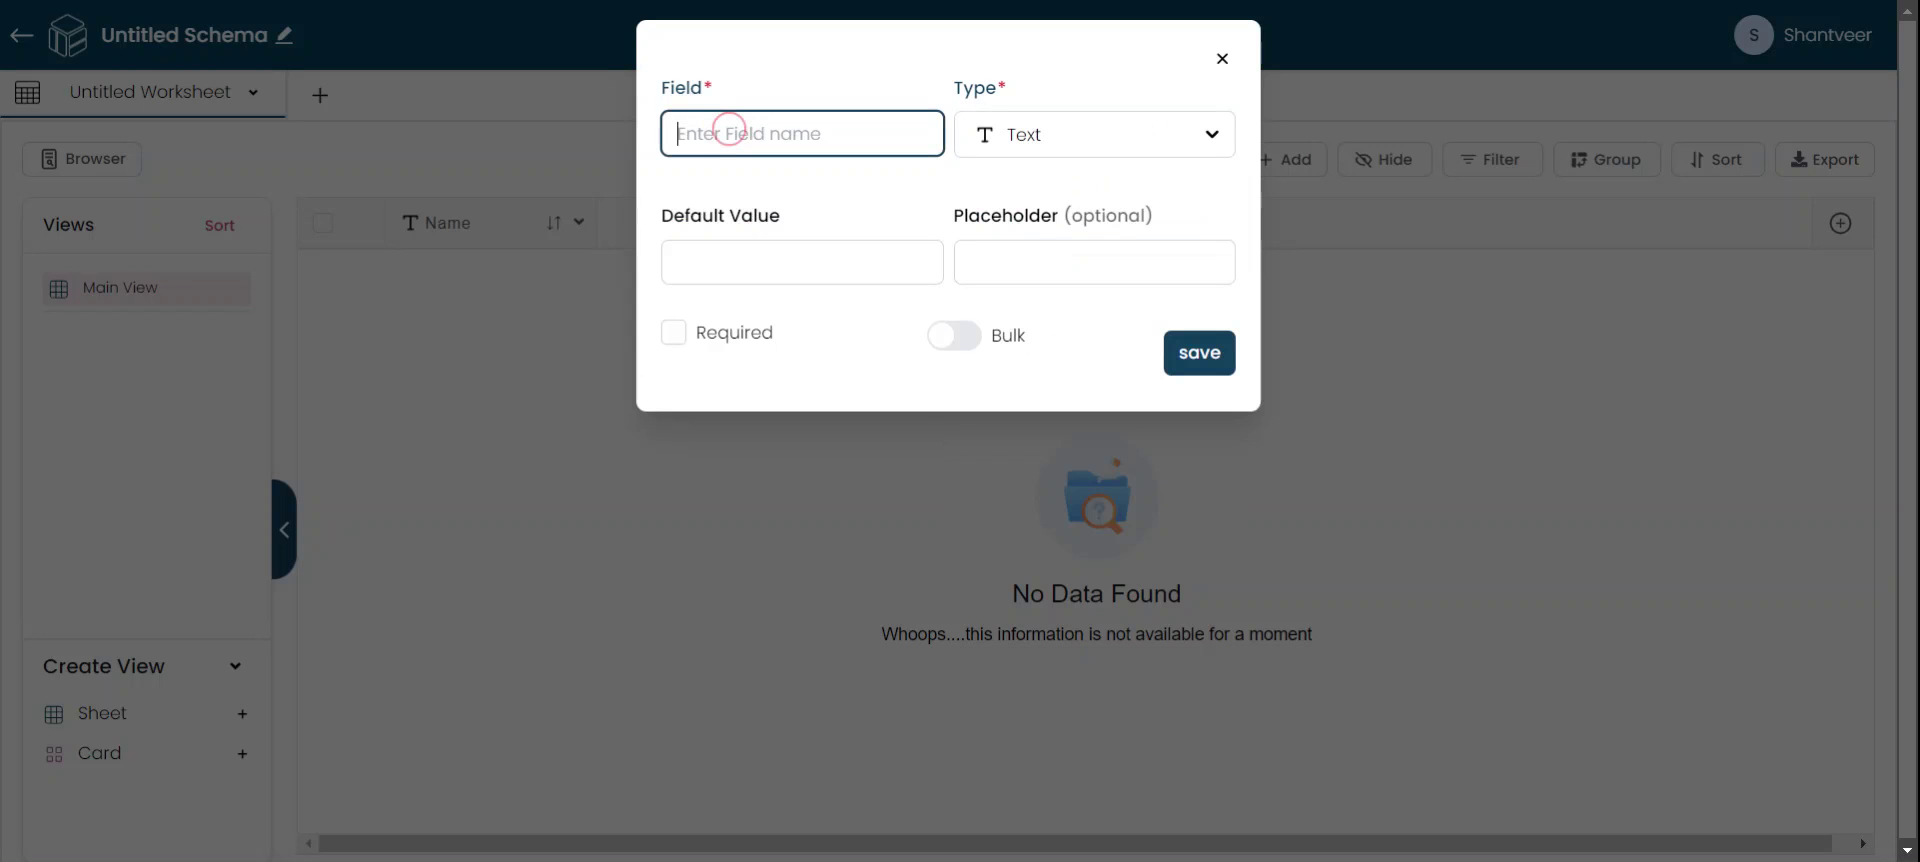
After clicking the plus icon, a pop-up will appear, allowing you to add a new field.

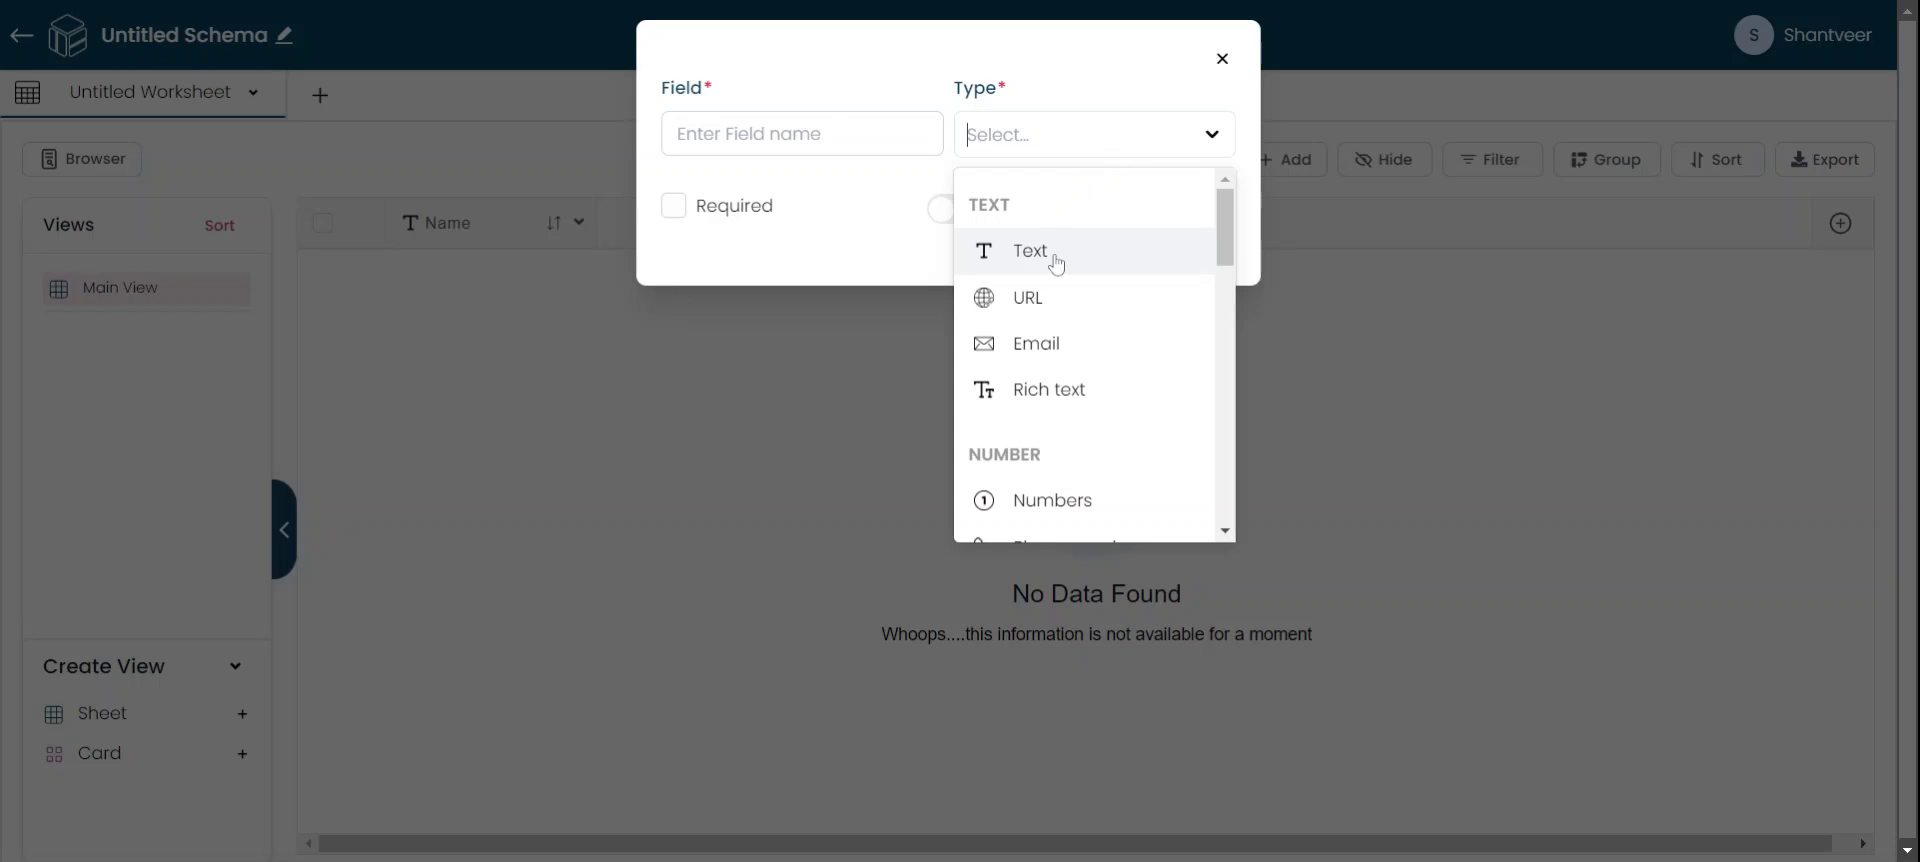
Step 3
Select the data type for your new field. For now, I am choosing the text type to add a field.
Step 4
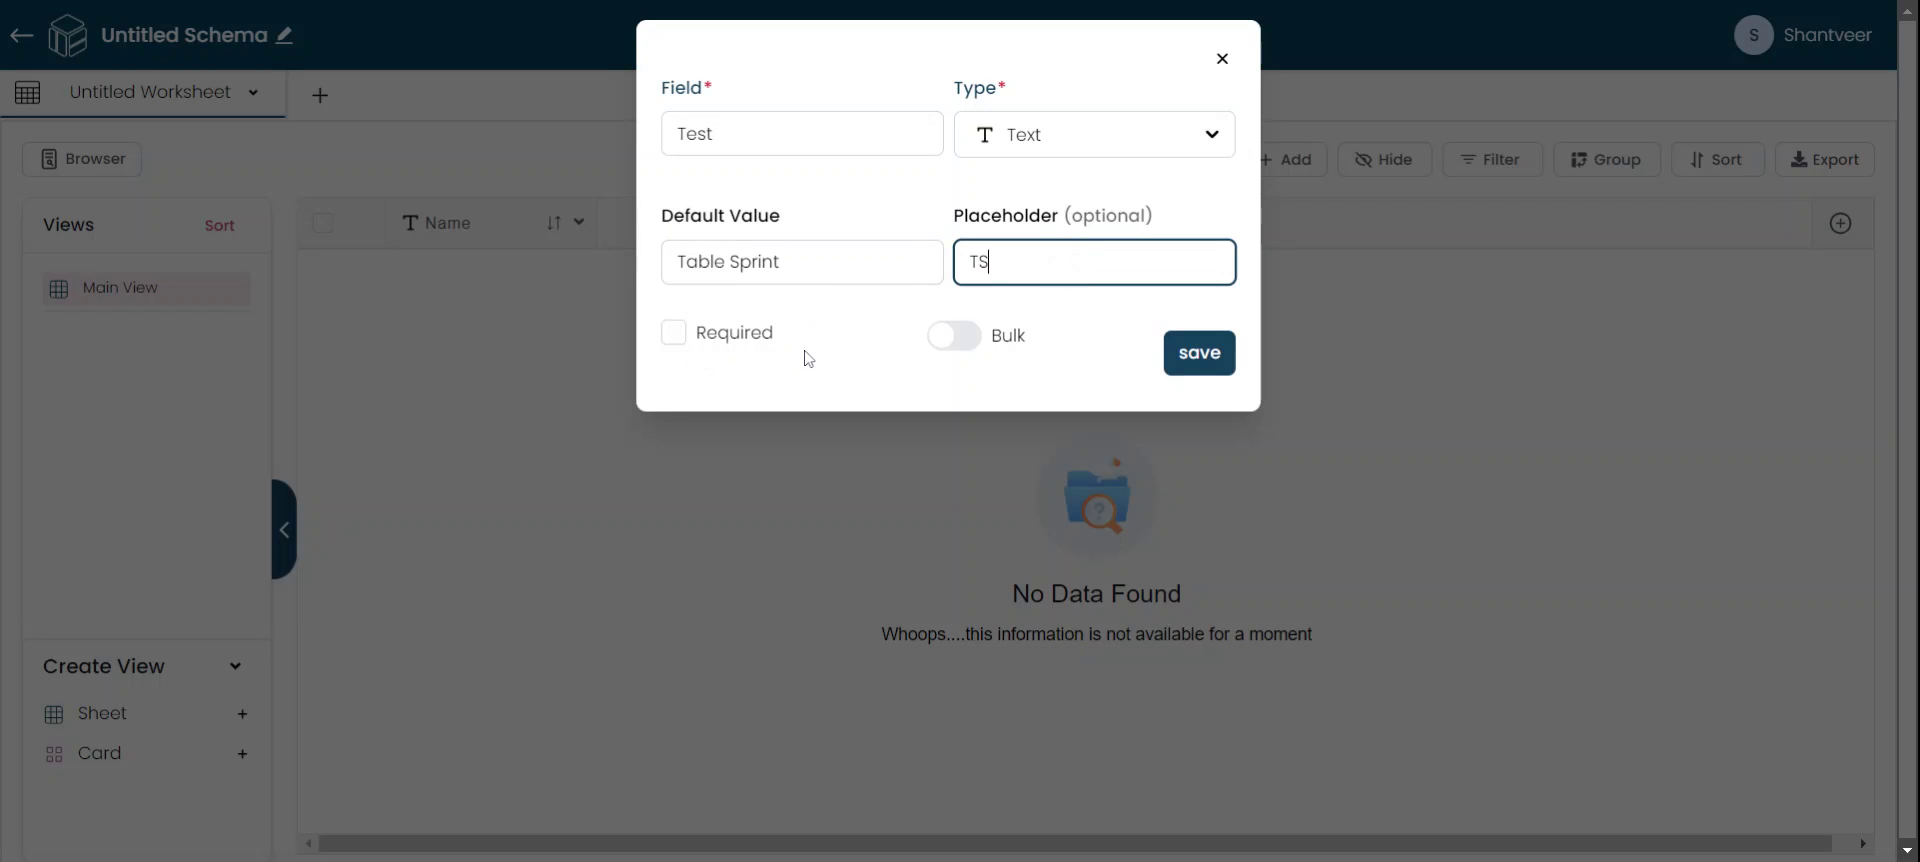
The field is mandatory, so enter the name of the field according to your preference.
Step 5
You can also add a default value and a placeholder for the field. For example, set the Default Value to "Table Sprint" and the Placeholder to "TS.
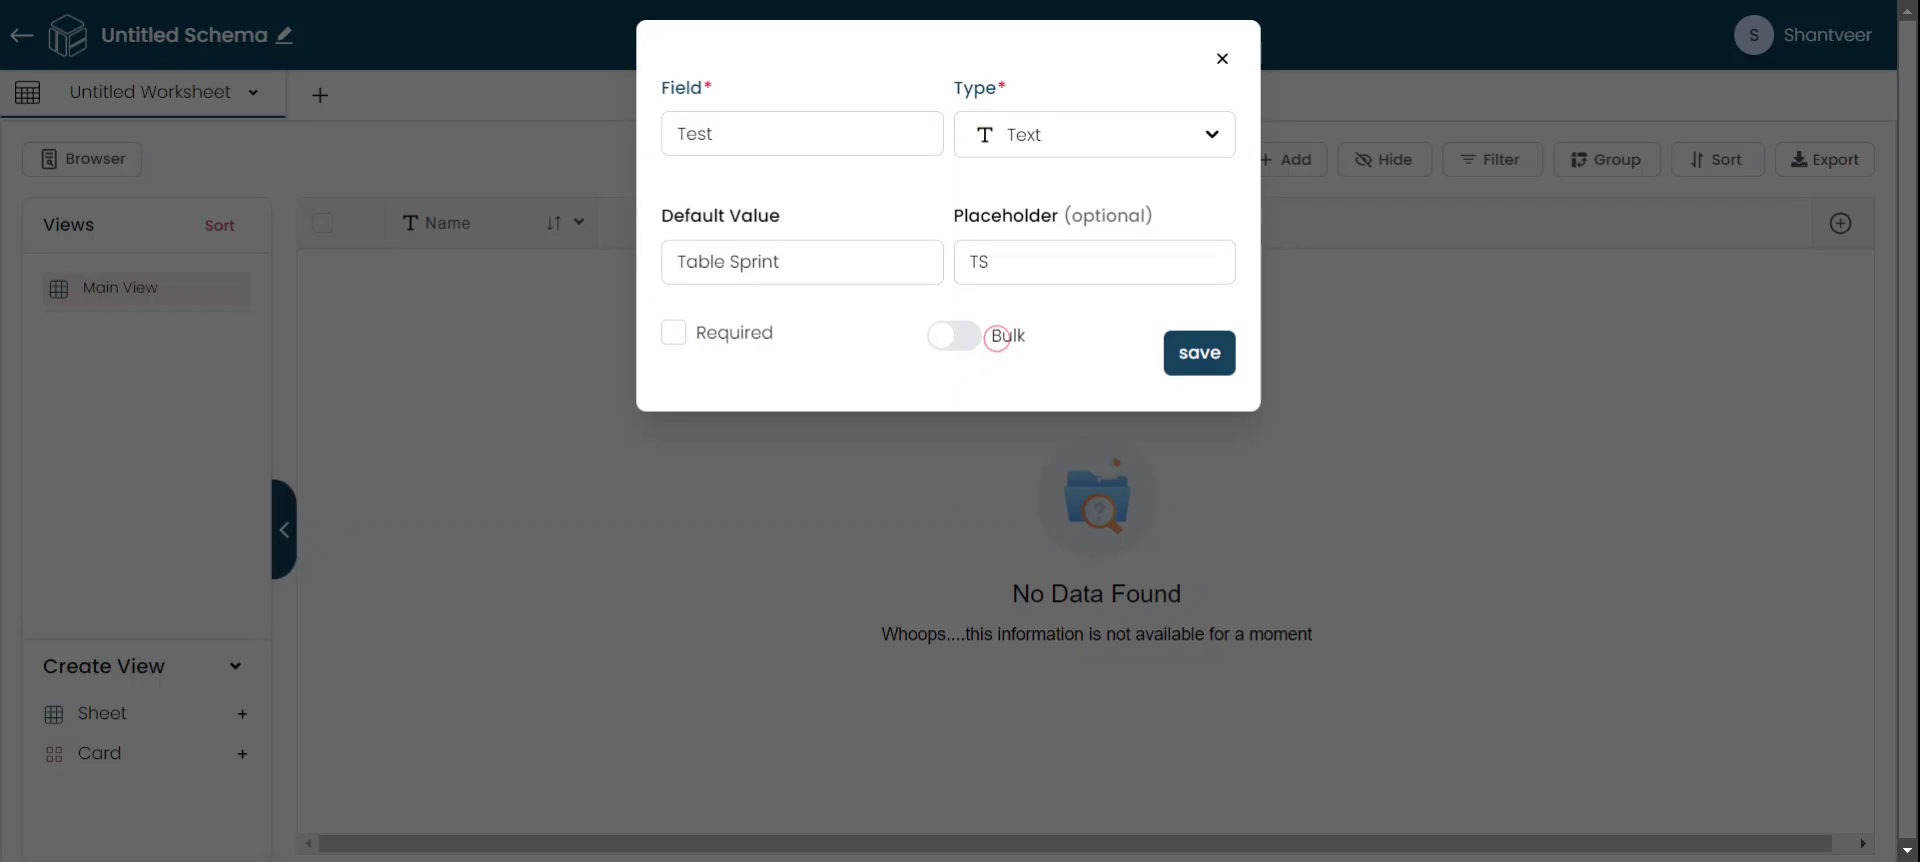
Step 6
If you want the field to be mandatory, enable the "Required" option. Additionally, enabling the bulk option allows you to update rows in bulk. A more detailed video on bulk updates will be covered in another tutorial.

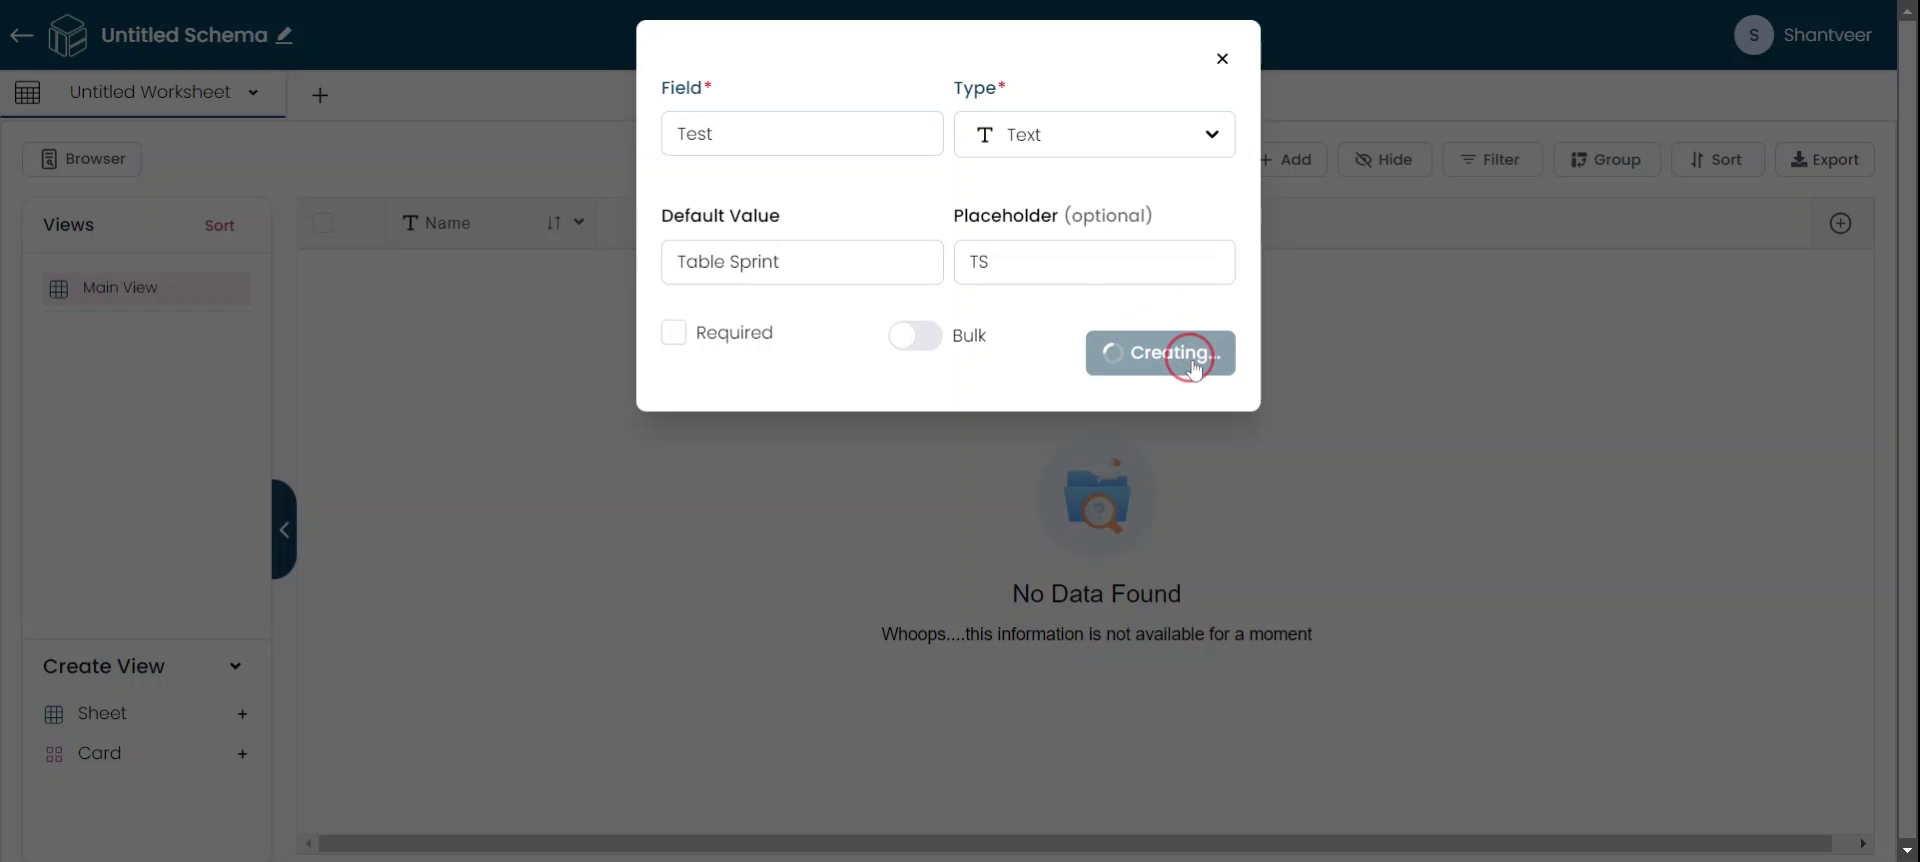
Step 7
After filling out all the necessary information, click "Save" to create the field in the existing worksheet.
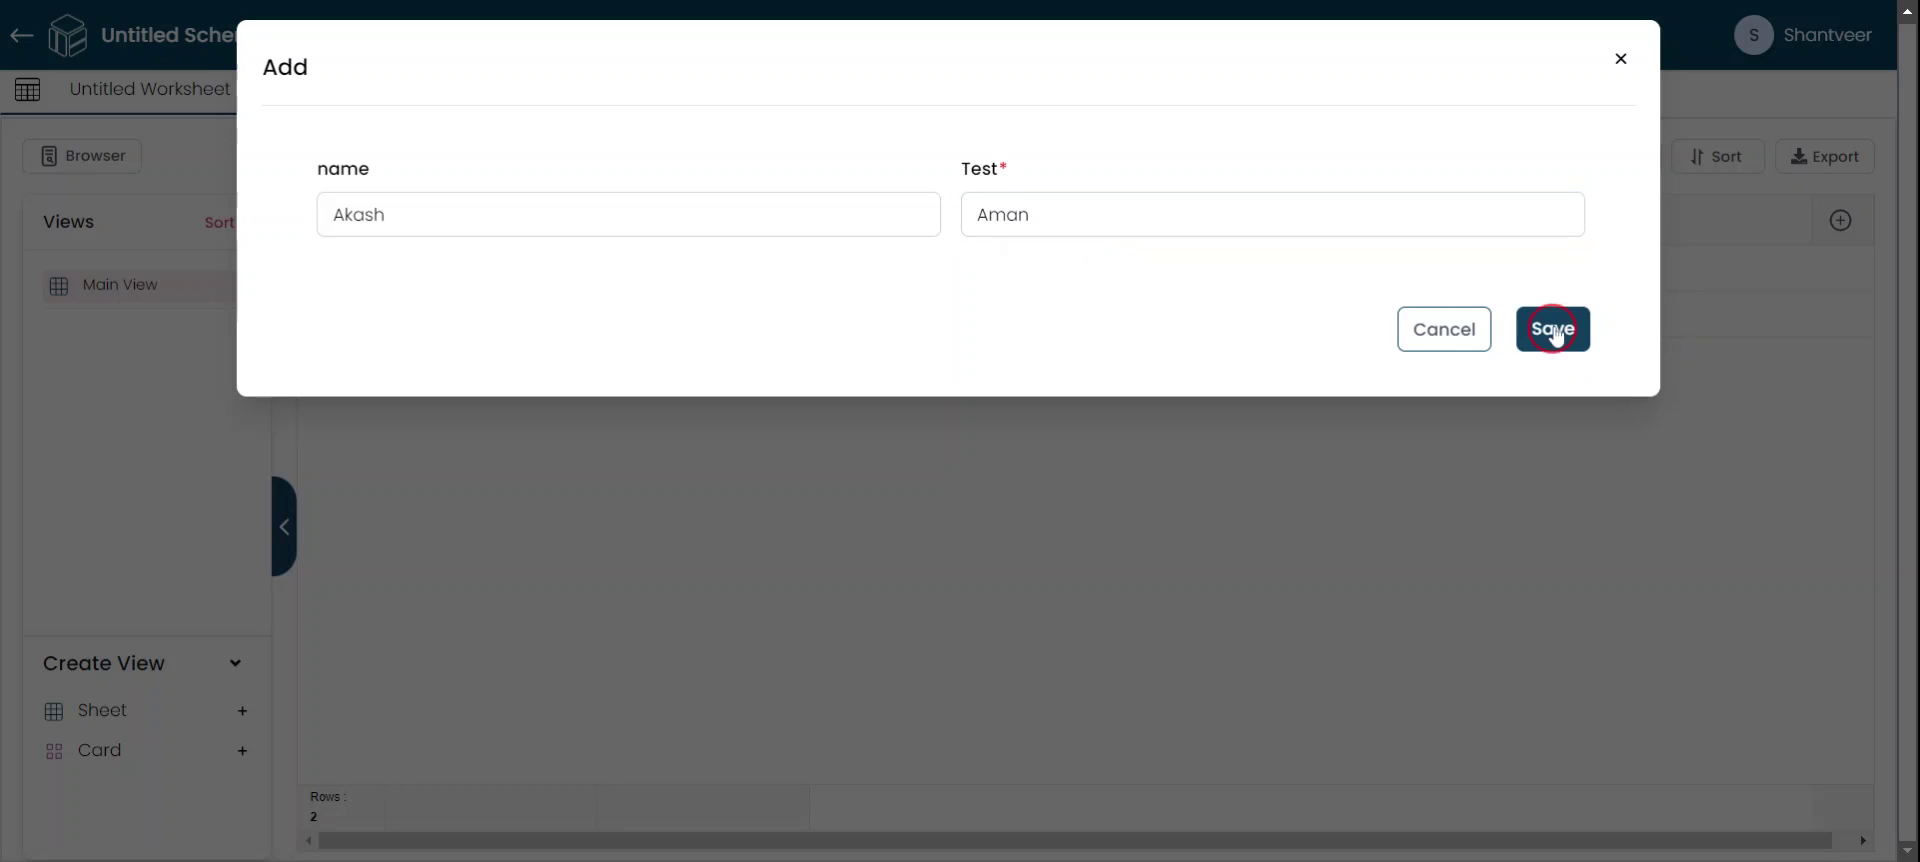
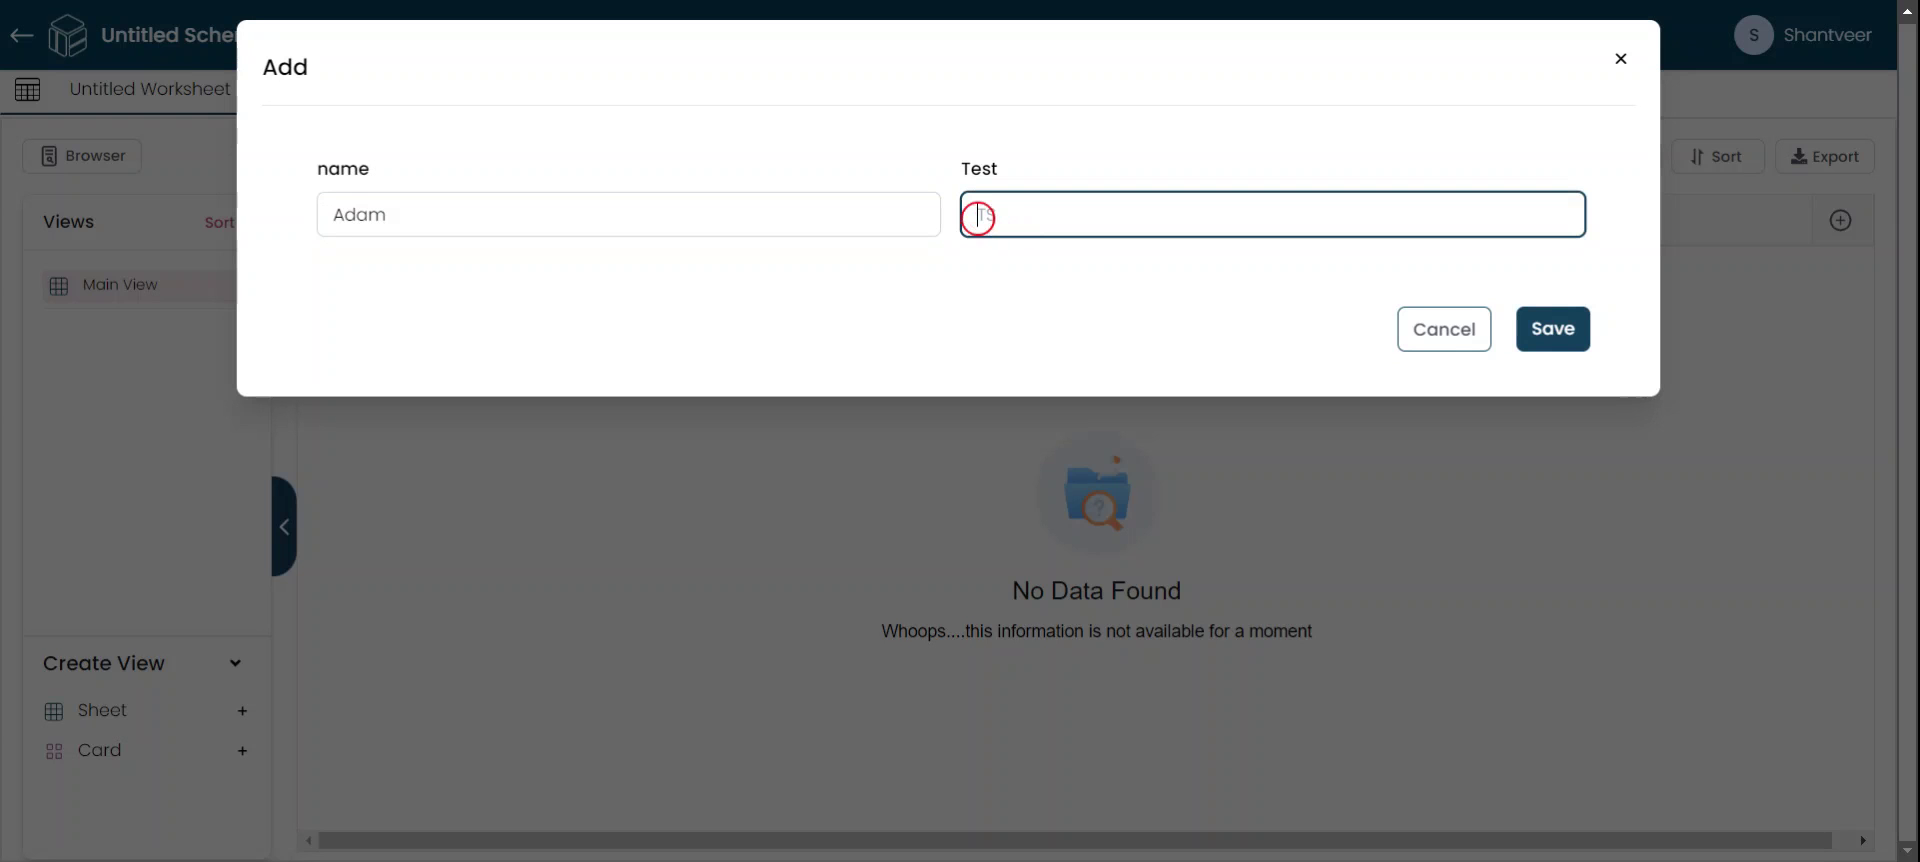
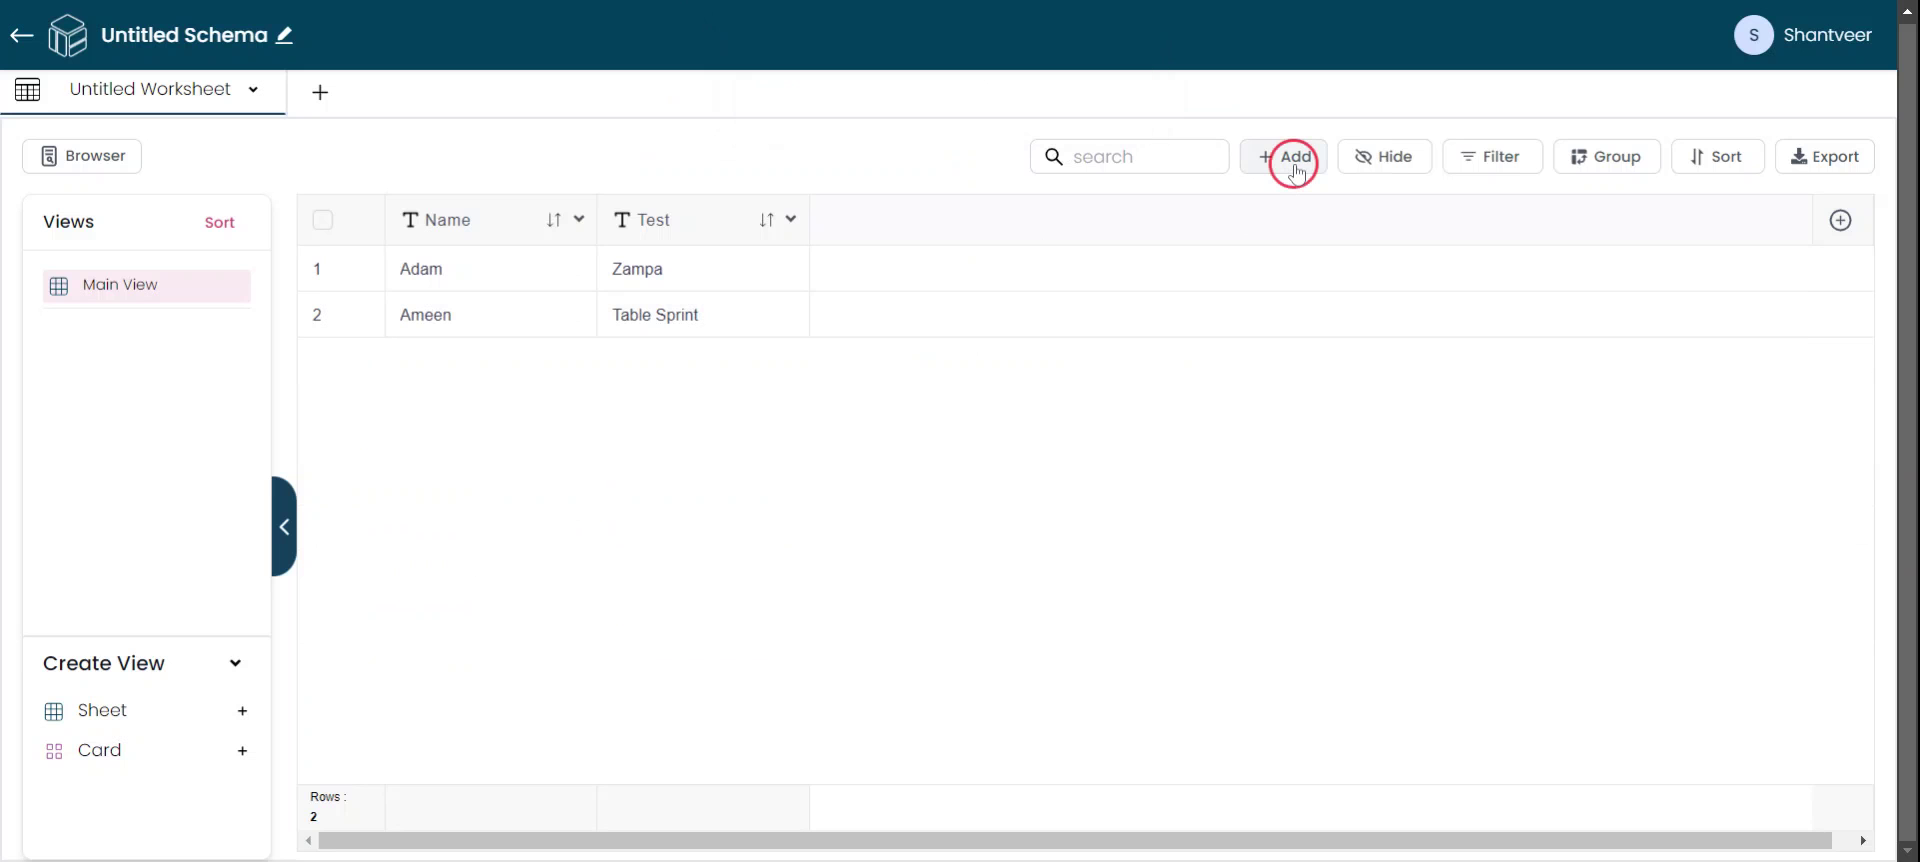
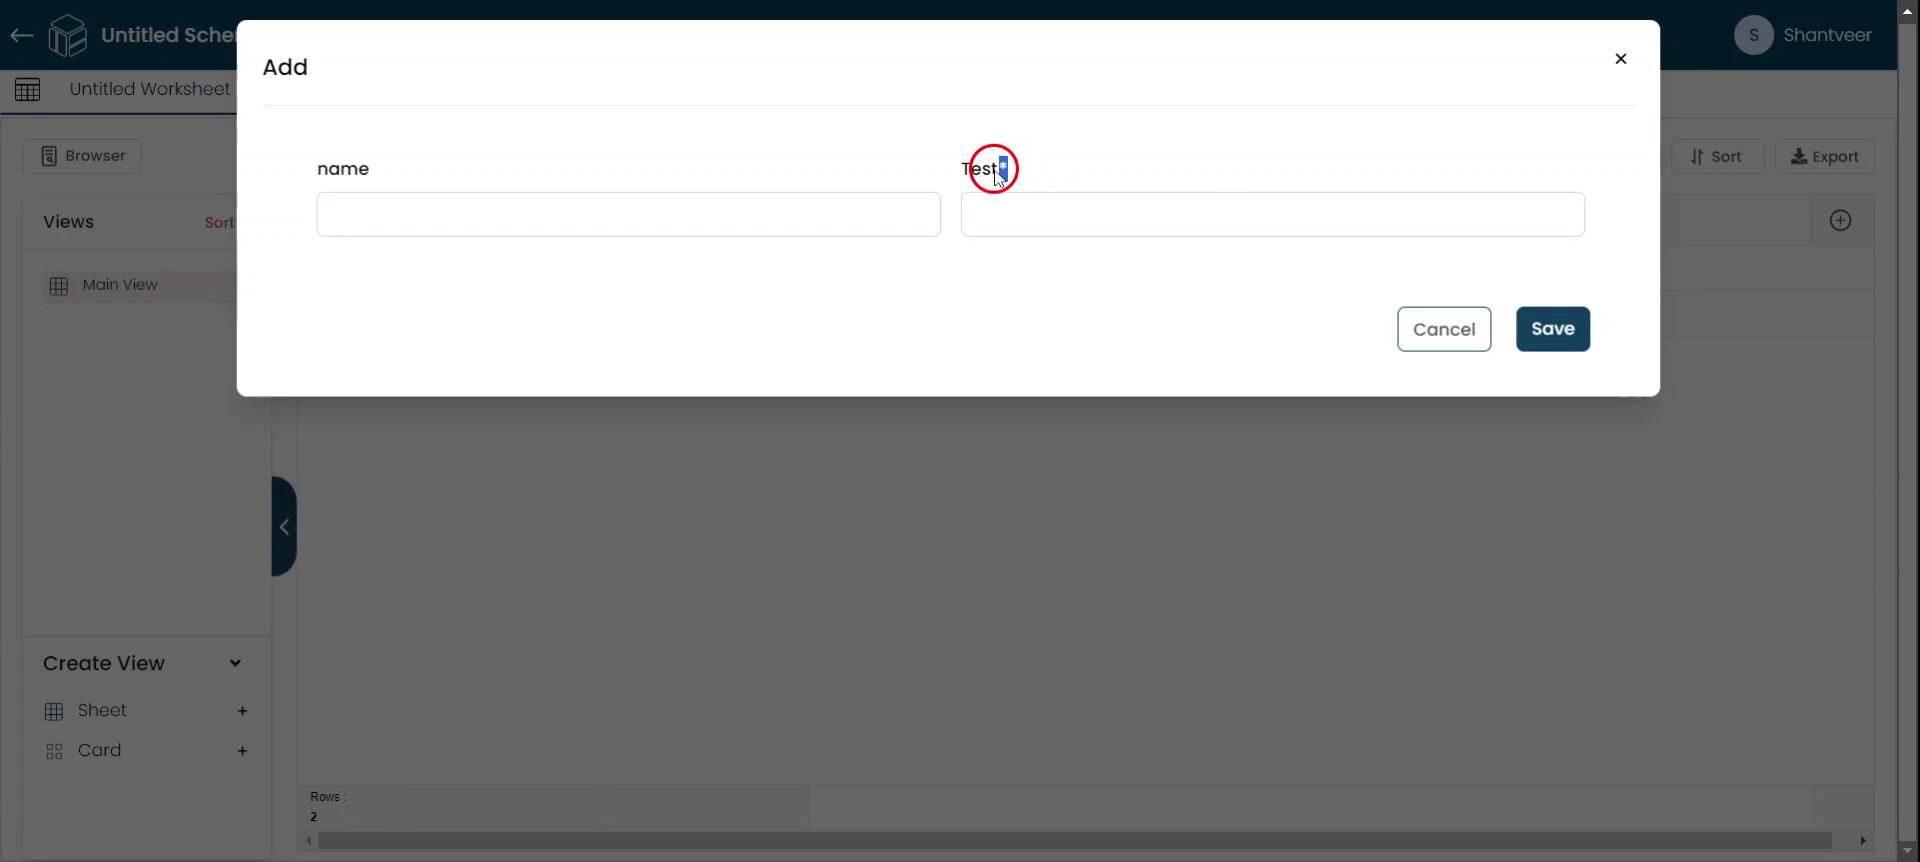
Step 8
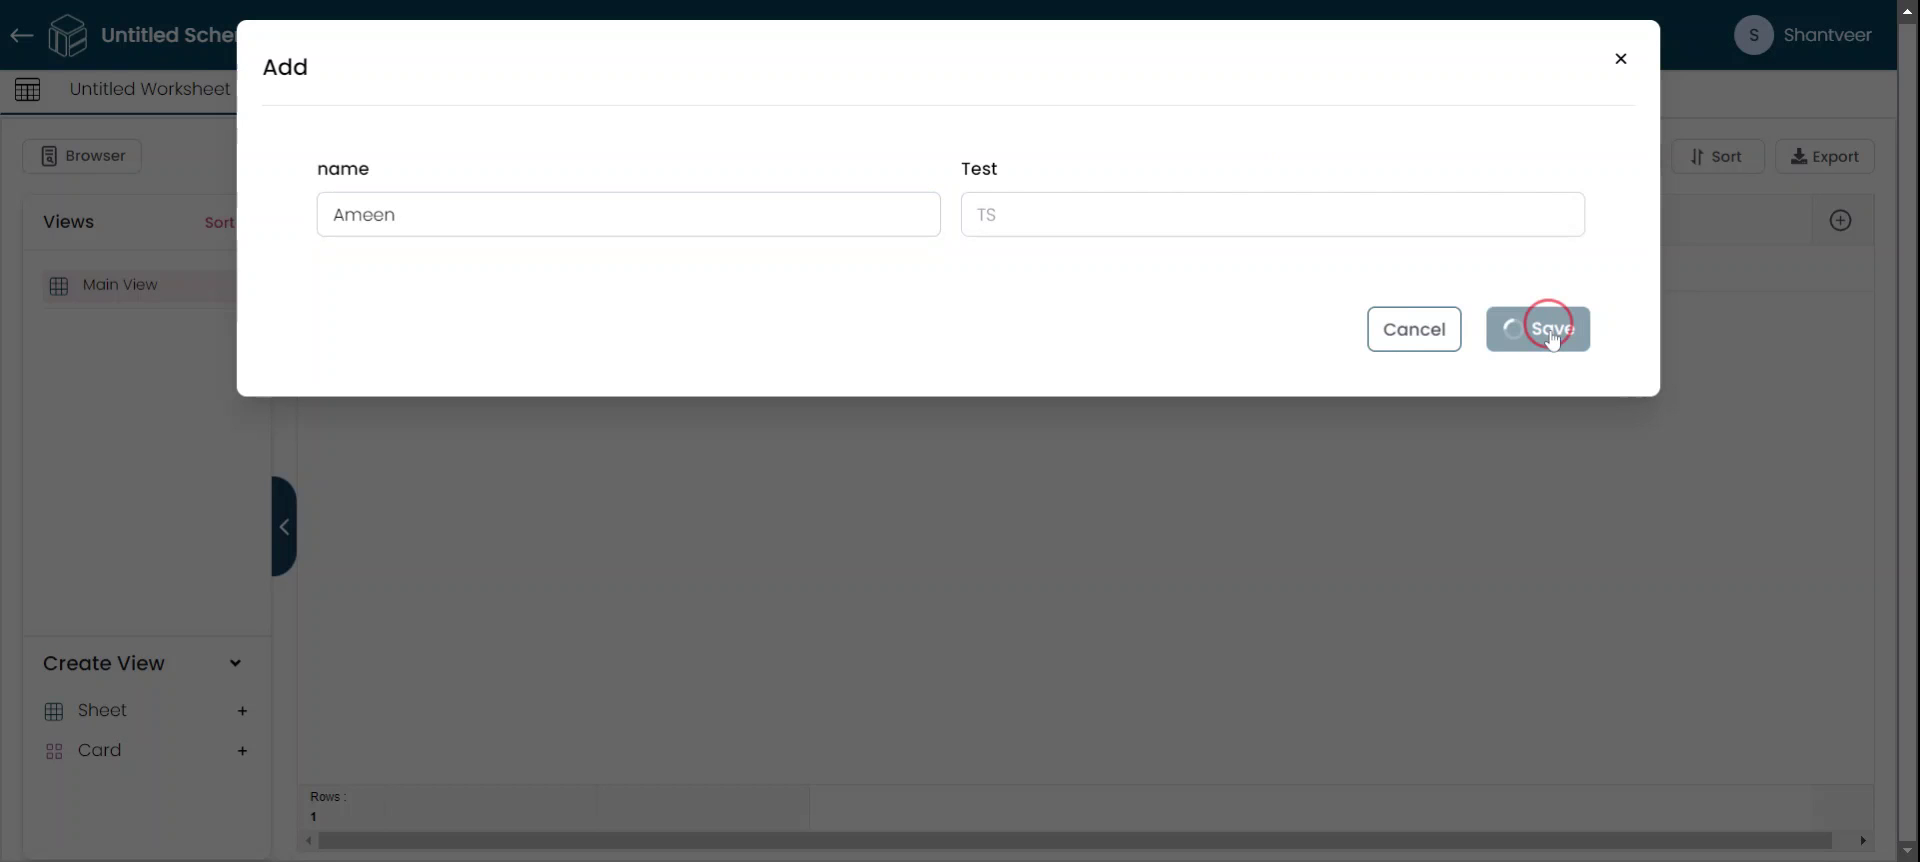
To test how the added field works, click "Add." In the pop-up, try entering data and observe that the placeholder text you specified earlier is reflected in the field.
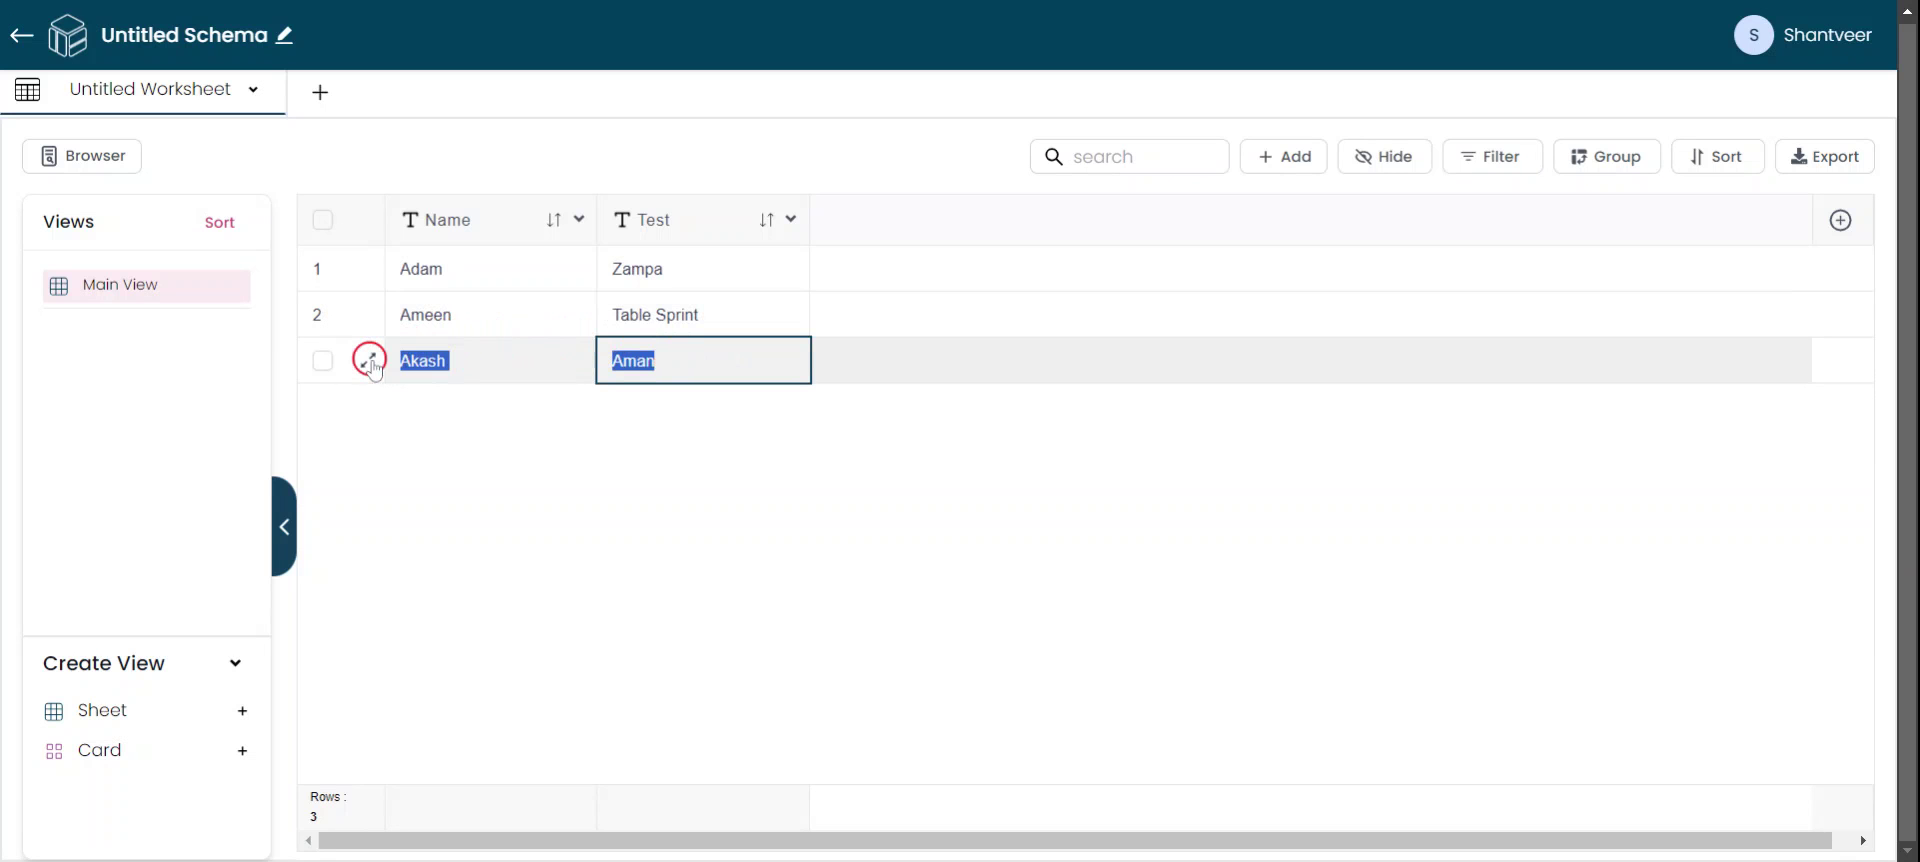
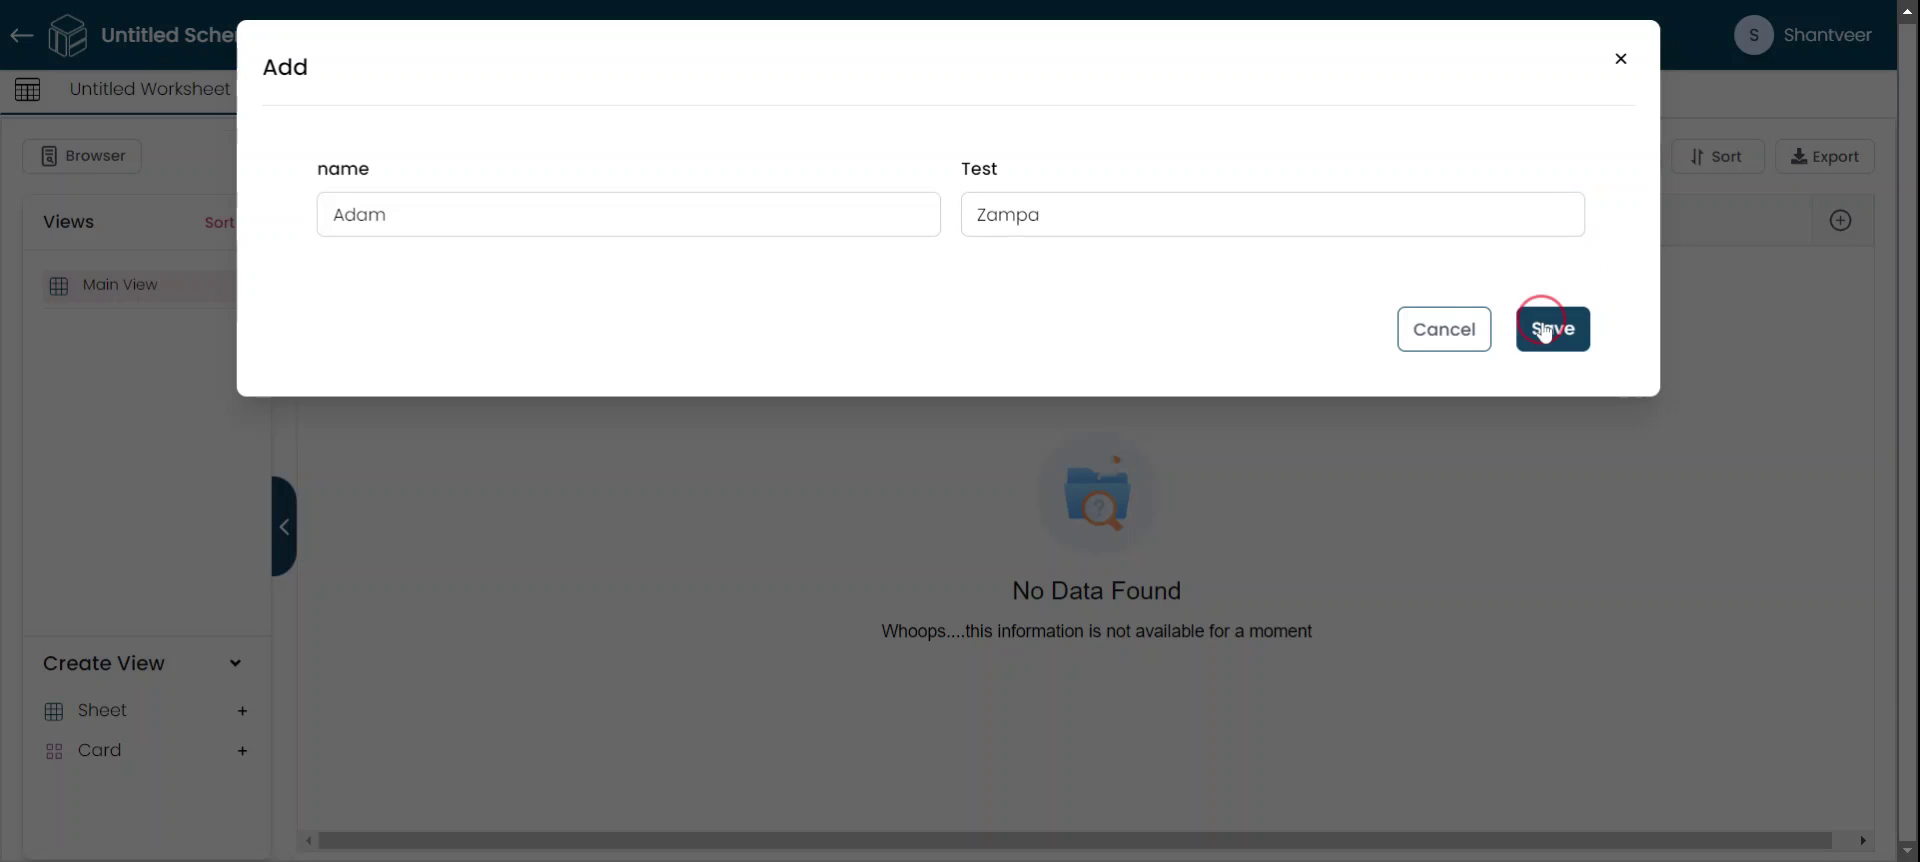
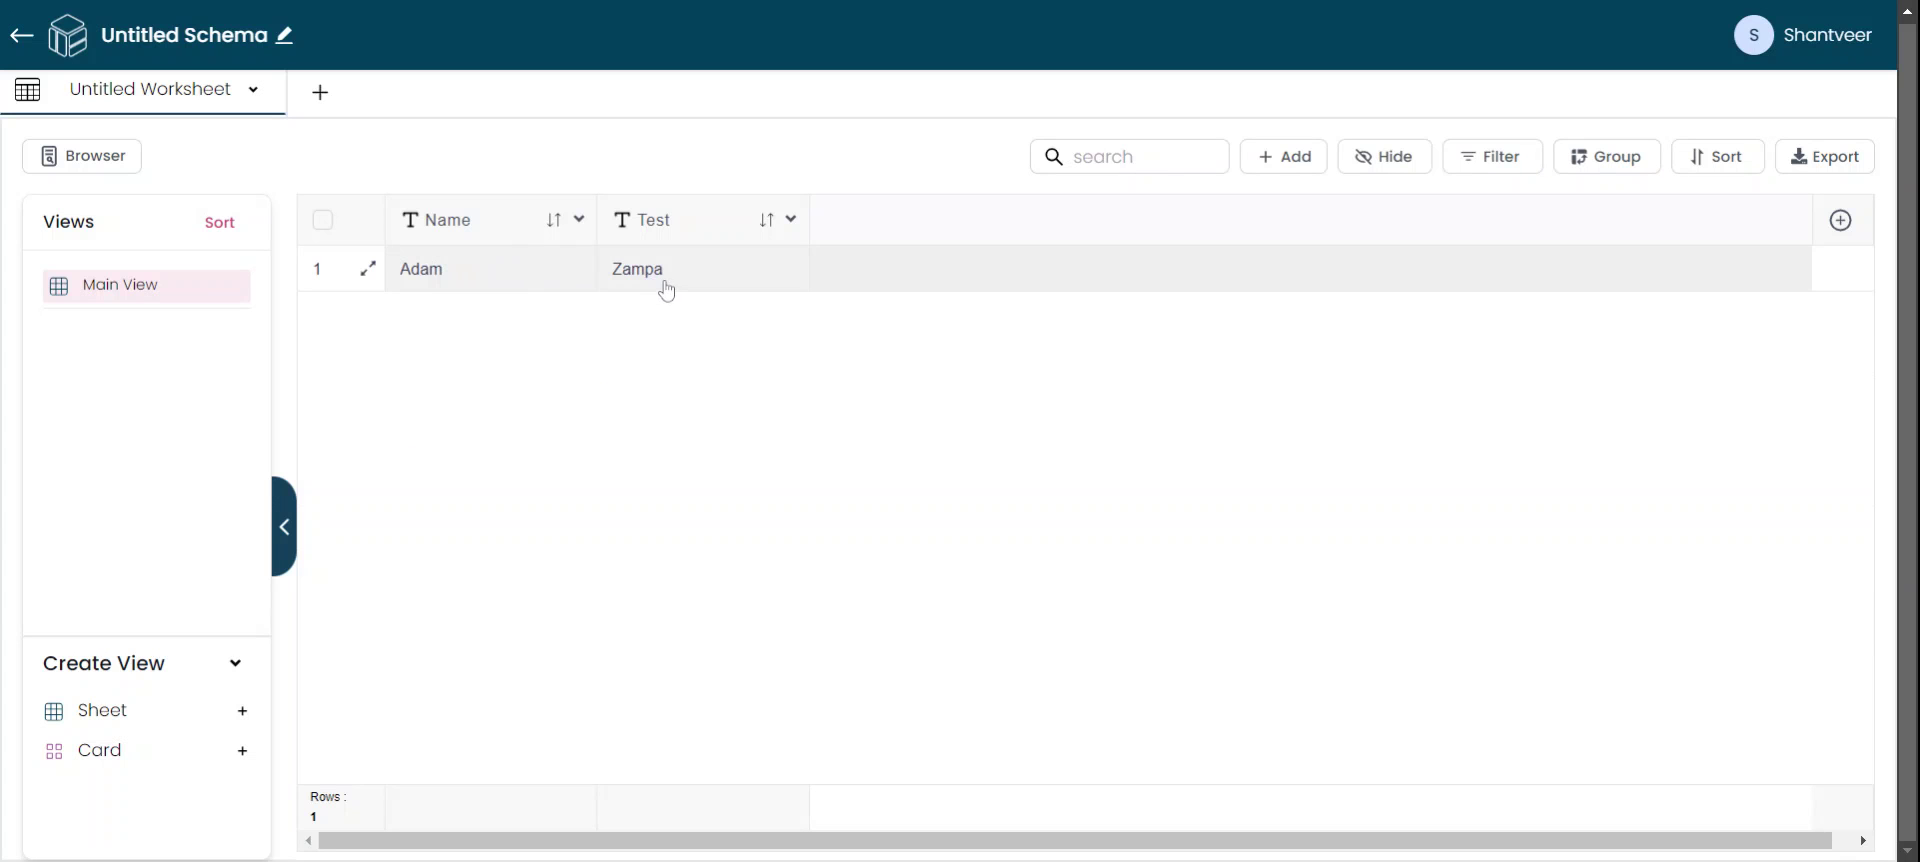
Step 9
After filling in the fields, click "Save." You will see that the entered values are now reflected in the fields.
Step 10
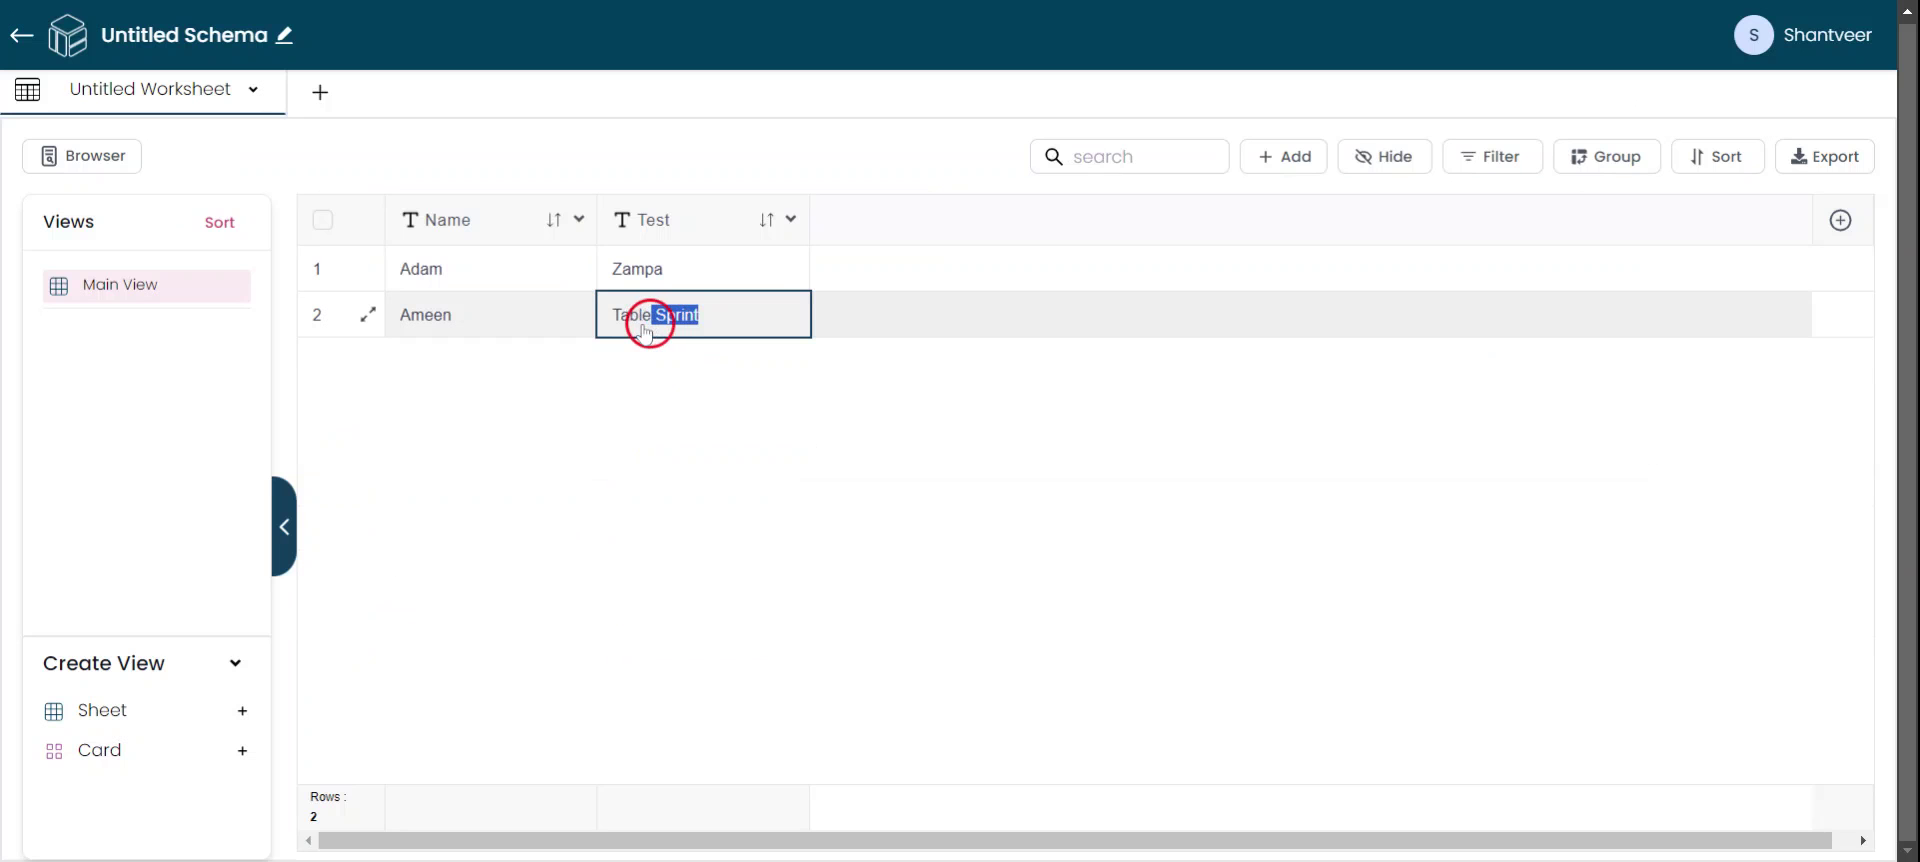
To demonstrate the default value functionality, add another row and leave the field empty. Then click "Save." The default value you set earlier will be automatically reflected in the worksheet.
Step 11
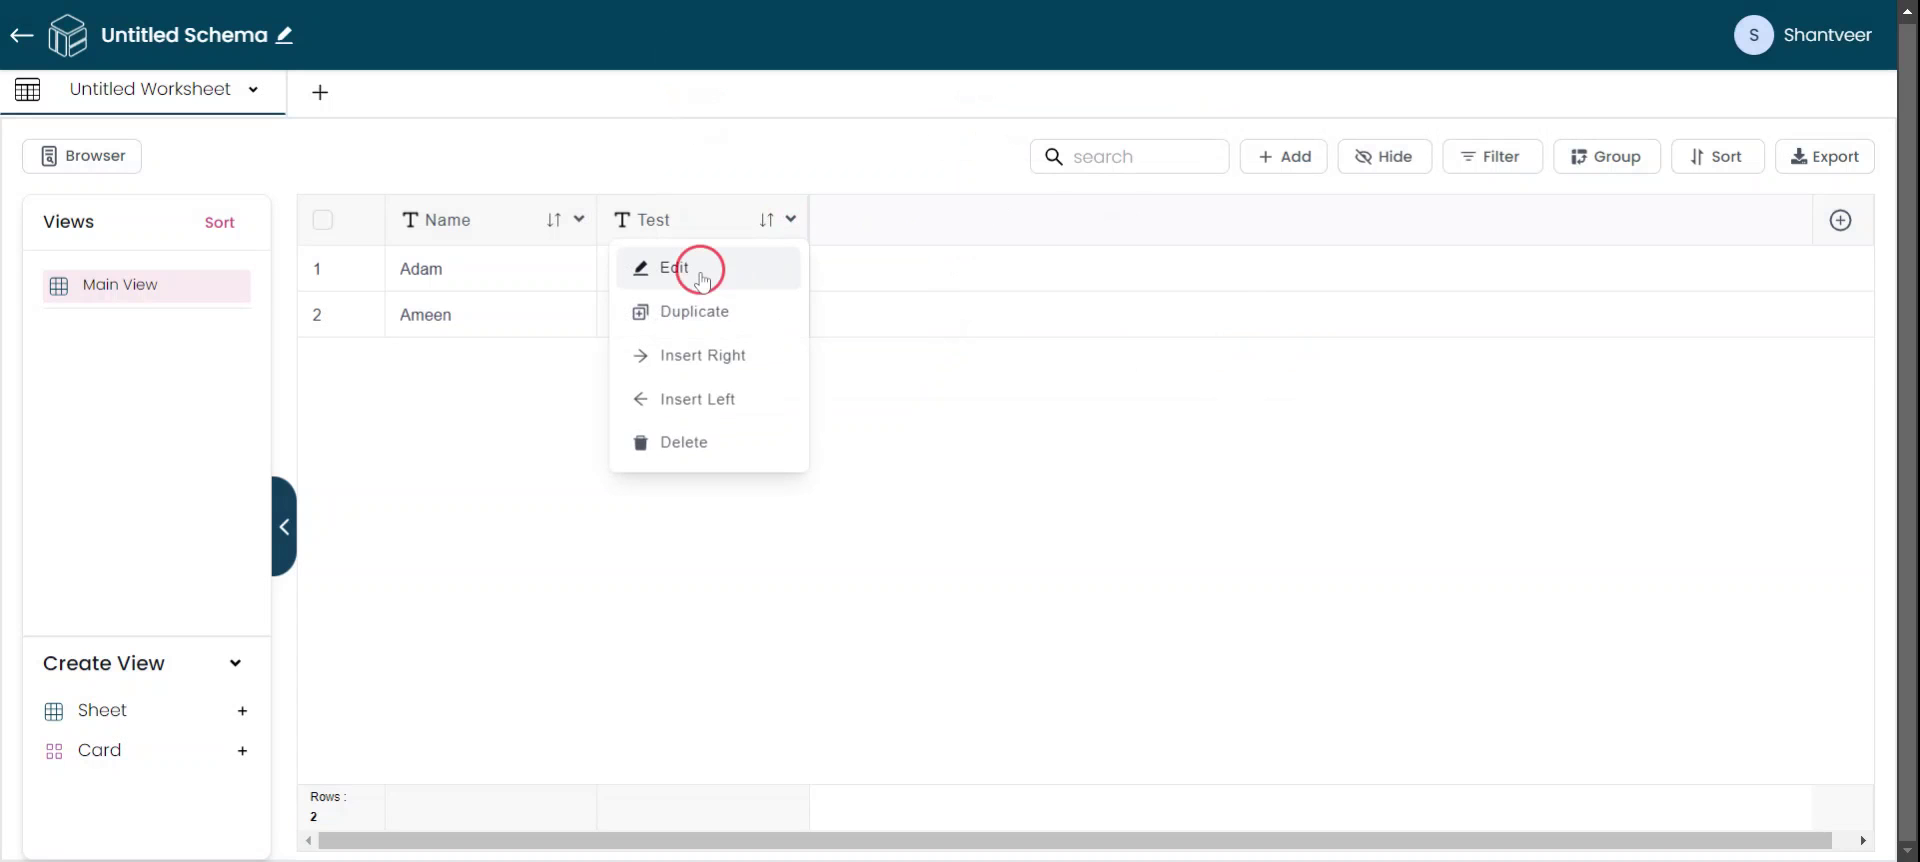
If you want to edit the field click on "Edit" to modify the settings.
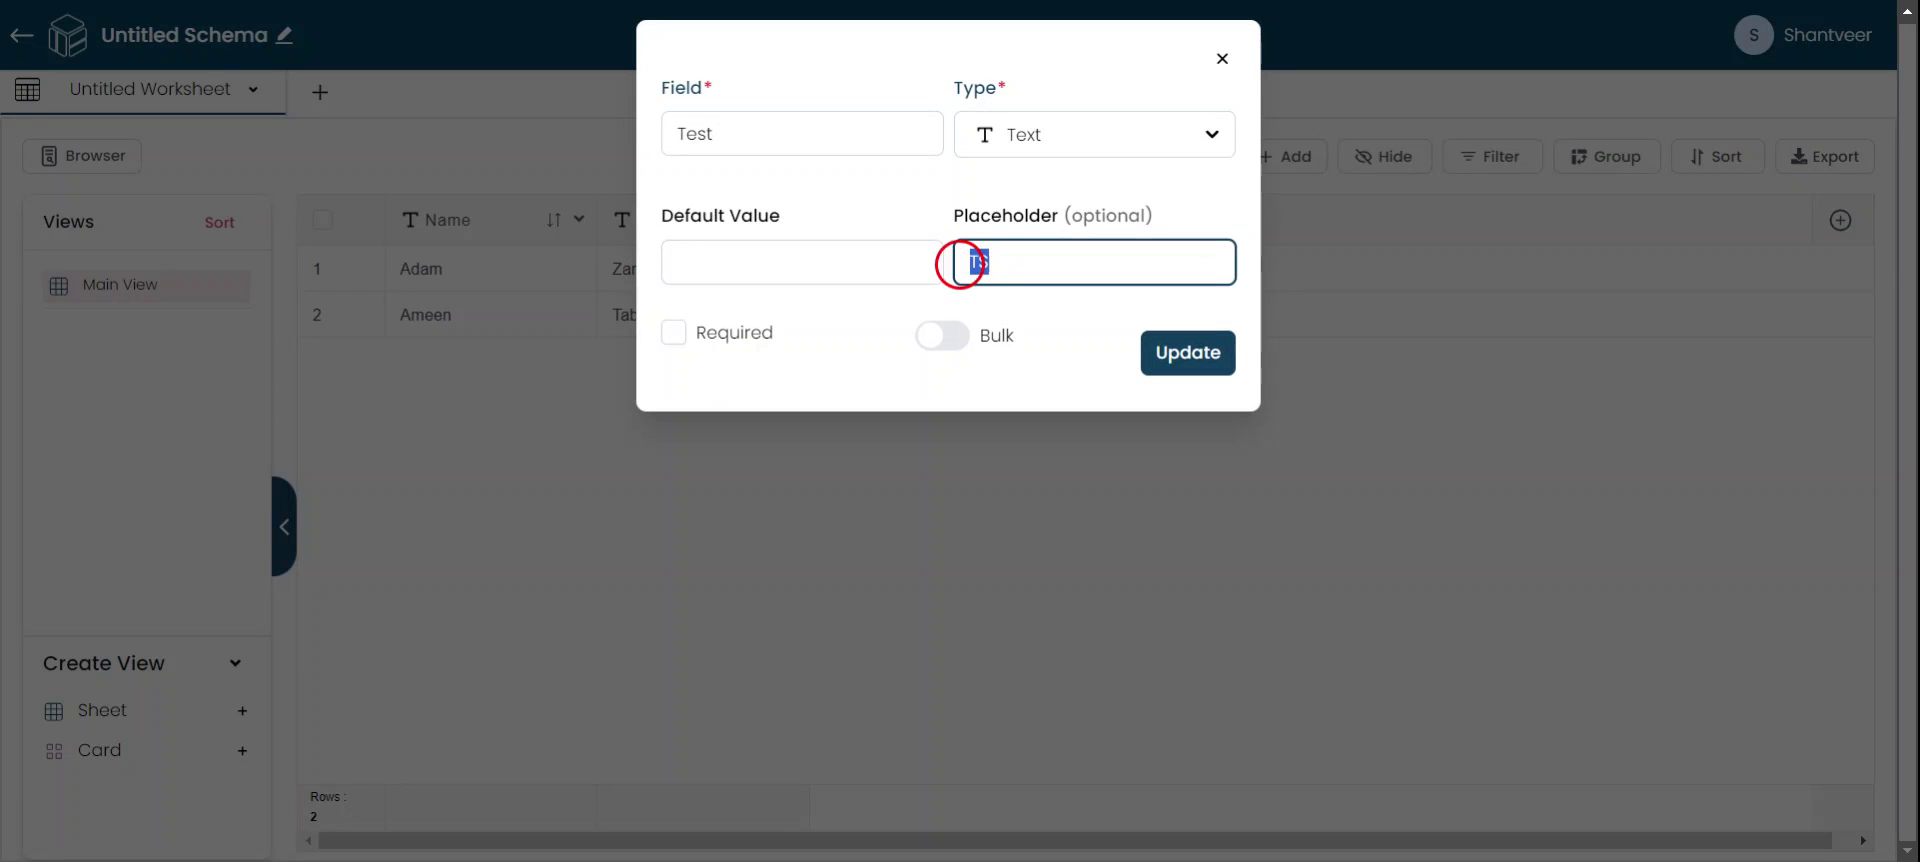
Step 12
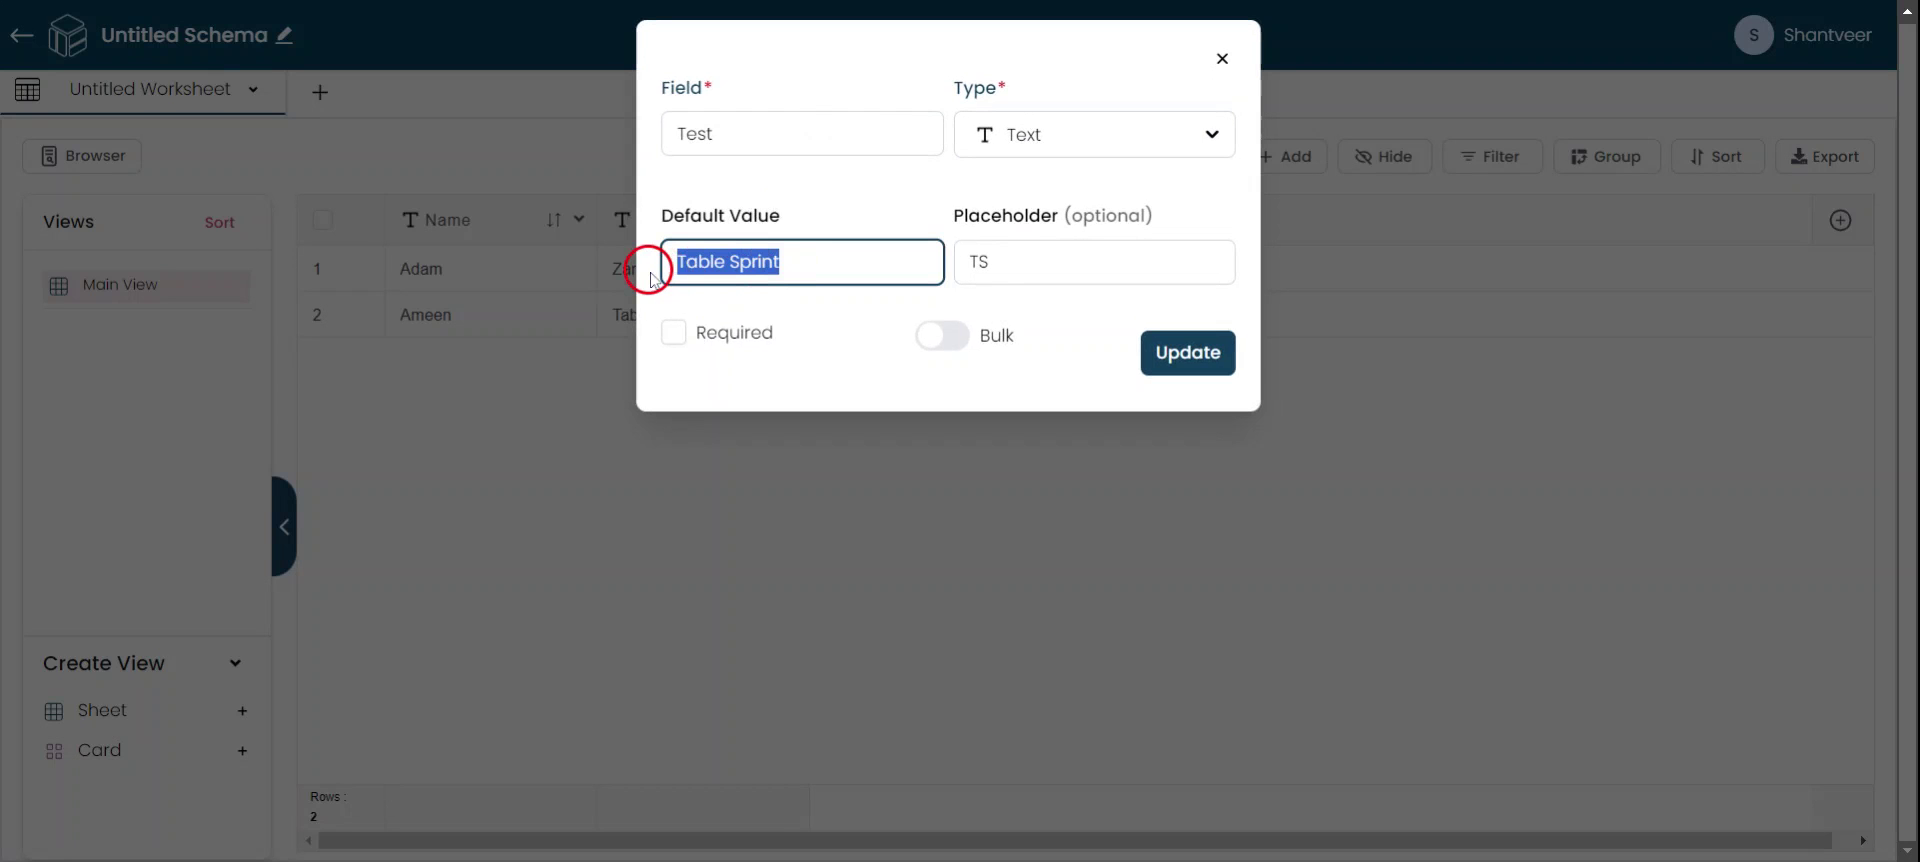
You can also change the default value and placeholder fields. If needed, remove the currently set values or update them as desired.
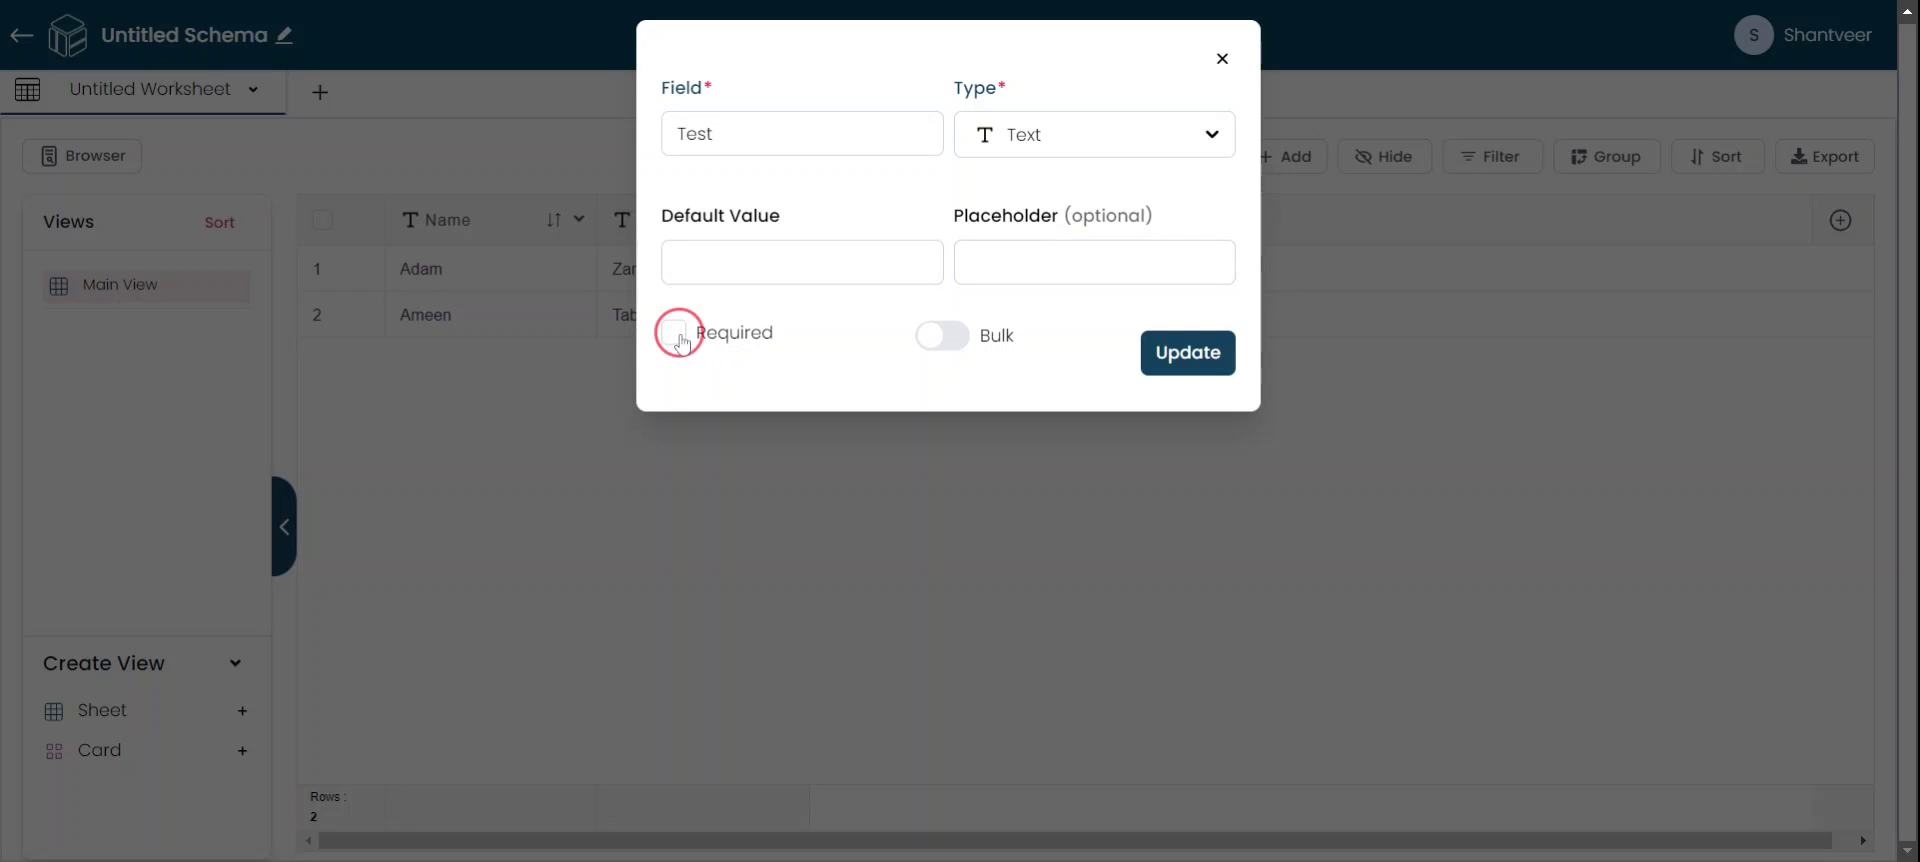
Step 13
To make the field mandatory, enable the respective option and click "Update."
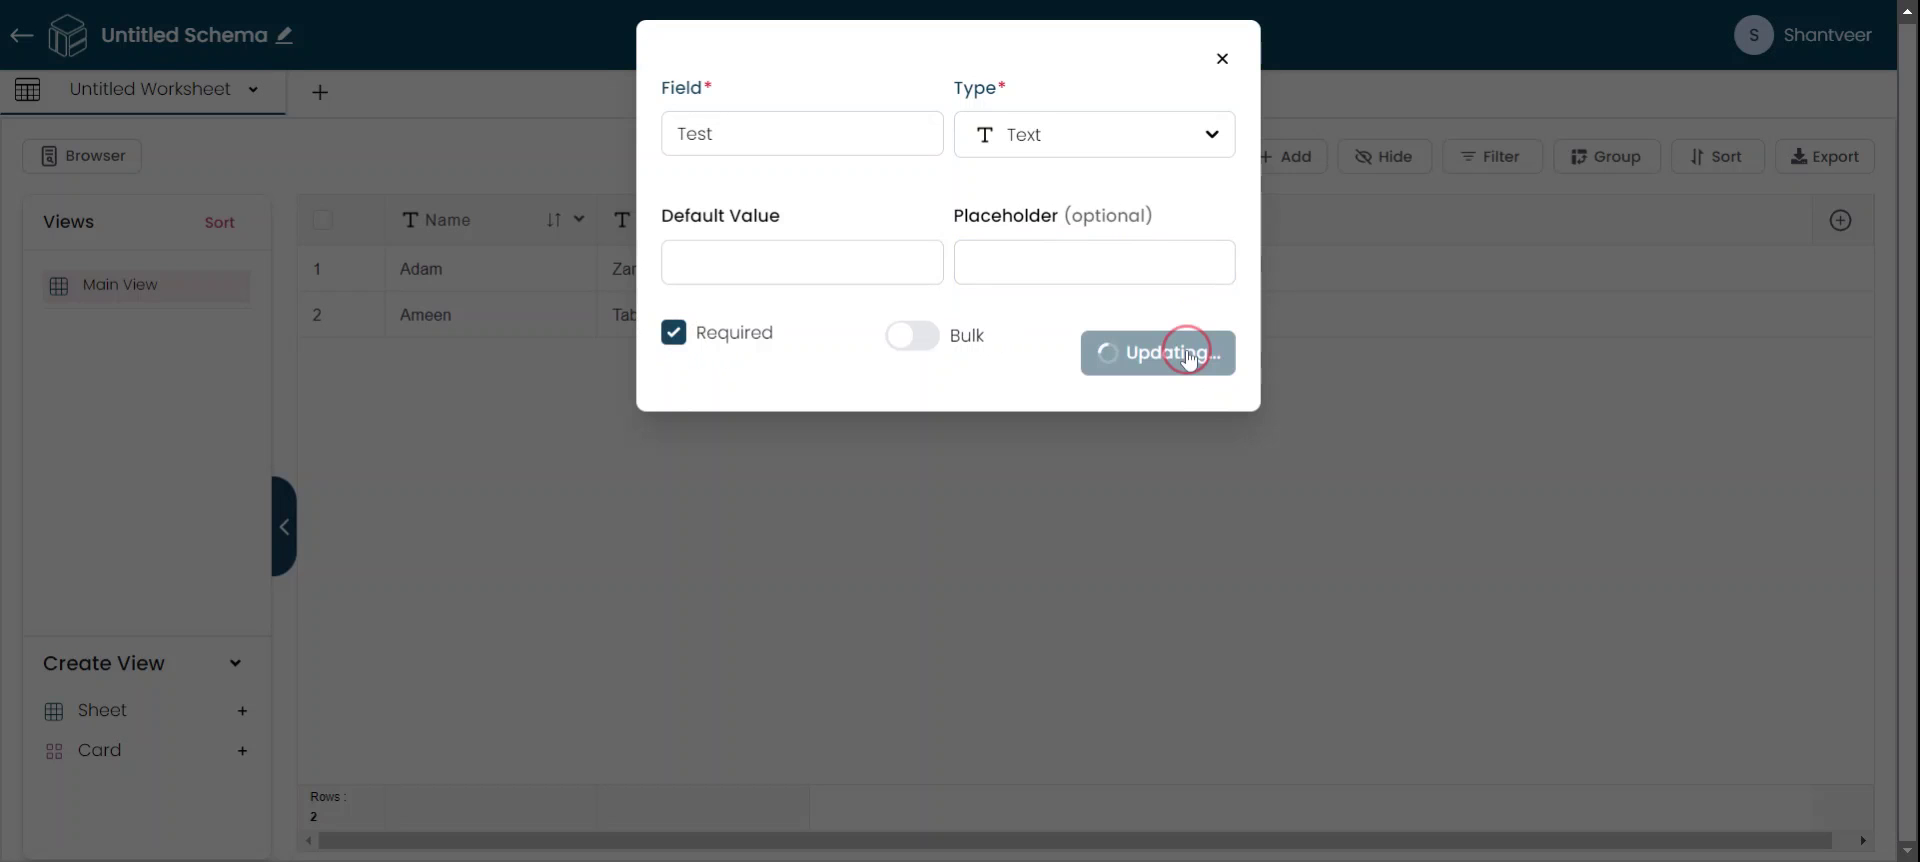
Step 14
Confirm your changes by clicking "Update".
Step 15
To verify the changes, click "Add" again. A star icon will indicate that the field is mandatory. The row will not save unless the required field is filled in.
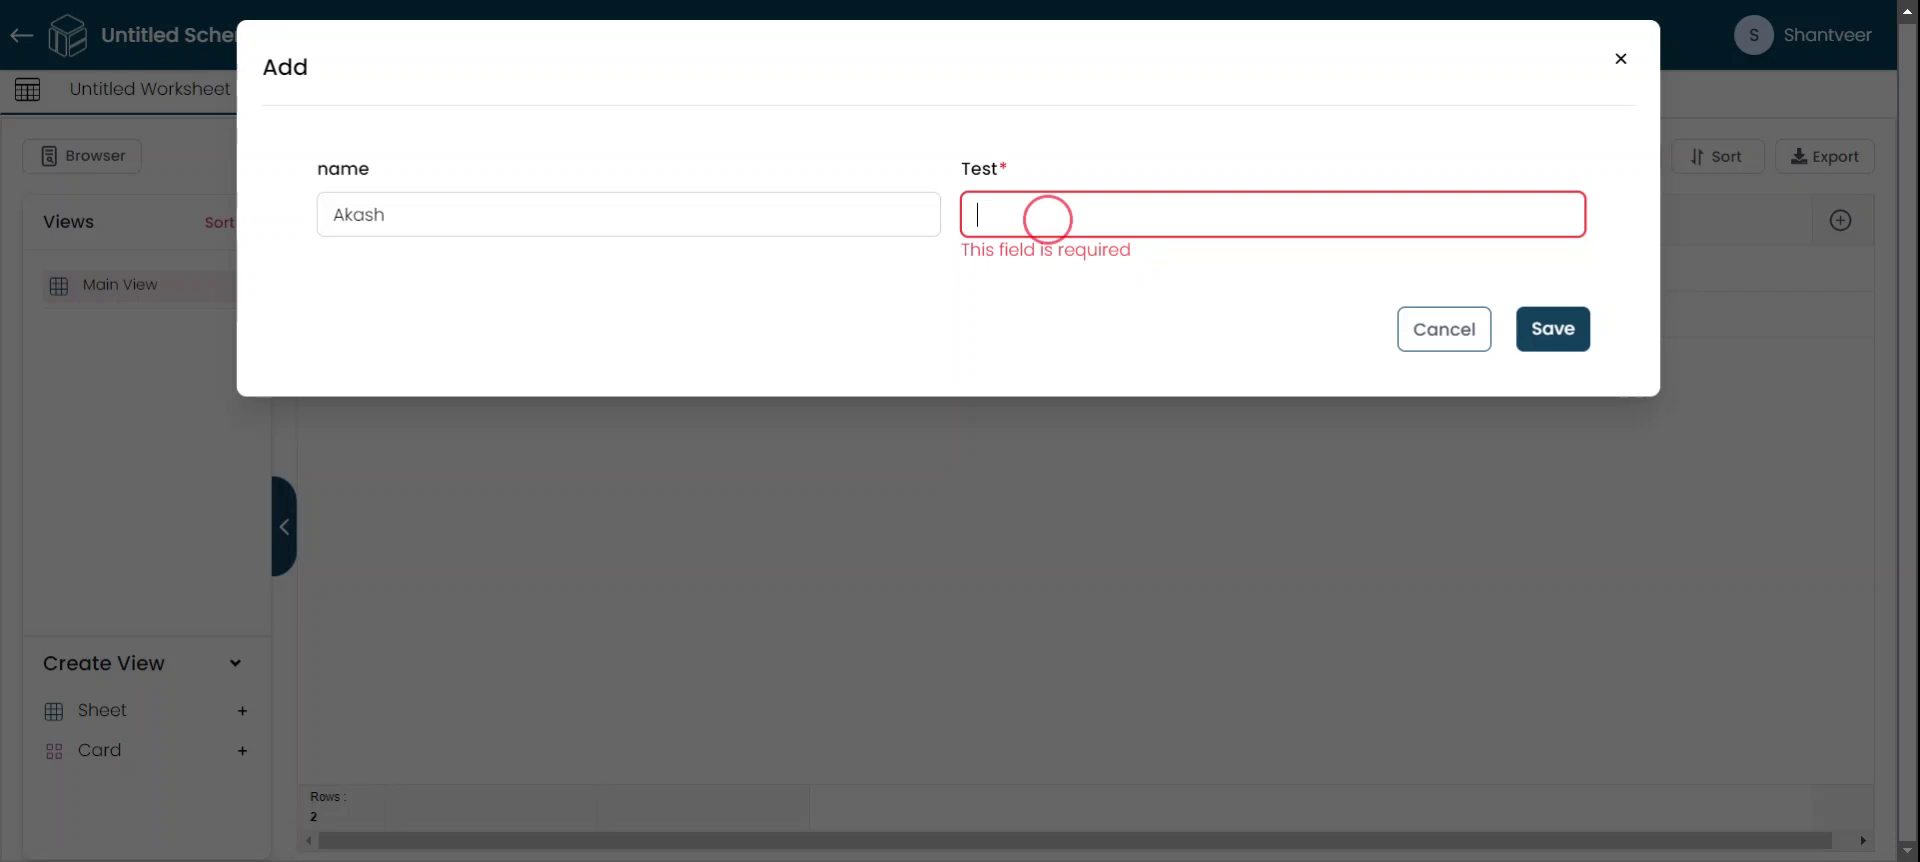
Step 16
If you attempt to save without filling in the required field, a message will appear indicating that the field is mandatory. This message will be displayed directly on the field for which you enabled the "Required" option.
Step 17
Enter the required information into the field, click "Save." Your entered values will now be reflected in the worksheet.