Creating a Gantt view
This guide will walk you through the step-by-step process of creating a Gantt view. Follow these instructions carefully to view a clear and interactive way to track progress, assign tasks, and set deadlines.
Step 1
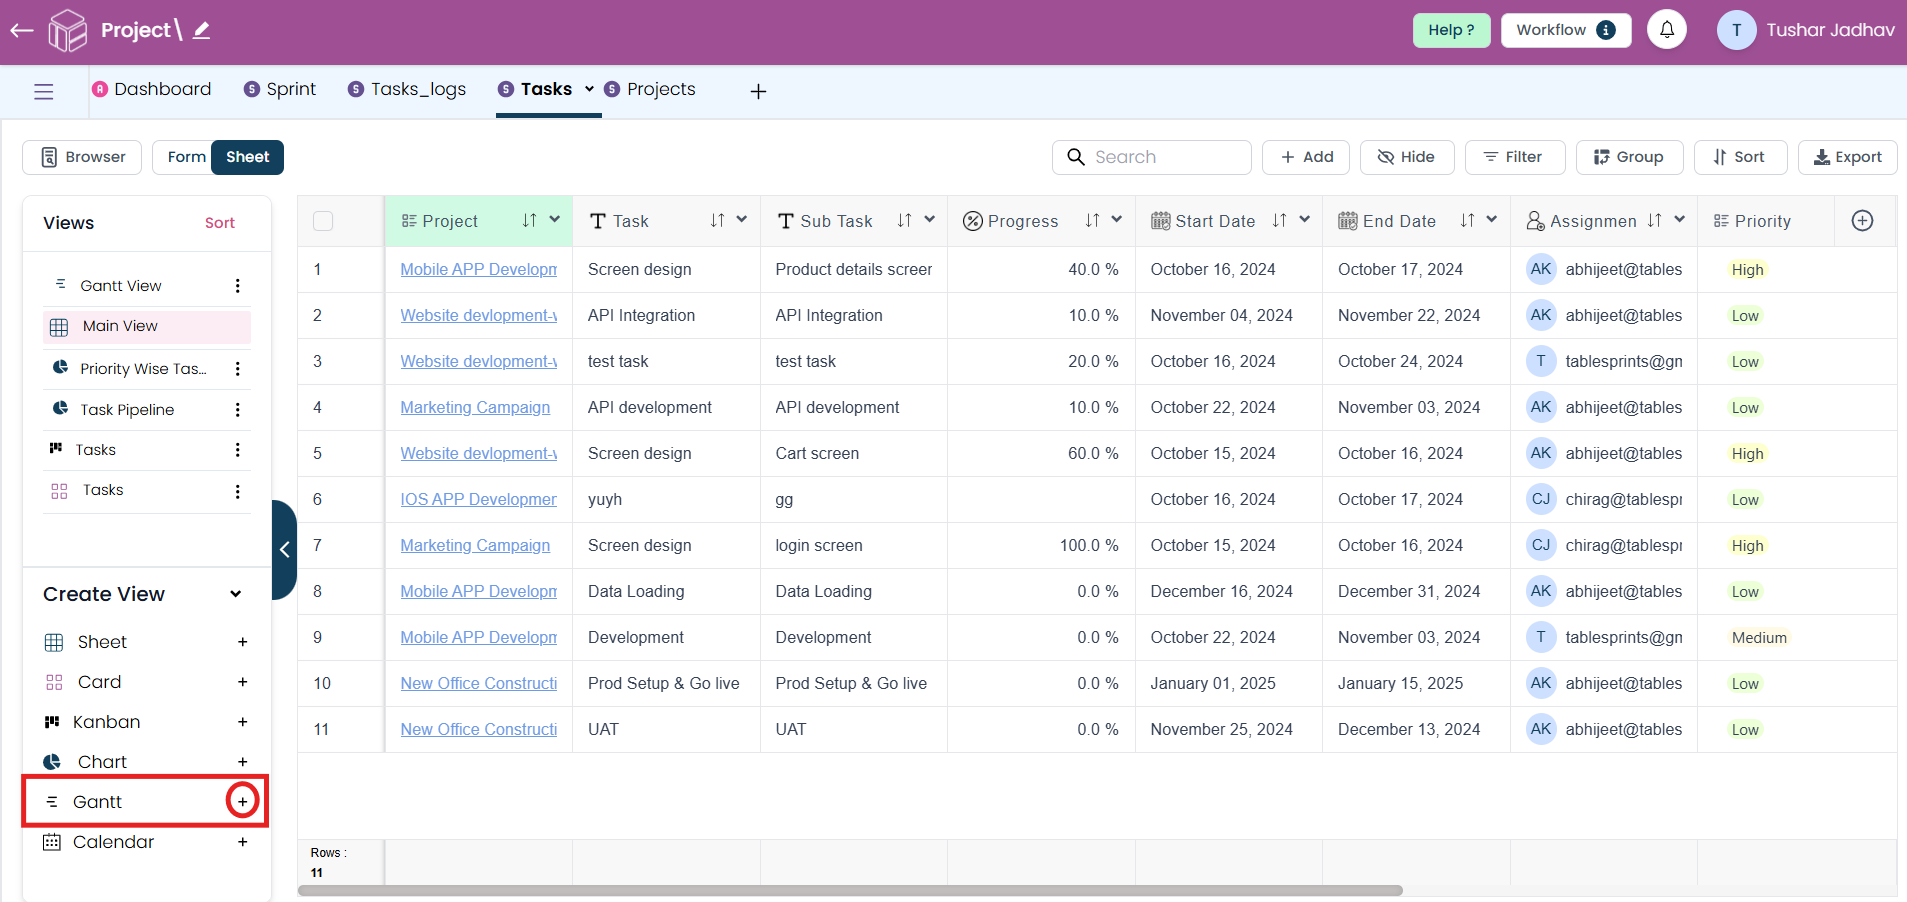
Click on the plus icon to start creating a new Gantt view.
Step 2
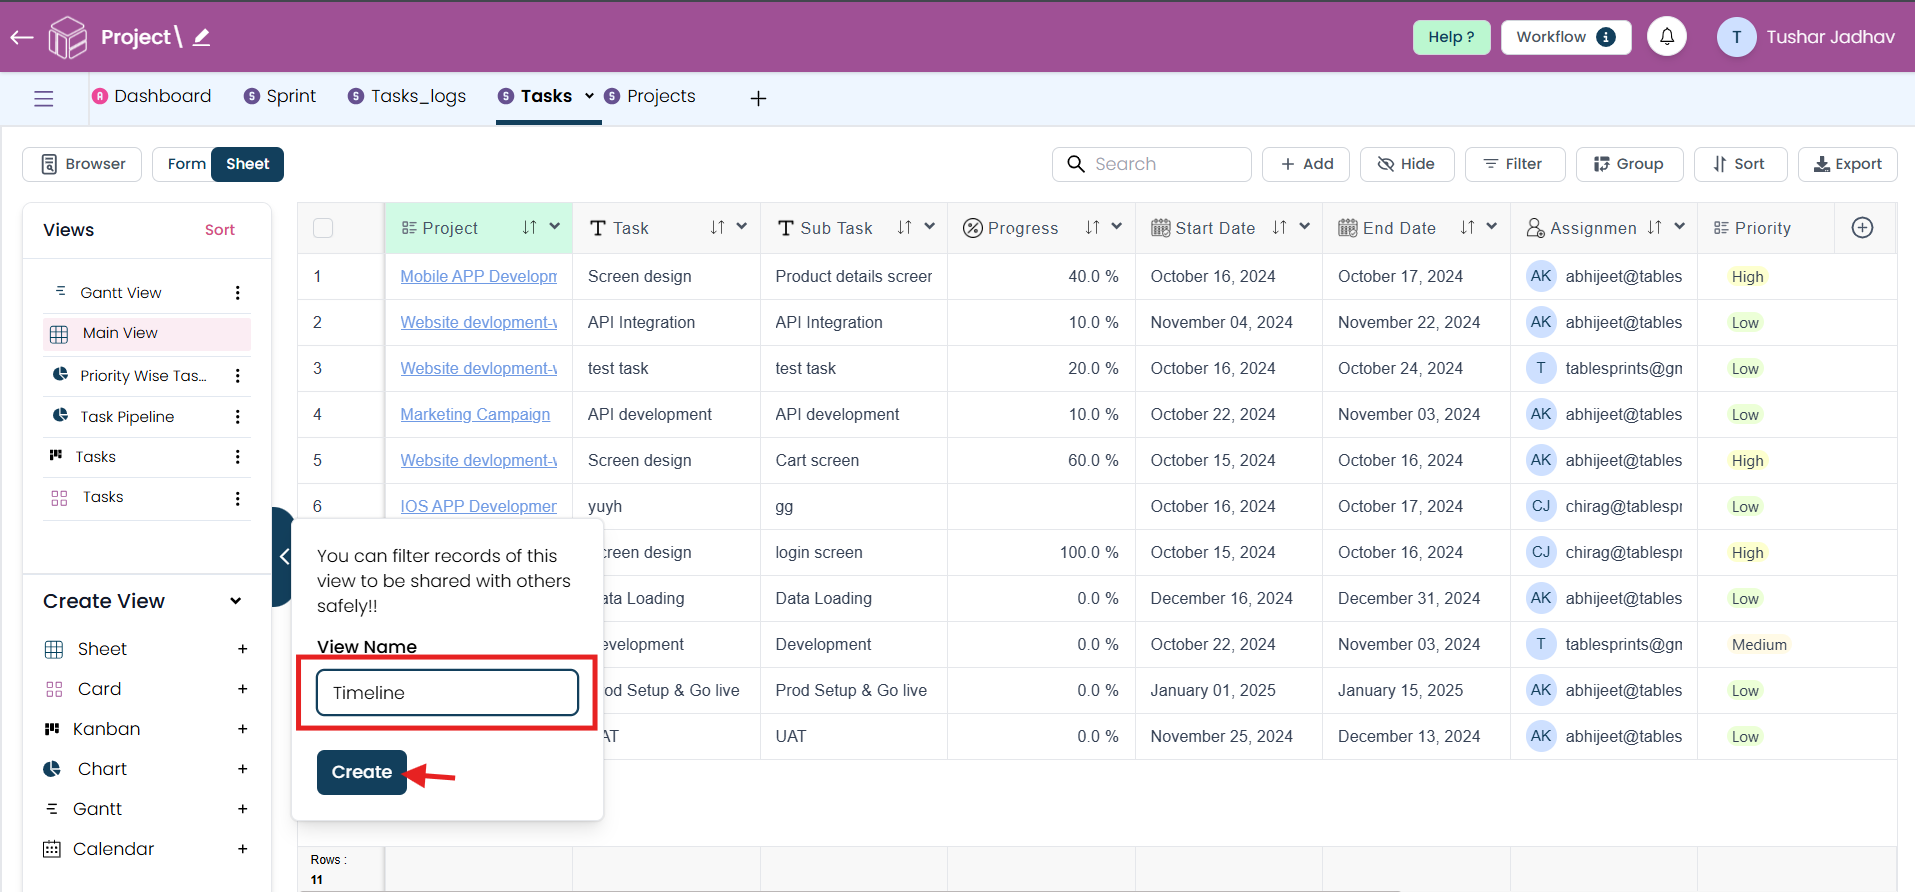
Once the pop-up window appears, enter the name for your Gantt view according to your preferences and click on create button.
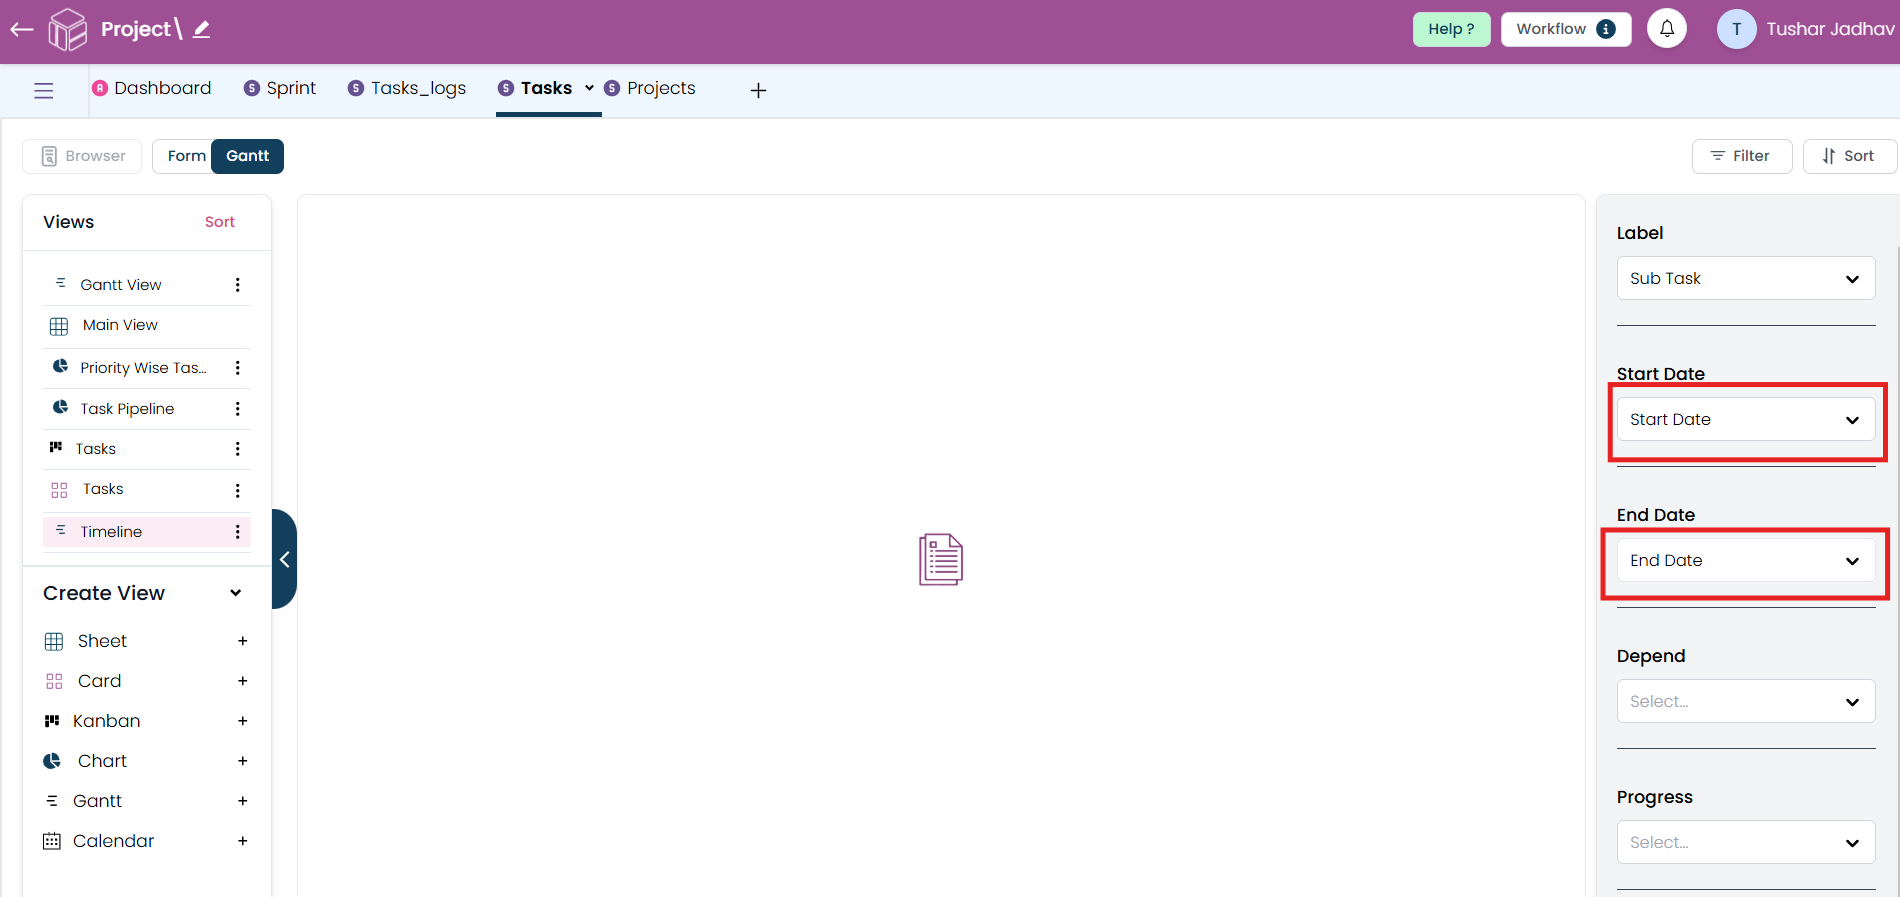
Step 3
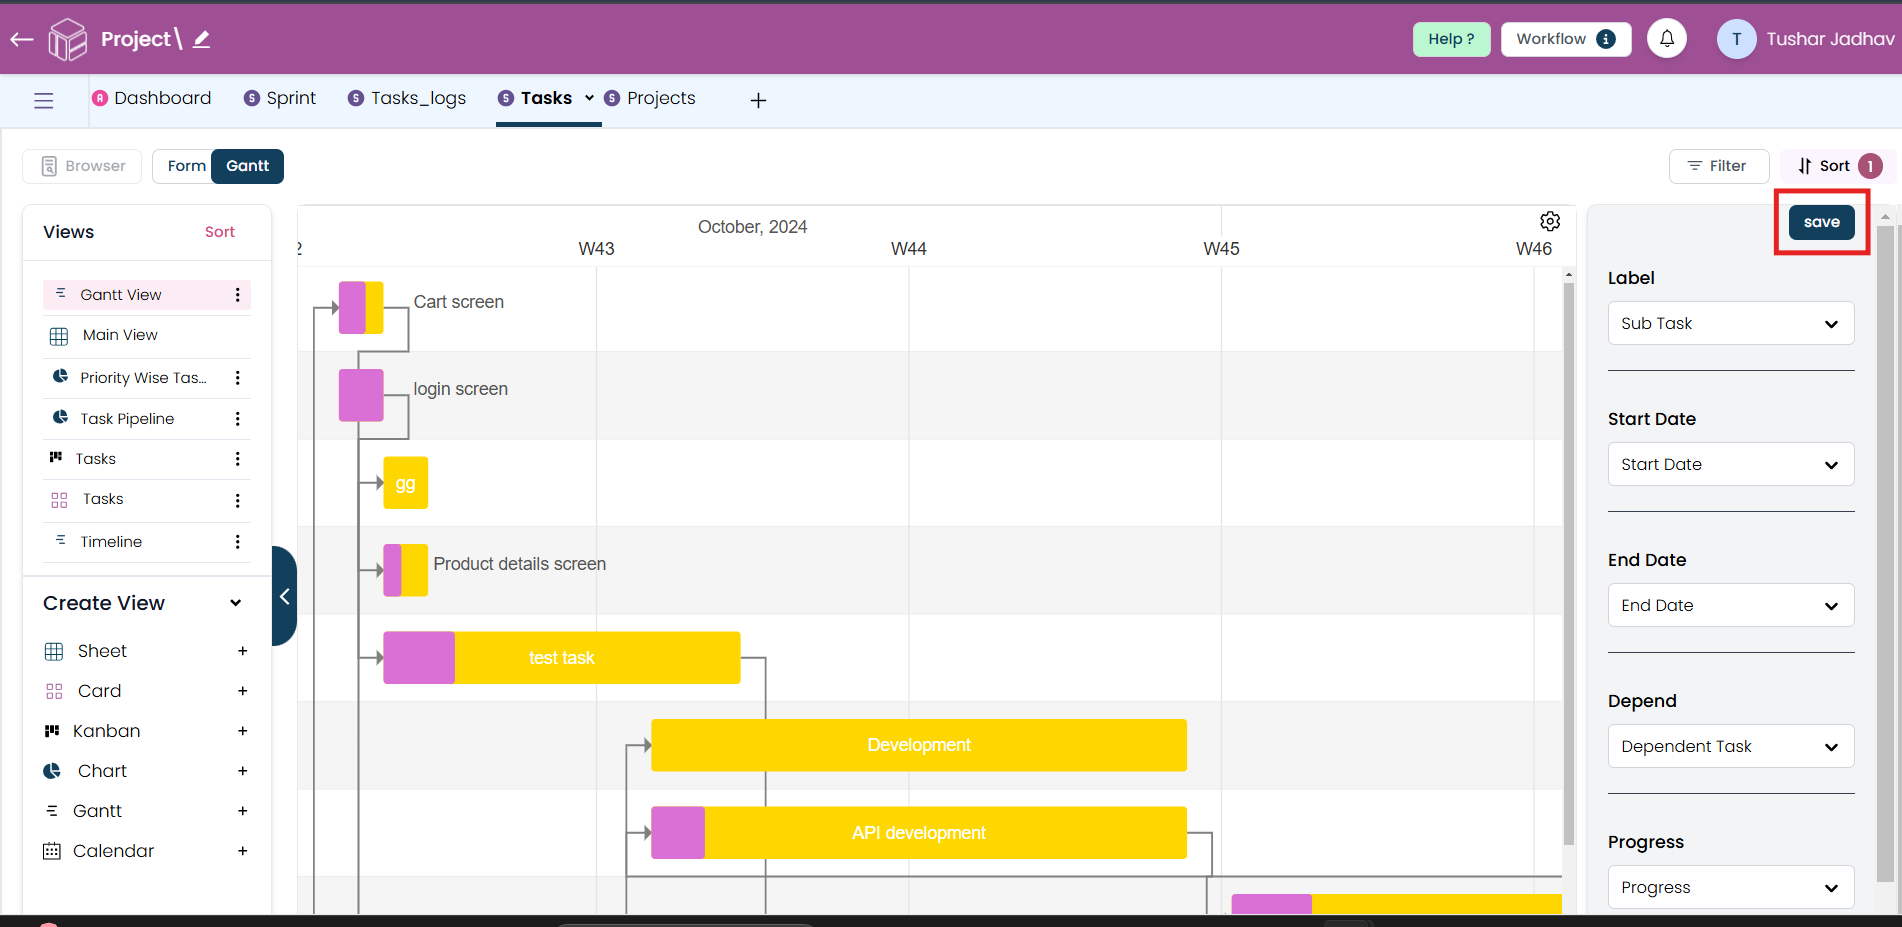
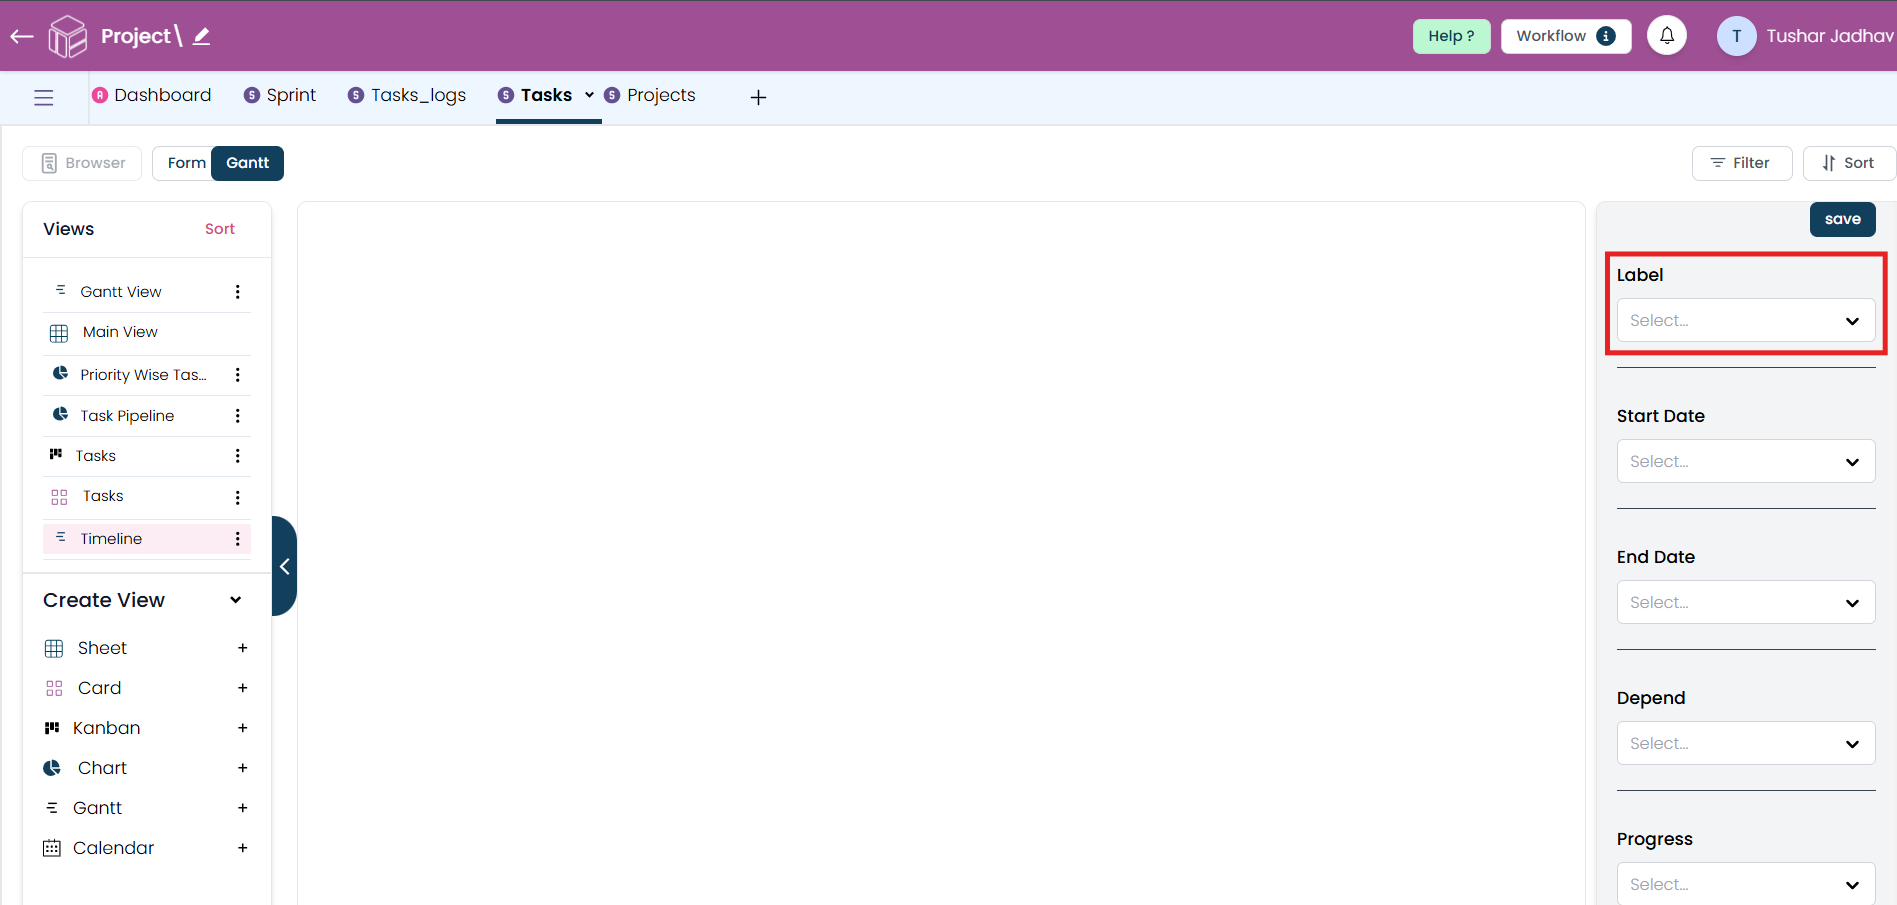
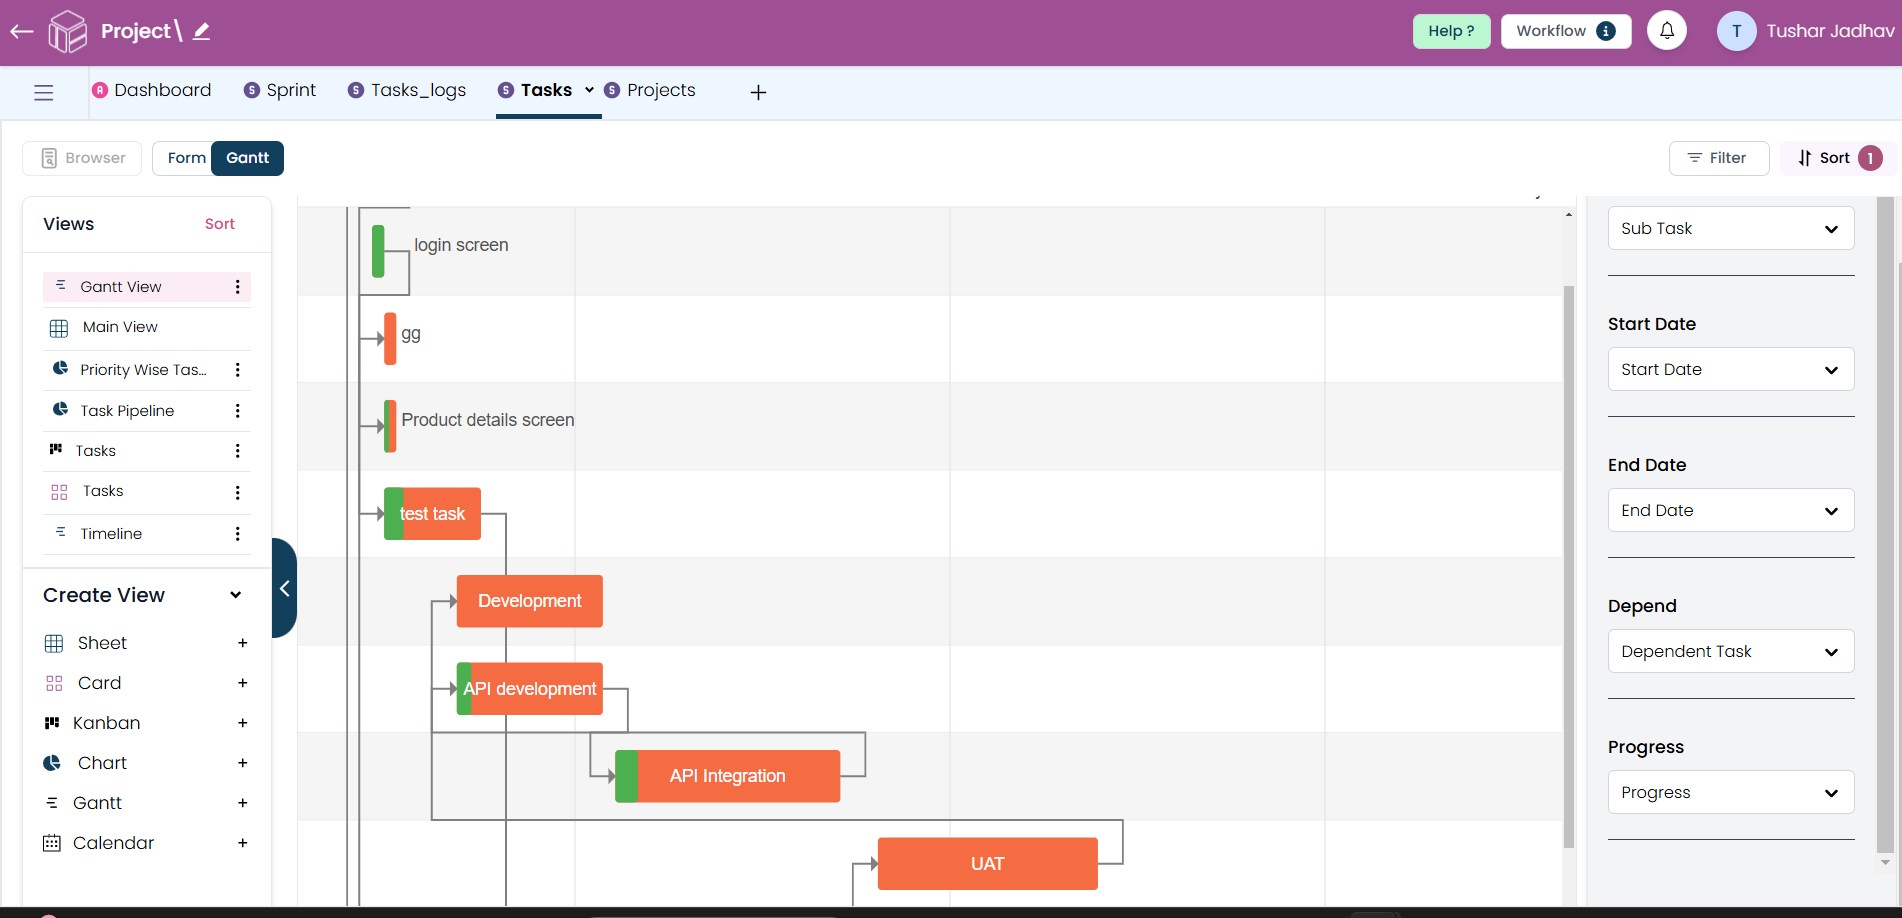
After creating the Gantt view, in label you will need to select field that you want to include in the view. These fields could be task names, sub task etc or any other relevant project information.
Step 4
After selecting label select start date and end date as the tasks will be represented across the timeline based on these dates. (make sure you have created date fields in your worksheet)
Step 5
In dependent field select the field which will help you to visualize task dependencies, you can enable a dependency field. This will help you show relationships between tasks, indicating which tasks must be completed before others can start. Note: In dependent field you can only able select link drop-down type field from worksheet.
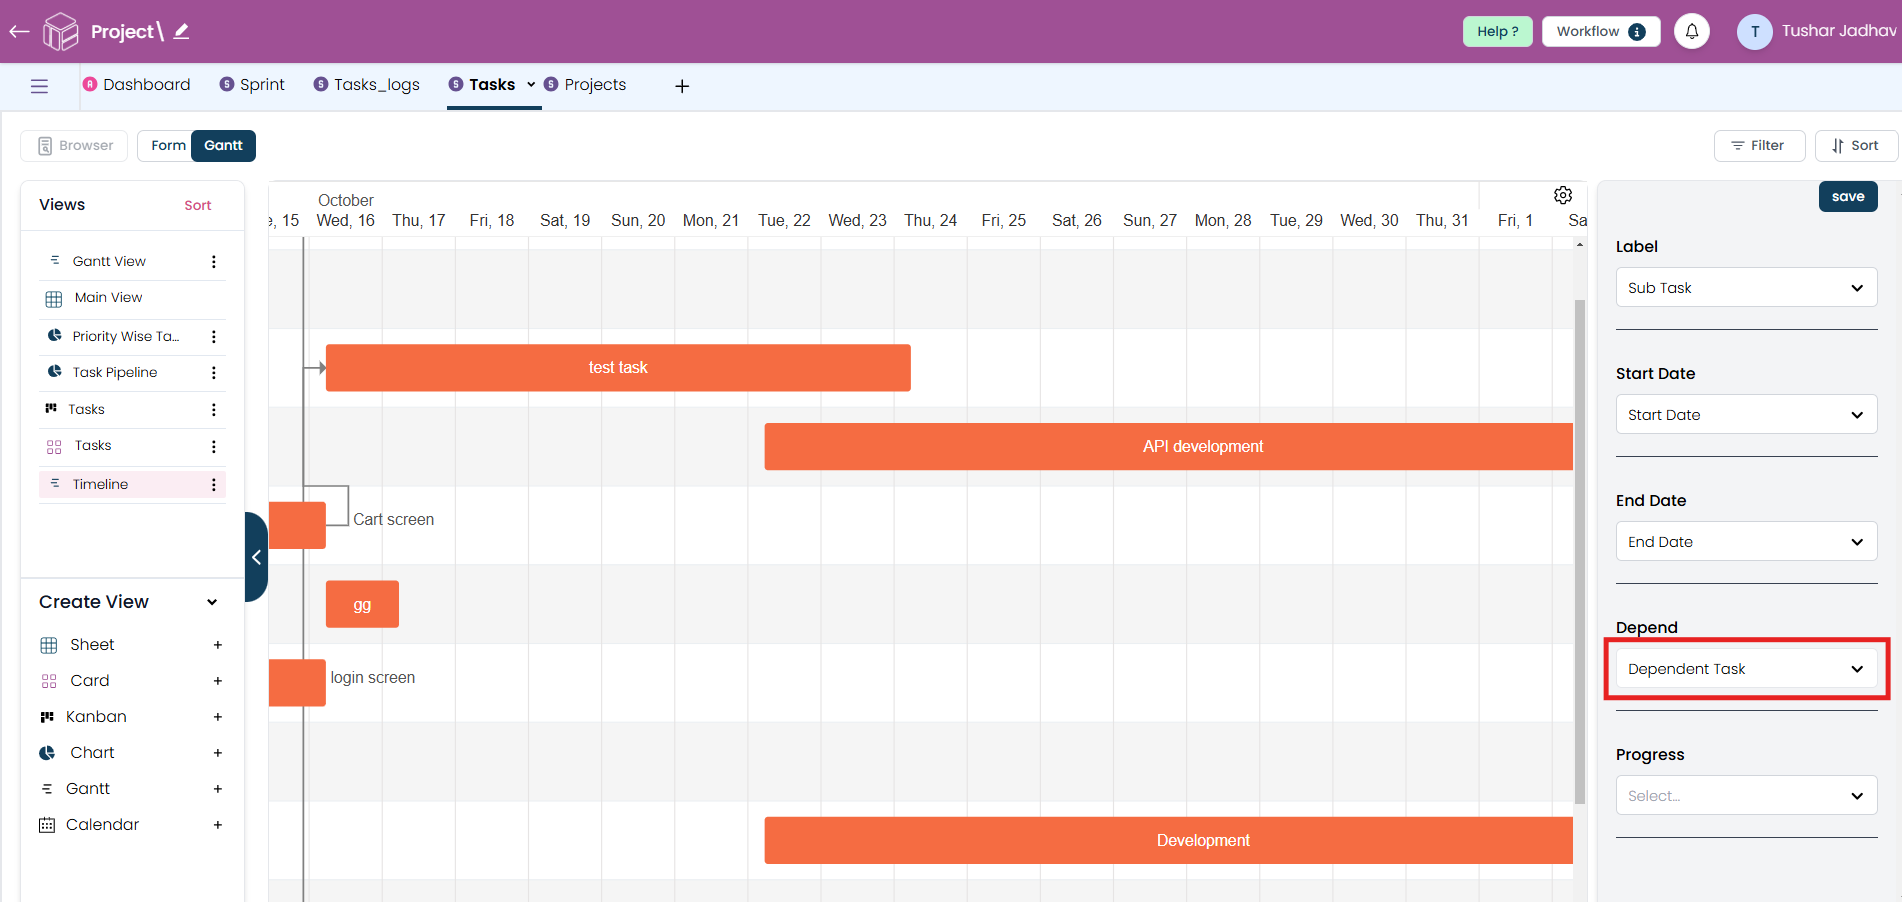
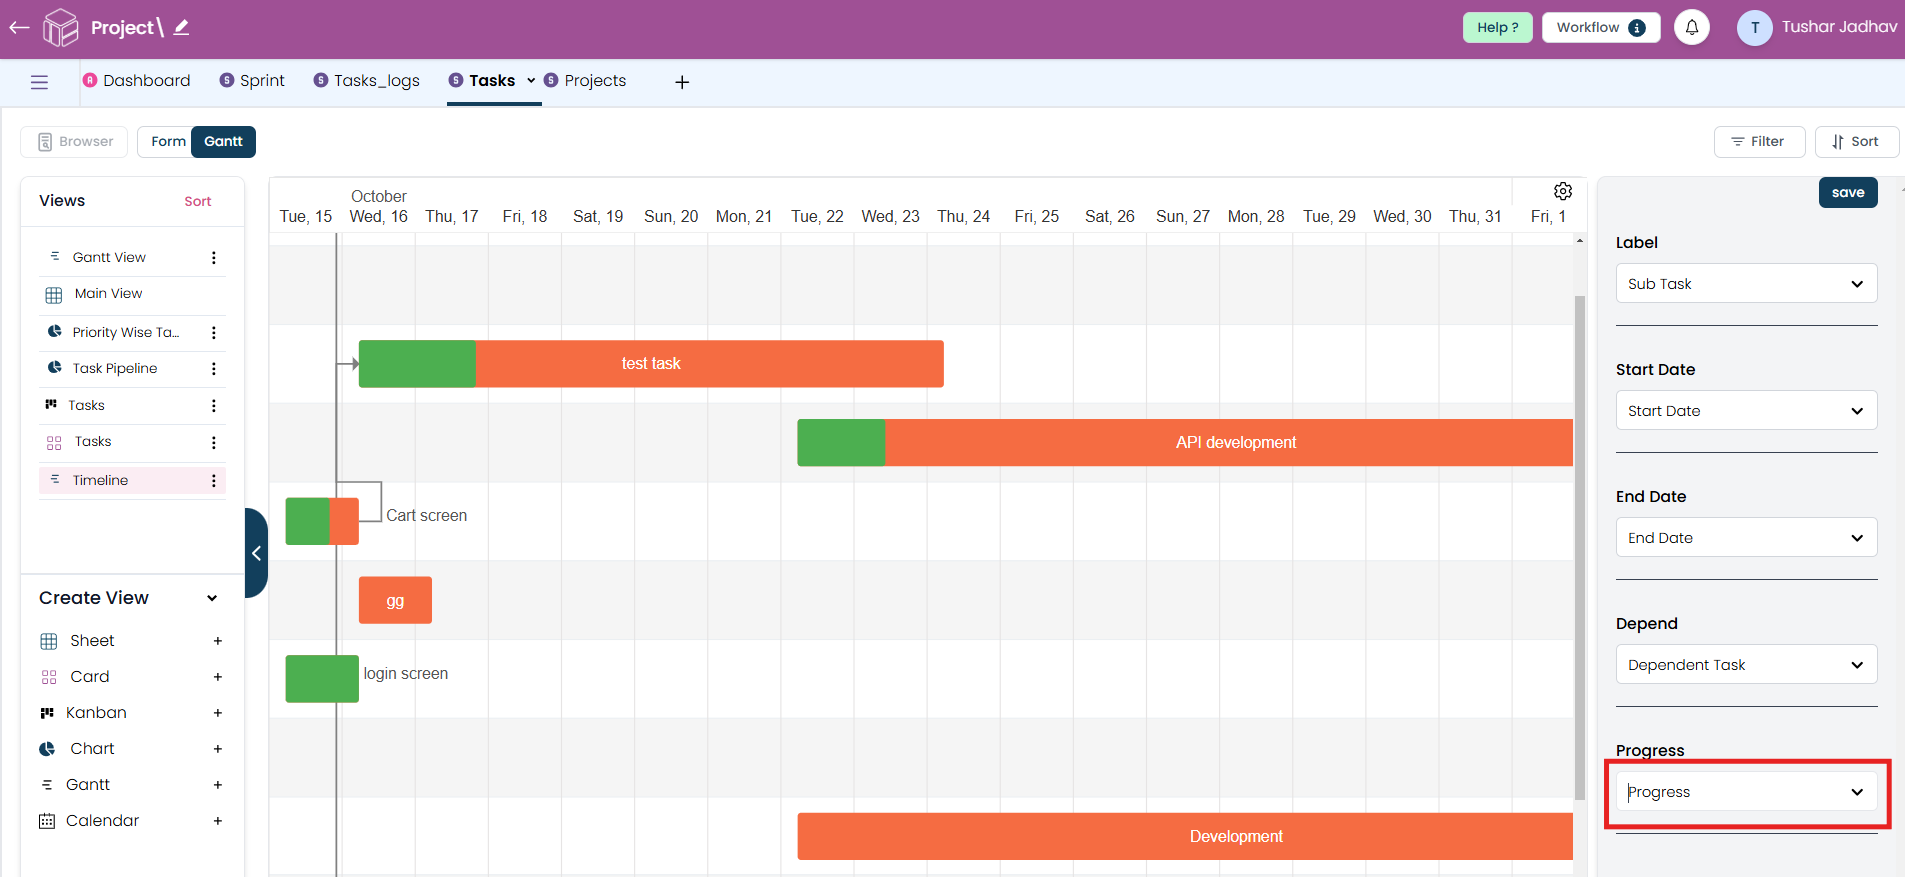
Step 6
After selecting dependent field add field in progress which will help you to see the actual progress of your project or task. Note: In progress field you can able to select percentage type field from worksheet.
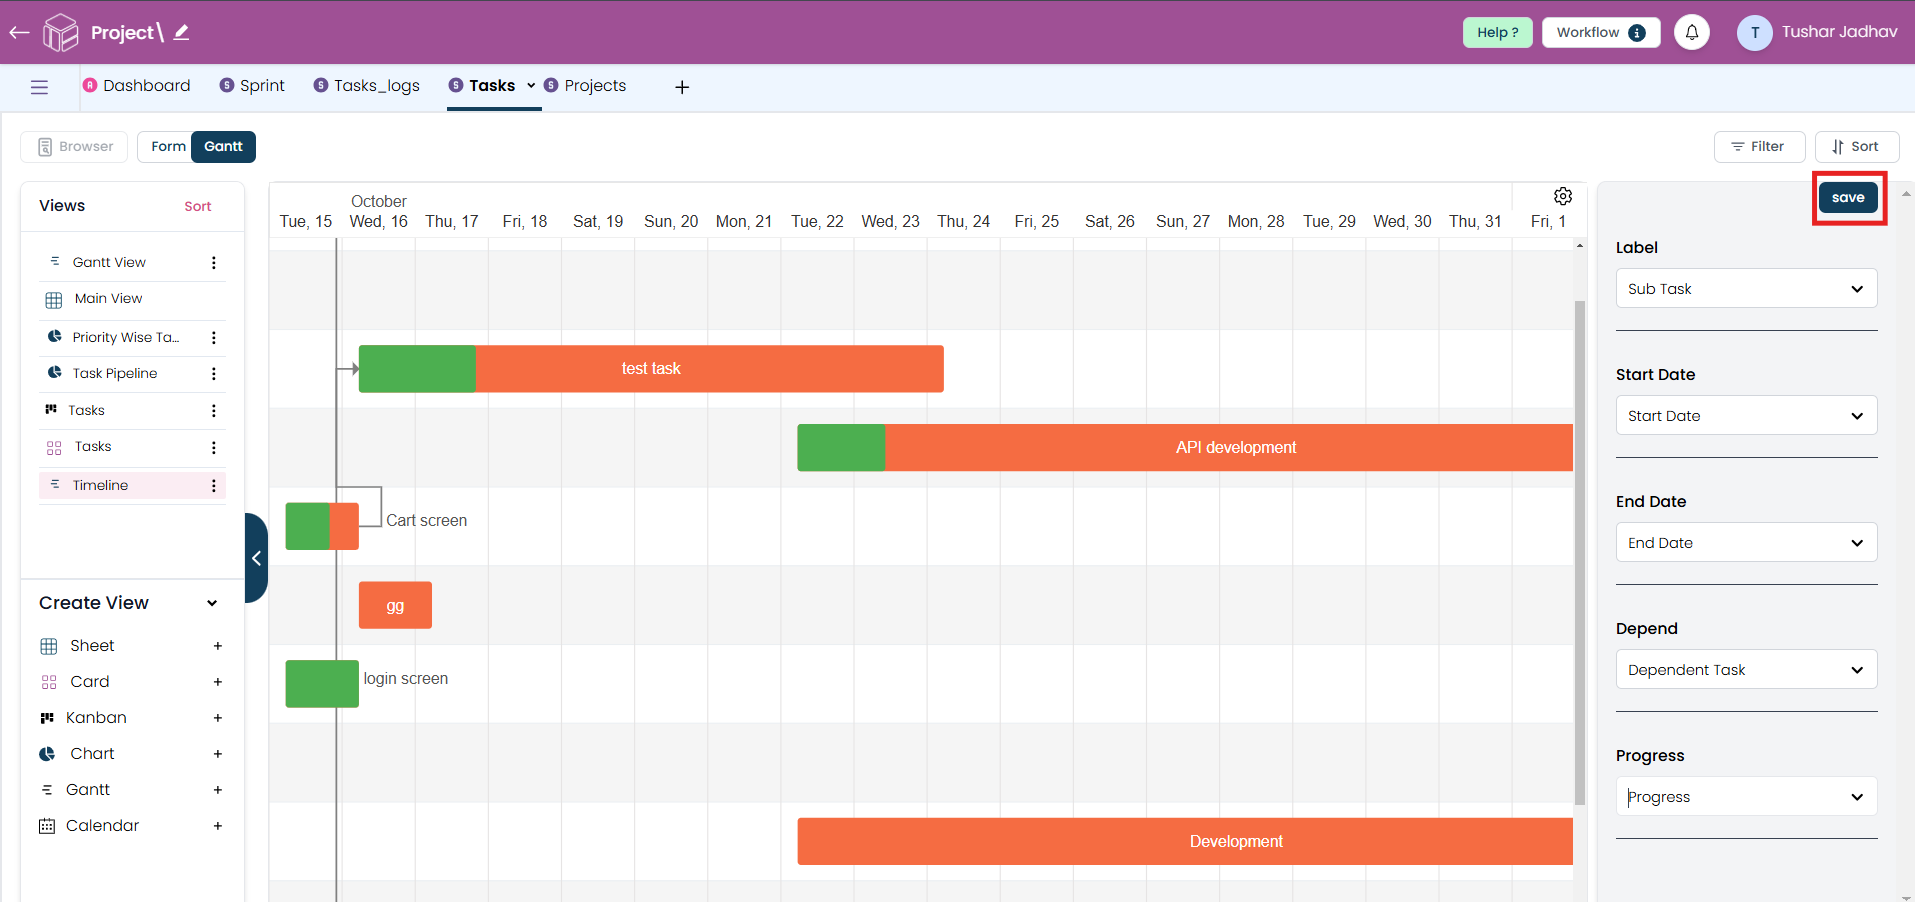
Step 7
Once you have configured your fields and selected the appropriate options, click Save. Your Gantt view will now be generated.
Step 8
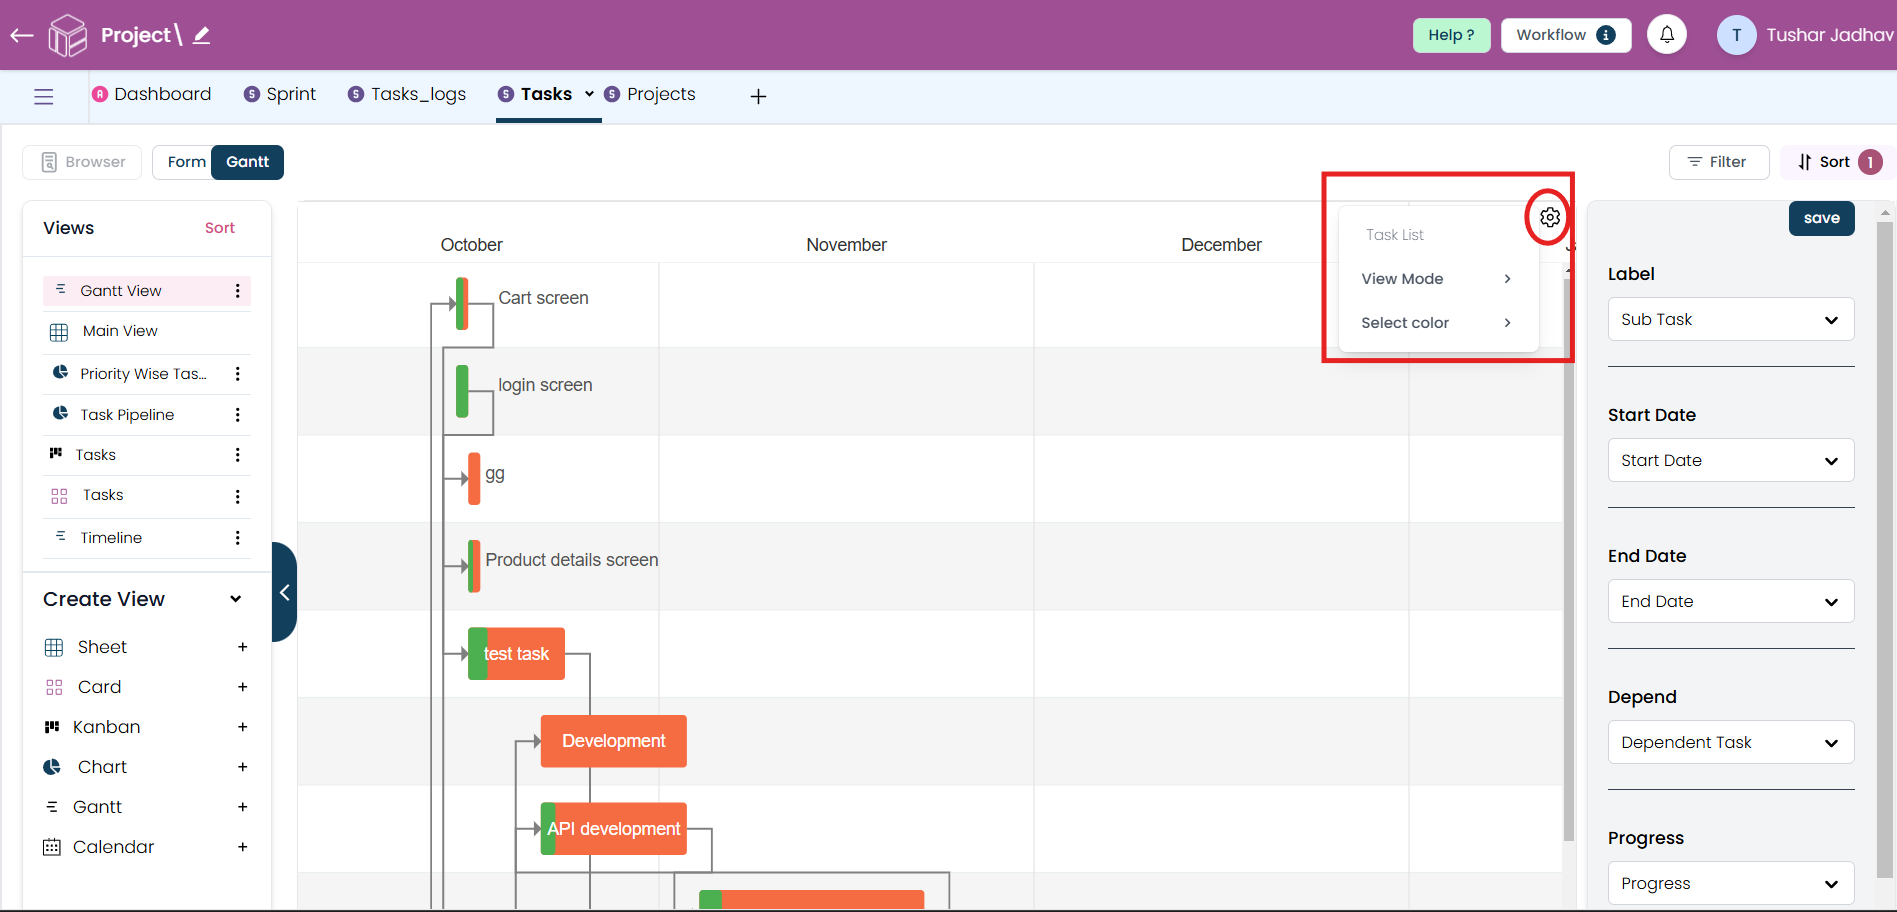
After creating Gantt view you can also modify the appearance of tasks in the Gantt view by clicking on setting icon. You can change task colours, timeline (to display daily, weekly, or monthly, depending on your preference.), and labels, based on the information from the selected fields.
Step 9
After modifying the view just click on save button.