Form Header
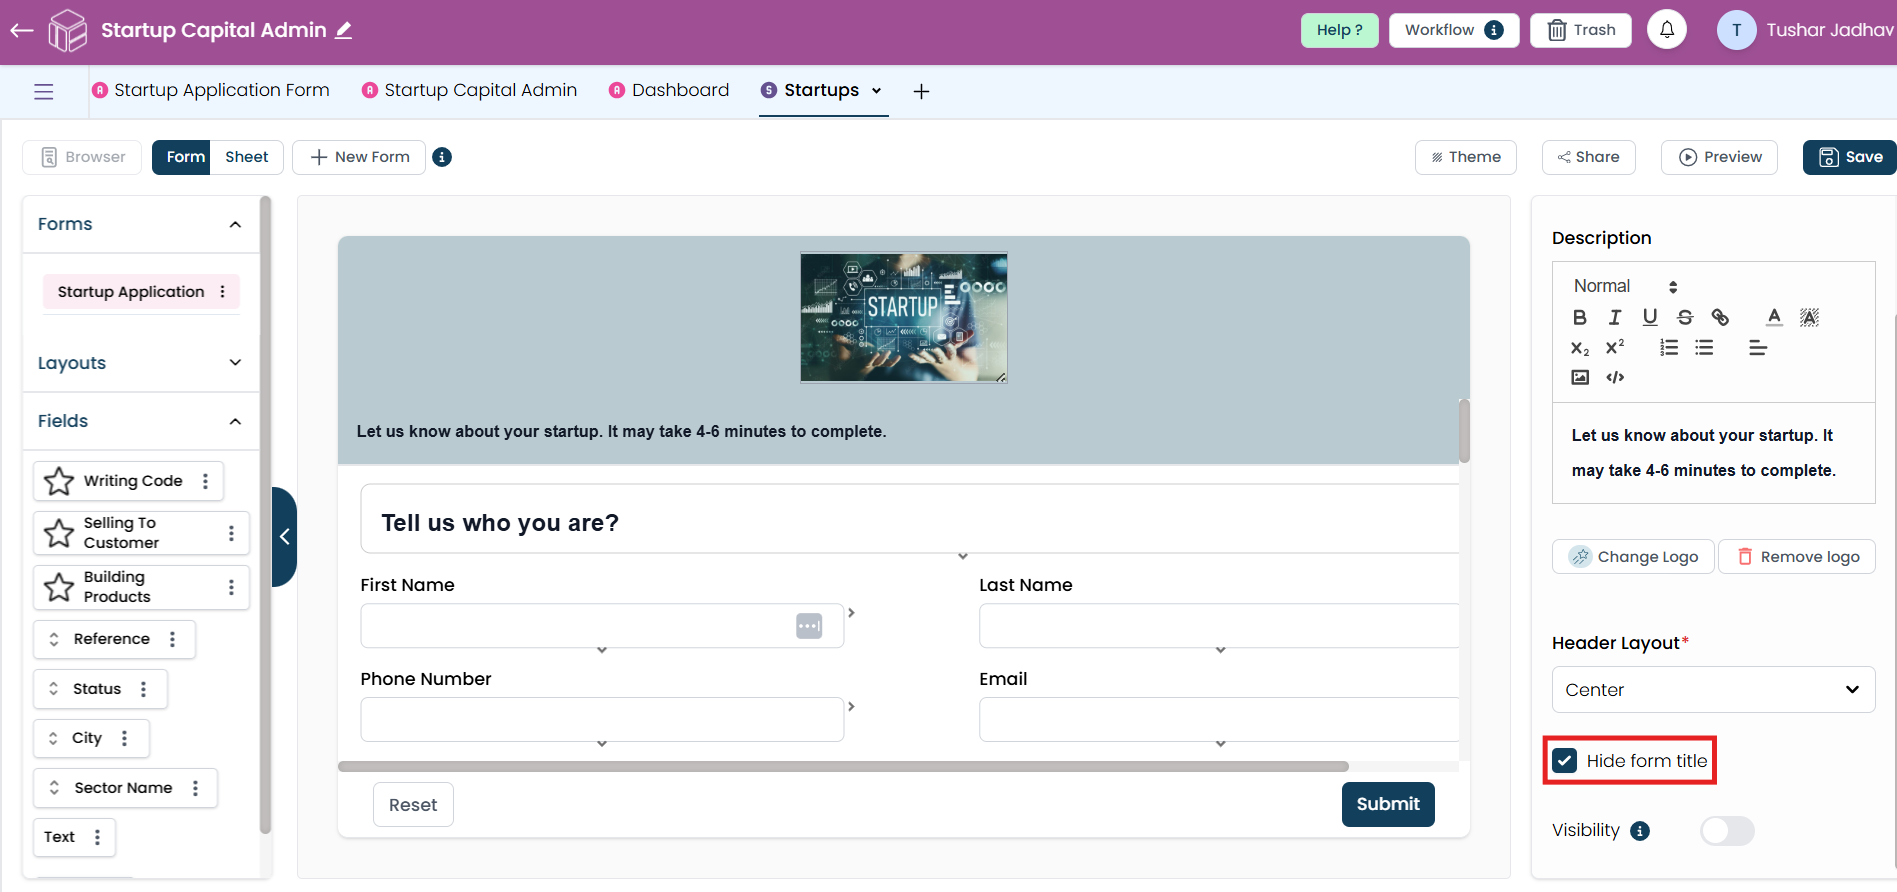
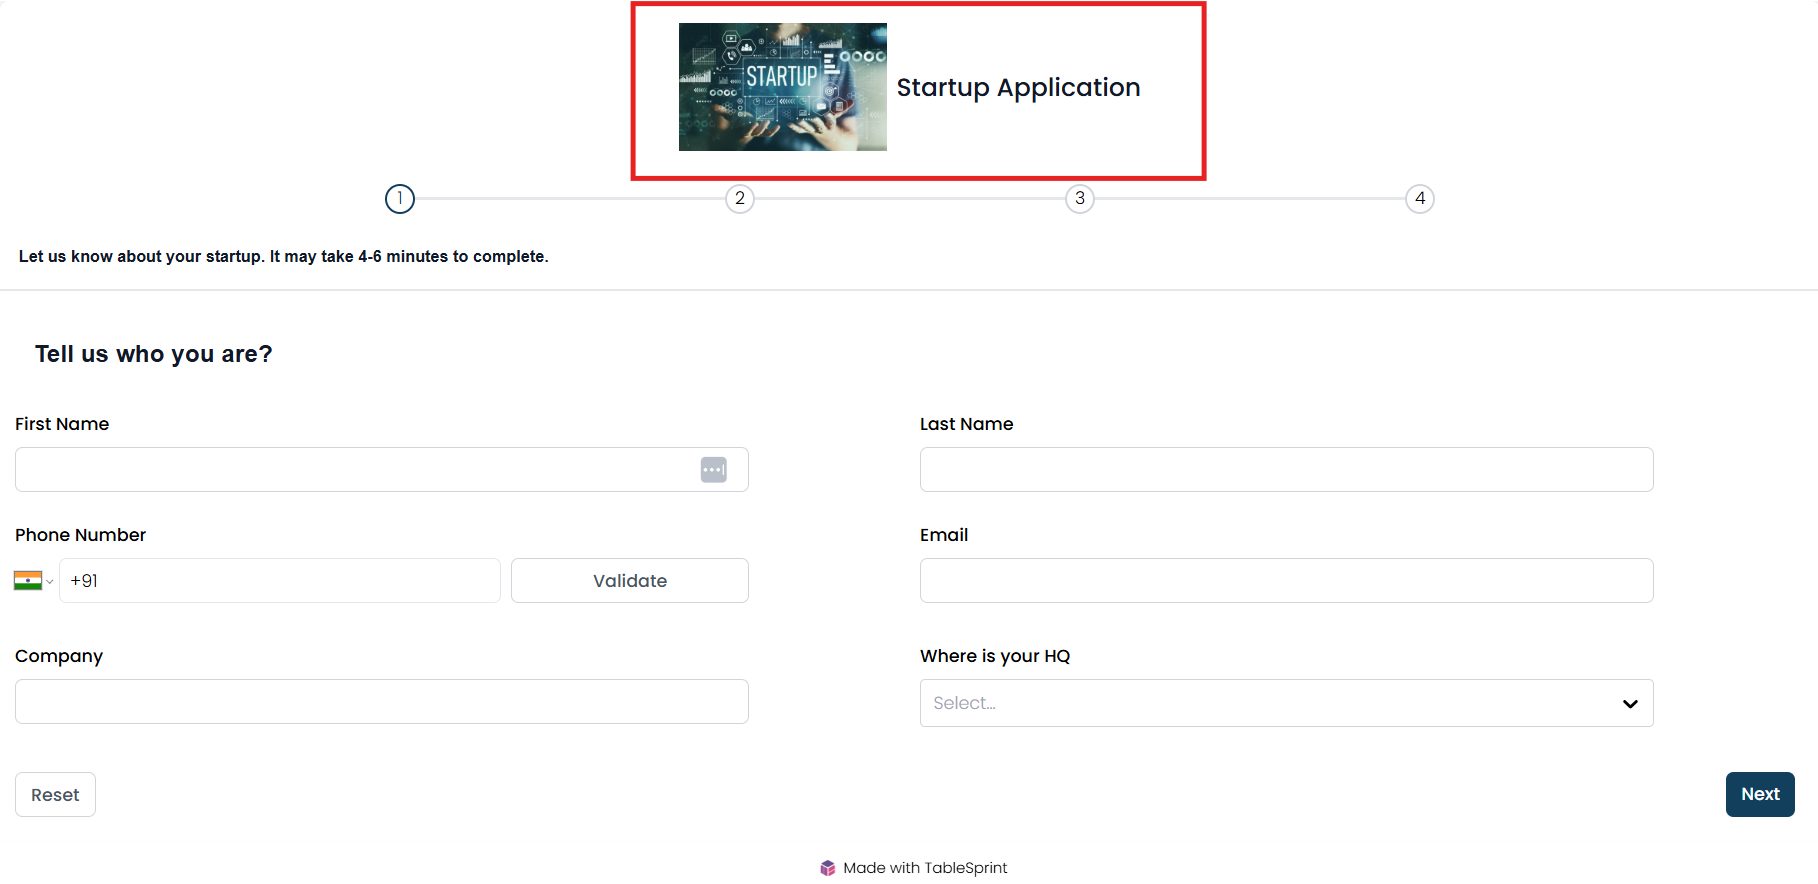
This guide demonstrates how to modify the form title, upload a logo, customize the description, adjust the header alignment, and hide the form title.
Form Title
The title entered in the "Title" section will appear at the top of the form when shared with users. A clear and descriptive title helps respondents quickly understand the form’s purpose.

Logo
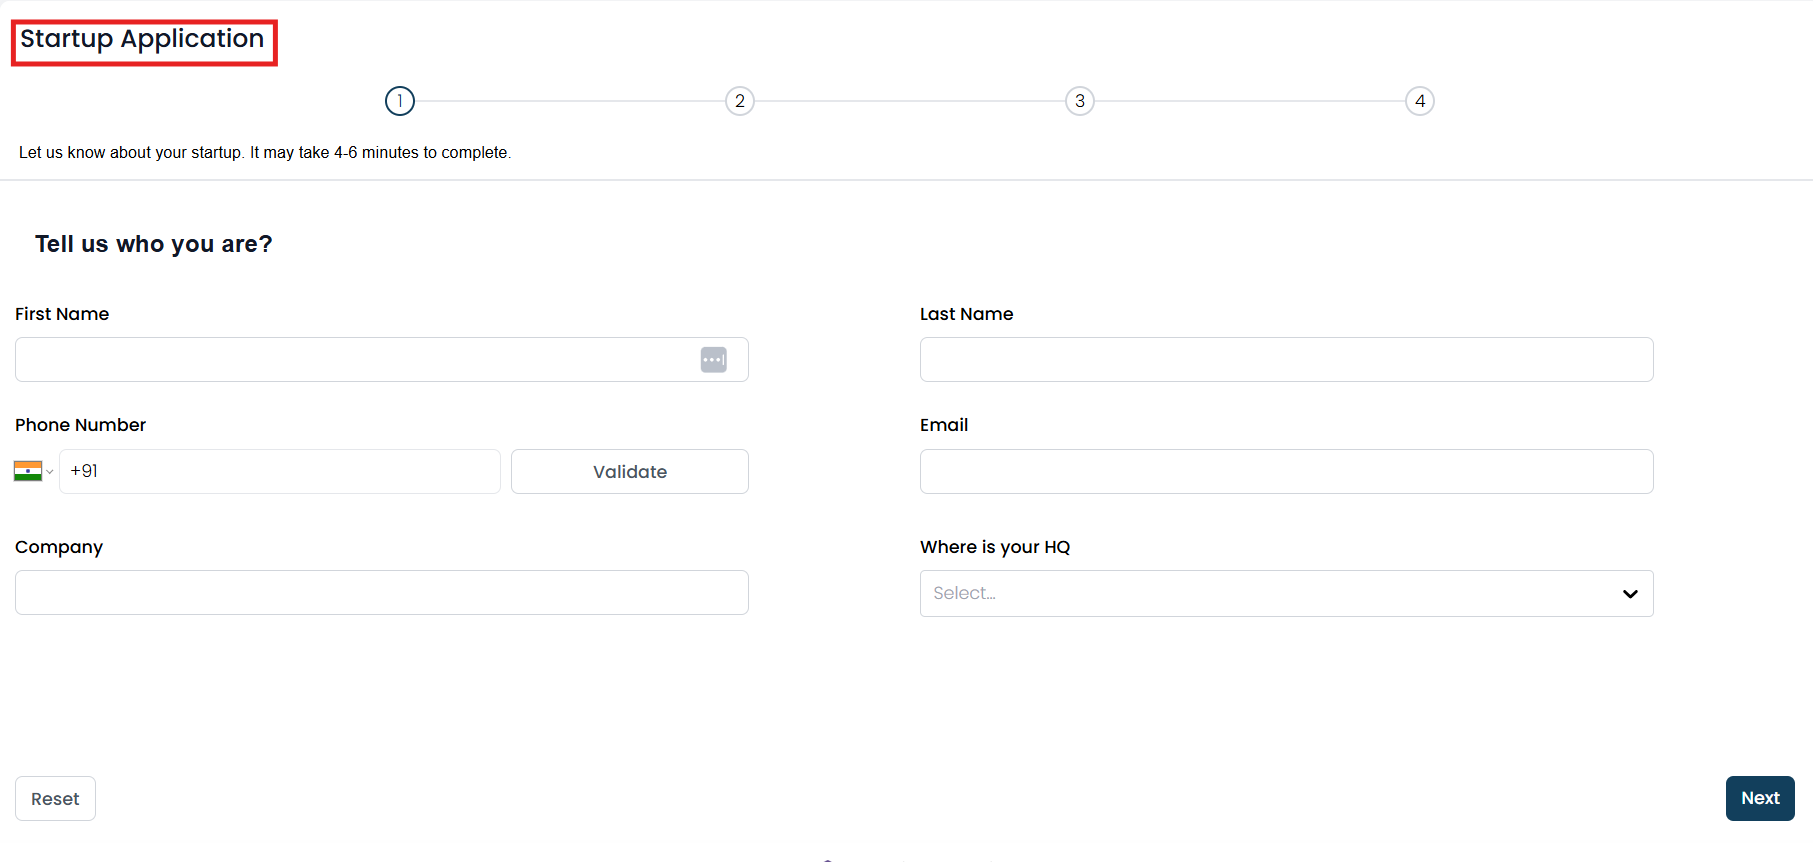
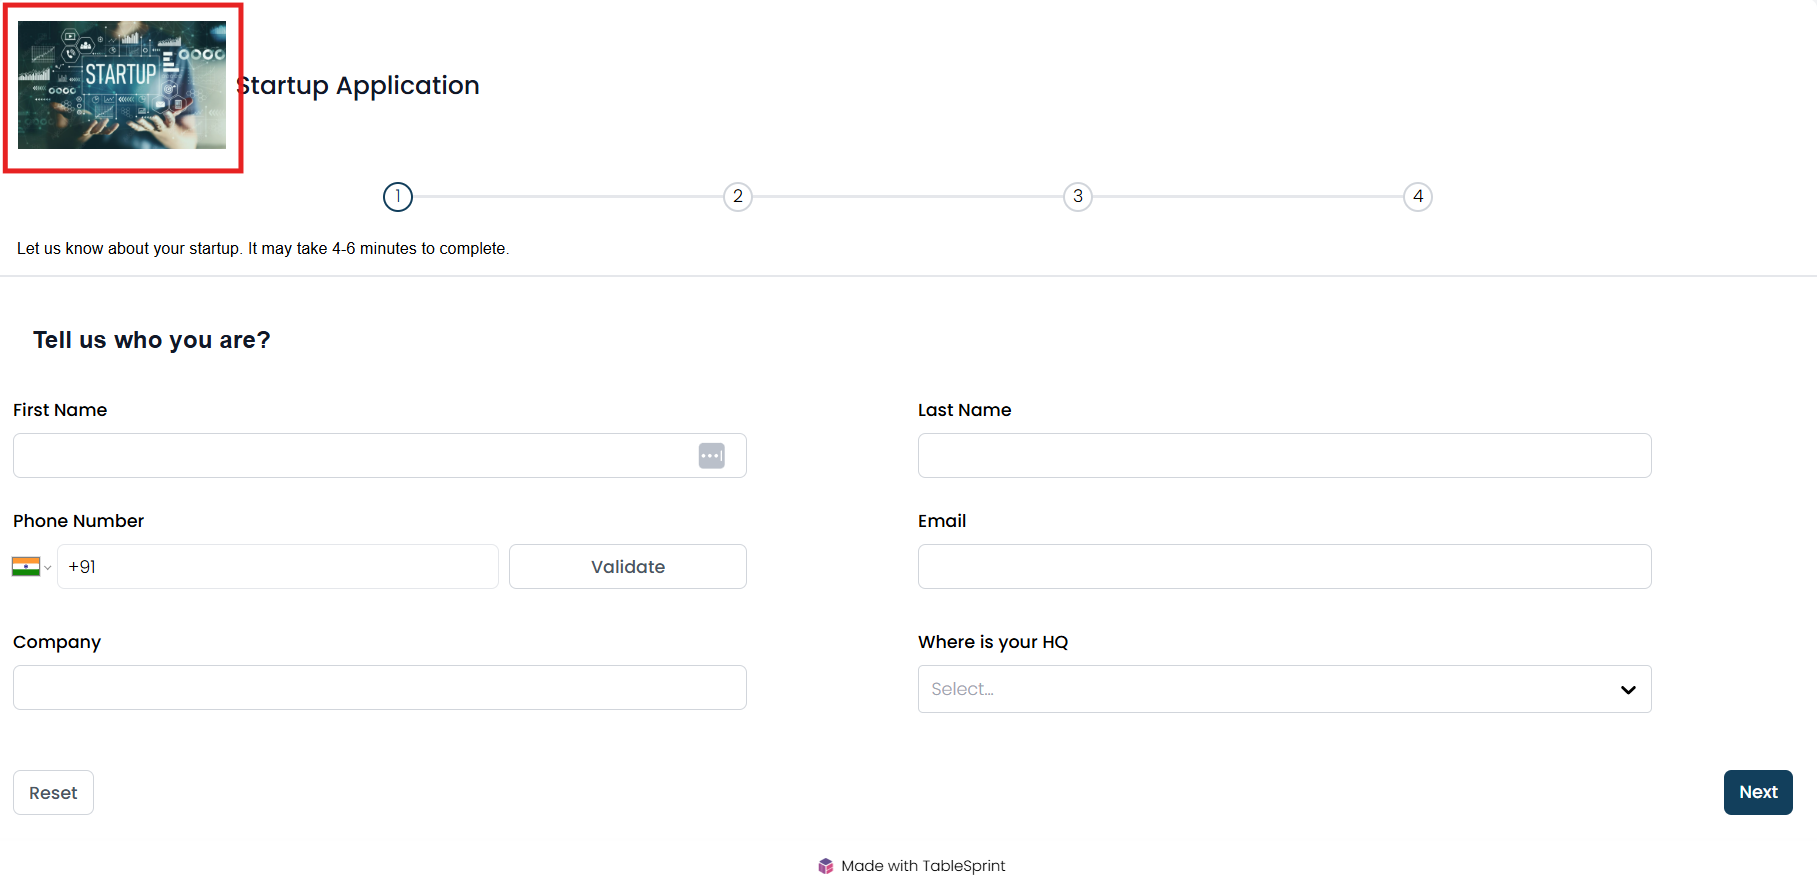
You can add a logo to the form by clicking the "Add Logo" button. Logos enhance branding and give the form a more professional appearance. Supported logo formats include PNG, JPG, or SVG, depending on the app’s capabilities. You can also resize the logo to fit the form’s design.
Description
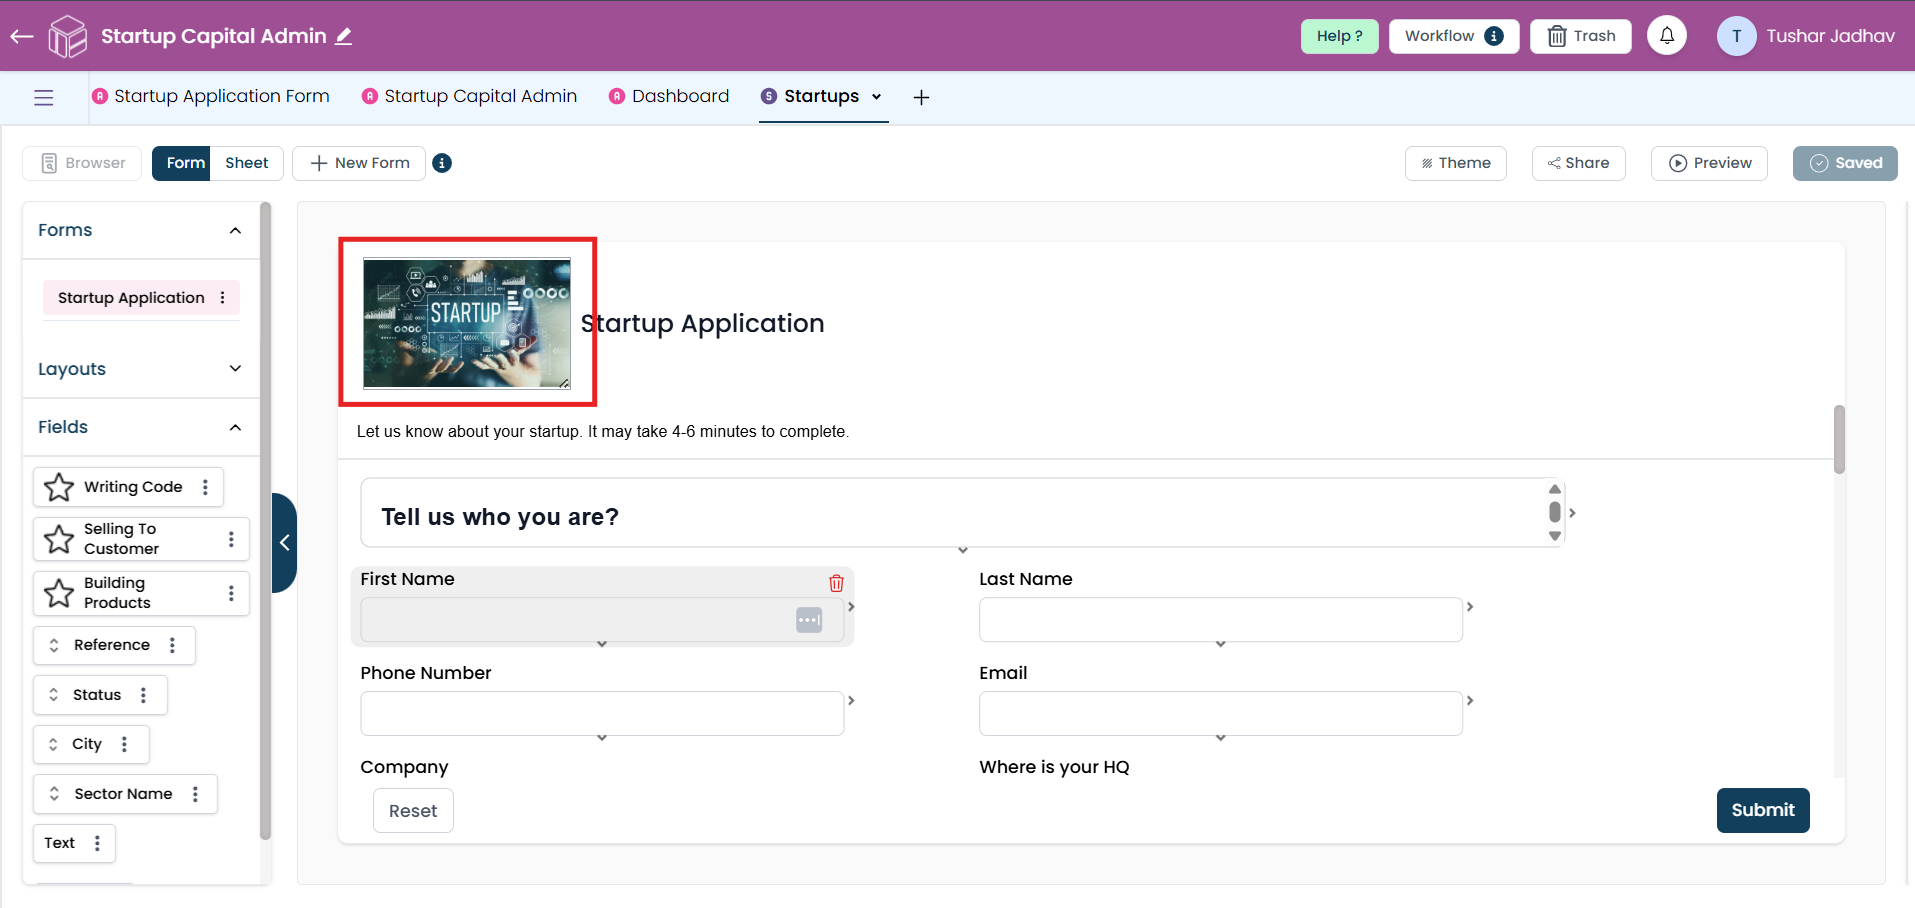
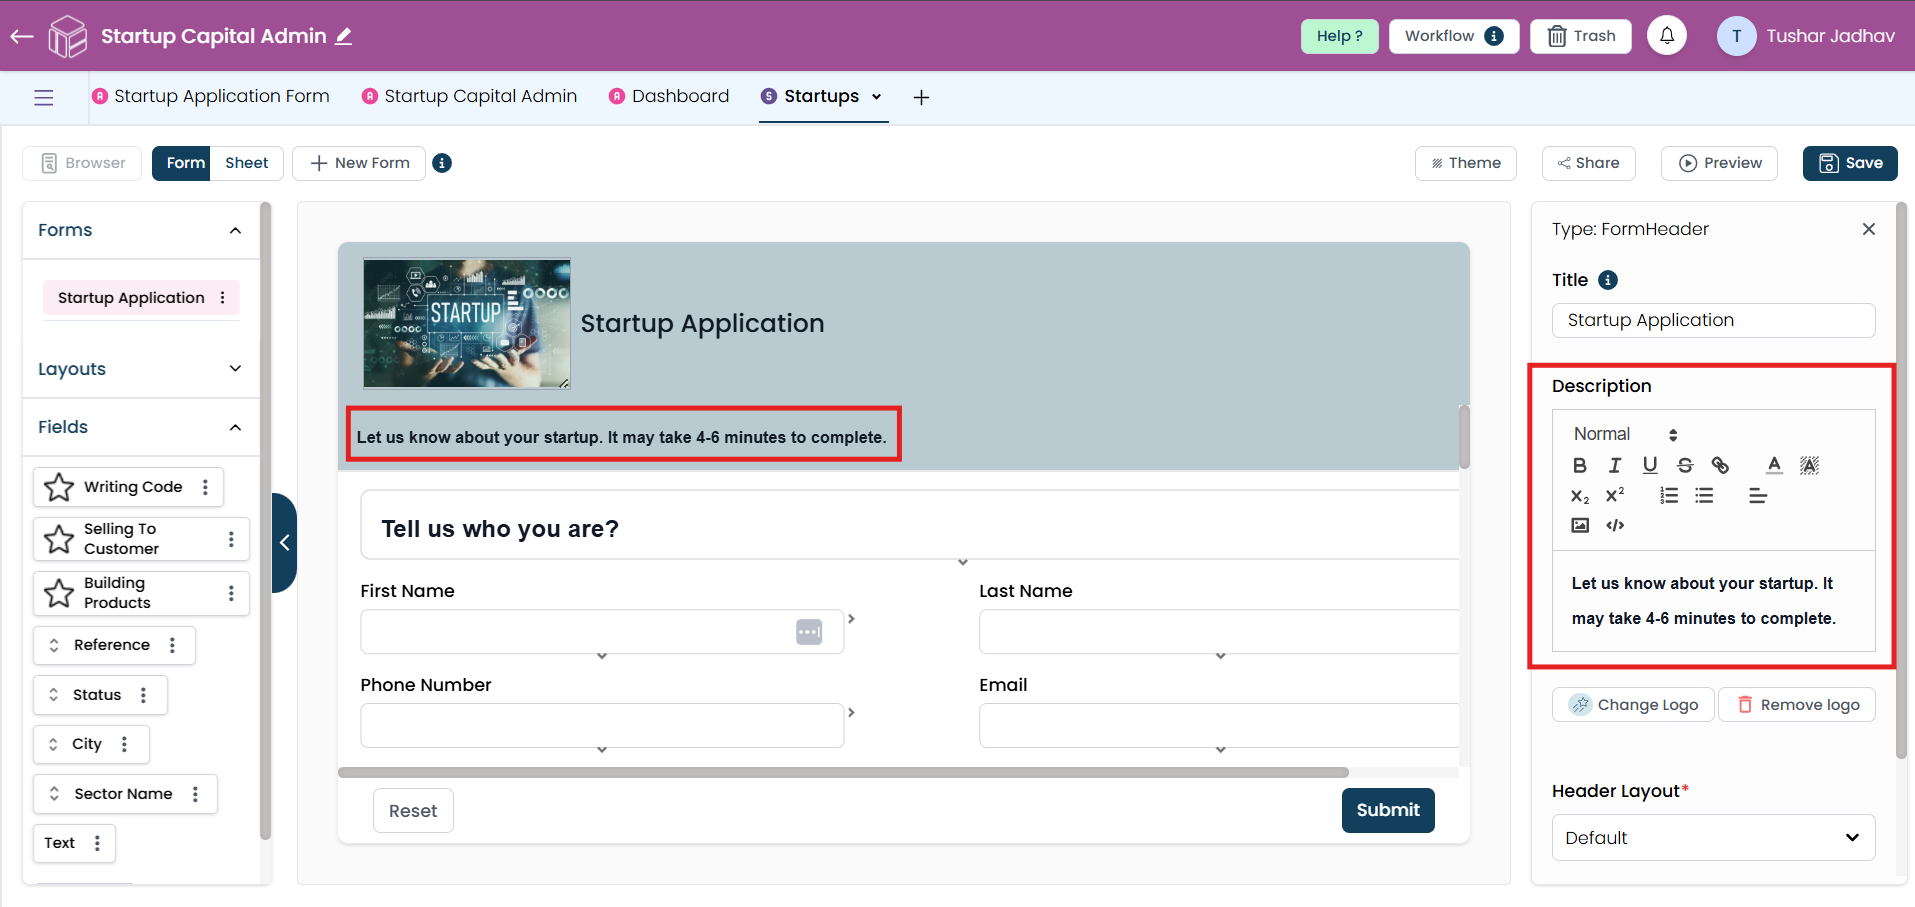
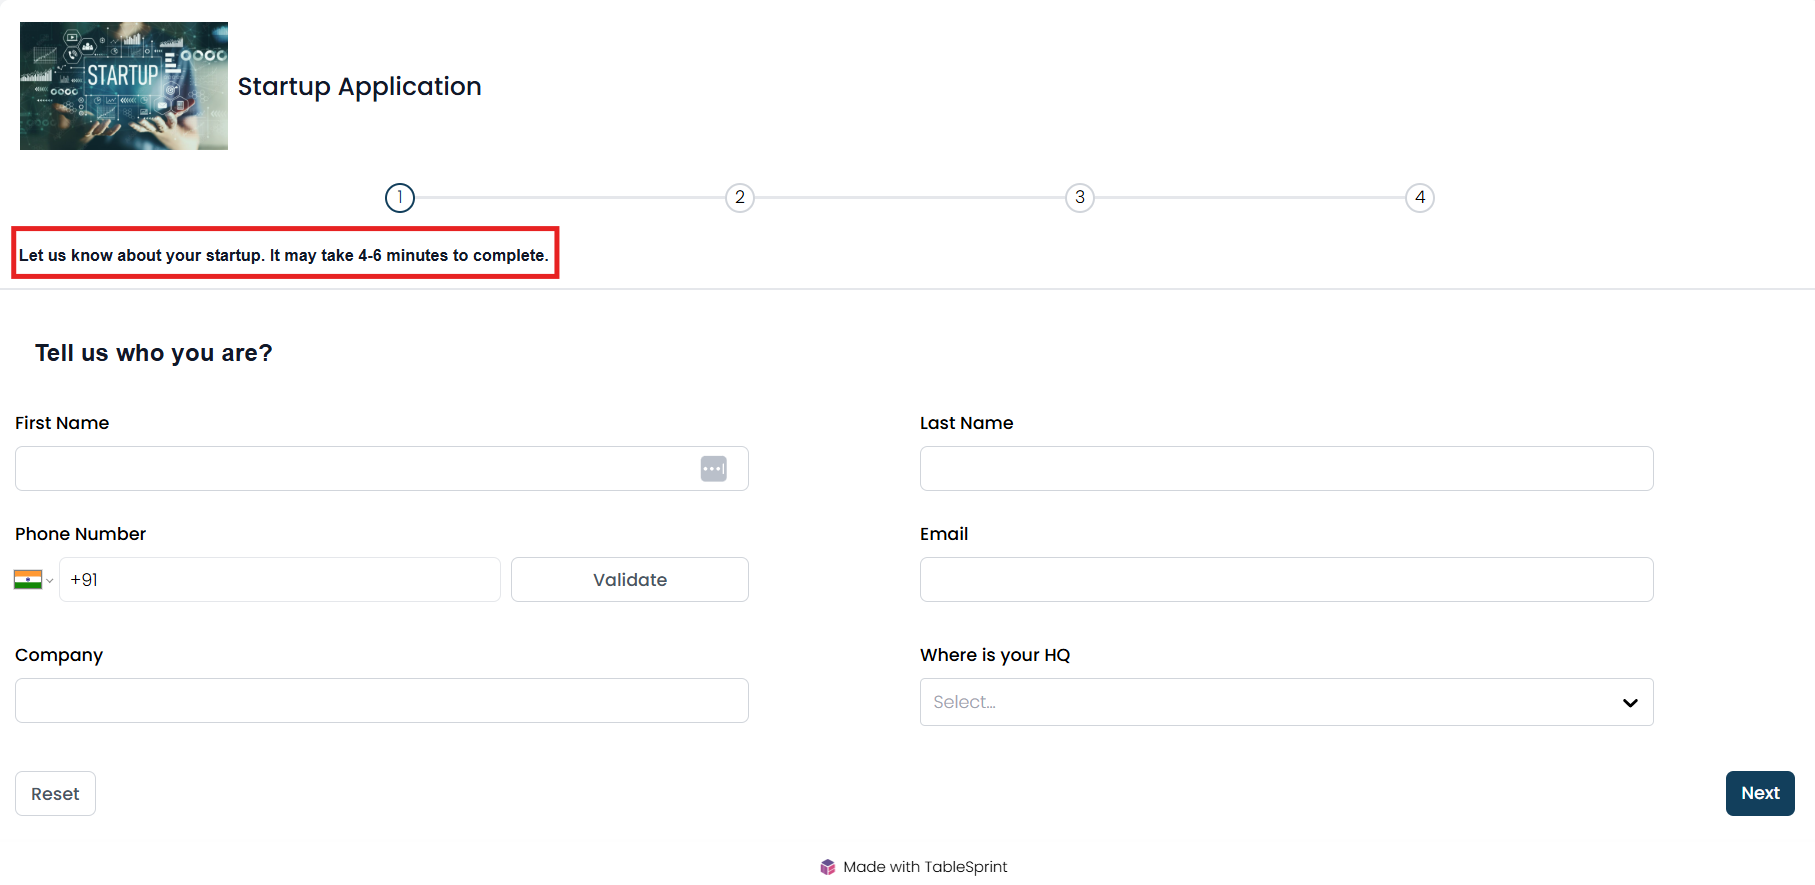
The Description Box allows you to provide additional details about the form. This section can be used to explain the form’s purpose, guide users on how to fill it out, or share other relevant information.
You can customize the text in the description box by:
- ● Making text bold for emphasis.
- ● Changing text color to improve readability or match branding.
- ● Adding a background color to highlight important information.
- ● Adjusting text alignment (left, center, or right) for better formatting.
- ● Changing text size to improve readability or highlight key points.
Header Position
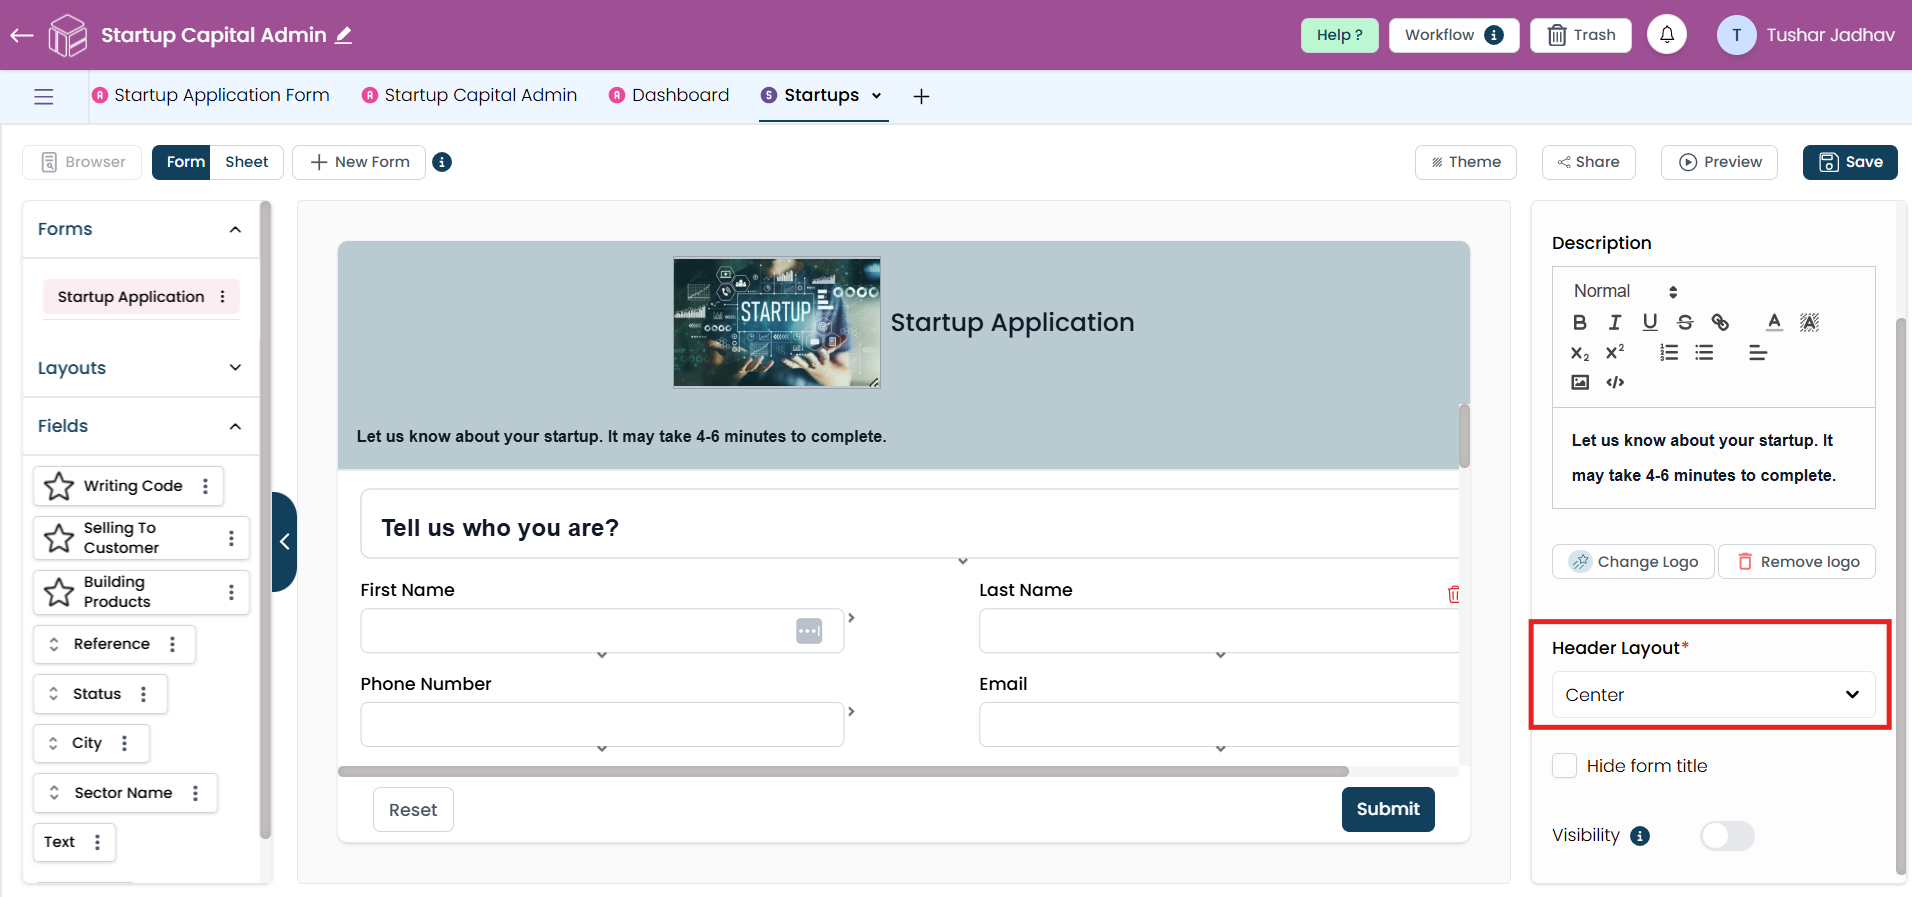
You can adjust the position of the header to better fit the form’s layout. Available alignment options include:
- ● left-aligned
- ● center-aligned
- ● right-aligned
Depending on design preferences.
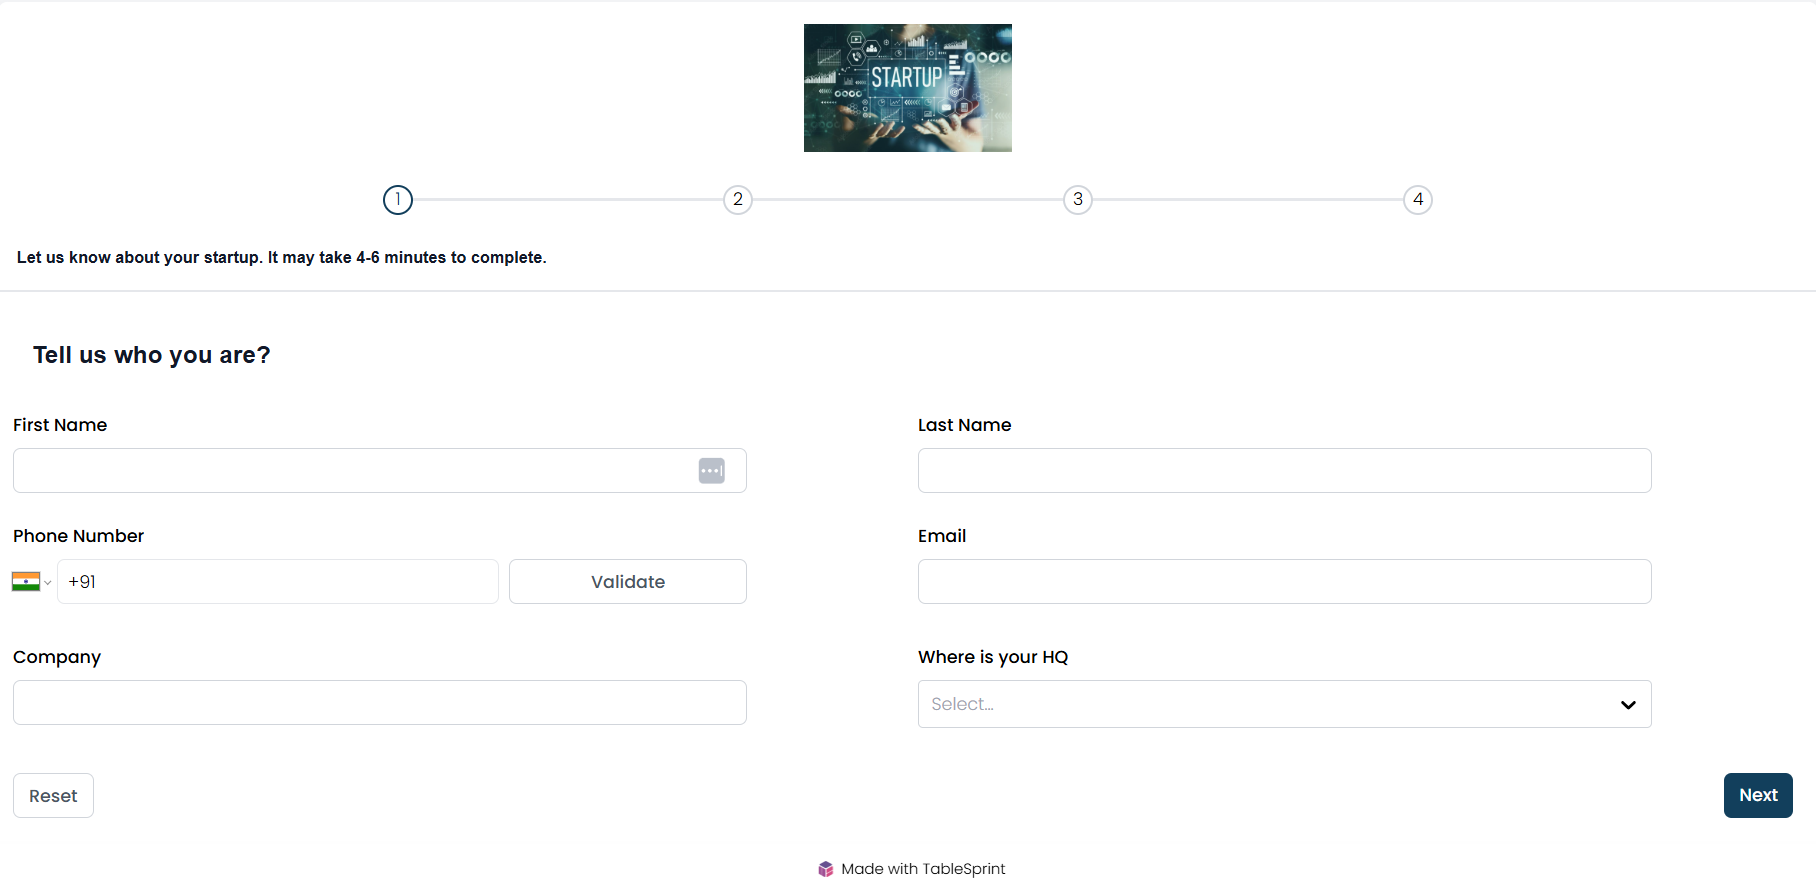
Hide Form Title
Enabling the "Hide Form Title" option removes the title from being displayed on the form. This is useful when embedding the form within a webpage where the title is already mentioned elsewhere.
